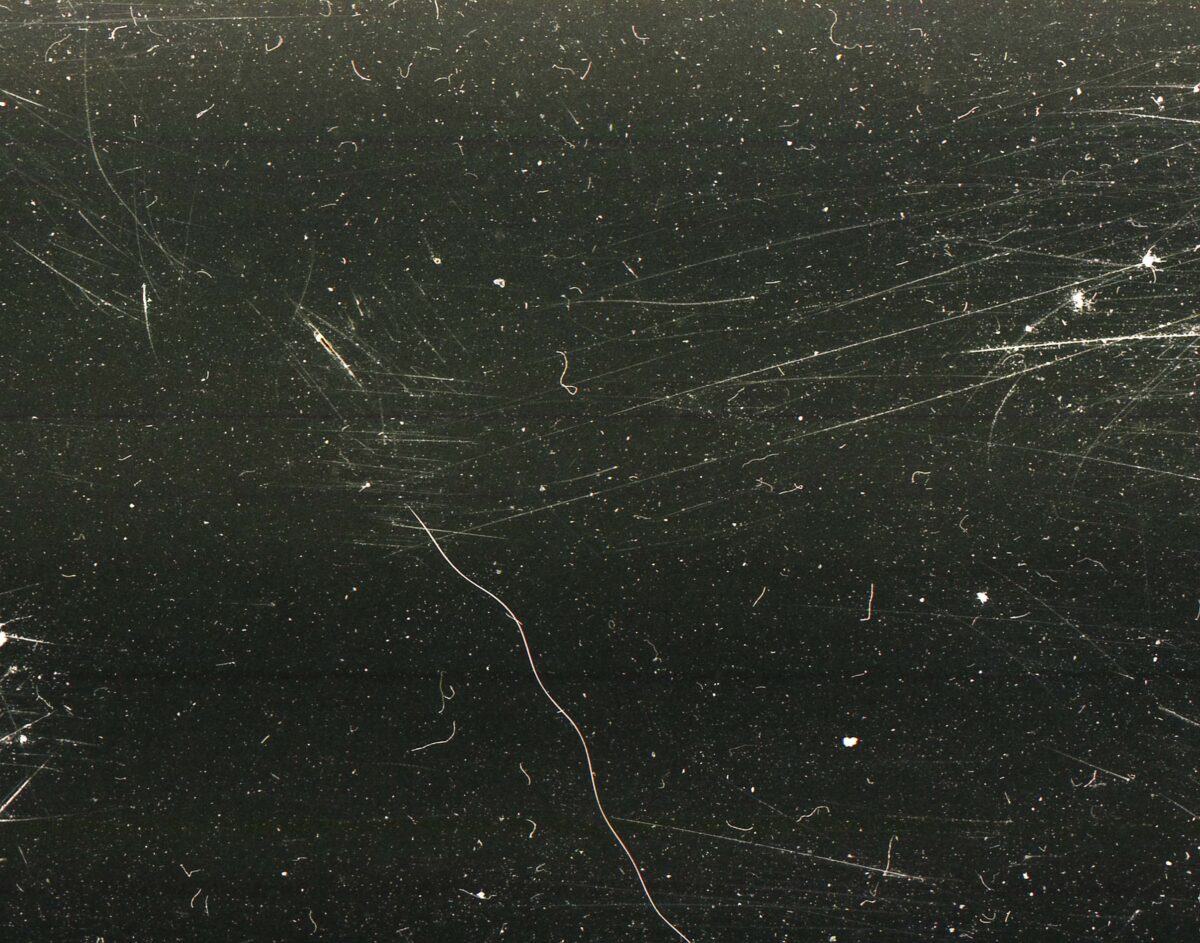
Texture Overlay
Step 1
- FIRST
- Pick either type of editing to start (black/white or color)
Step 2
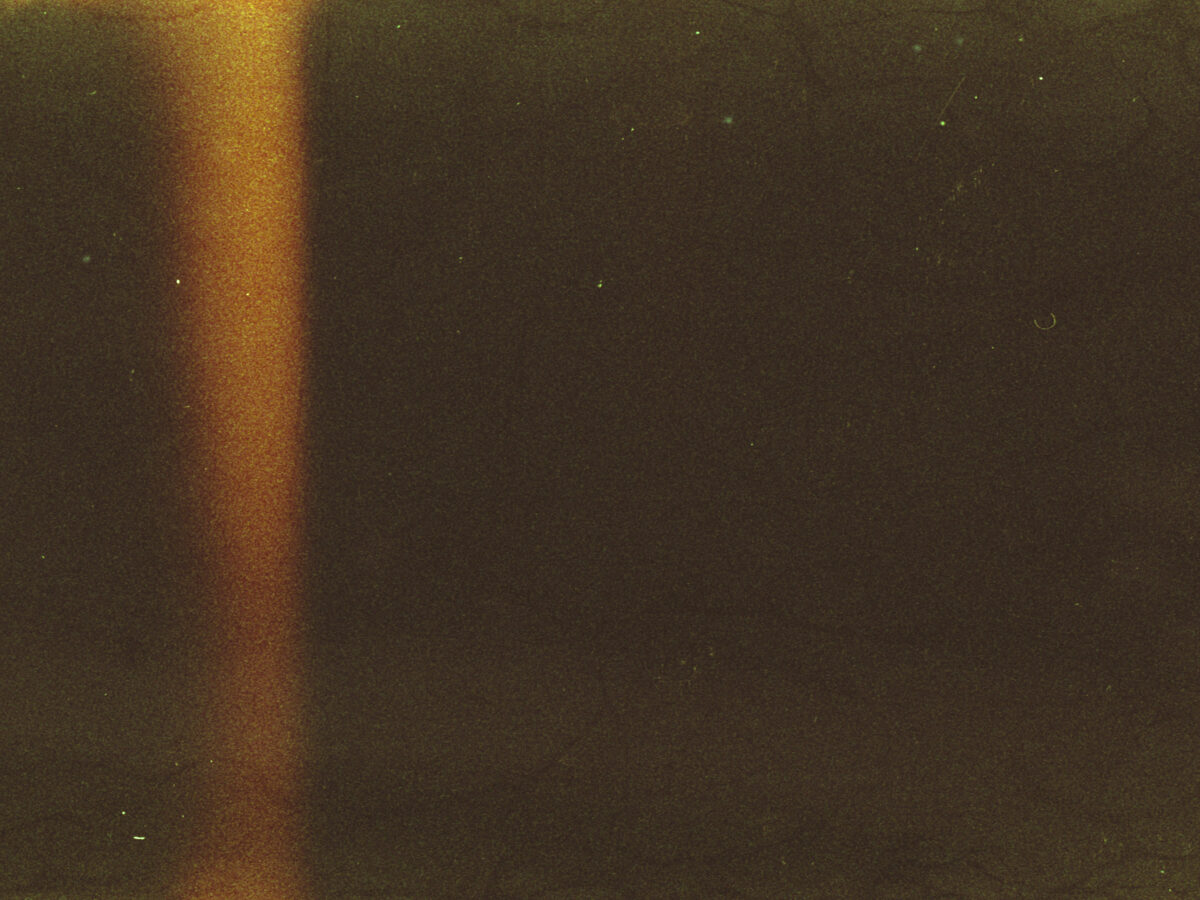
- Save Texture Below
- Open it in Photoshop
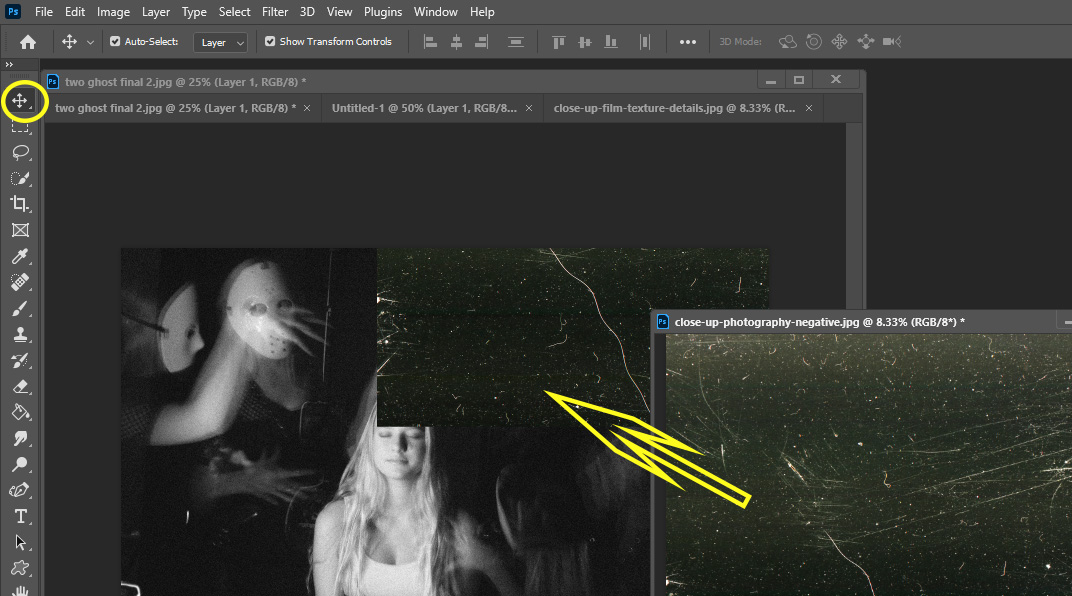
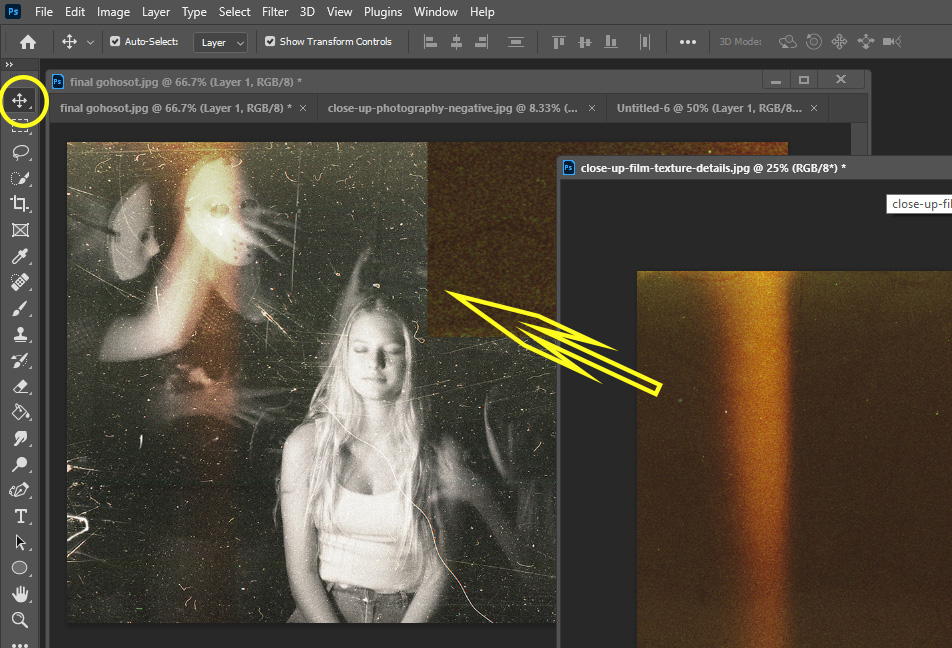
Step 3
- Choose the Move Tool
- Click on the Texture
- Drag it onto the ghost photo
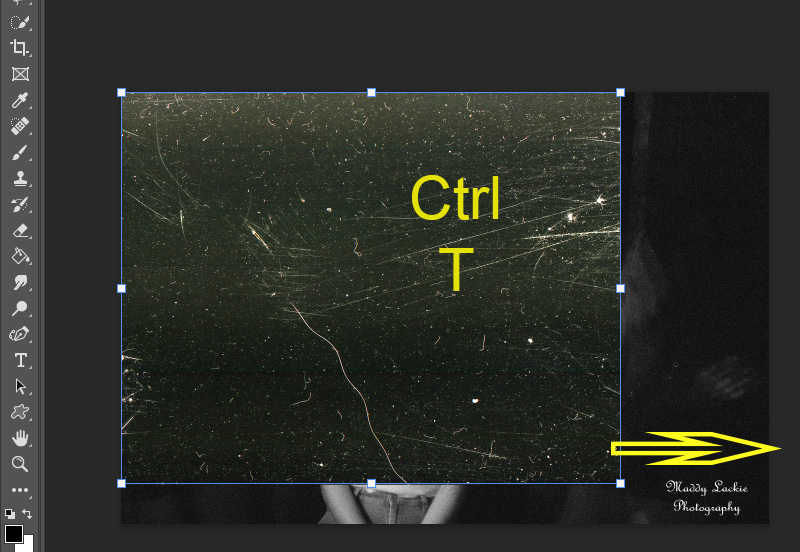
Step 4
- If the texture is to big or to small for the ghost photo
- Click
- Ctrl T
- Move the texture so that it fits over the ghost photo
- Click Enter to lock it in
- Click
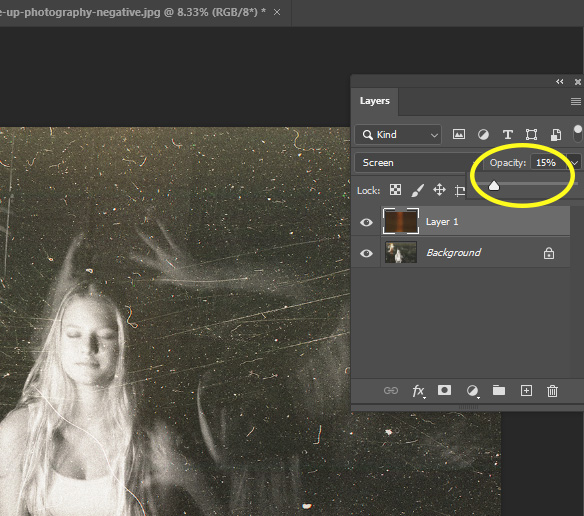
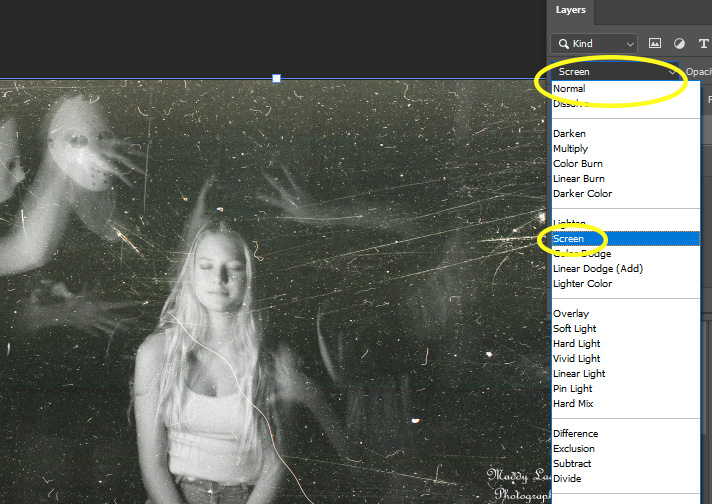
Step 5
- Go to the Layers Pallet
- Click where it says Normal
- Change it to Screen
- Click where it says Normal
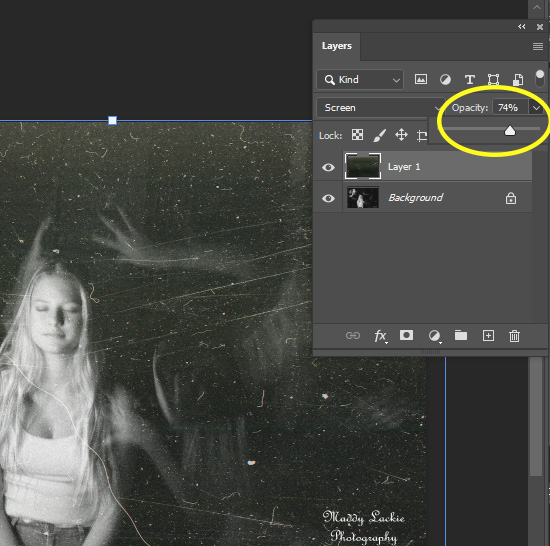
Step 6
- If the texture is to strong
- Move the Opacity Slider to the left
- Each photo will be different in how much to change the Opacity
- Move the Opacity Slider to the left
Step 7
- Flatten Image
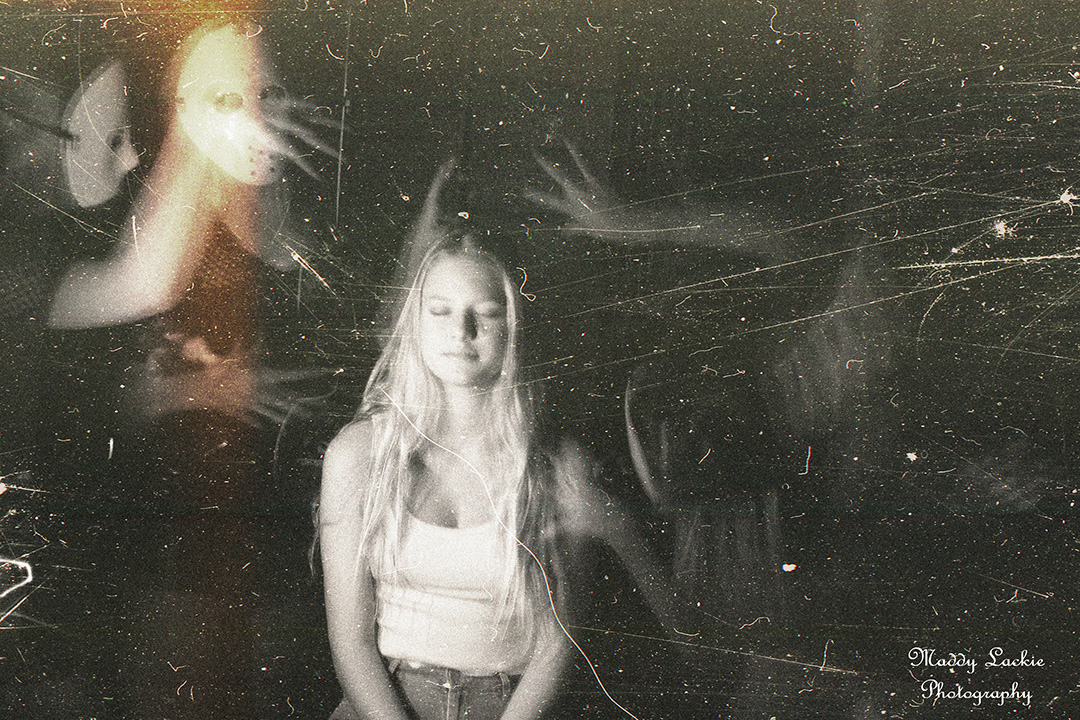
- You may stop now, add your logo and save your image
or
- Continue to the next steps and take your ghost edit to the next level!

Step 8
- Save the texture below
- Open in Photoshop
Step 9
- Choose the Move Tool
- Click on the Texture
- Drag it onto the ghost photo
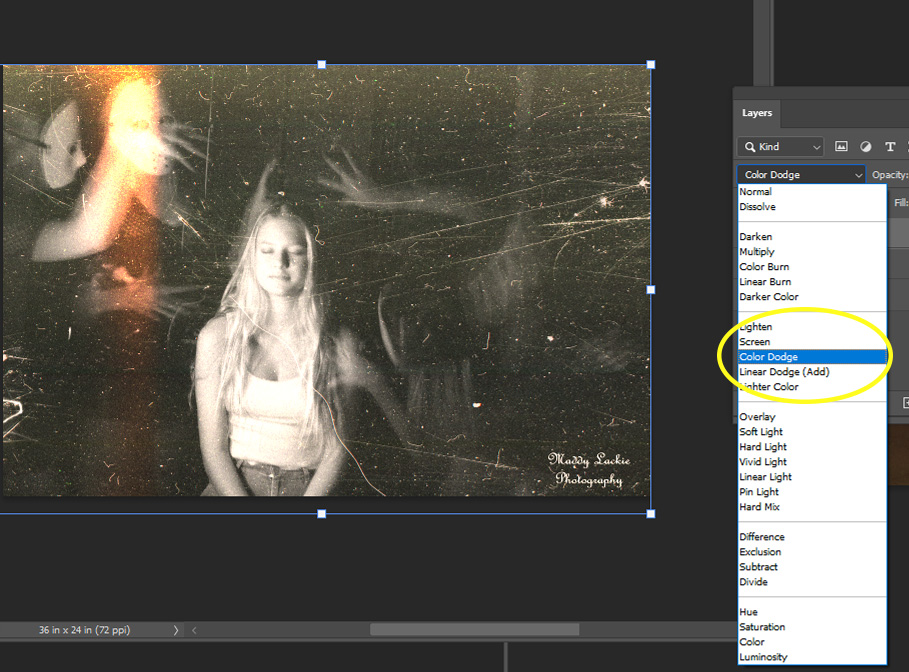
Step 10
- Go to the Layers Pallet
- Click where it says Normal
- Change it to one of the following overlays
- Lighten
- Screen
- Color Dodge
- Linear Dodge
- Lighter Color
- Change it to one of the following overlays
- Click where it says Normal
Step 11
- If the texture is to strong
- Move the Opacity Slider to the left
- Each photo will be different in how much to change the Opacity
- Move the Opacity Slider to the left
- Add Logo
- Flatten Image