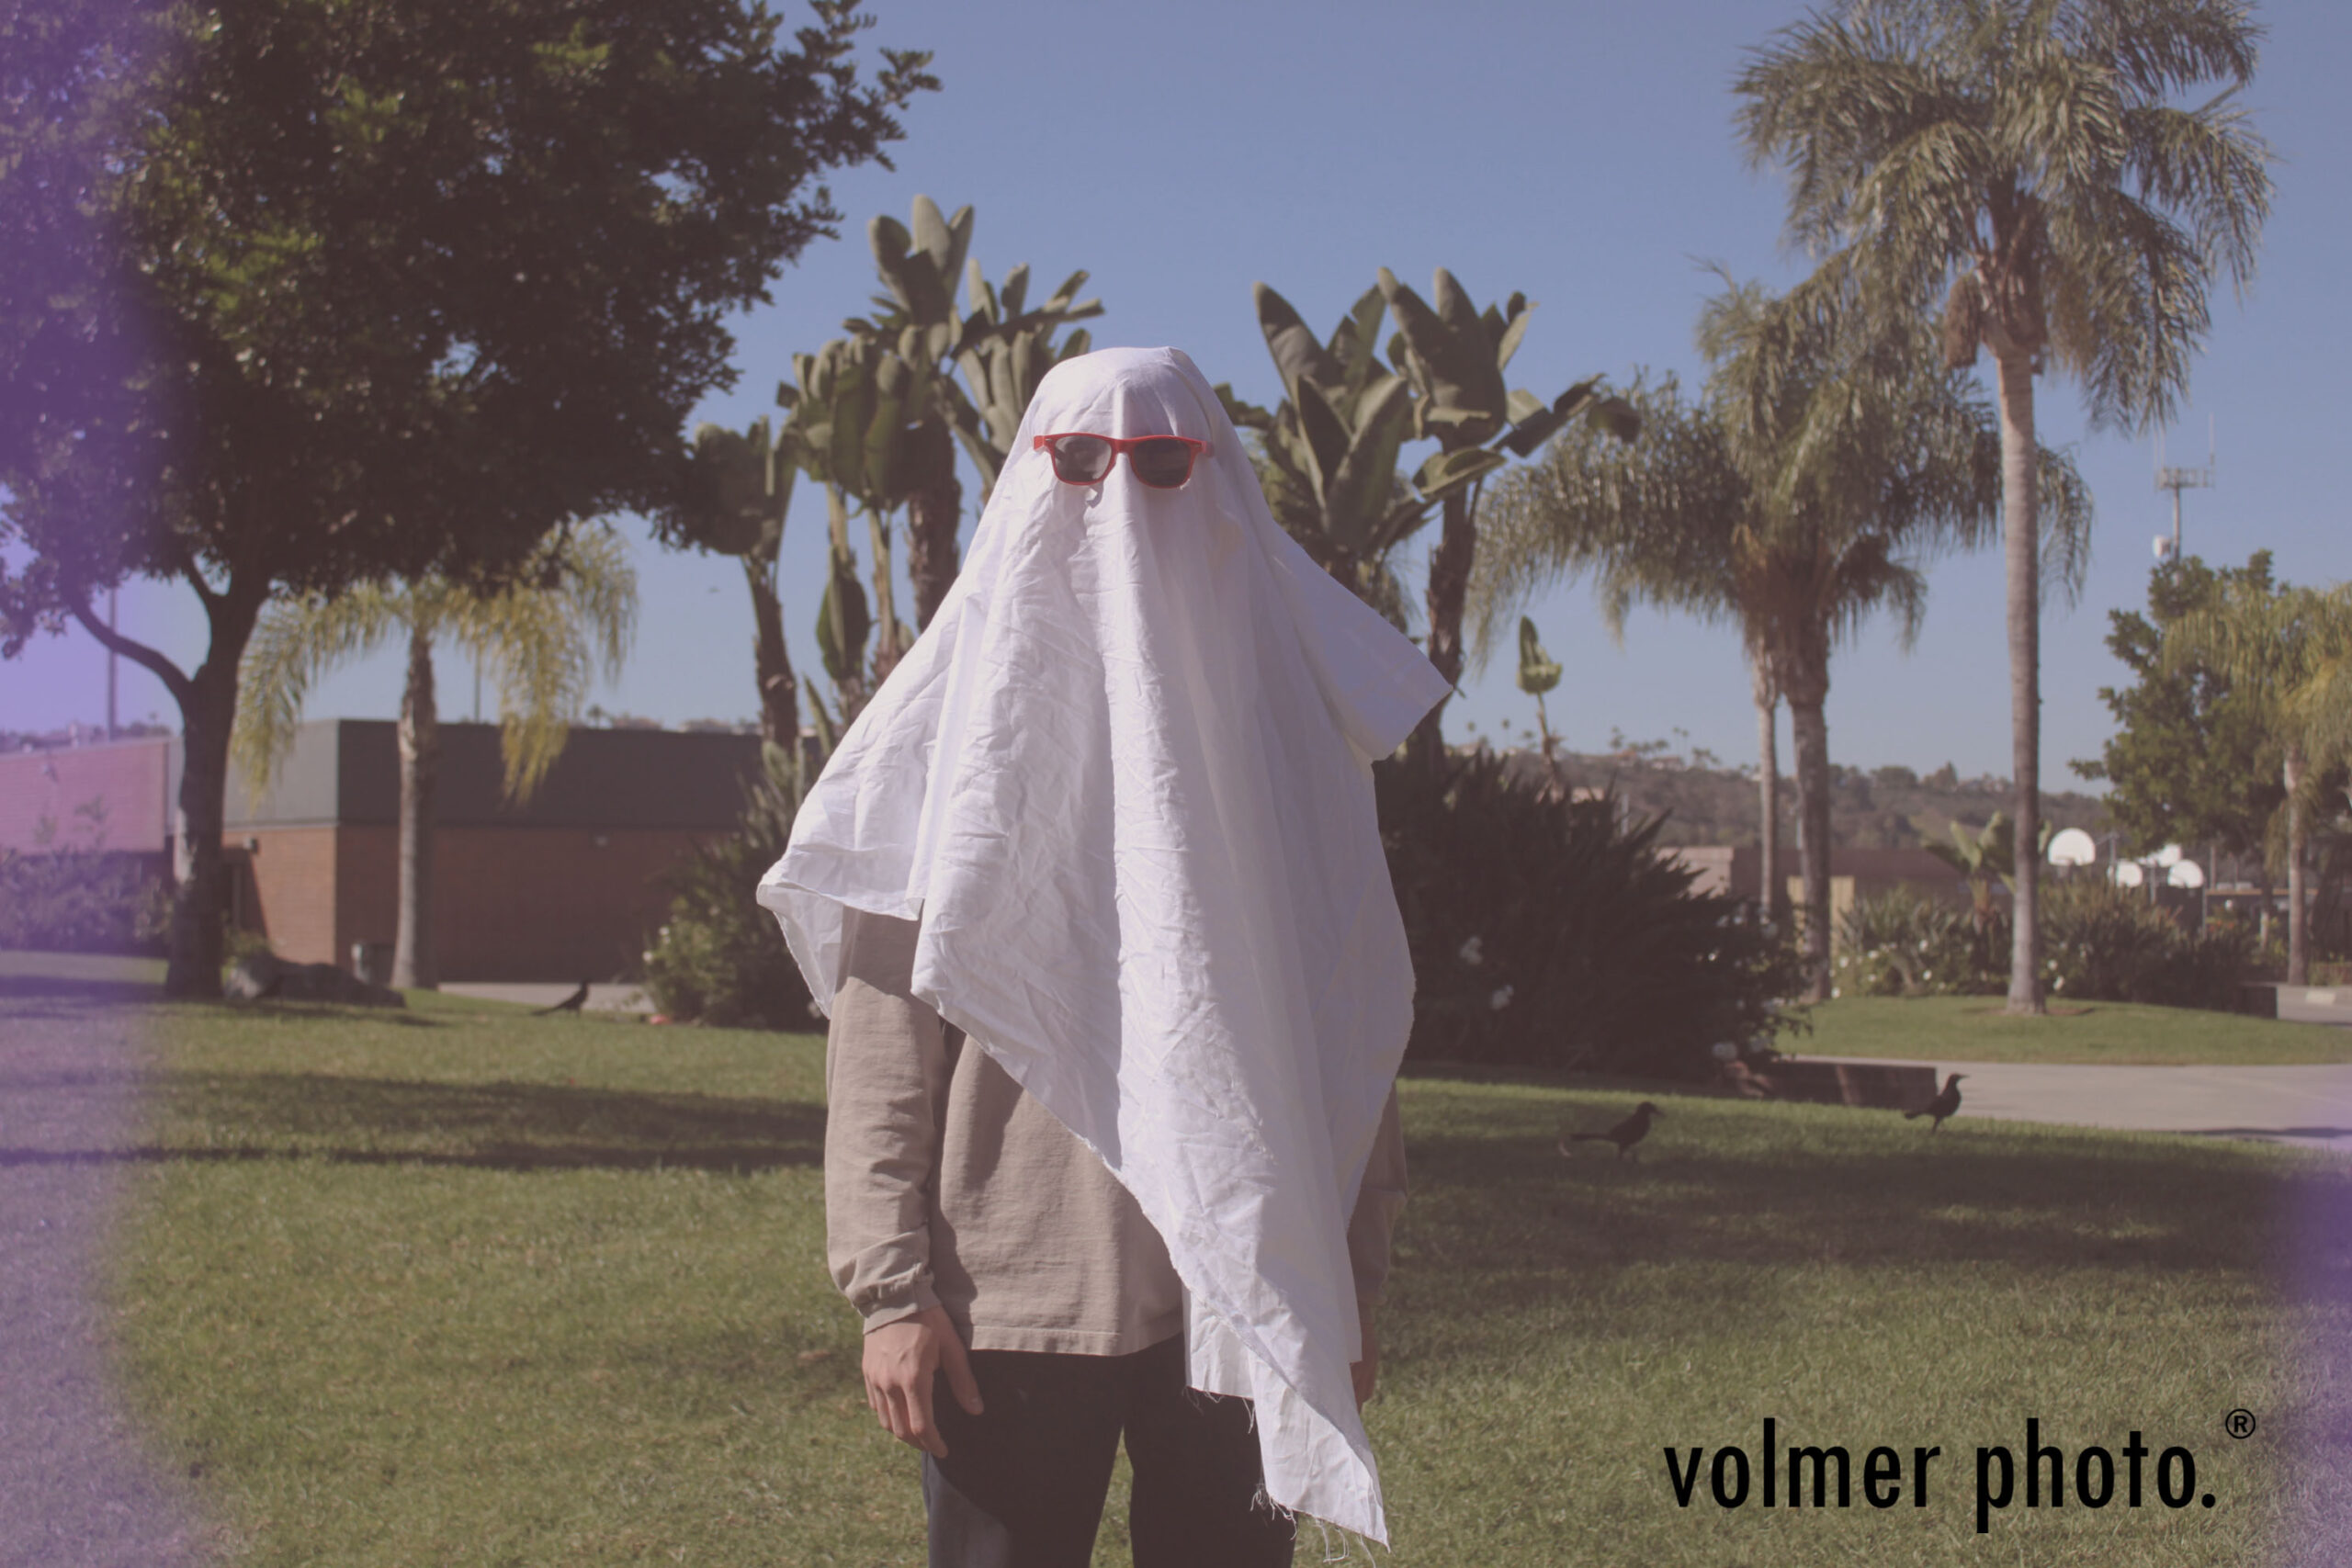
Photography Section:
- This photo can be funny or scary
- Make sure you are in a shaded area or inside
- These do not work in direct sunlight
- Turn dial to AV (aperture)
- Set to F/10
- Have the person move in a couple different positions as you take the photos
*****If you would like to take this photo off campus and bring it in to edit you may do this*****
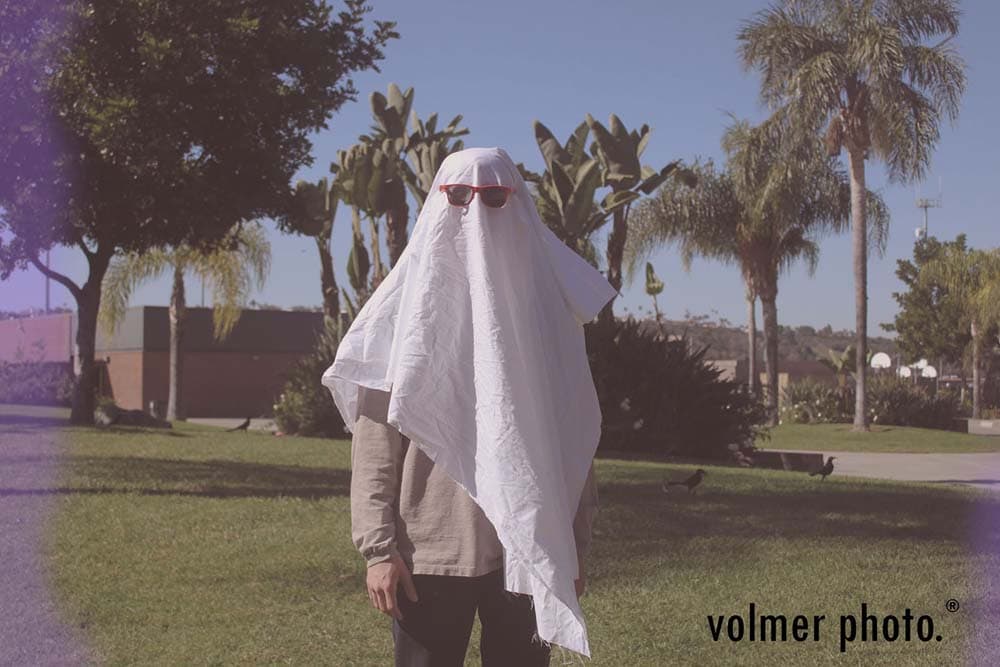
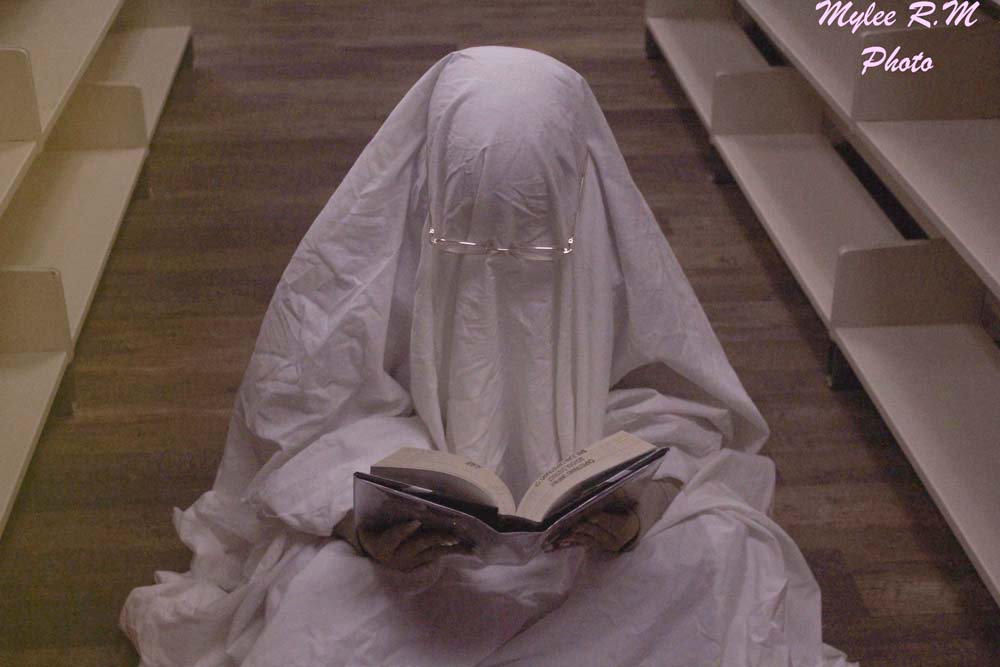
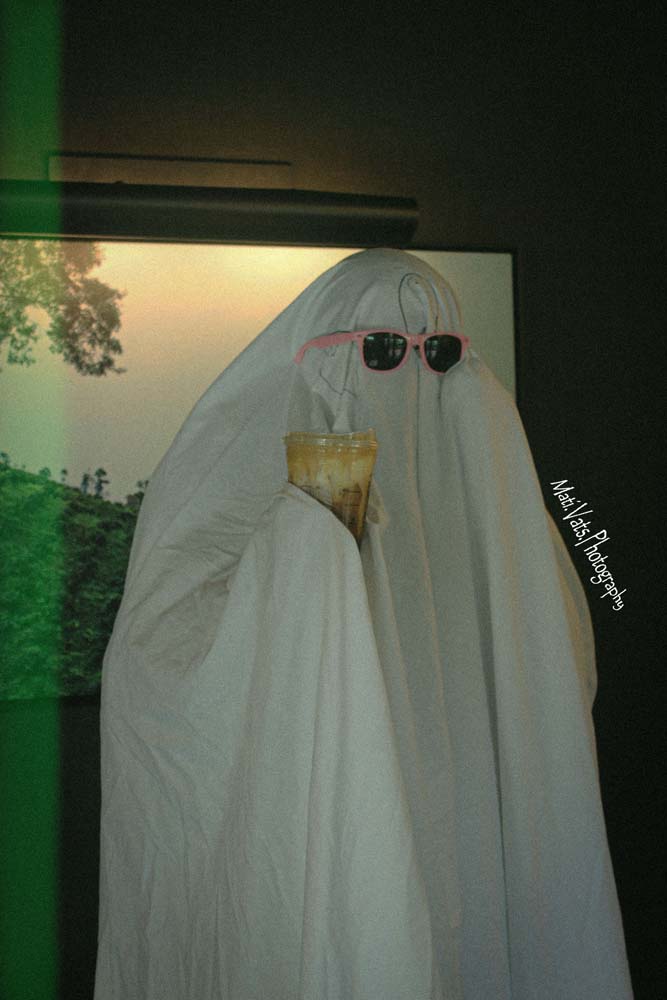
Editing
- We want the photos to look like film with an edge of 1980’s
- Any of the below steps can be altered to fit the photo. Each edit will be slightly different depending on your image
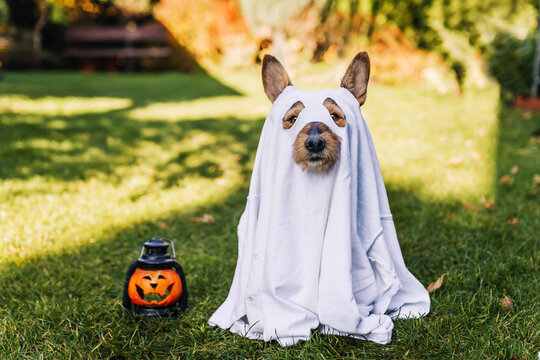
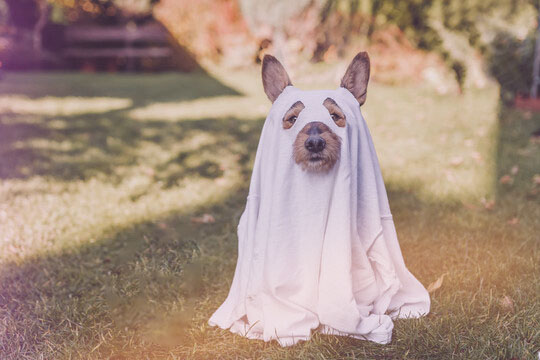
Step 1:
- Click on the Adjustments circle at the bottom of Layers Pallet
- Pick Brightness/Contrast
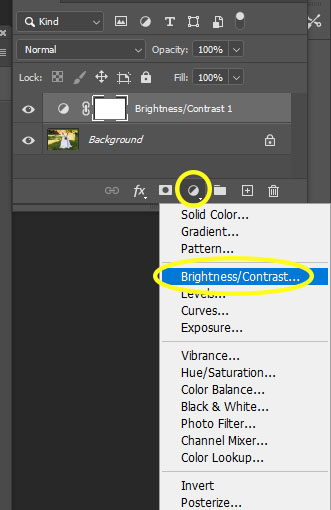
Step 2:
- Move the Brightness slider so that your photo isn’t to dark or to light.
- Decrease the Contrast -5 to -17
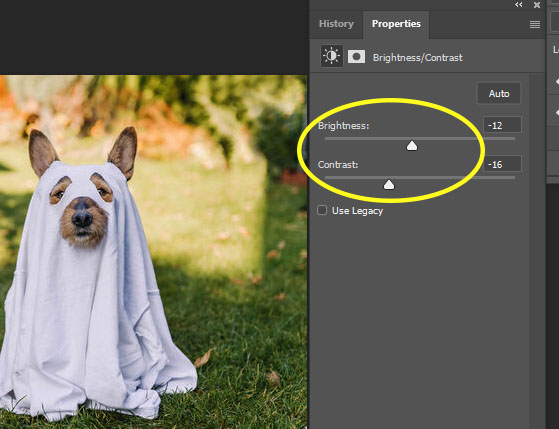
Step 3:
- Click on the Adjustments circle again (bottom of Layers Pallet)
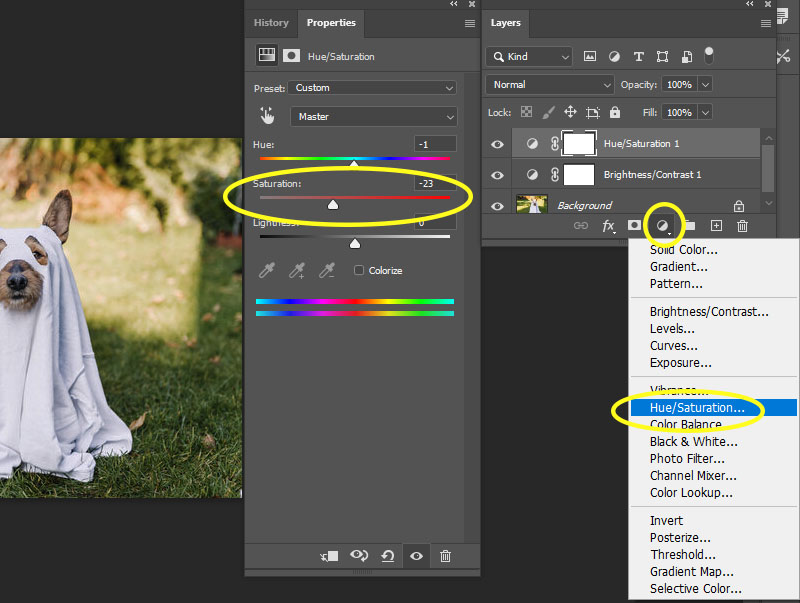
- Pick Hue/Saturation
- Lower the Saturation between -12 to -24
- You want color in the photo but have it muted
- Lower the Saturation between -12 to -24
- Pick Hue/Saturation
Step 4:
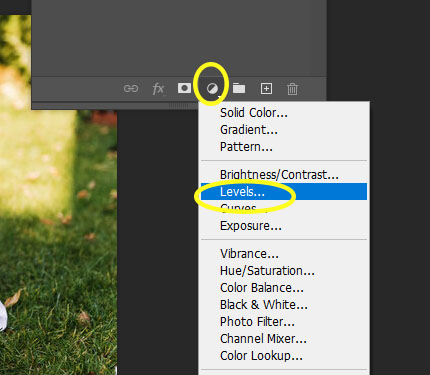
- Click on the Adjustments circle again (bottom of Layers Pallet)
- Pick Levels
Step 5:
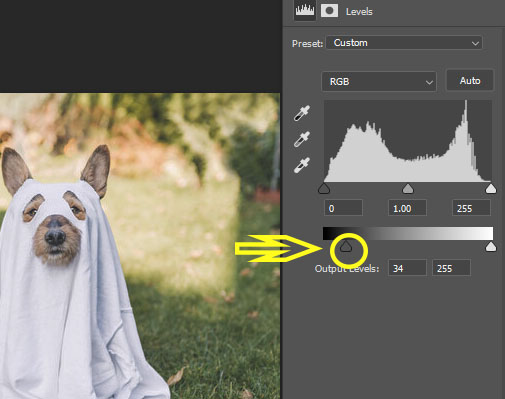
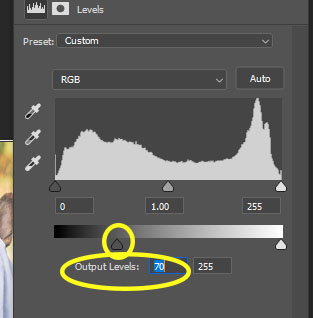
- Click on the Left Arrow on the black/white bar area
- SLIGHTLY move the Left Arrow to the right
- Make the Output Levels between 20-70
- SLIGHTLY move the Left Arrow to the right
Step 6:
- Click on the Adjustments circle again (bottom of Layers Pallet)
- Pick Color Balance
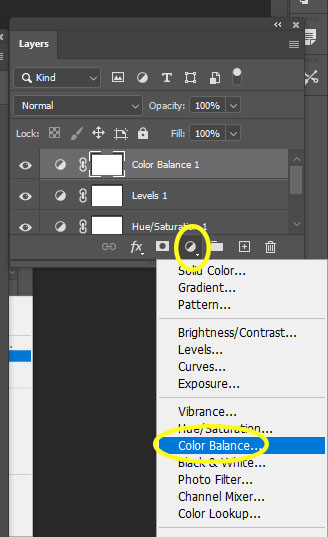
Step 7:
- Click on the Adjustments circle again (bottom of Layers Pallet)
- Pick Color Balance
- Move the sliders around until you achieve the fadded 80’s film look
- Everyones photo will look different at this point
- Move the sliders around until you achieve the fadded 80’s film look
- Pick Color Balance
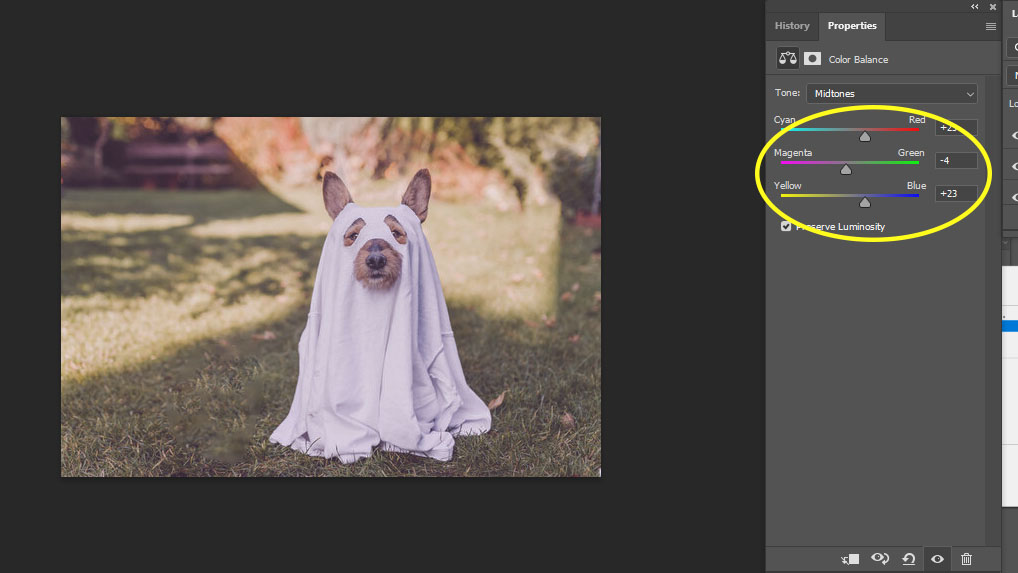
Step 8:
- At the top of Photoshop
- Go to Layers
- New
- Layer
- New
- Go to Layers
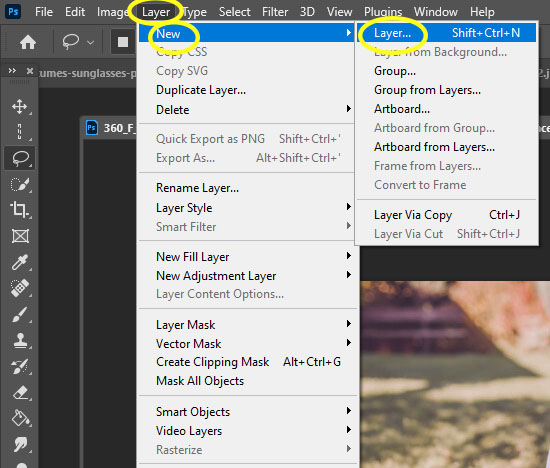
Step 9:
- Name it Color 1
- Click OK
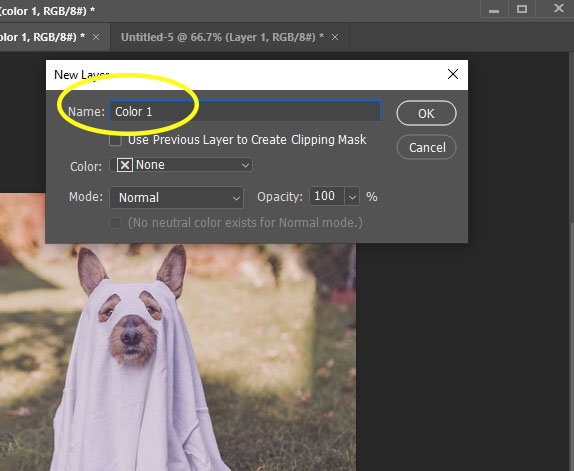
Step 10:
- Pick the Brush Tool
- Go to the top of Photoshop
- Change the Flow to 30%
- Go to the top of Photoshop
- Click on the Colored boxes at the bottom of the Tools Panel
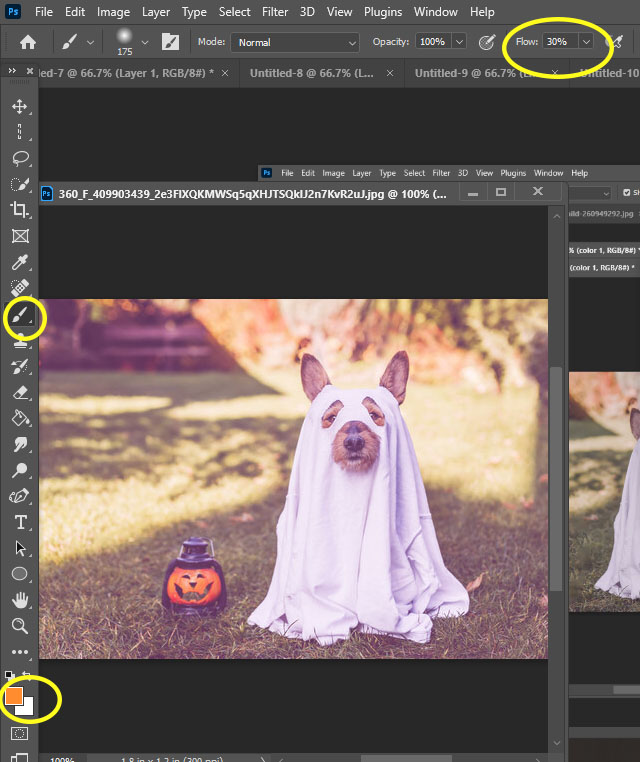
Step 11:
- Pick any color you would like
- Make sure the two white arrows on the color bar are at the top
- Click OK
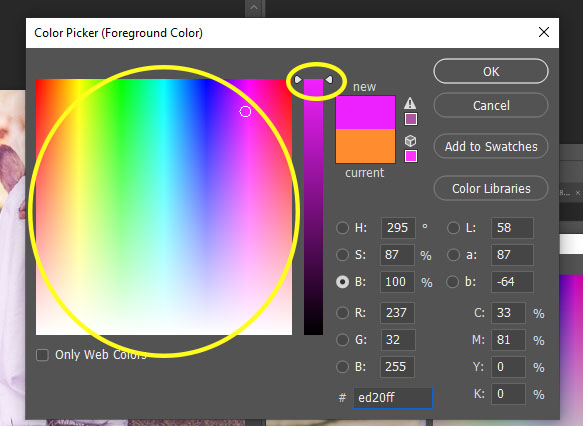
Step 12:
- Make sure you are still on Color 1 Layer
- Paint a small area on the far left side
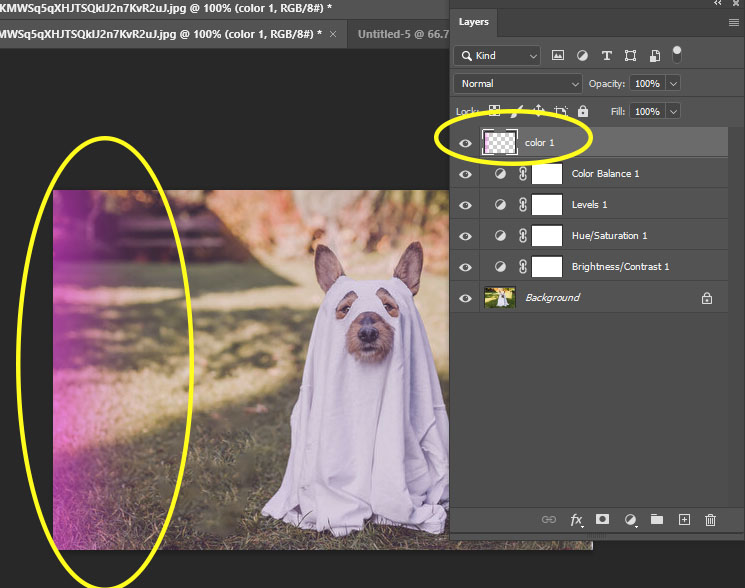
Step 13:
- Pull the Opacity down
- Between 75-30
- Each photo will be different
- Between 75-30
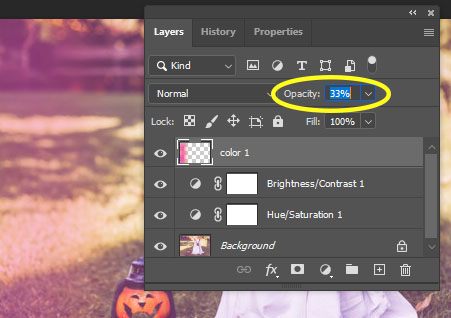
Step 14:
- At the top of the Layers Pallet
- Change Normal to Screen
- Flatten Image
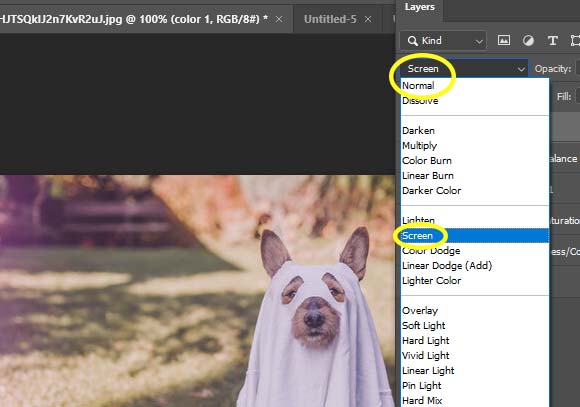
Step 15:
- Optional Step…..This is NOT required..
- If you would like to add another line of color
- Repeat Steps 8 through 14

