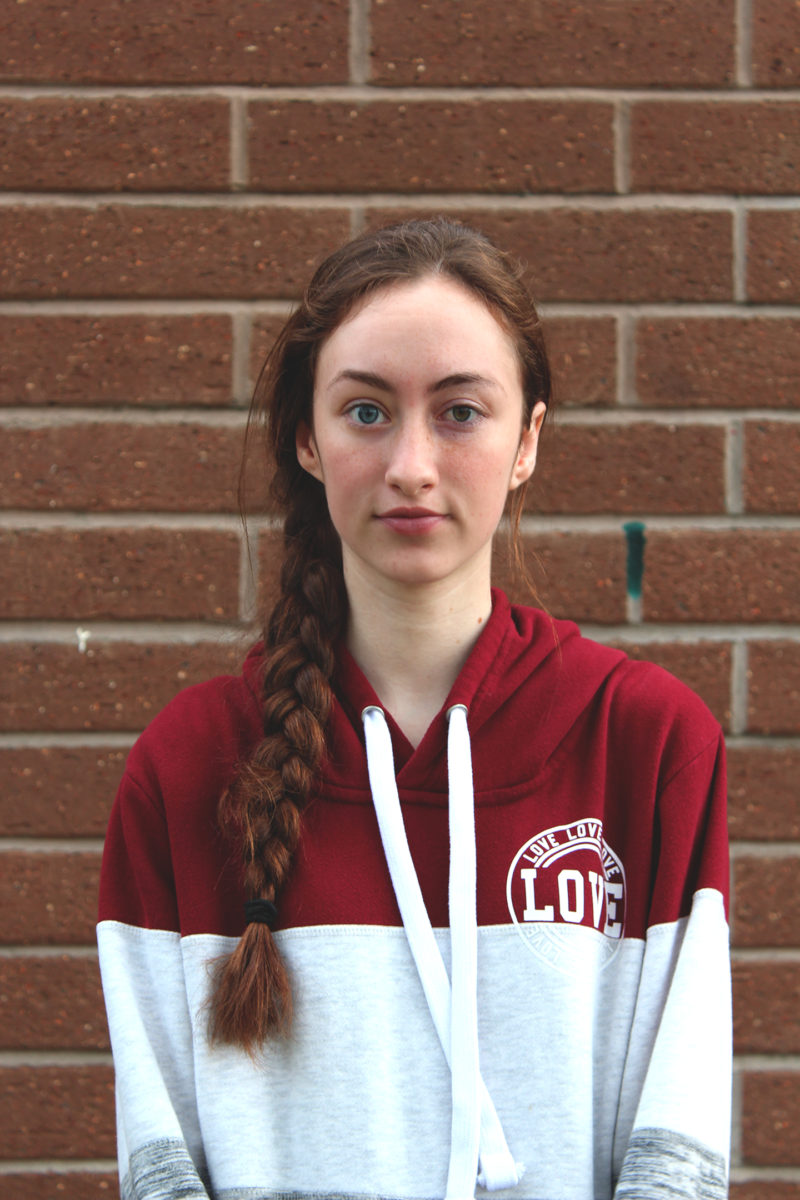
Photograph:
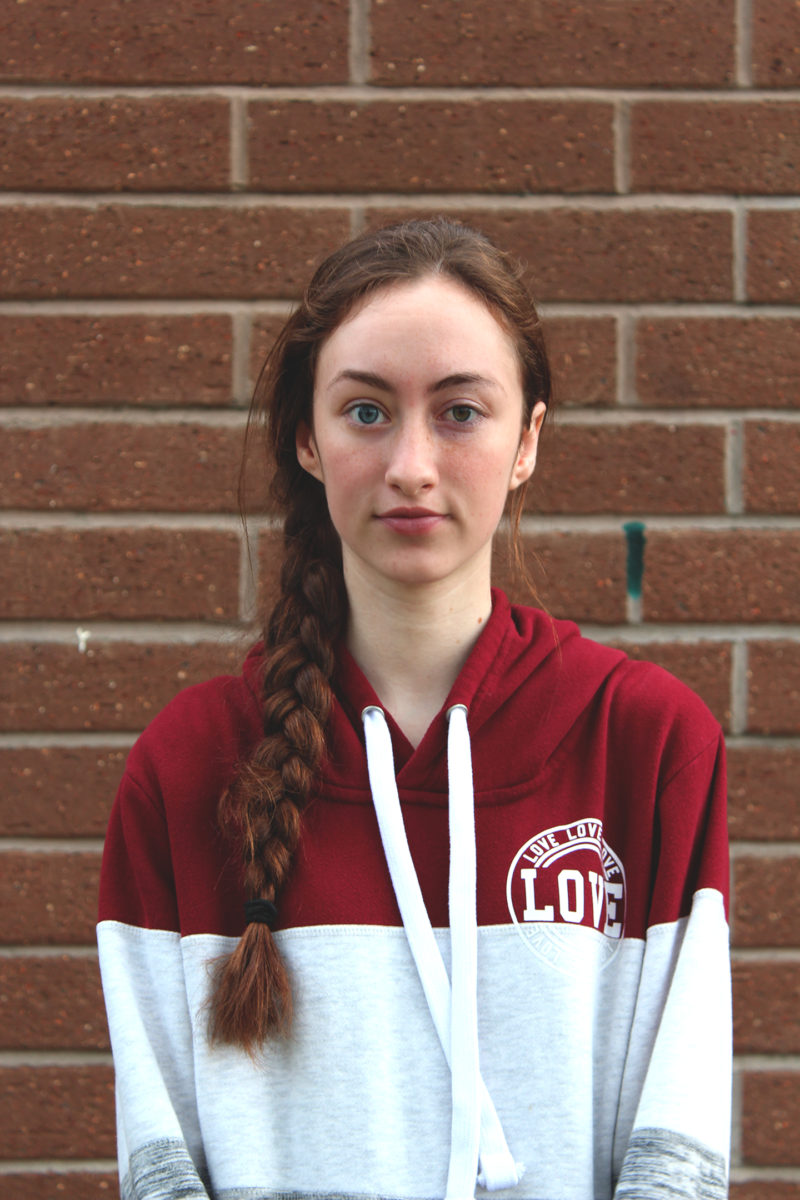
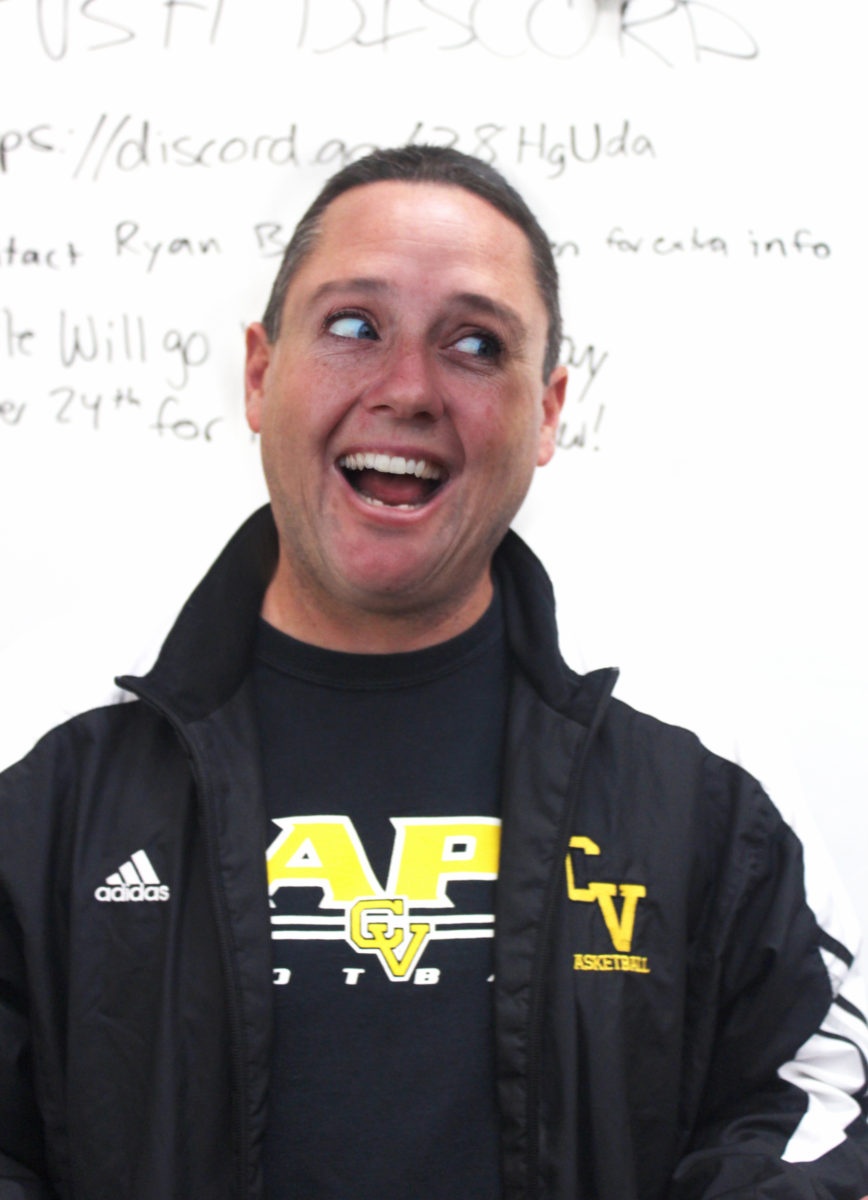
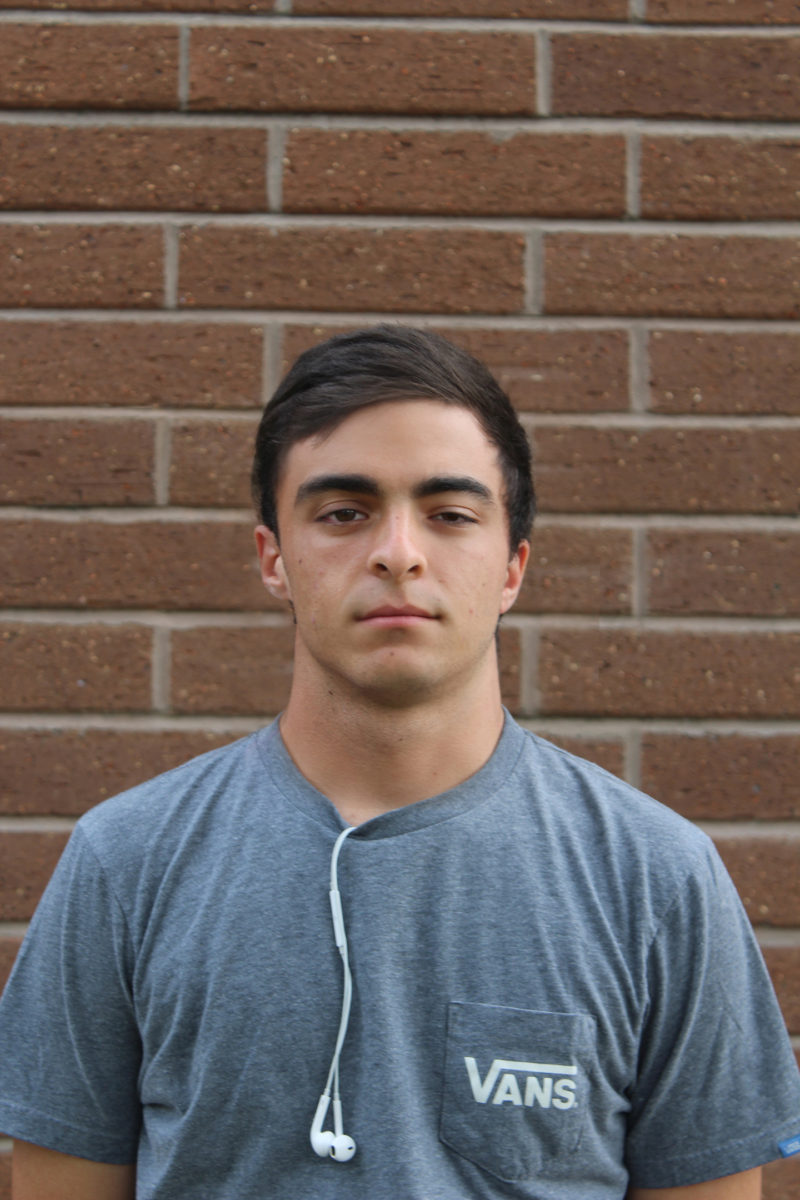
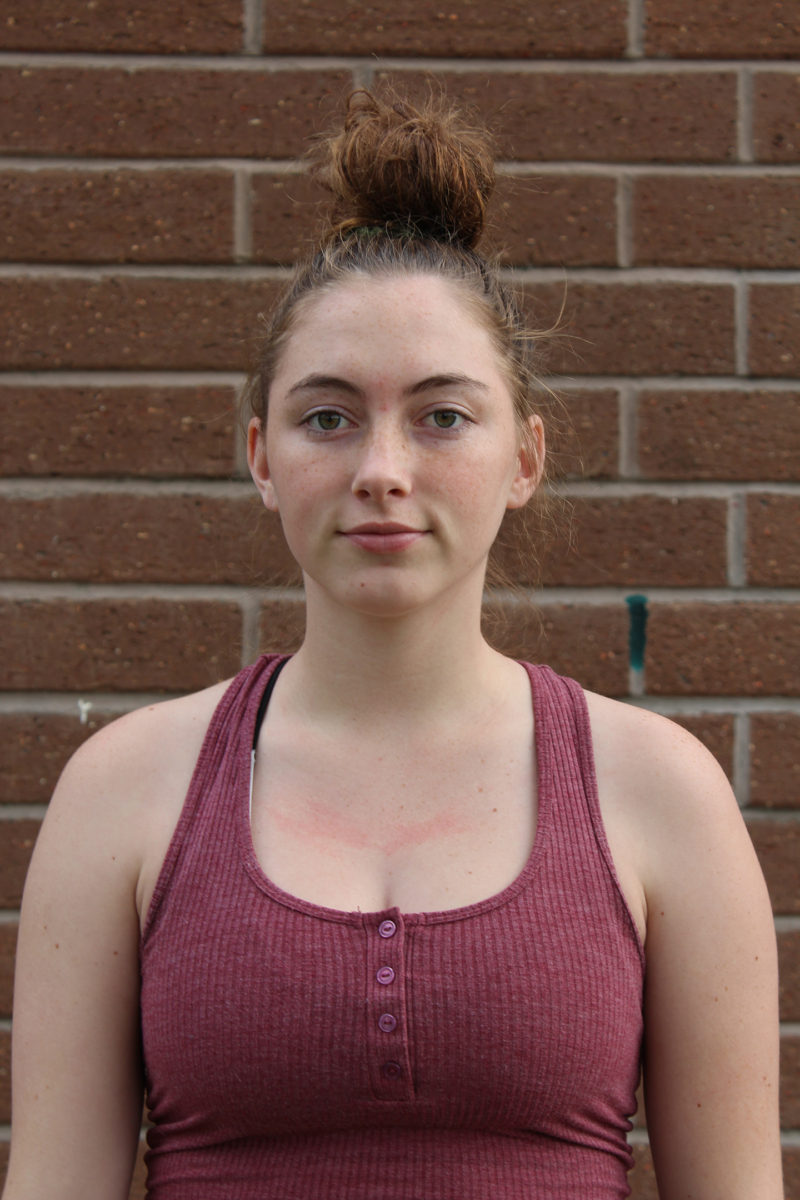
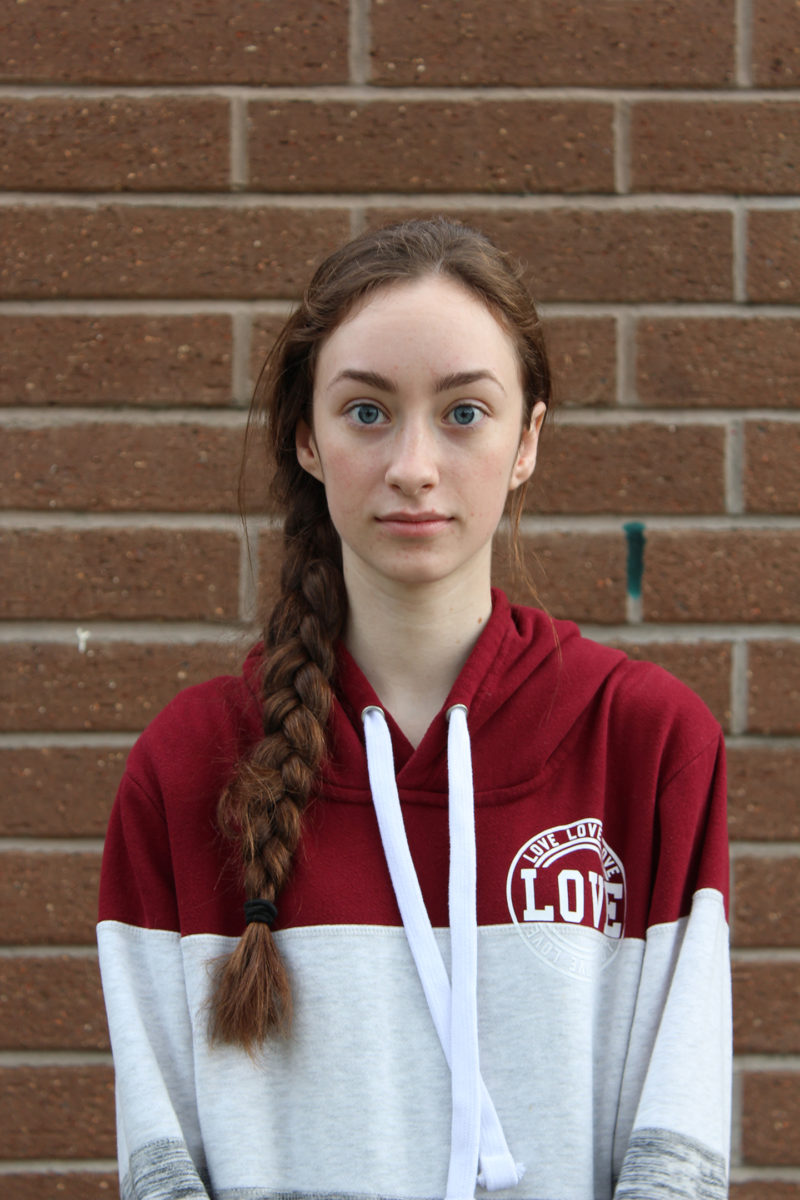
- Take a photo of two people facing straight ahead.
- Have them in the same location
- Make sure they have the same facial expression (ex. both smiling, both frowning)
Photoshop:
Step 1:
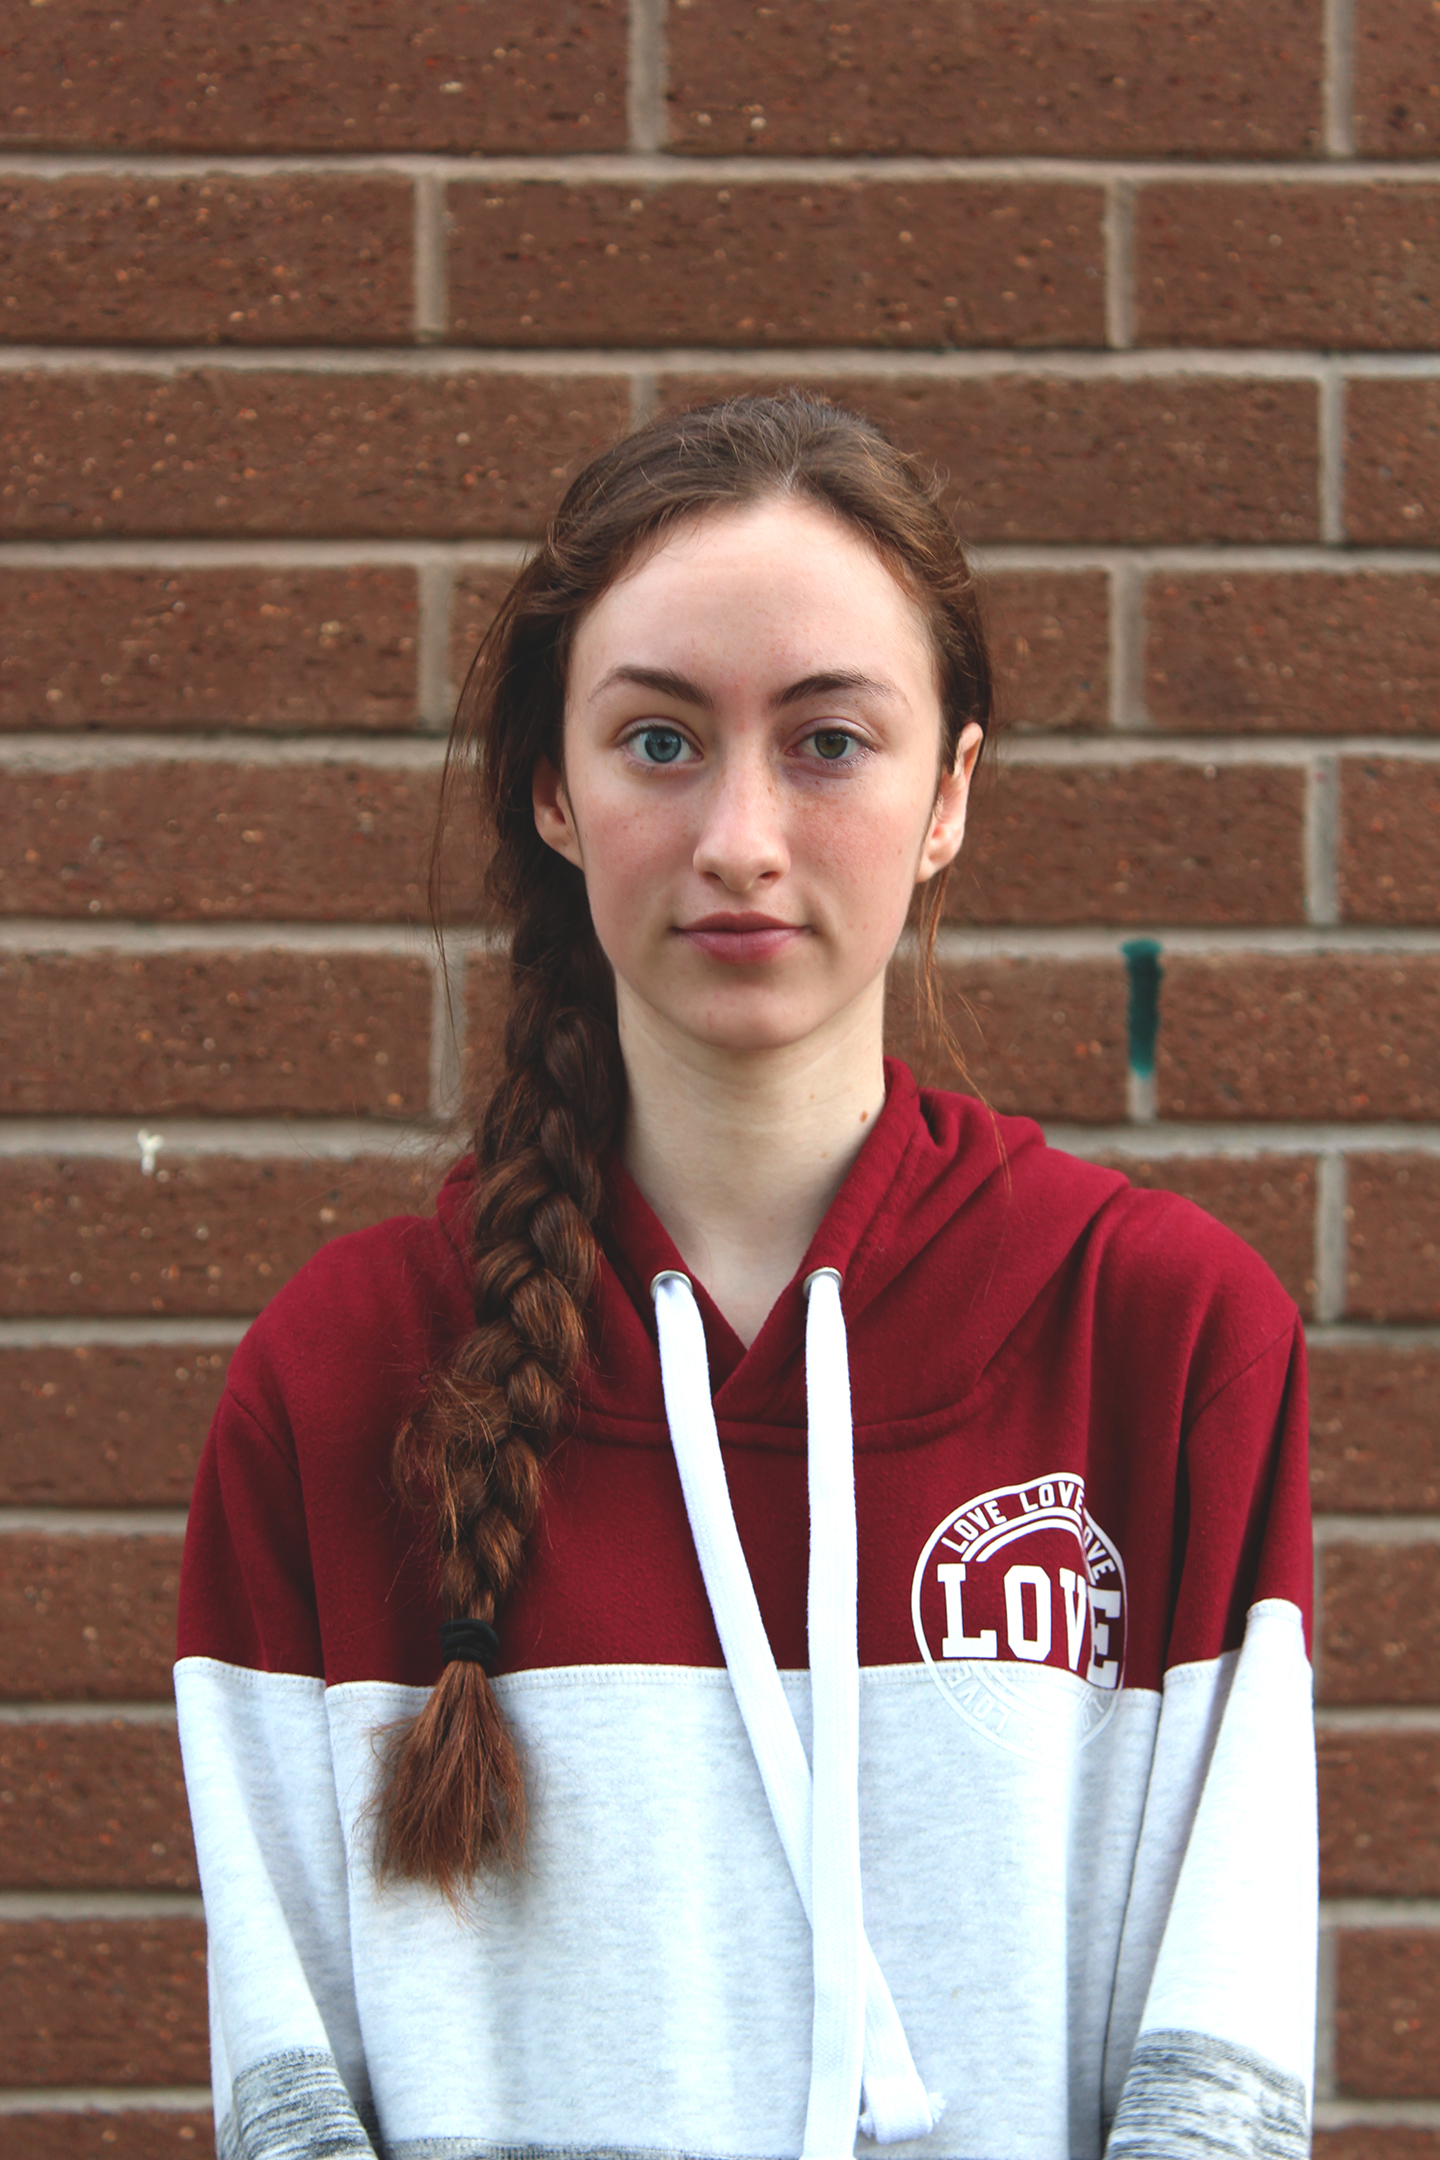
- Pick which photograph will be your main image. For the example I will be using the girl with the long braid.
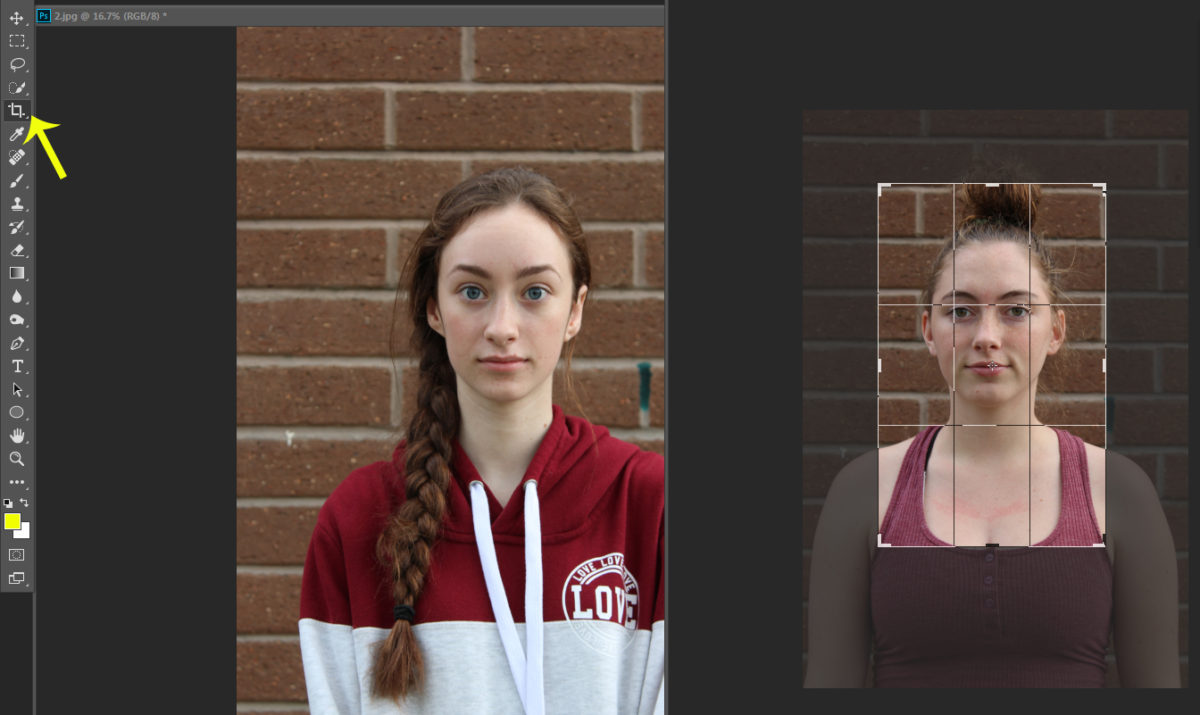
- Crop the photo of the other person. Leave room around them.
Step 2:
- Drag your cropped photo onto to your main photo
- Pull down the opacity so that you can see both images

Step 3:
- Click Control-T so you can change the size of the photo
- Move your top face so that the eyes, nose and mouth are lined up
- This takes a bit of work. Dont rush it or get frustrated.
- It will not be 100% perfect. Just get it as close as you can to them being lined up.
- Click Enter when you are done.
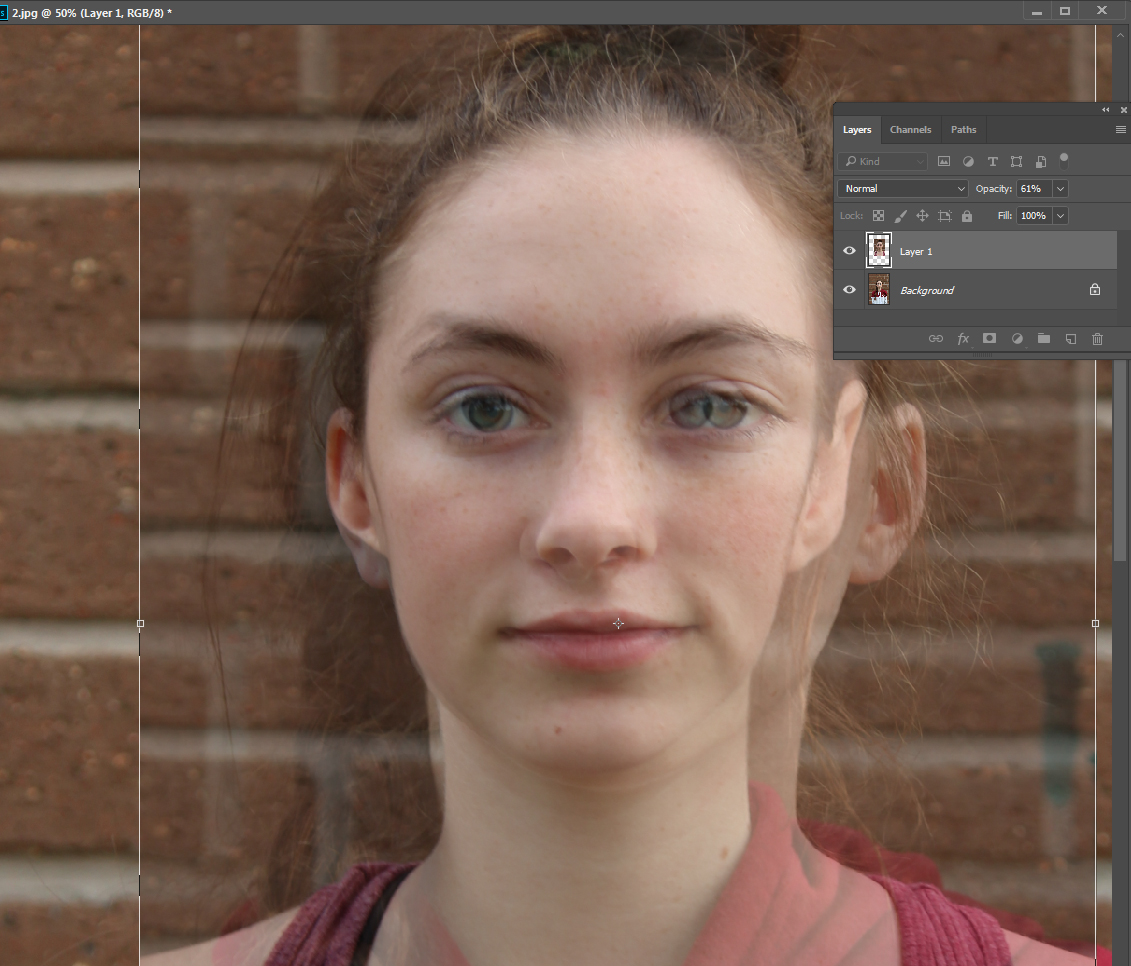
Step 4:
- Pull the Opacity back to 100%

Step 5:
- Add a Mask on Layer 1
- Click on the brush tool, making sure you have Black picked for the color
- Pull the Flow down to 5%

Step 6:
- Start to paint out one of the eyes.
- Keep clicking the paint brush until the under eyes emerges completely

Step 7
- Start to remove either the nose or mouth….Do NOT do both
- It’s also fun to remove the top lip and leave the bottom lip
- Slowly and carefully paint of small areas of the face.

Step 8:
- When you are done with the face, move the Flow back up to about 50%
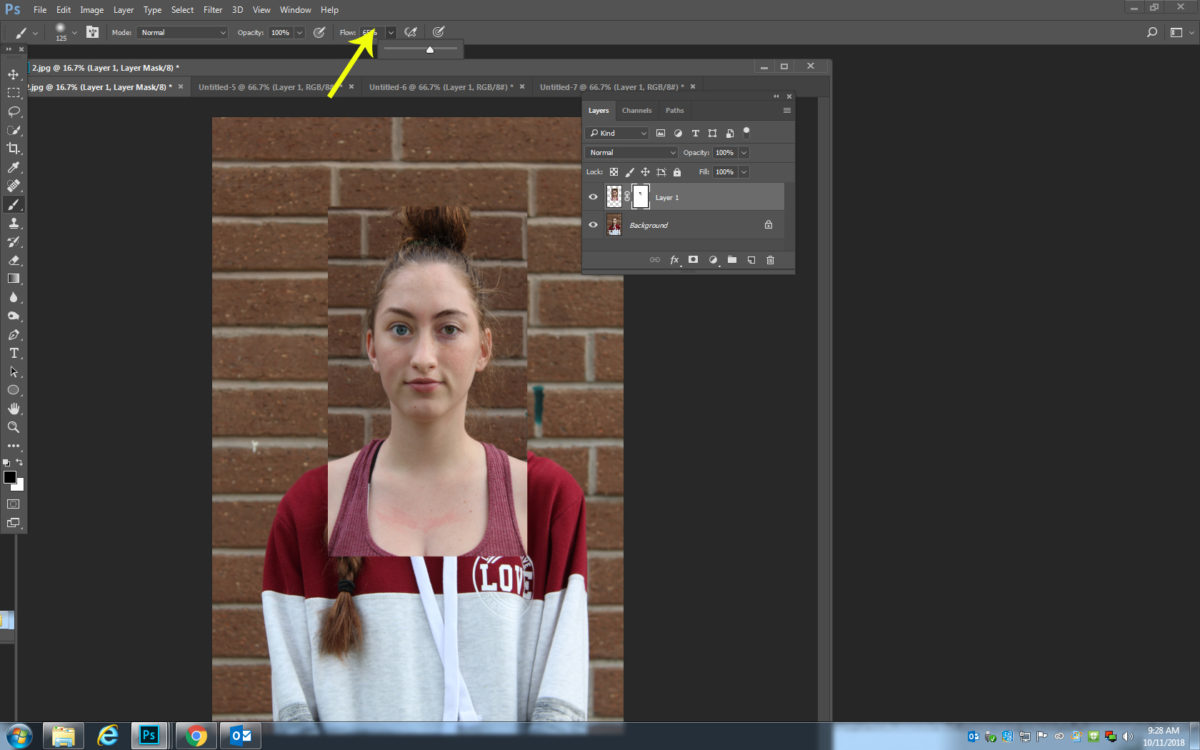
Step 9:
- Paint out the hair, shirt, neck and background

- Your photo should look similar to the one below at this time.
- If anything doesn’t look correct, flip your brush to White and paint back in parts.
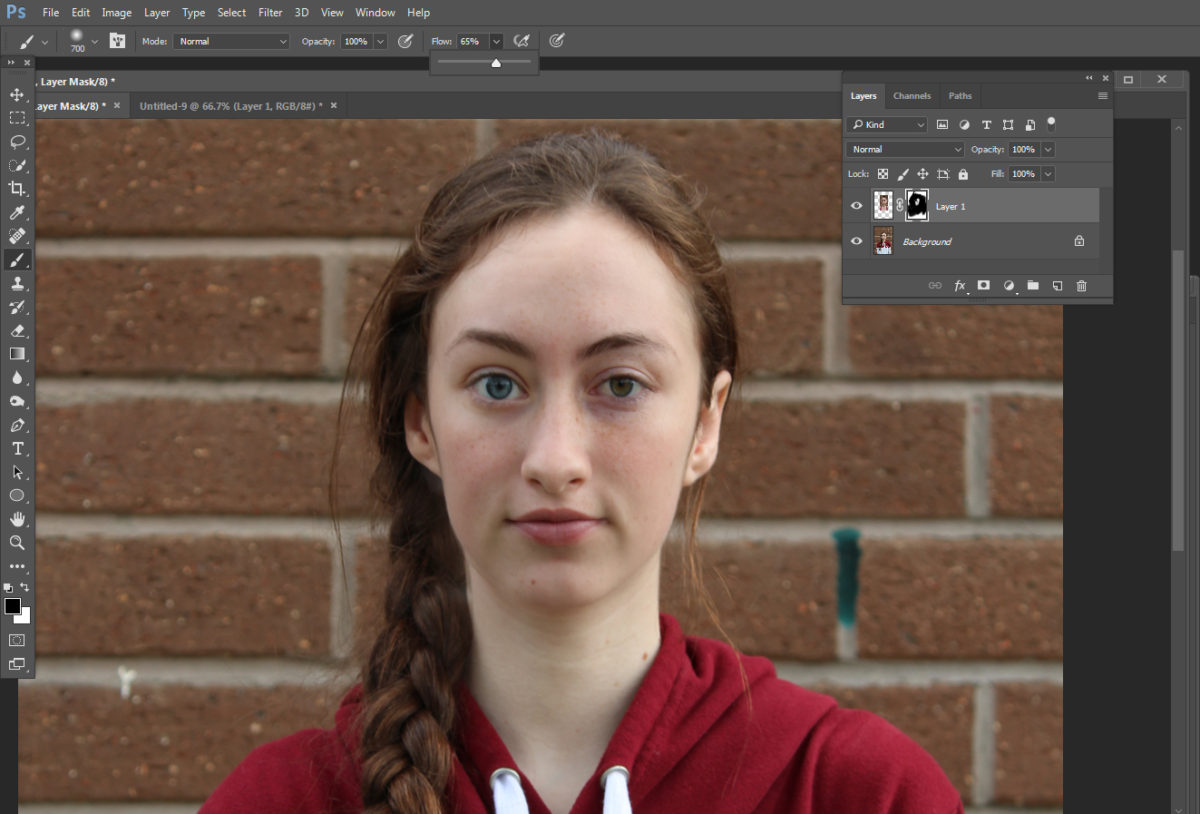
Step 10:
- Merge your two layers into one (right click on background layer, Merge visible)
- Use the Clone Stamp tool to fix any areas in the background that do not align correctly or look off.
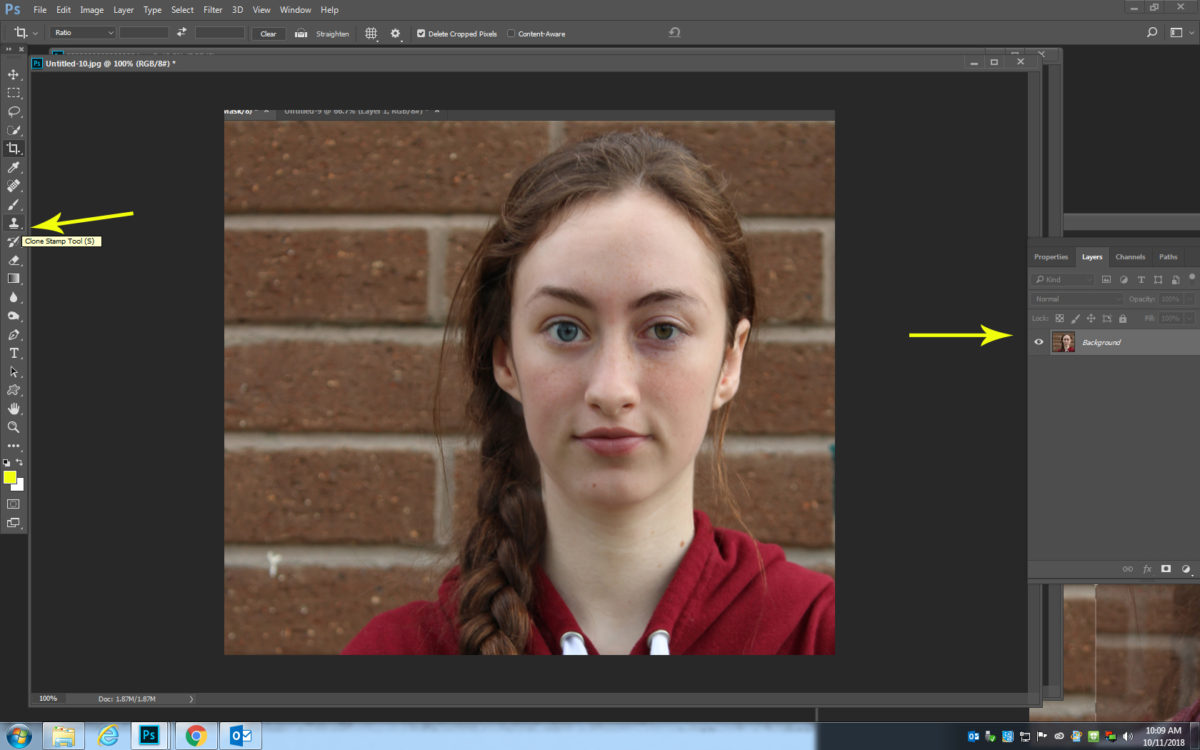
Step 11:
- Finished editing with the adjustments to create a finished photograph
