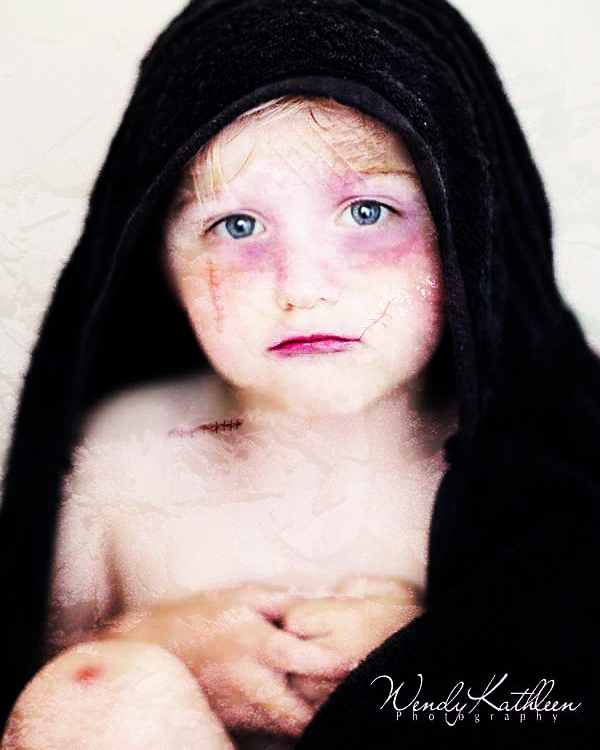
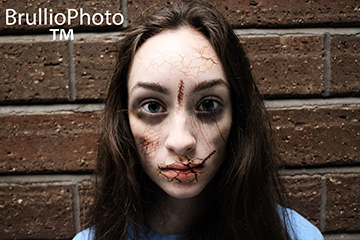
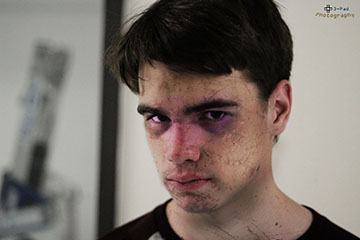
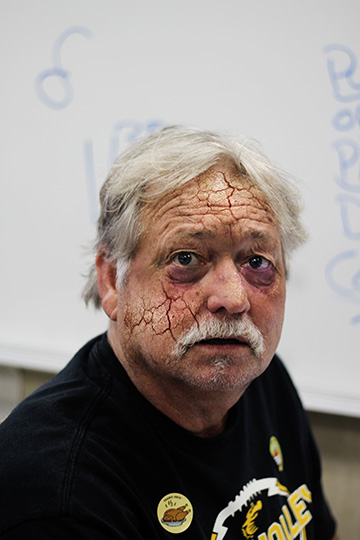
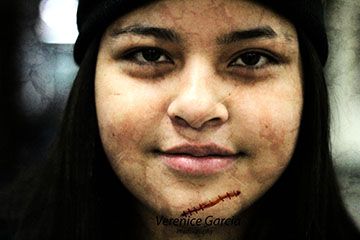
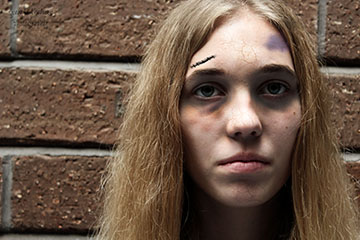
Wrong way to do the project
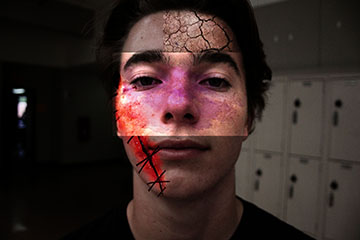
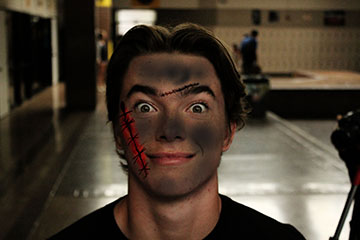
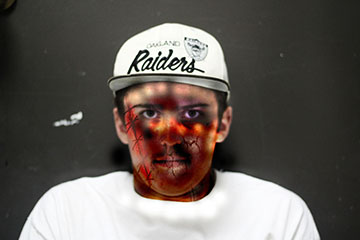
Zombie Instructions
Photograph: Take a close up photo of a person looking straight ahead.
- Make sure the eyes are in focus
- Do not have them smile
- Make sure that the light is even across the entire face
- Make sure that it is not to dark or light.
- If it is, quickly fix it before starting the project.

Step 1:
Turn your photo Black and White using the black/white circle at the bottom of the layers pallet
Step 2:
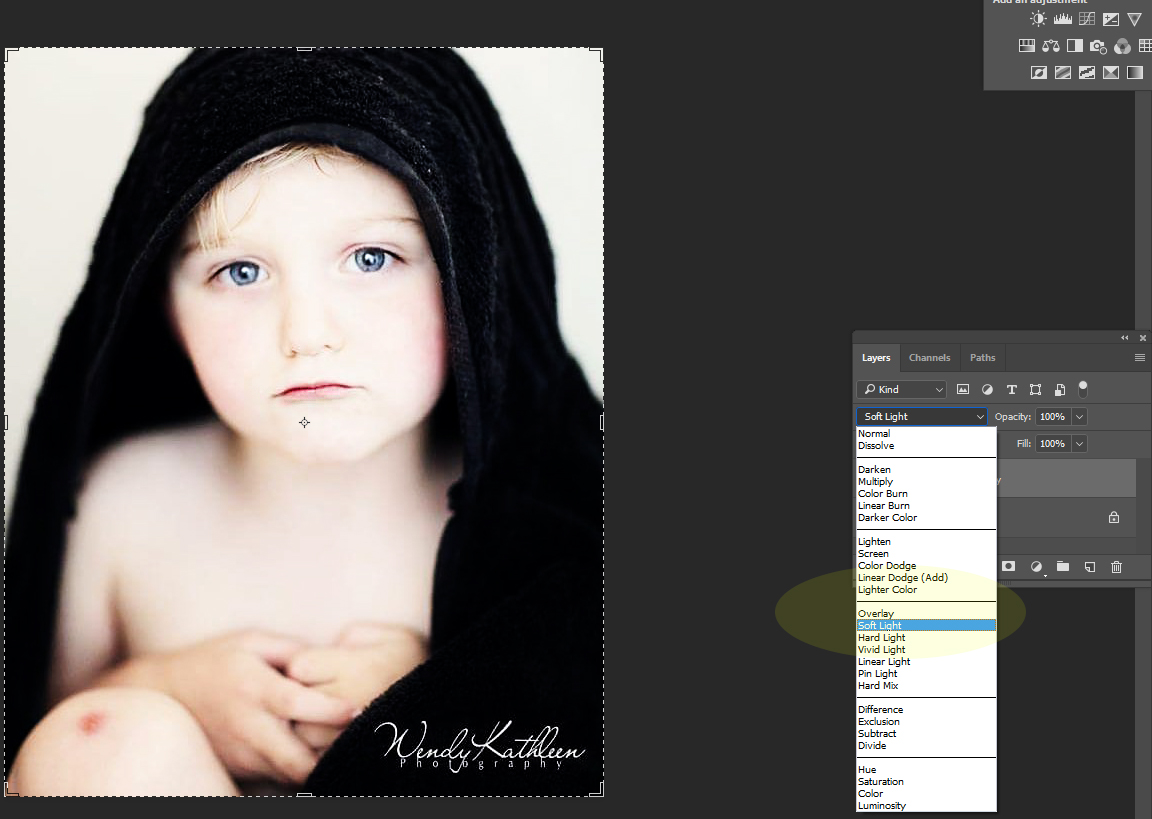
Where it says Normal at the topof the Layers pallet, change it to Soft Light
******* Flatten your image before the next step*******
Step 3:
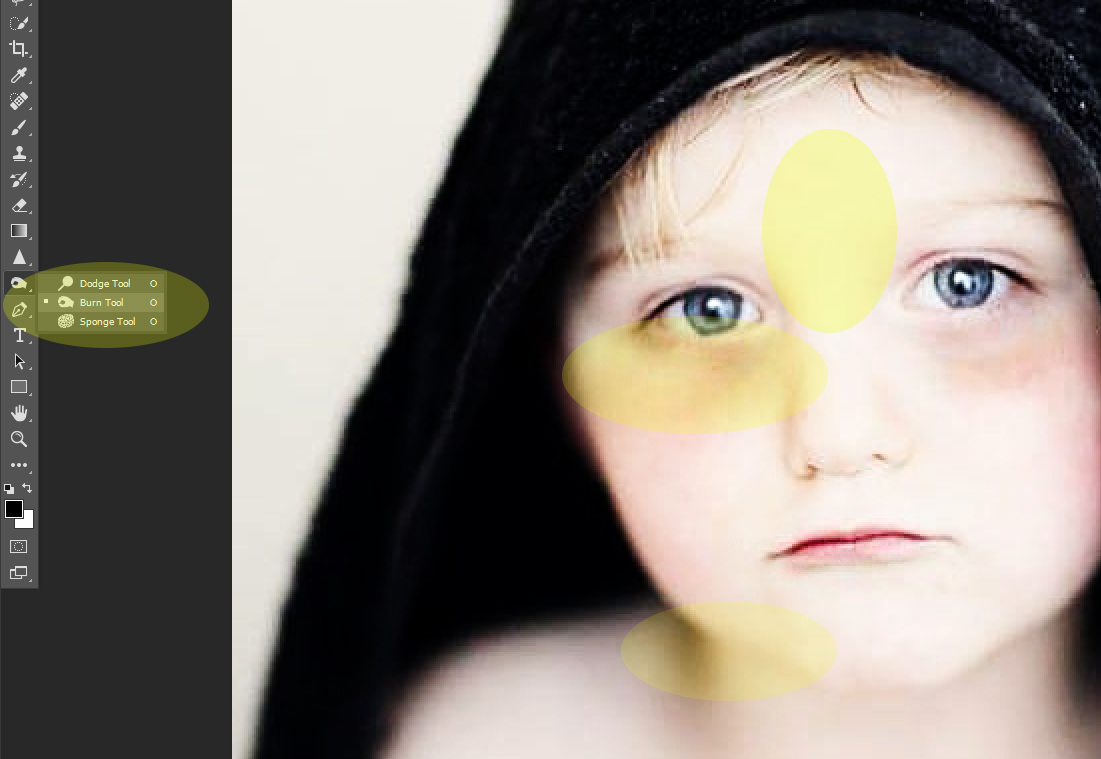
Right click on the Dodge Tool (lollipop looking tool) and pick the Burn Tool (white glove).
You will be slightly darken areas on the face
- Make sure you have a large brush size (about the size of the eyes)
- Slowly and carefully start Clicking with the burn tool
- The more you click the darker the area will look. (Do NOT over darken).
- Under the eyes
- Under Chin
- Any other area that you see that needs darkening
Step 4:
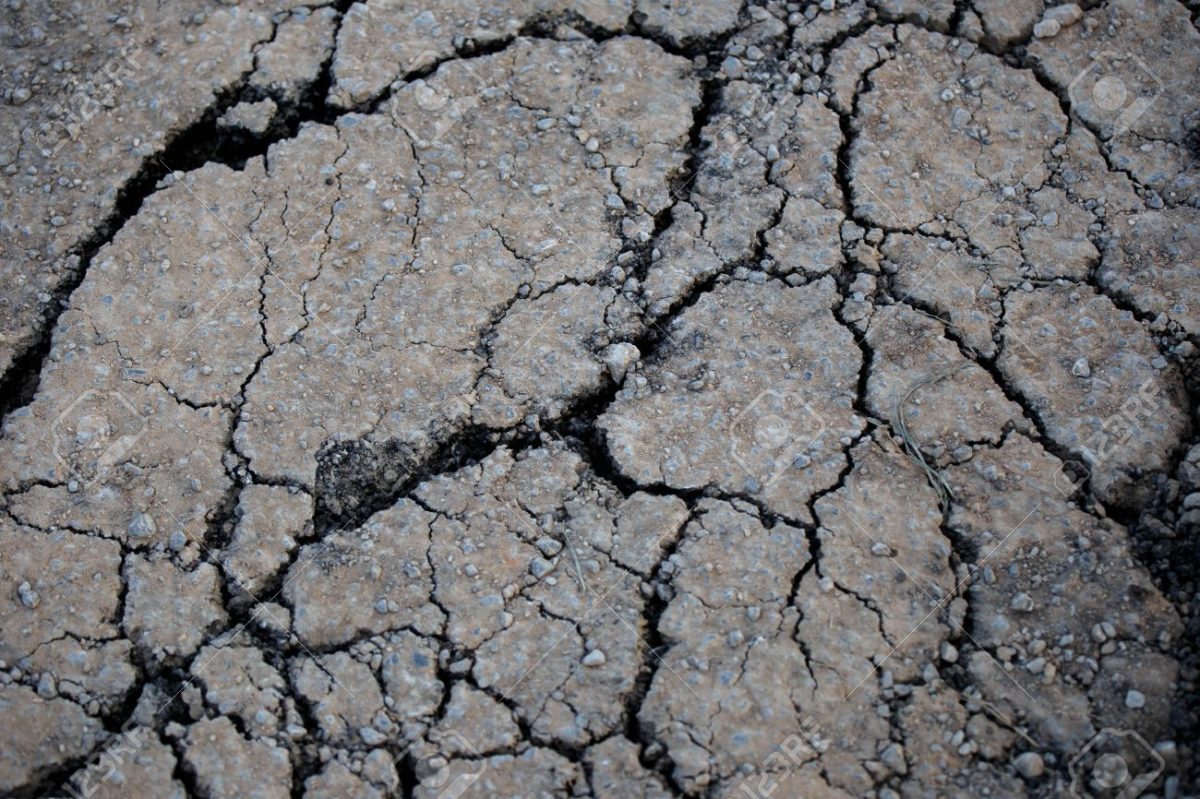
- Save the Texture Images


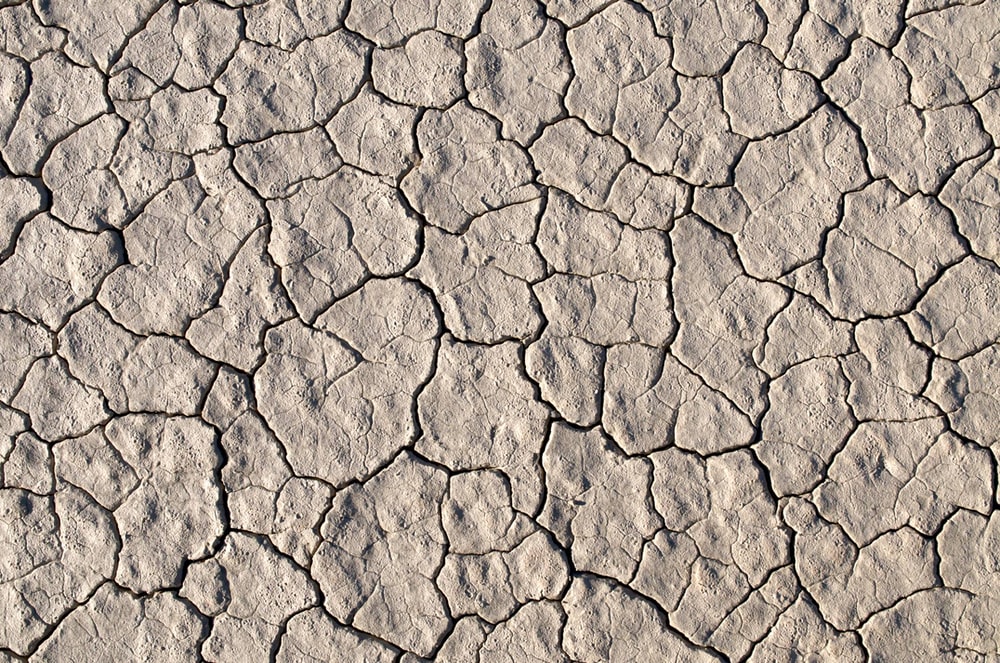
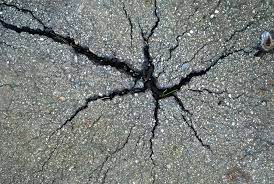
Step 5:
- Open one of them in Photoshop
- Drag one of the textures over the forhead.
- If it is to big or to small, click CONTROL T to change the size of the texture
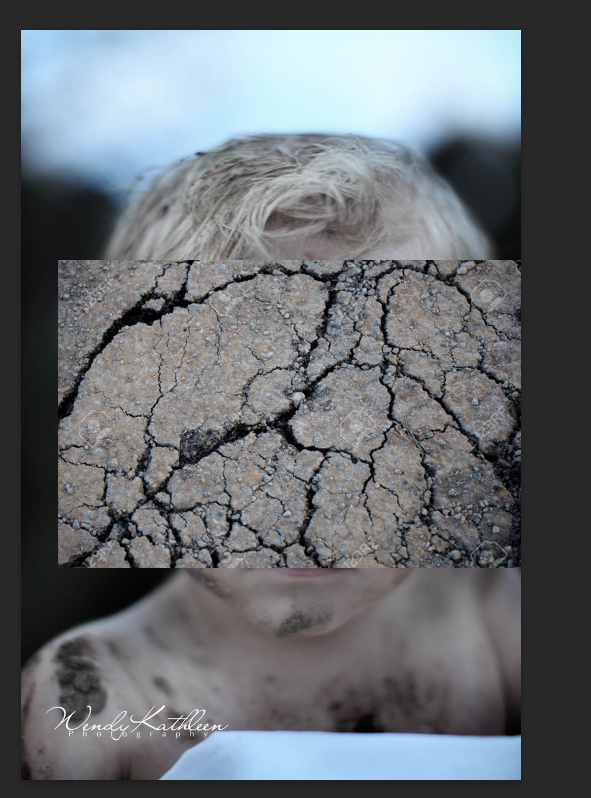
Step 6:
- At the top of the Layers Pallete where it says Normal it change it to one of the following overlays
- Soft Light
- If this doesn’t look good try another overlay.
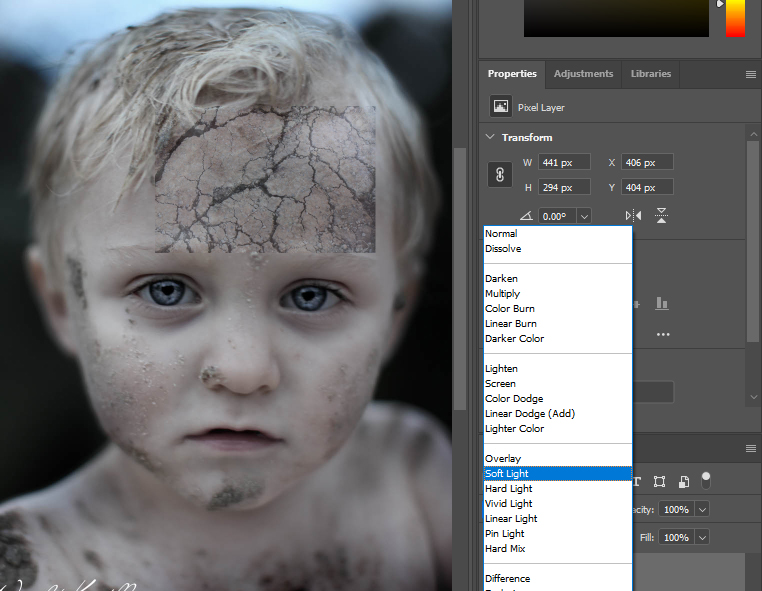
Step 7:
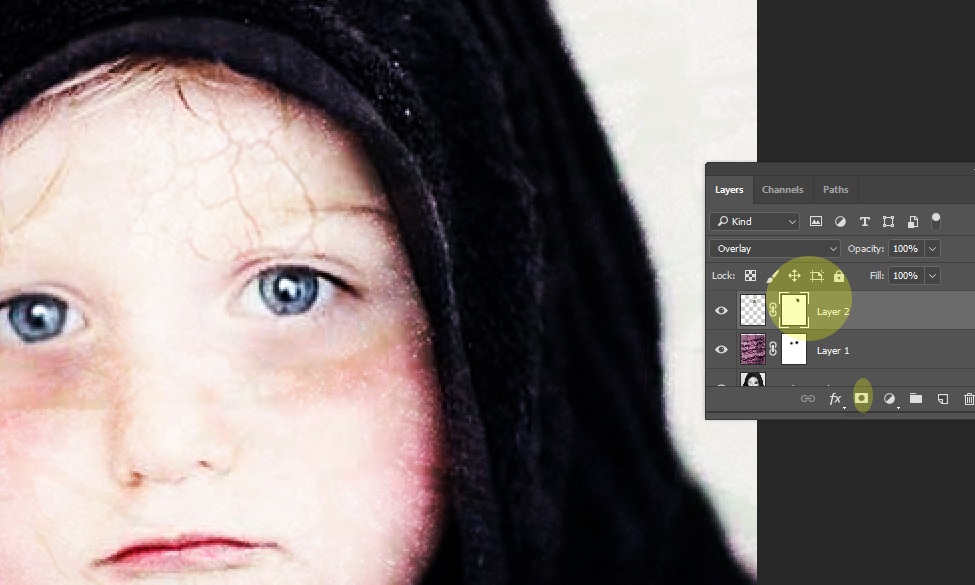
- We are now going to brush off parts of the purple texture so it blends into the forhead.
- Add a Mask
- The box at the bottom of the layers pallet.
- This will add a white box next to your texture layer
- Click on the White Mask box
- Pick a Black Brush
- Paint off areas of the texure, especially around the edges.
Step 8:
- Pick another texture and place it on a different part of the face.
- Repeate steps 5-7
Step 9:
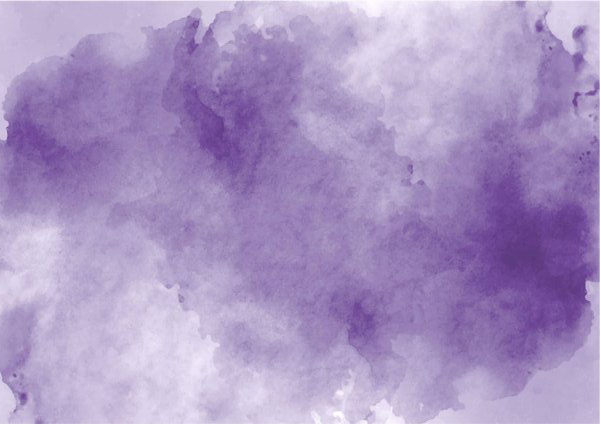
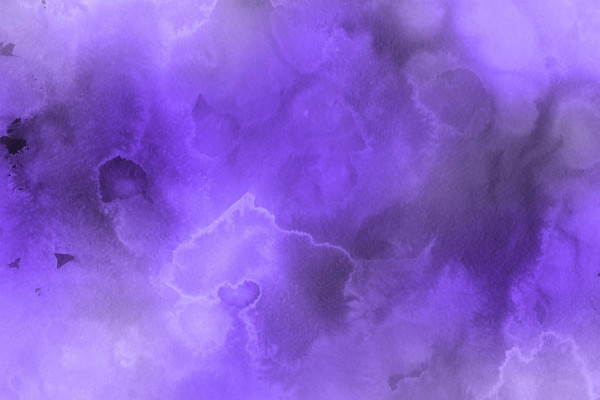
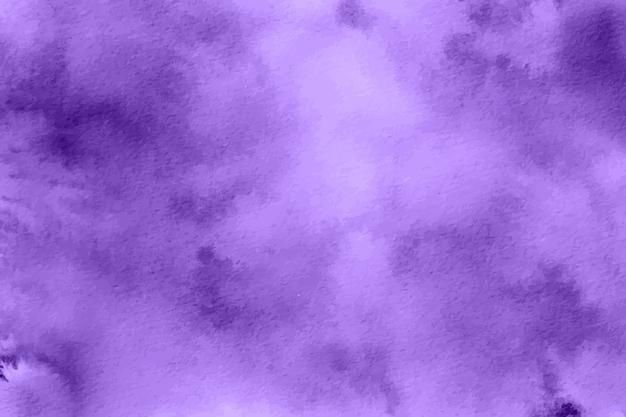
- Save on of the purple textures below.
Step 10:
- Open the Purple Images in photoshop
- Drag it over the eye area of the face
- If it is to big or to small, click CONTROL T to change the size
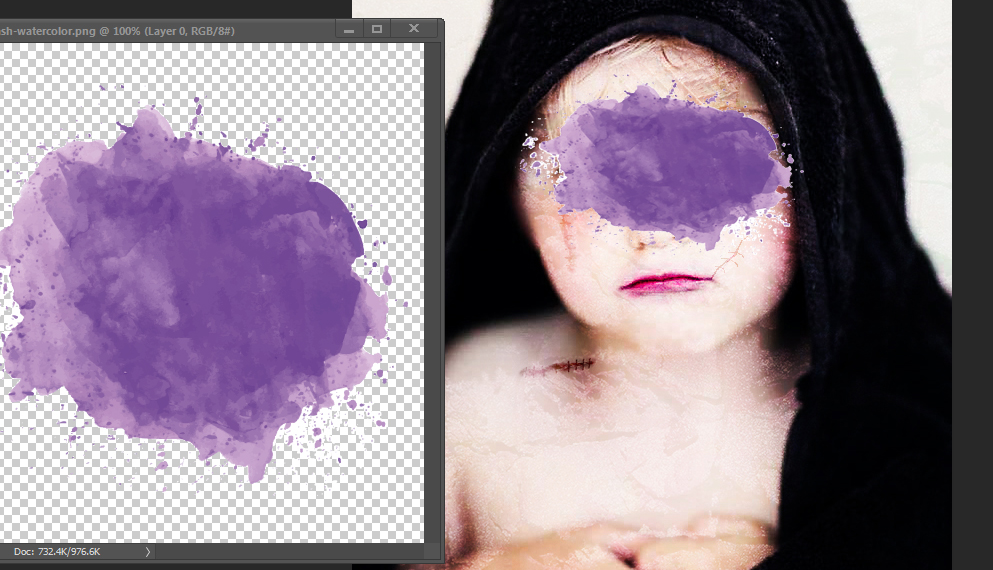
Step 11:
- On the top of the Layers Pallet where it says Normal change it to one of the following overlays.
- Overlay
- Soft Light
- Screen.
- If one of these doesn’t work try another one not mentioned.
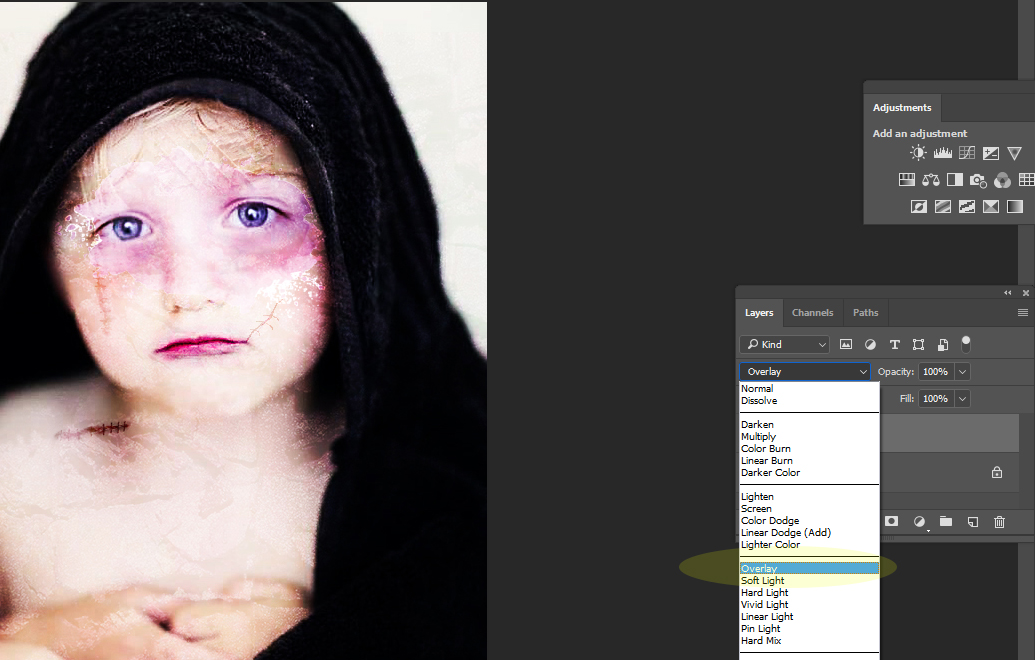
Step 12:
- We are now going to brush off parts of the purple texture so it blends into the forhead.
- Add a Mask
- The box at the bottom of the layers pallet.
- This will add a white box next to your texture layer
- Click on the White Mask box
- Pick a Black Brush
- Make sure you have brushed off the purple on the whites of the eyes and iris. If you leave it on your photo will look fake.
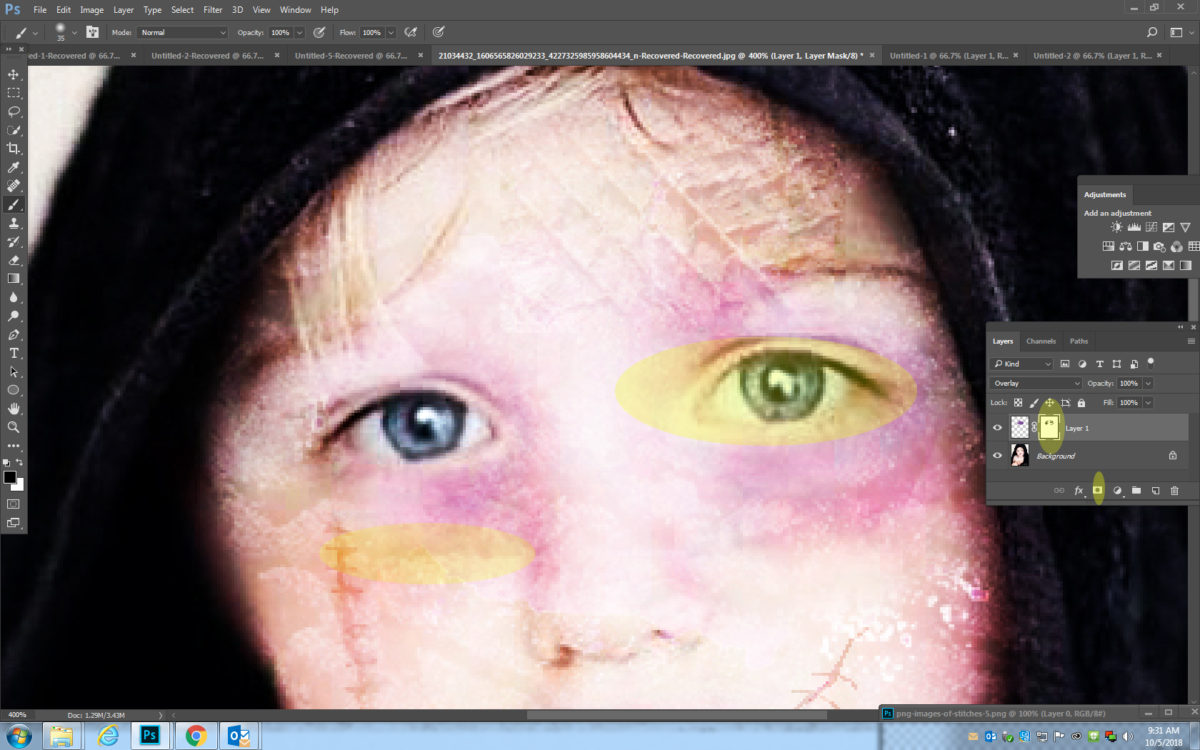
Step 13:
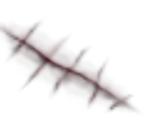
- Save one of the stiches images drag it onto the face.
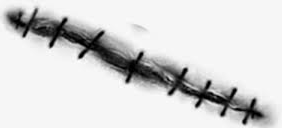

Step 14:
- Drag the stiches somewhere on the face.
Step 15:
- You will be repeating the same steps you did for the cracks and purple.
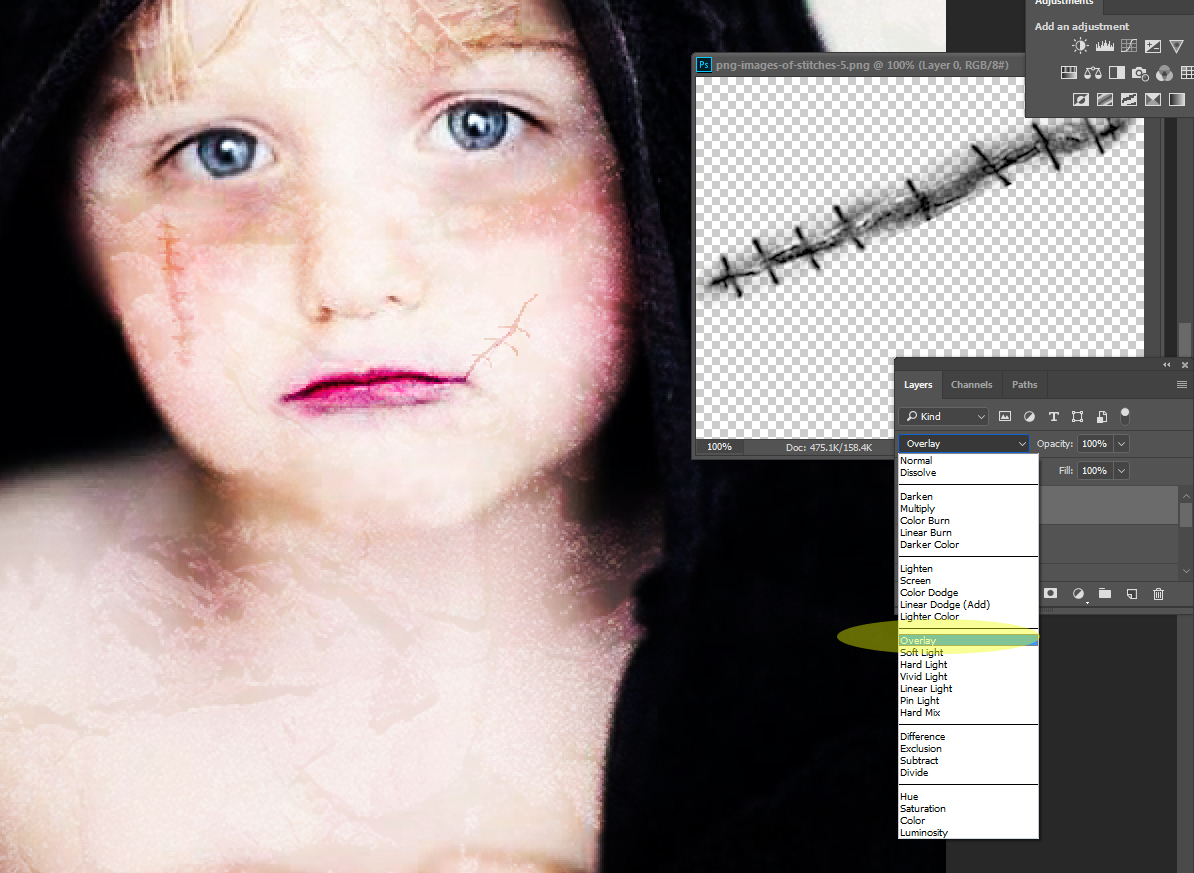
- If it is to big or to small, click CONTROL T to change the size
- Where it says Normal on the Layers Pallet, change it to
- Overlay
- Soft Light
- Screen.
- If one of these doesn’t work try another one not mentioned.
Step 16:
- If you need to brush off parts of the stiches. You may not need to do this with the stiches.
- Click on the box at the bottom of the layers pallet.
- This will add a white box next to your texture layer
- Click on the White Mask box
- Pick a Black Brush
- Brush off the areas you want removed.
- You may add more than one stitches.
Step 17:
- Flatten your image
Step 18:
- Finish by editing your photo with the different adjustments.
- You may do this in Camera Raw or the adjustments in Photoshop.
- When you are done, Flatten your image and save.
