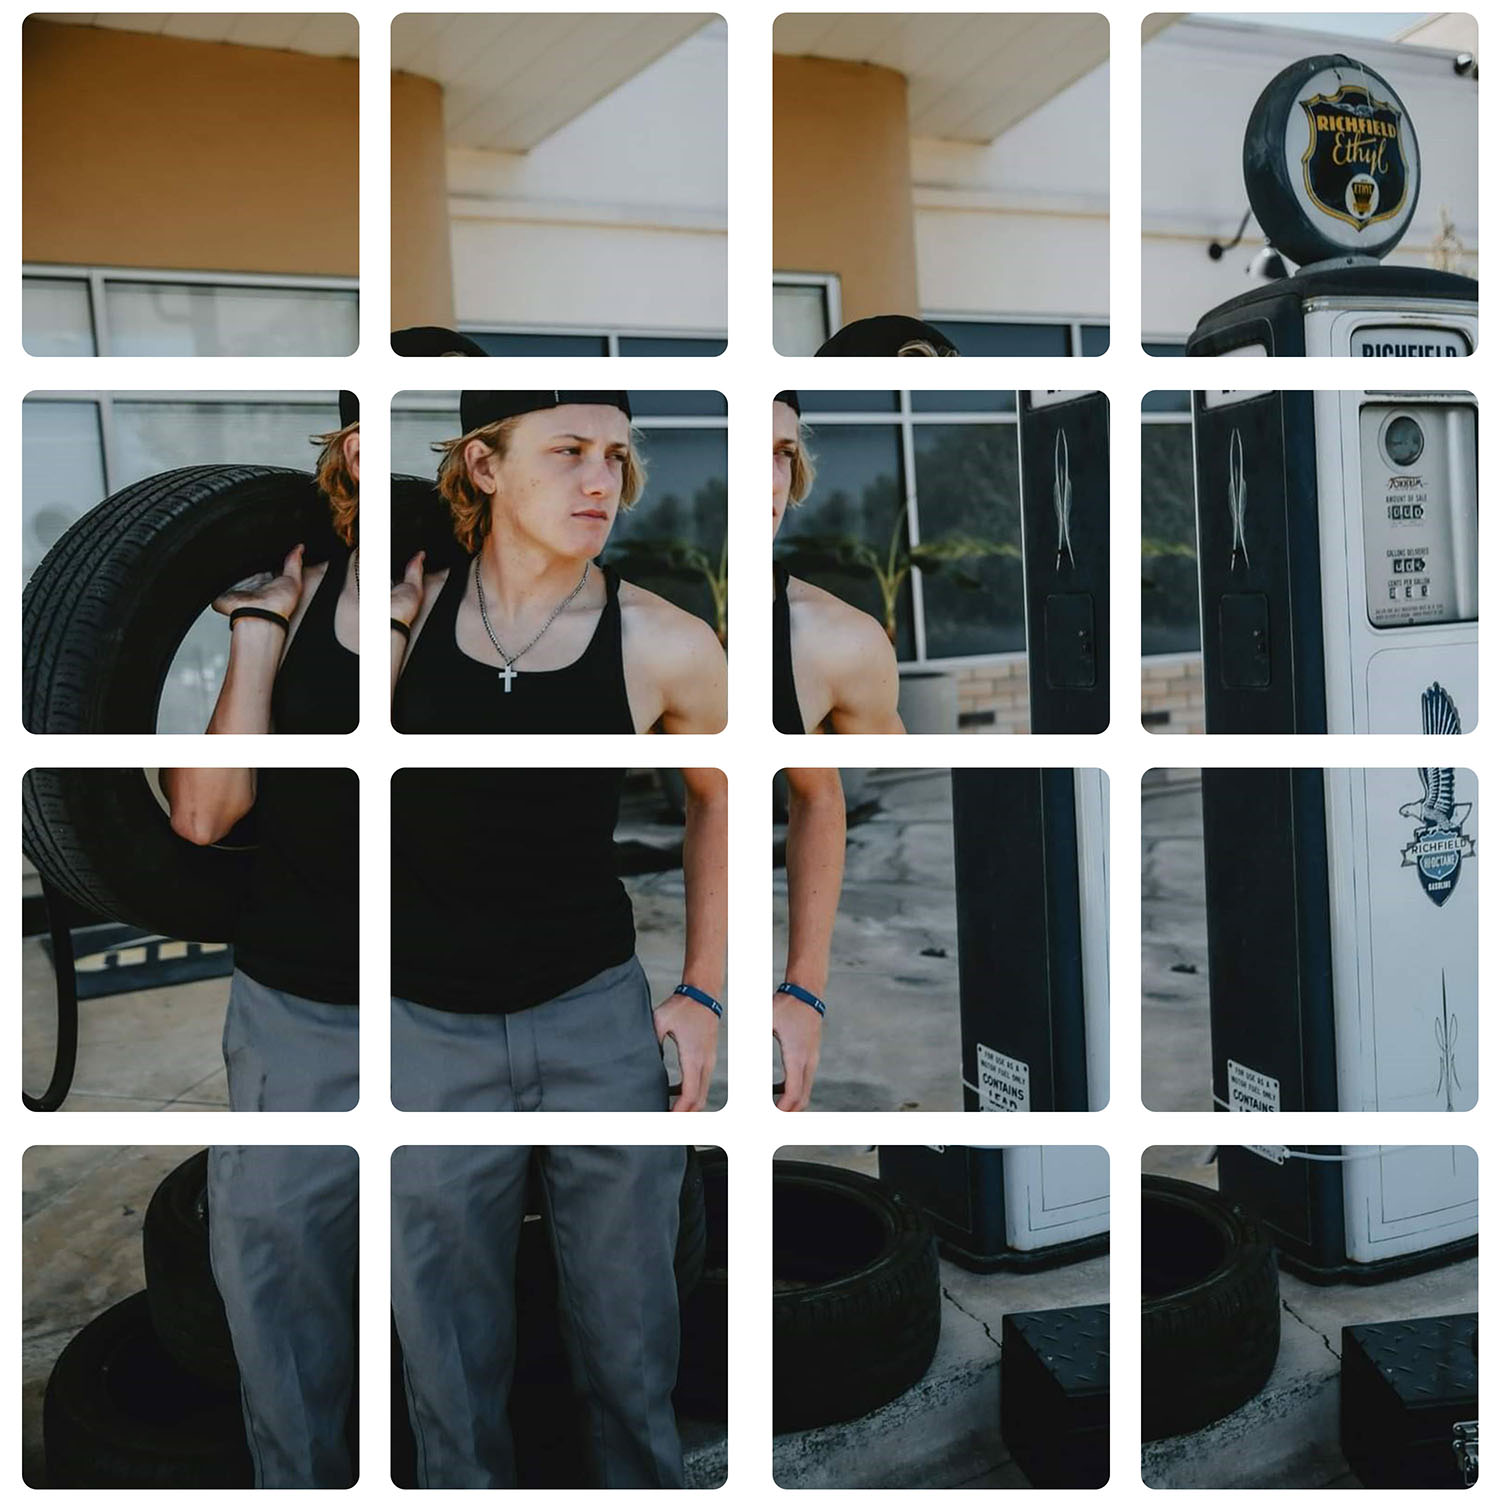
Hockney Composite Polariod

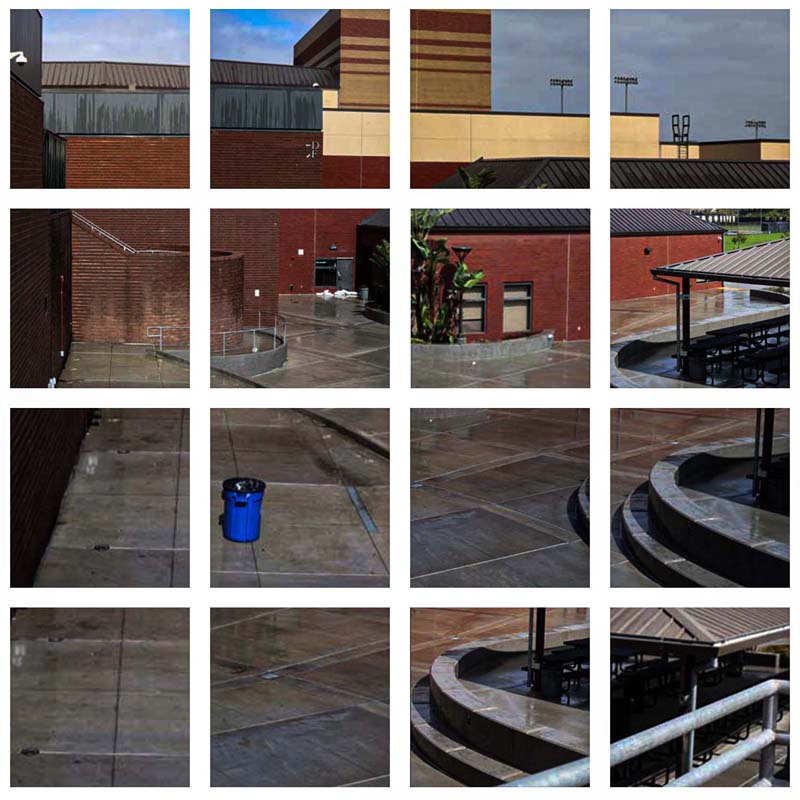
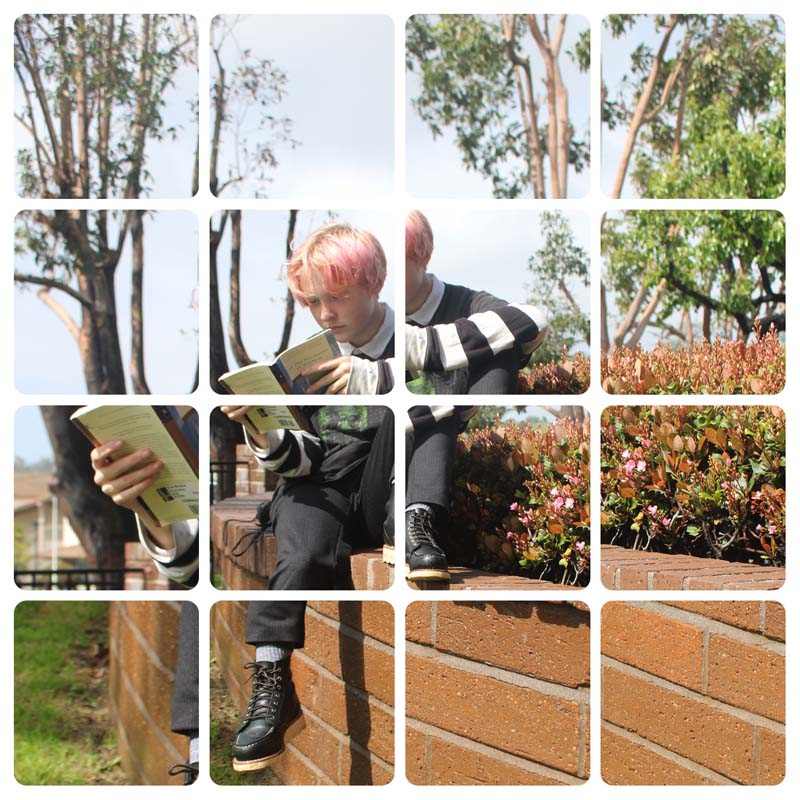
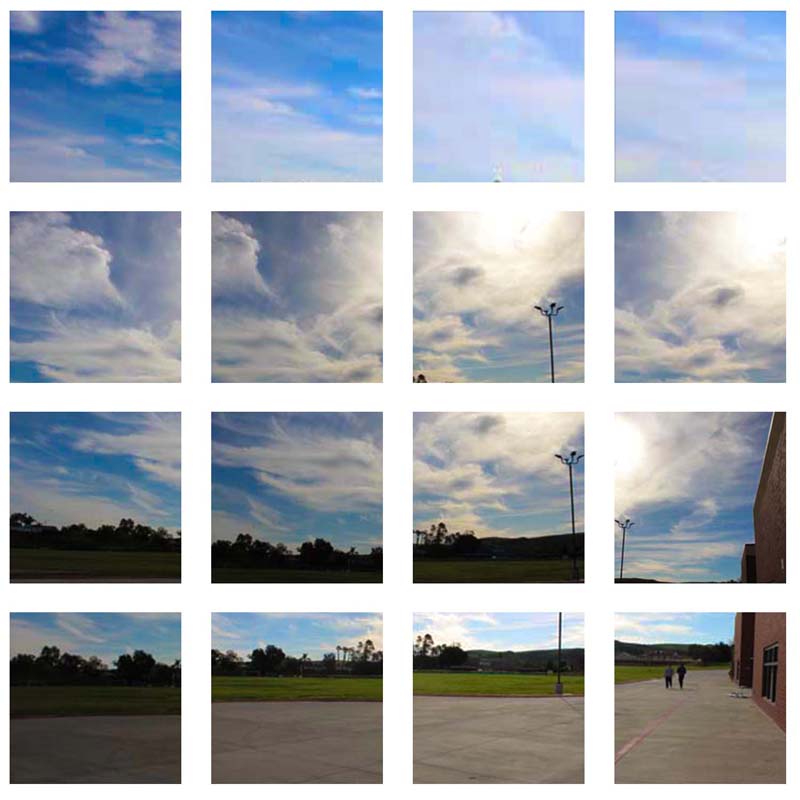
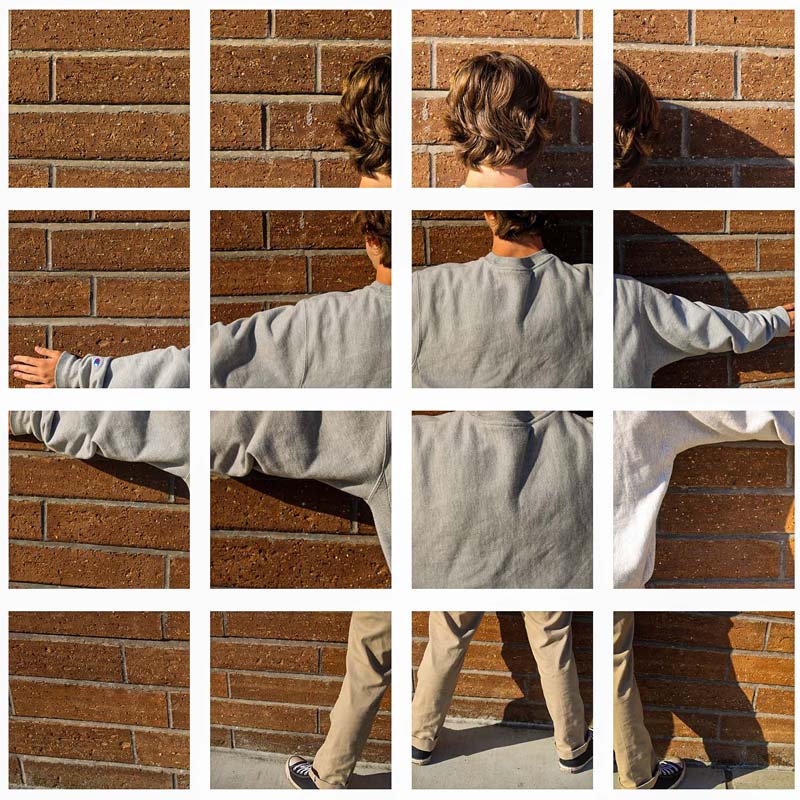
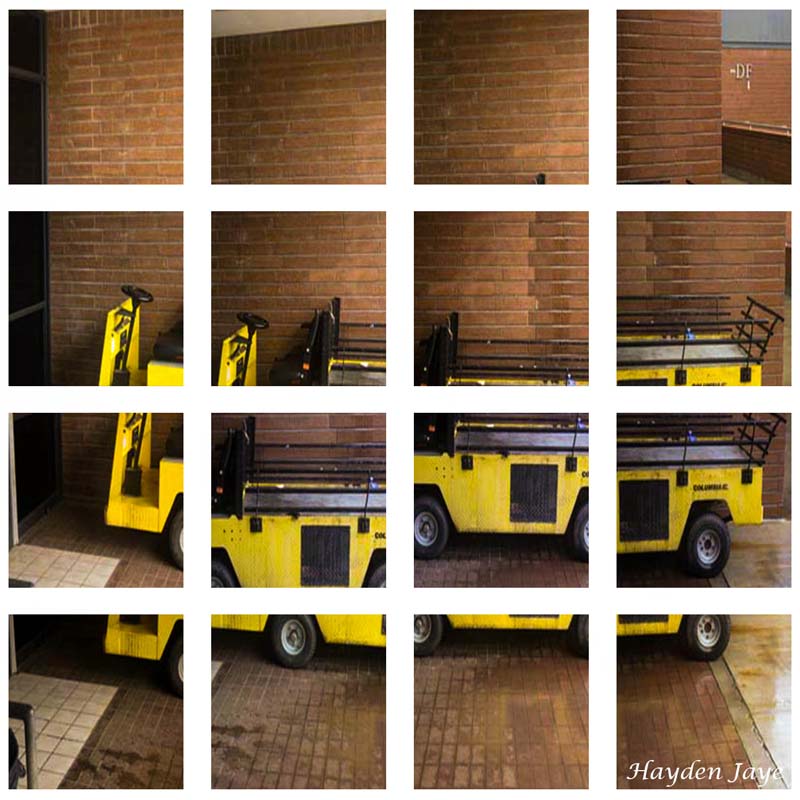
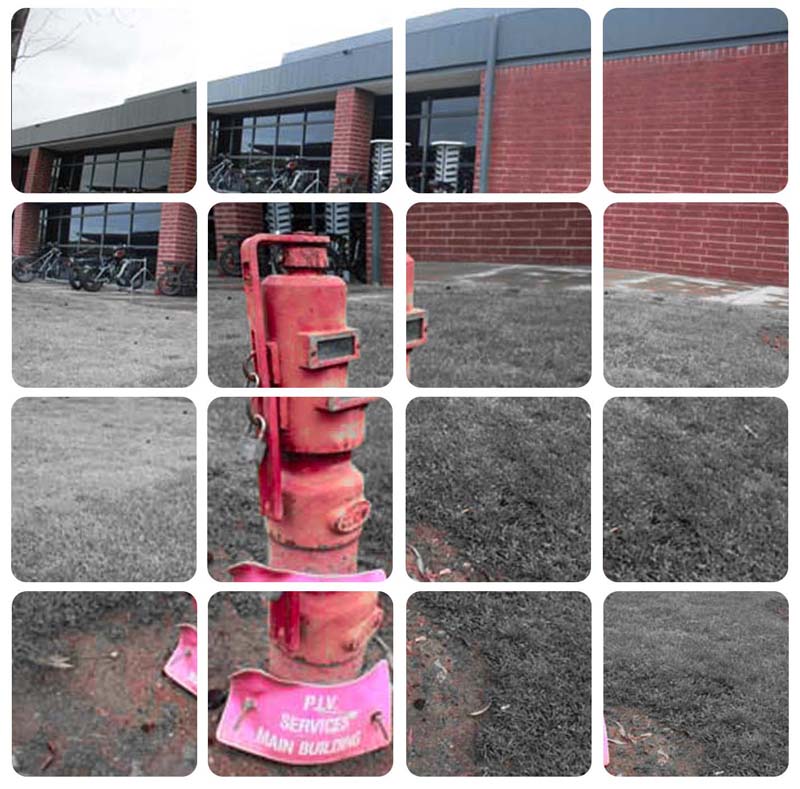
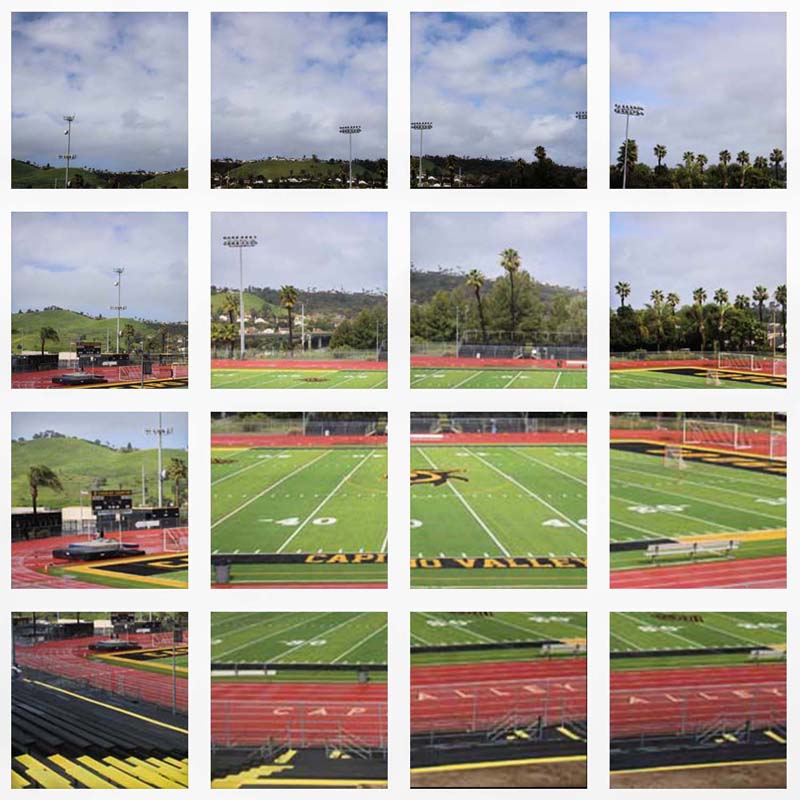
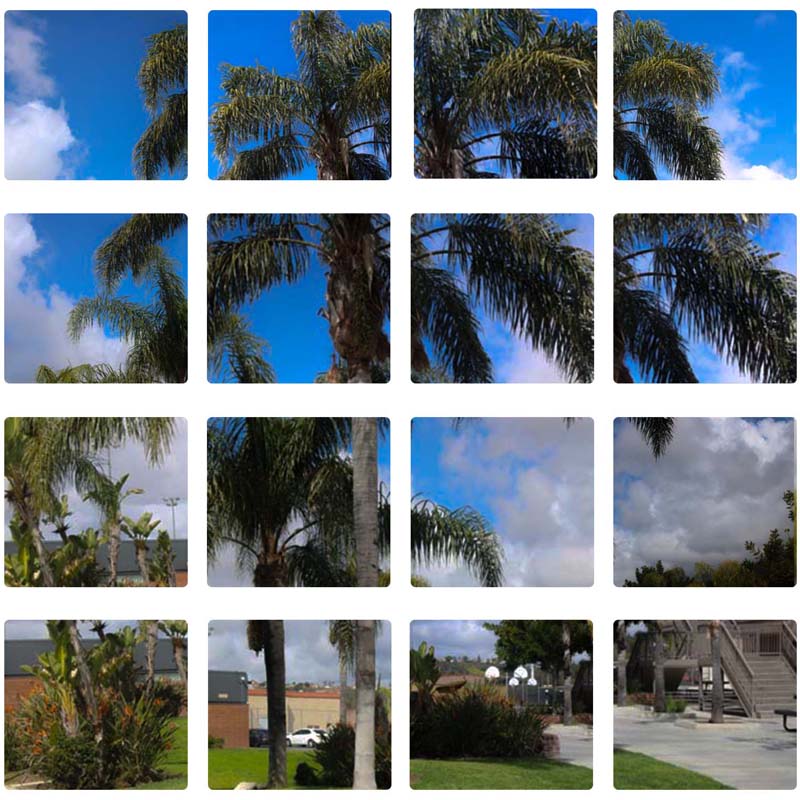
Composite Polariod Directions
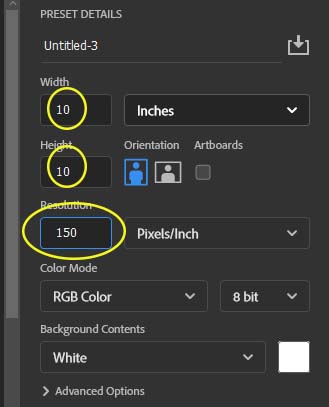
You will be creating 16 polariod boxes and will need 16 photos
Step 1:
- File-New-
- 10 inchs width
- 10 in height
- 150 Resolution
- Background White
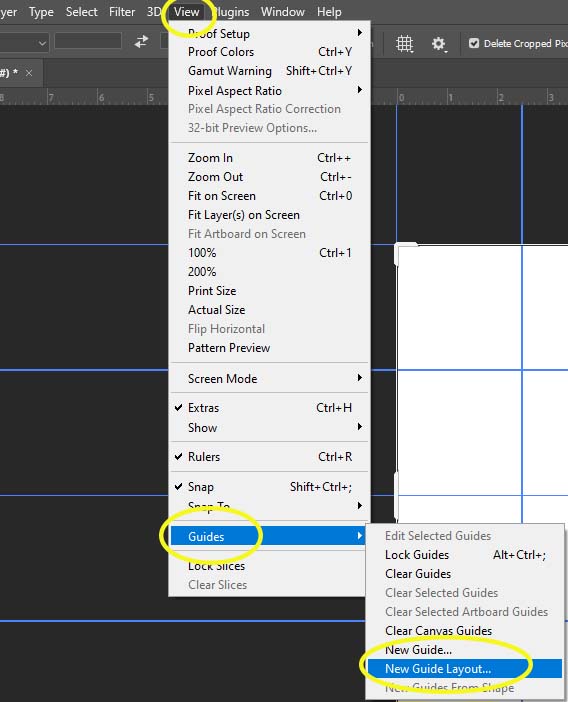
Step 2:
- Go to View – New Guide Layout
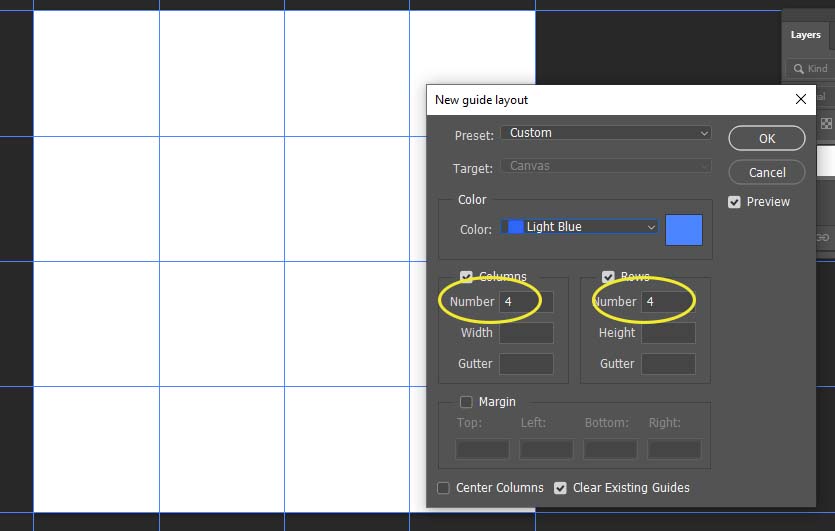
Step 3:
- Columns 4
- Rows 4
- Color Light Blue
Step 4:
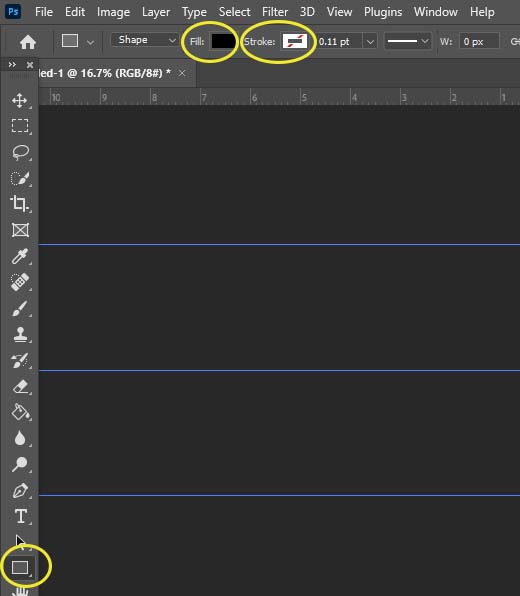
- Pick the Rectangle Tool Shape
- Make the Fill Black
- Make Stroke white box with red line threw it
Step 5:
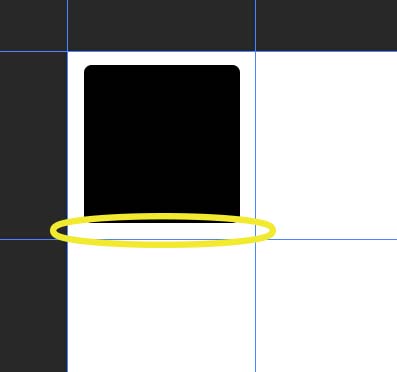
- Draw a black box in the first square
- Leave a LITTLE room around the edges of the photo.
- I did to much white so you will need to do less than my example.
Step 6:
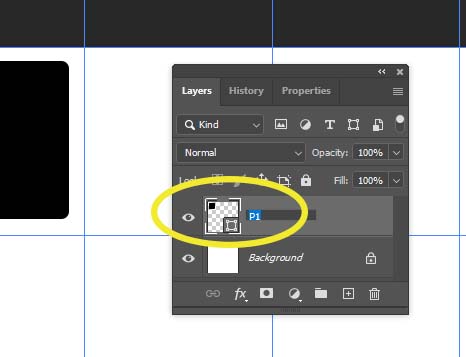
- Double click on the layer name
- Rename this layer P1 (will stand for photo 1)
Step 7:
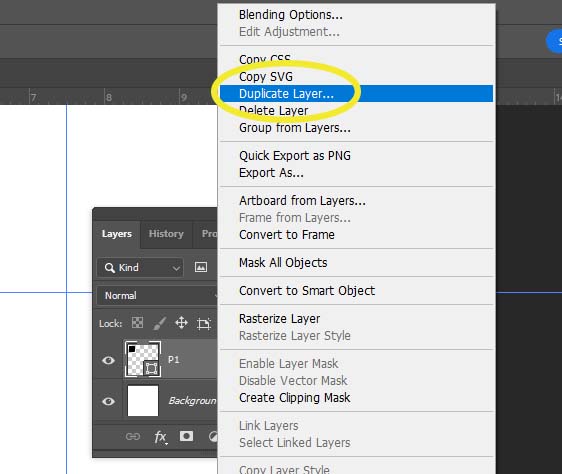
- Right Click on Layer P1
- Duplicate Layer
- You have now made a second box ontop of the first box
Step 8:
- Select the Move Tool
- Move the second box to the new square on the graph
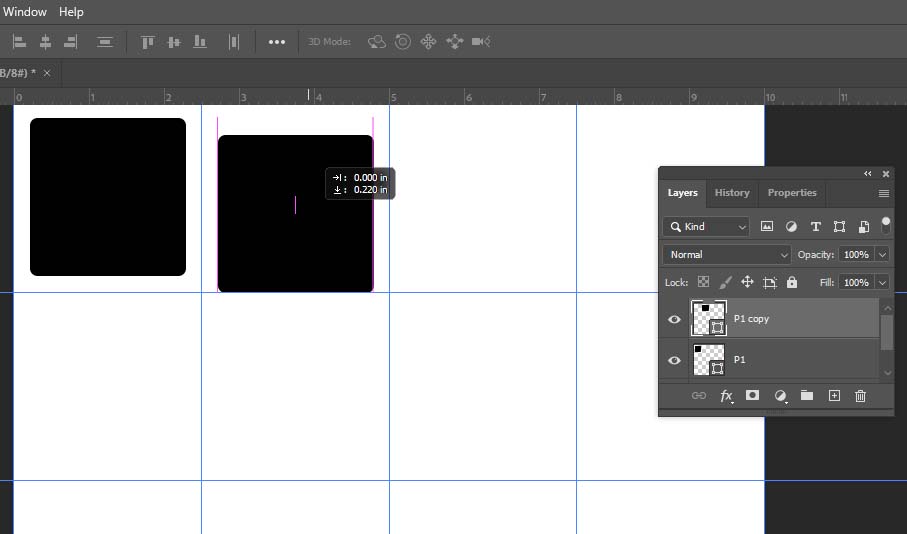
Step 9:
- Double click on P1 Copy layer’s name
- Rename this layer P2 (will stand for photo 2)
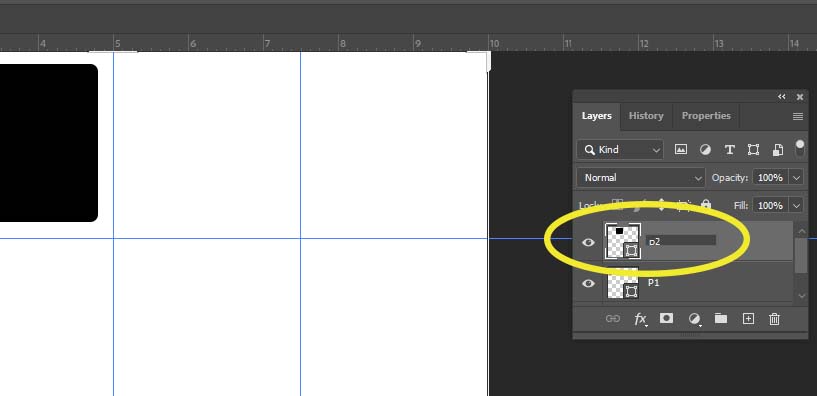
Step 10:
- Right Click on Layer P2
- Duplicate Layer
- You have now made a third box ontop of the second box
- Drag the new box over into the 3rd square
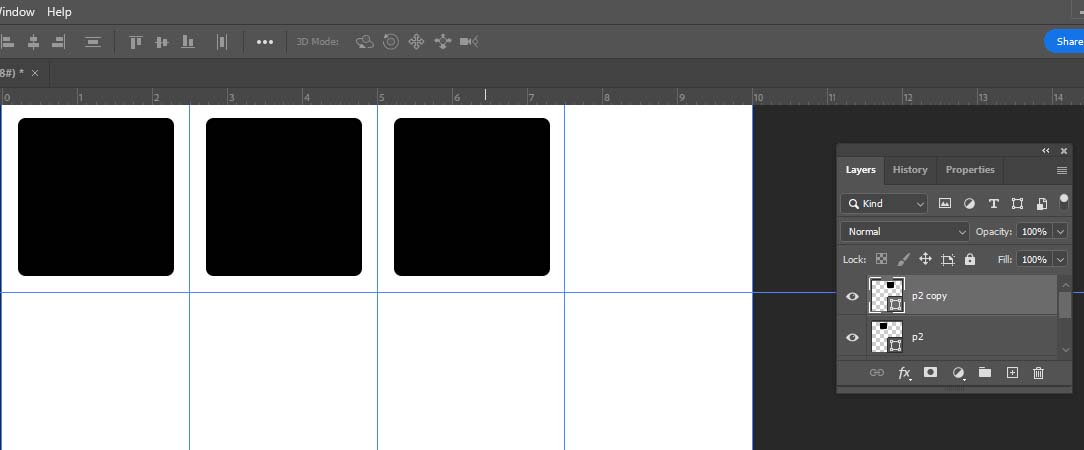
Step 11:
- Double click on P2 Copy layer’s name
- Rename this layer P3 (will stand for photo 3)
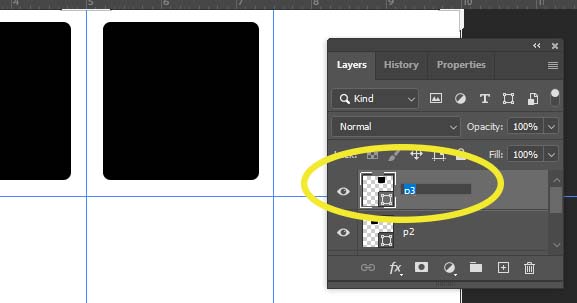
Step 12:
- Continue the same steps until you have filled in every square.
- You will have 17 layers at this time
- Background and p1-p16
- You will have 17 layers at this time
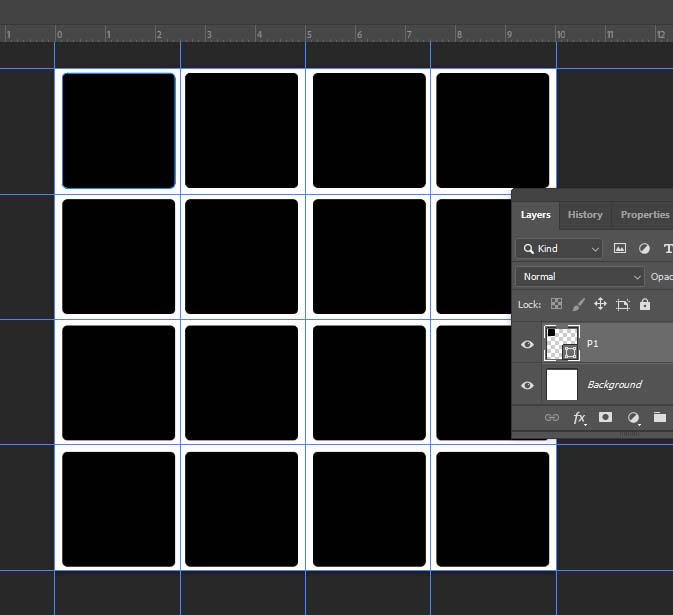
_______________________________________________________
STOP!!!!!!! Save your project at this time so you don’t lose all your work
- Save it as a PSD file type (not jpeg)
- Name it Polariod so you can find it easier
___________________________________________________________
Step 13:
- We are now going to be adding the photos into the graph
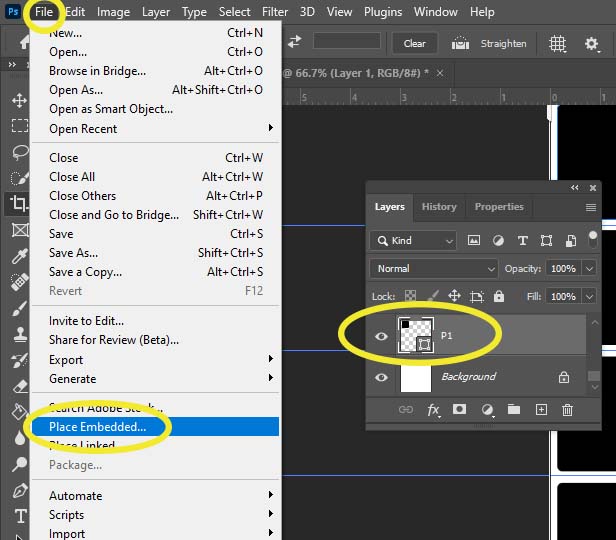
- Click on Layer P1
- Go to File – Place Embedded
Step 14:
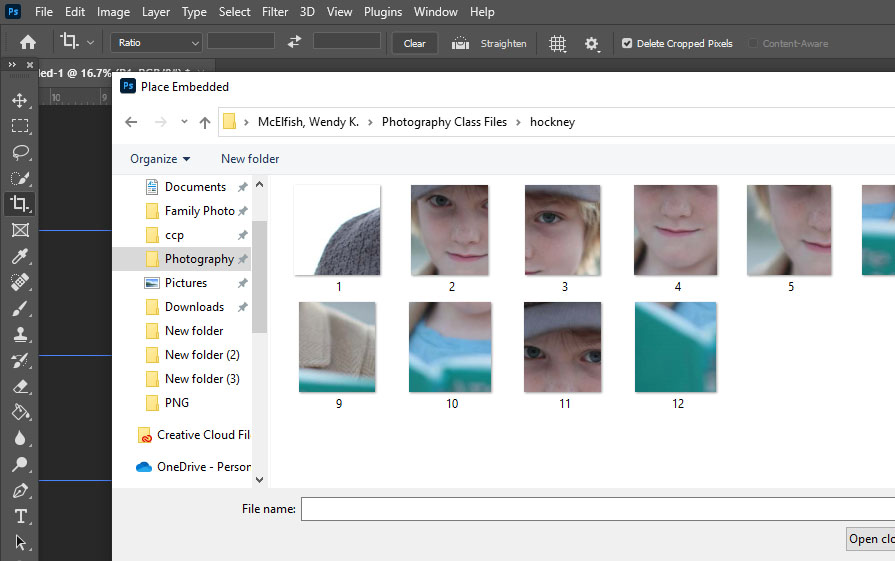
- Find the folder where you put your Hockney Images & open the JPEG folder
– The shrunk images will be in the JPEG folder - Pick the photo that you want for the first square
- Click to open it
Step 15:
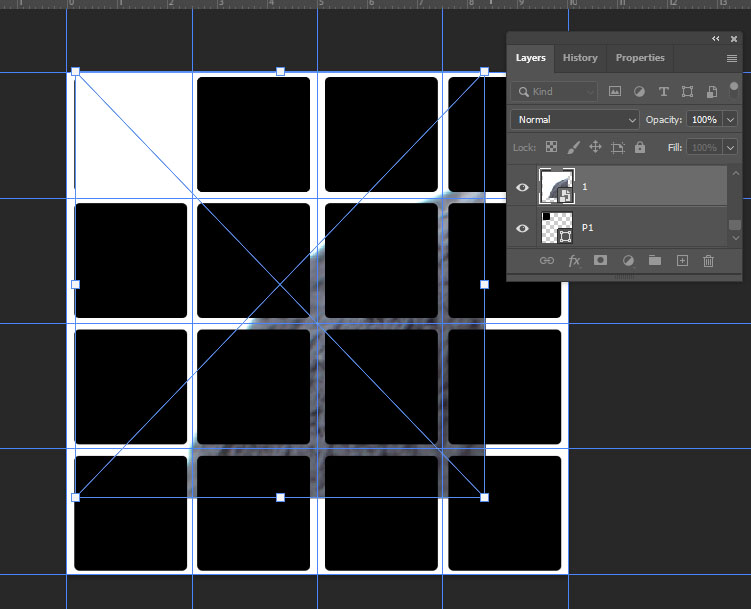
- The photo will appear behind the boxes in the middle
- Drag it to the top left box
- Make it about the same size at the box
- We will be making this photo fit into the box in the next step
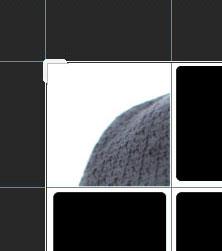
Step 16:
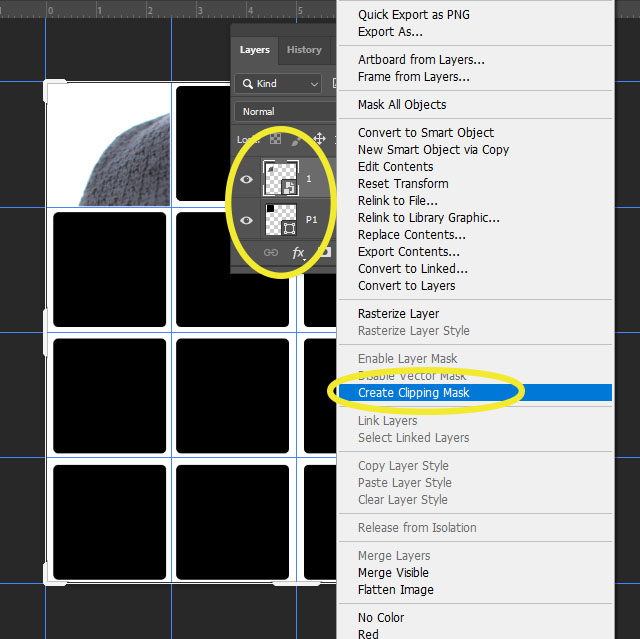
- The photo you just placed into the graph should be directly ontop of layer P1.
- If the photo is not ontop of layer P1, drag it so that it is.
- Right click on the photo layer above P1
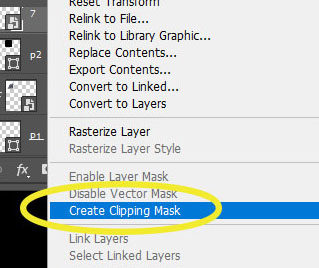
- Pick Create Clipping Mask
- This will place your photo inside the black box
- Pick Create Clipping Mask
Step 17:
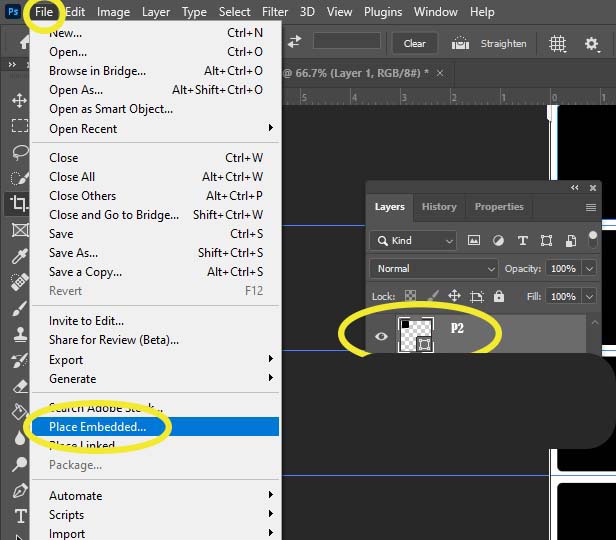
- We are now going to be adding the second photo
- Click on Layer P2
- You MUST be on Layer P2
- Go to File – Place Embedded
Step 18:
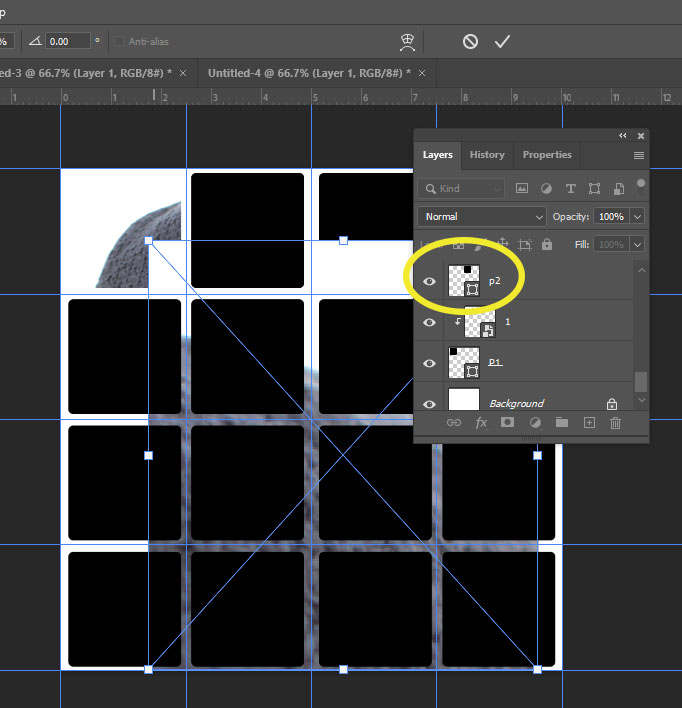
- The photo will appear behind the boxes in the middle
- Drag it to the second box on the top of the graph
- Make it about the same size at the box
- We will be making this photo fit into the box in the next step
Step 19:
- The photo you just placed into the graph should be directly ontop of layer P2.
- If the photo is not ontop of layer P2, drag it so that it is.
- Right click on the photo layer direction above P2
- Pick Create Clipping Mask
- This will place your photo inside the 2nd black box
- Pick Create Clipping Mask
Step 20:
- You will be adding continue adding photos using the upove steps until the graph if filled
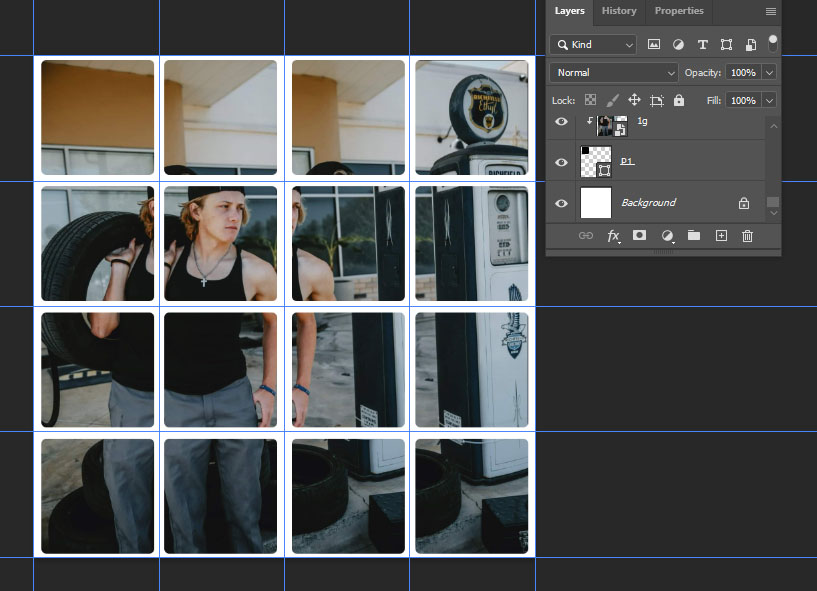
- It is ok if the images look like they don’t fit. You want them to look like they do not line up perfectly.
- NOTE:
- In order for your photos to fit into the correct black box
- Your photo Must ALWAYS be on the layer directly upove the black box
- Example:
- If you are on layer P5, make sure your 5th photo layer is directly above P5 before you Create Clipping Mask.
- Example:
Step 21:
- Flatten Image
- In Camera Raw, Edit your image. DO NOT MISS EDITING YOUR IMAGE!
- This may be in color or black and white.
___________________________________________________________________________________

