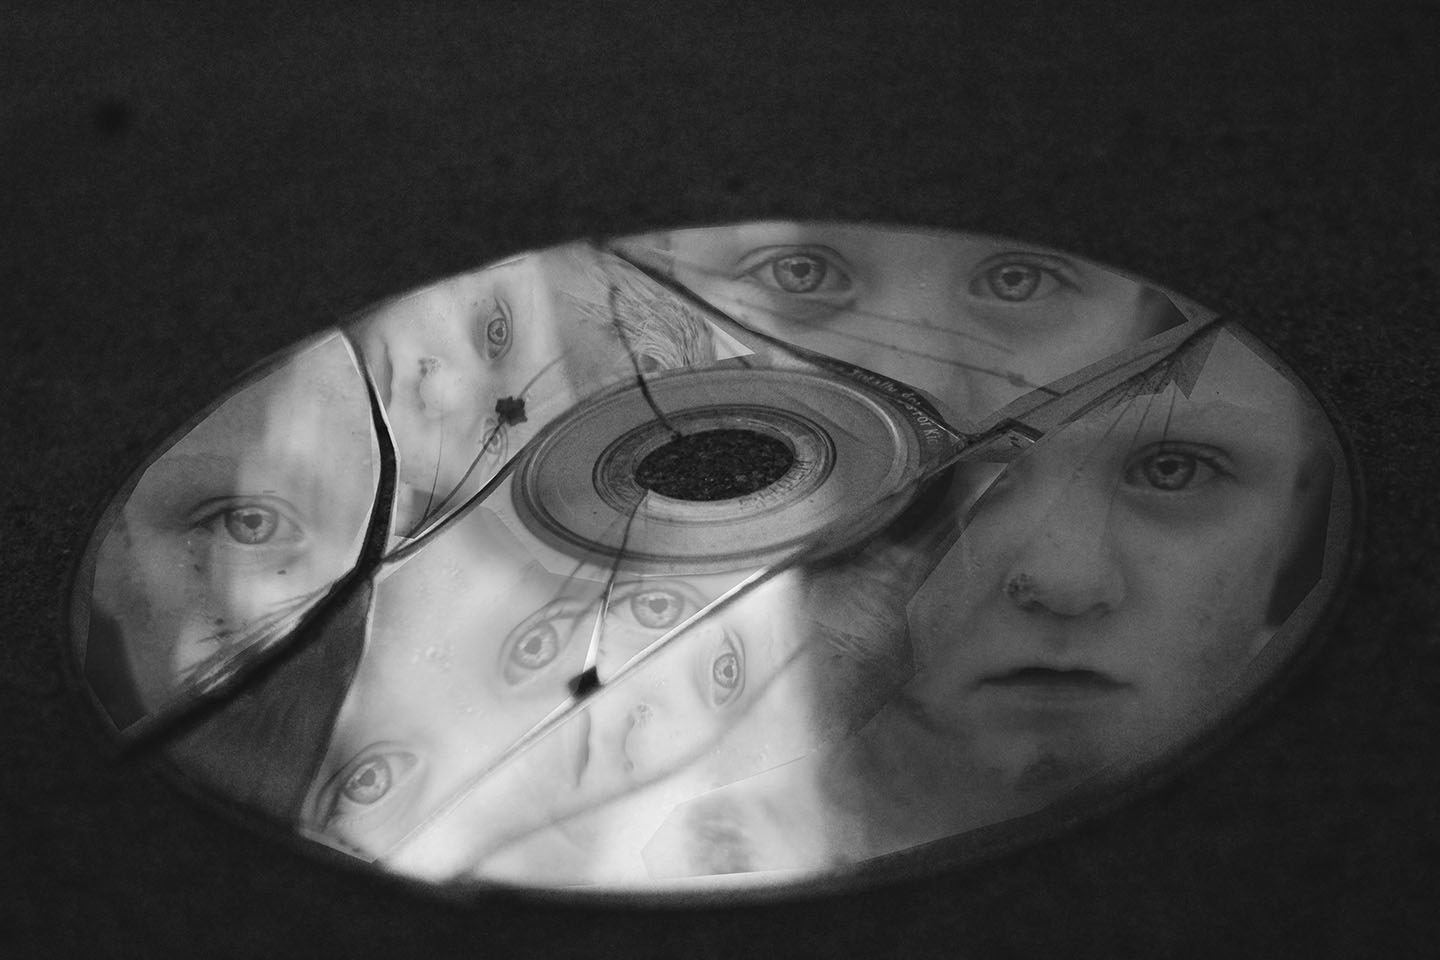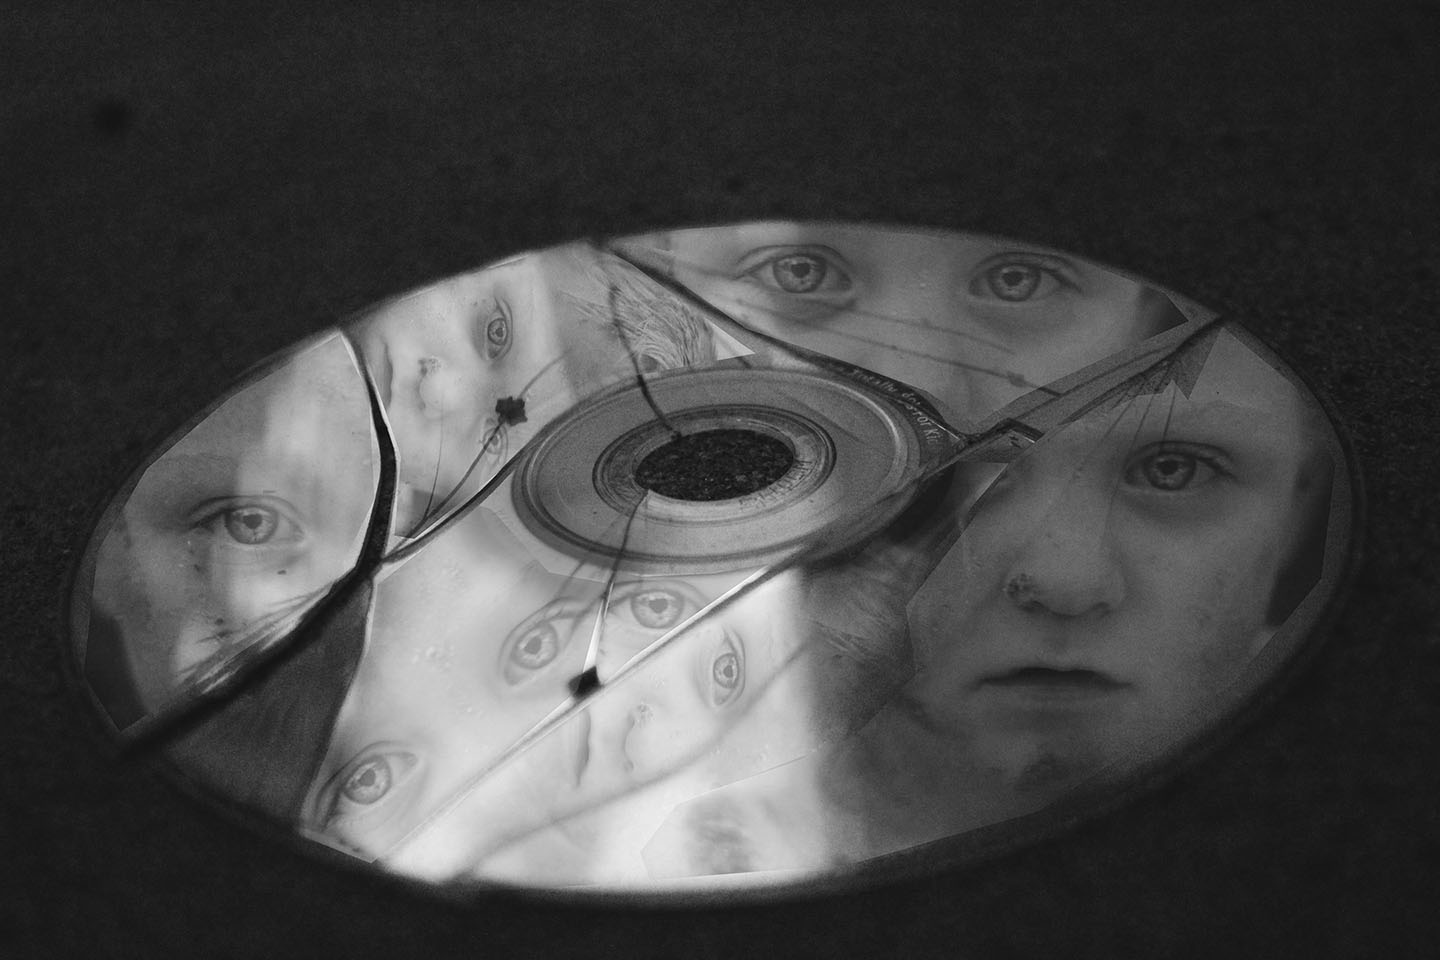
Step 1: Move the face photo onto the CD photo

Step 2: On the Face Layer, pull down the opacity so that you can see the CD

Step 3: Select the Polygonal Lasso Tool Draw around a section of a crack. It does not have to be perfect.
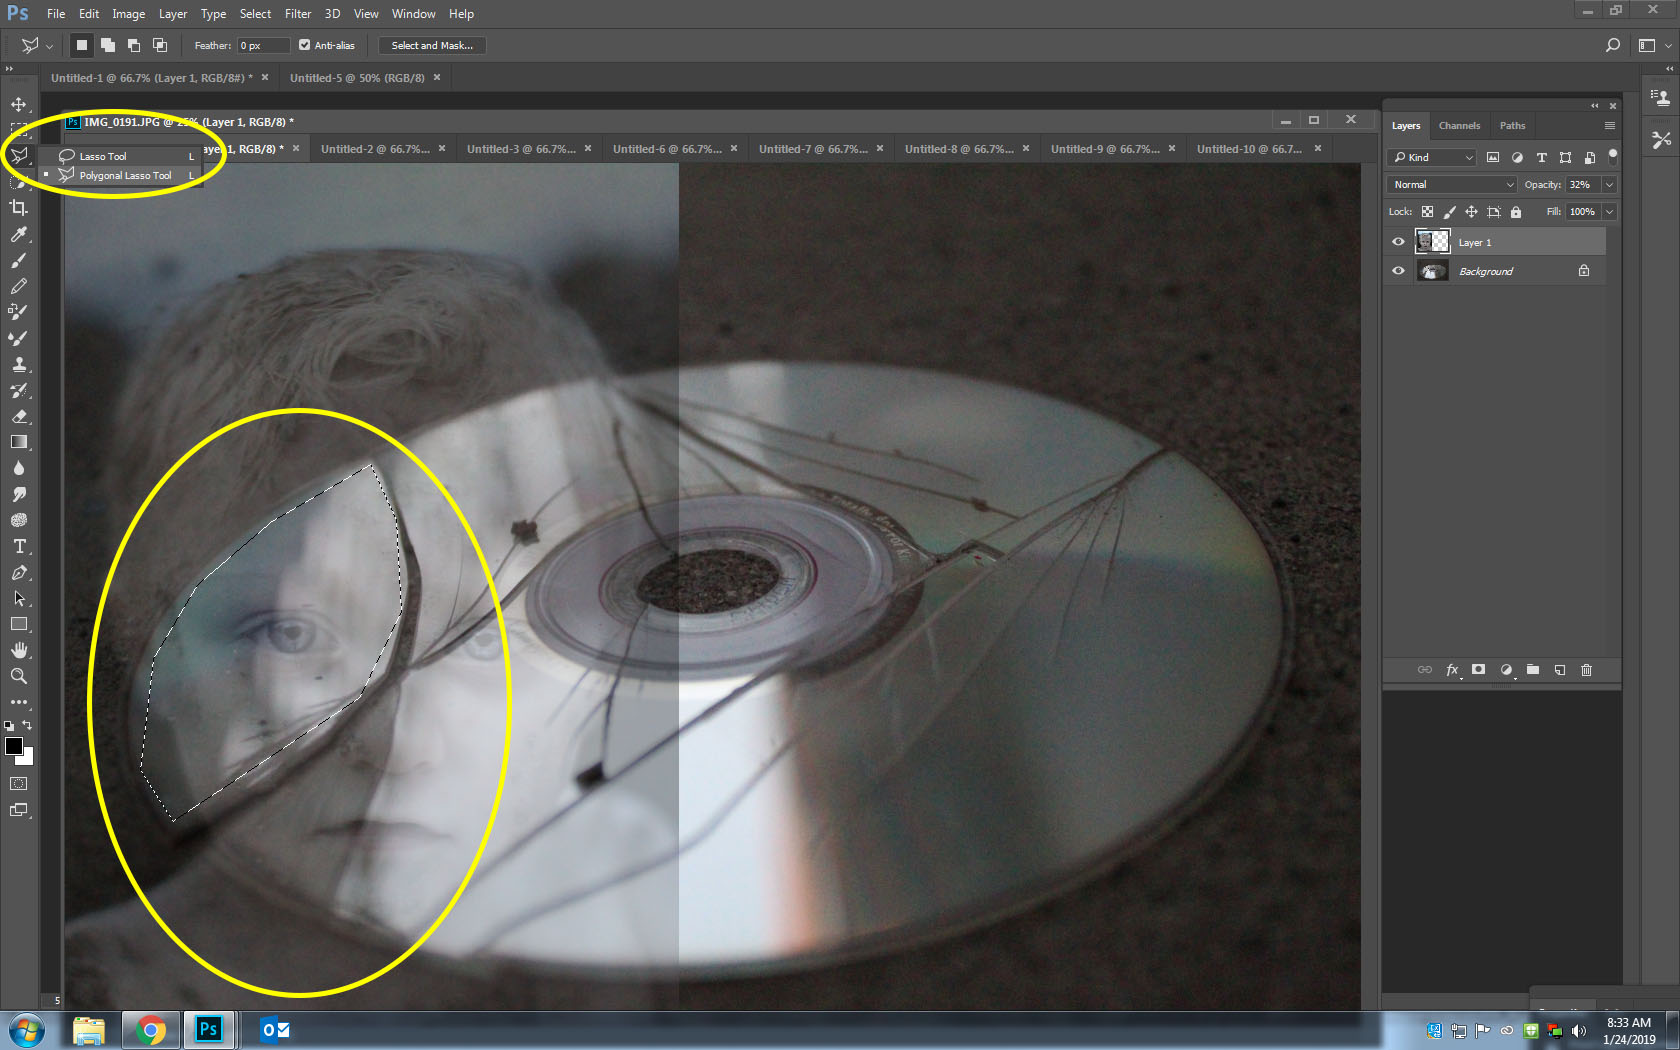
Step 4: Click Control and C to copy the section Click Control and V to past the section
You will notice that a third layer will now be on your layers pallet and that the section you selected is darker
Step 5: Click back on Layer 1 Move your photo to a different crack in the CD

Step 6: Select the Polygonal Lasso Tool Select around the section of the cracked CD. It does not need to be perfect

Step 7: Click Control and C to copy the section Click Control and V to past the section. You will now have a 4th layer.

Step 9: Click back on Layer 1 Click Control T Move your photo to a different crack in the CD.
Rotate your image to create more variety. Repeat the above steps to copy and paste your image until all the cracks are filled

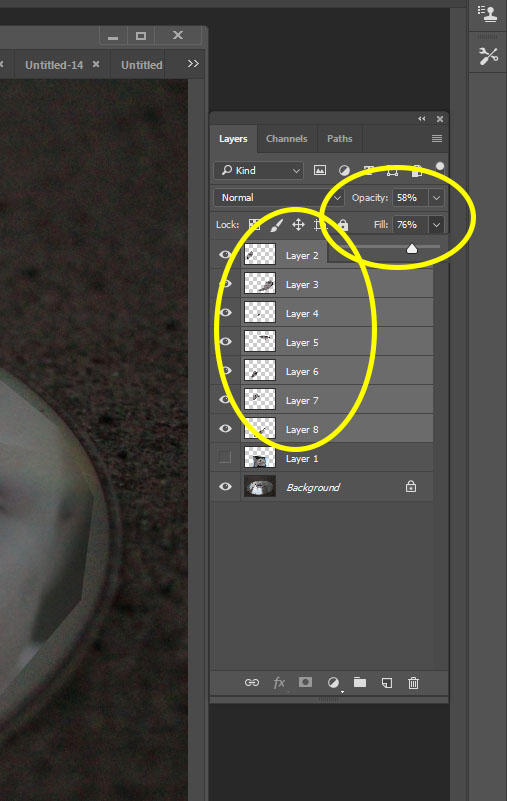
Step 10: Click off the Eye on Layer 1 (this is make the layer disappear) Click on Layer 2 Hold the Shift Key and Click on the Top Layer This will highlight all of the layers

Step 11: Pull the Opacity and the Fill down so that the faces are more see-through. Use your own judgement on how dark or light the faces appear.
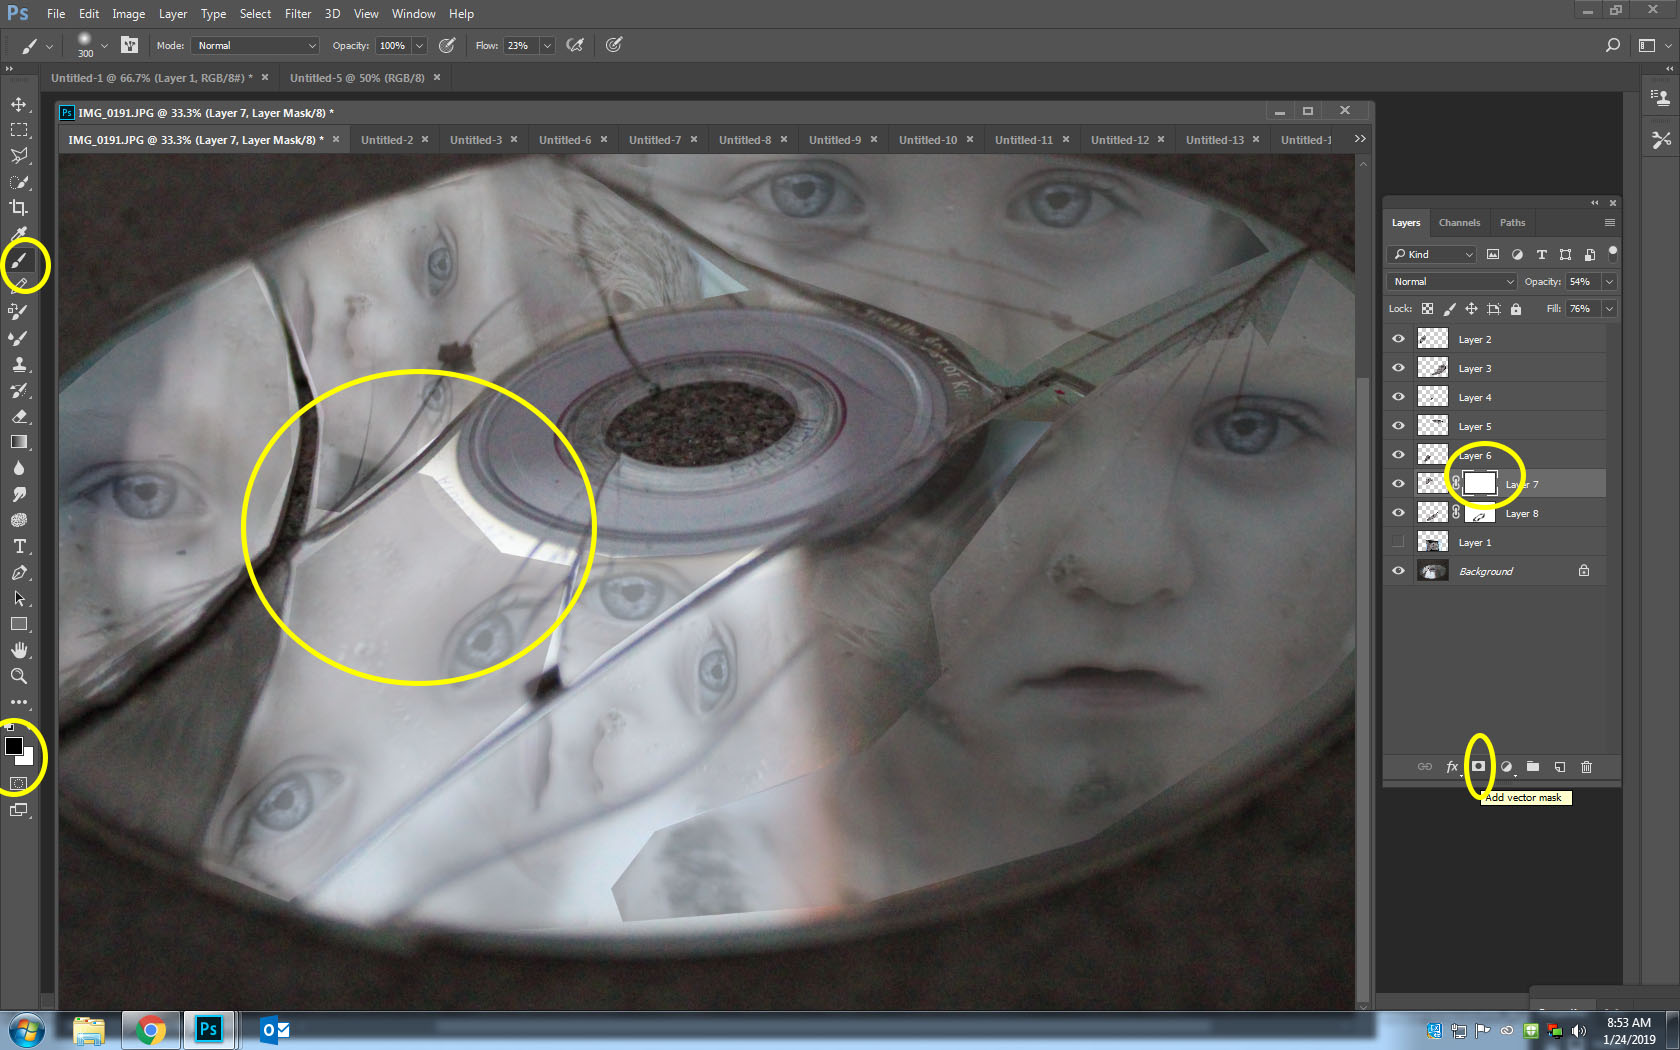
Step 10: Return to Layer 1 Add a Mask (bottom of layers pallet) Select a black brush Turn down the Opacity to 50% at the top middle of Photoshop Begin to paint out the hard edges of the face so that it blends into the CD
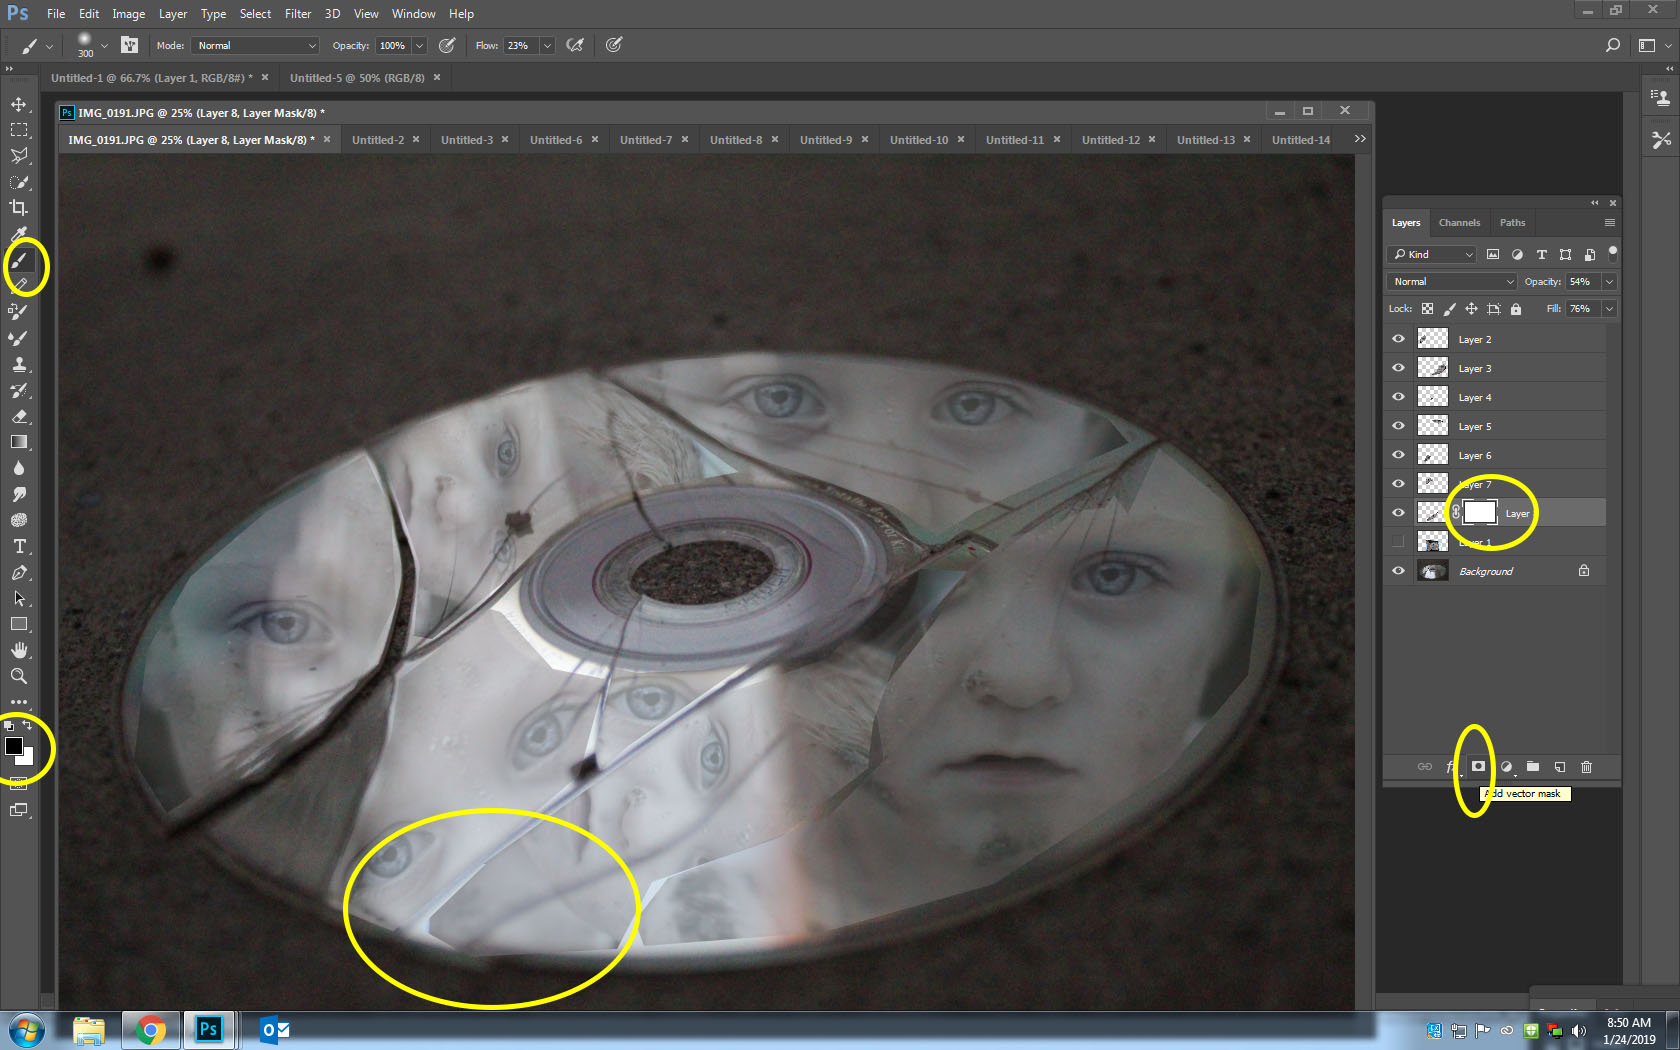
Step 11: Repeat step 10 on each layer. Continue until all layers are done.
