
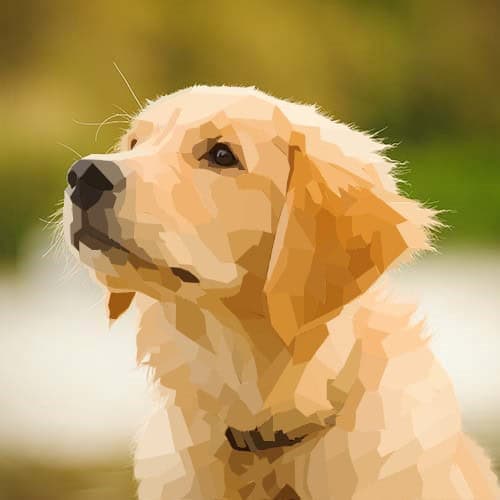
Cubism with Photoshop
Simple geometric shapes placed side-by-side to create angular cubism compositions
To Start:
Pick a High Resolution, close up photo of an animal or person

Step 1:
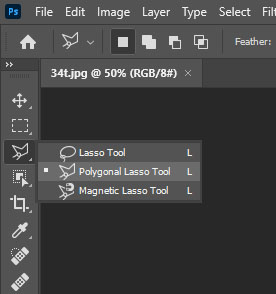
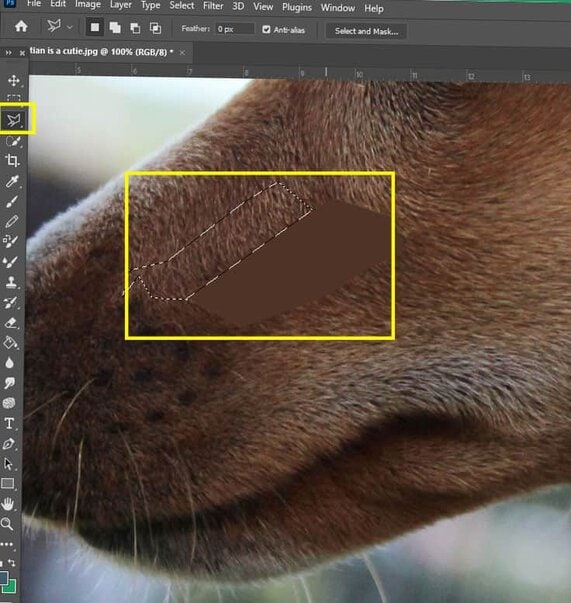
- Select the Polygonal Lasso Tool
- If you can not find it, right click on the Lasso Tool to reveal
Step 2:
- Zoom in (Control +)
- Very close to a small section of your photo
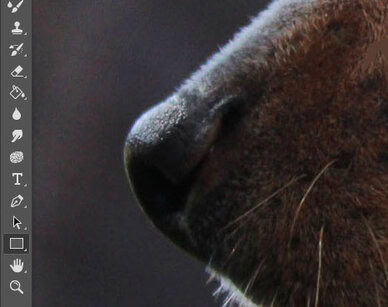
NOTE
- The Key to making this project look good is to select SMALL sections*
- Click around a very small section of color
- DO NOT select a large area

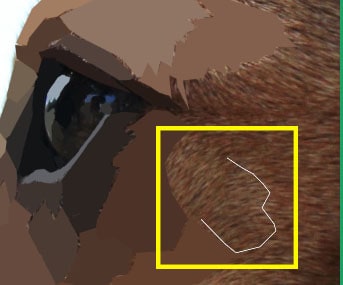
Step 3a:
- The Polygonal Lasso Tool is very sensitive. If it starts to go crazy jump to step 3b
- Slowly click the Polygonal Lasso Tool around a small section of color
- Everytime you click the mouse it will lock in the line you just made
- If you do NOT click the mouse, the line will keep getting longer (see step 3b to fix)
Step 3b: The crazy Polygonal Lasso Tool
- If the tool feels out of control……
- Double click the mouse
- This will release the tool
- Always double click the mouse to start the tool over
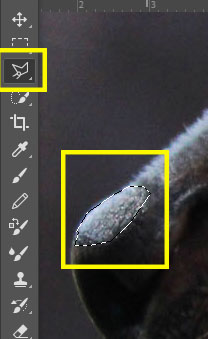
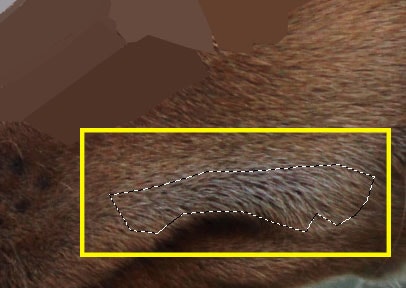
Step 3c:
- The line will be solid until the shape is completed
- The shape will not lock in until the end of the line connects with the beginning of the line
- Click the mouse when you have completed the shape to lock in Polygonal Lasso Tool
- The shape will now be marking ants instead of a solid line

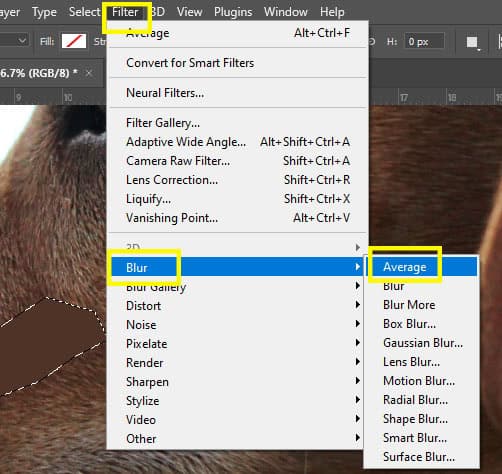
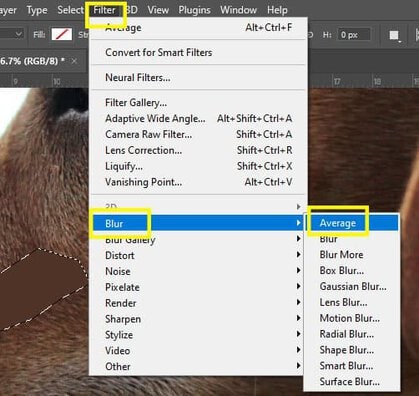
Step 4a:
- Click Filter
- Blur
- Average
- Blur
- This will turn the area into a solid color
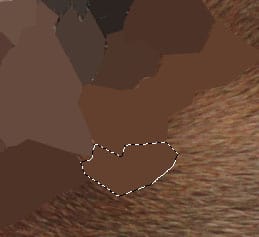
Step 4b:
- To release the Polygonal Lasso Tool shape
- Click the mouse
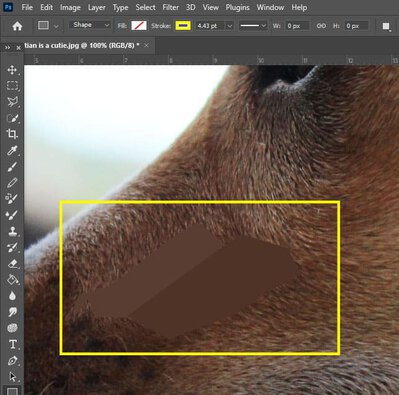
Step 5:
- Make sure you are still using Polygonal Lasso Tool
- Click around another very small section of color
- The new section should be TOUCHING the first section of color
Step 6:
- Click Filter- Blur- Average
- This will turn the area into a solid color
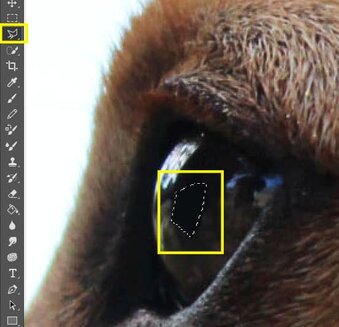
Step 7a Eyes:
The EYEs are the most important section! If the eye is not done correctly the photo will not look real
- Select the pupil 1st
- The iris will be 2nd (colored section of eye)
You do NOT want the eye to look like a giant circle of one color

Step 7b: Eyes Highlight
- Including the highlight in the eyes is very important
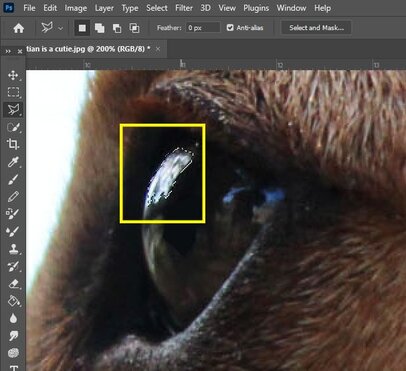
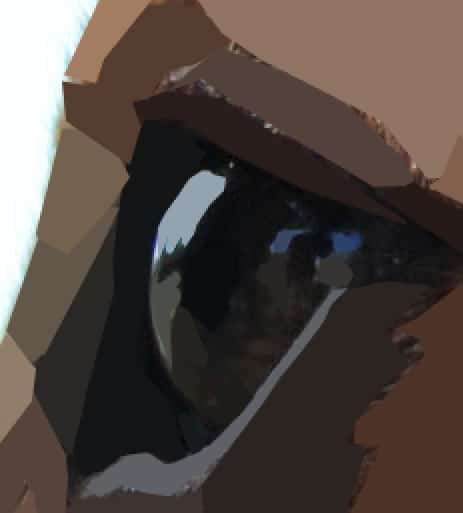
Step 7c:
- Continue to do very small areas of the eye so that it looks realistic
- Example below is a done perfectly
Step 8:
- Continue to select small areas of color on your photo
- Make sure that you do not leave space between the shapes.
- Keep creating shapes and blurring until your image is complete
- REMEBER!
- The smaller the sections and the more shapes you have the better the project will turn out

Animal Examples


![]()


![]()
People Examples


![]()
