

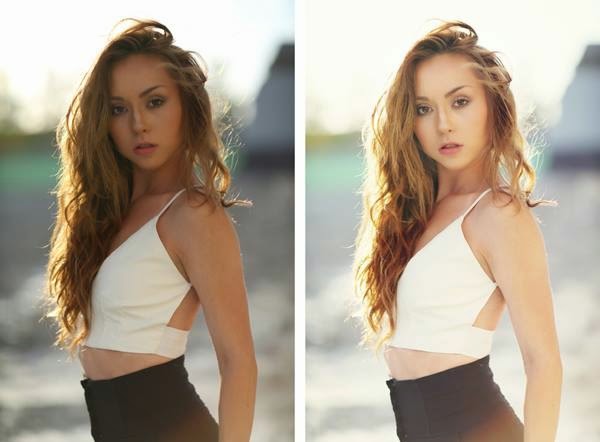

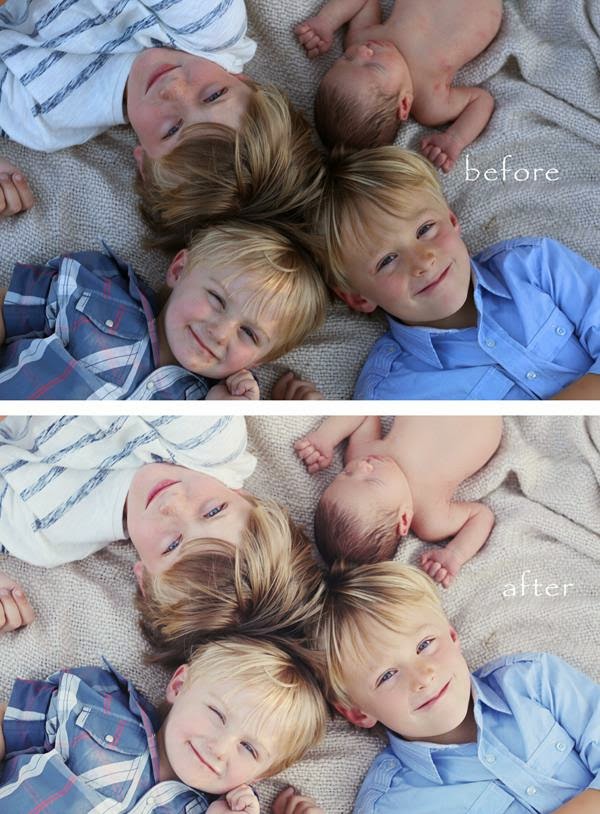

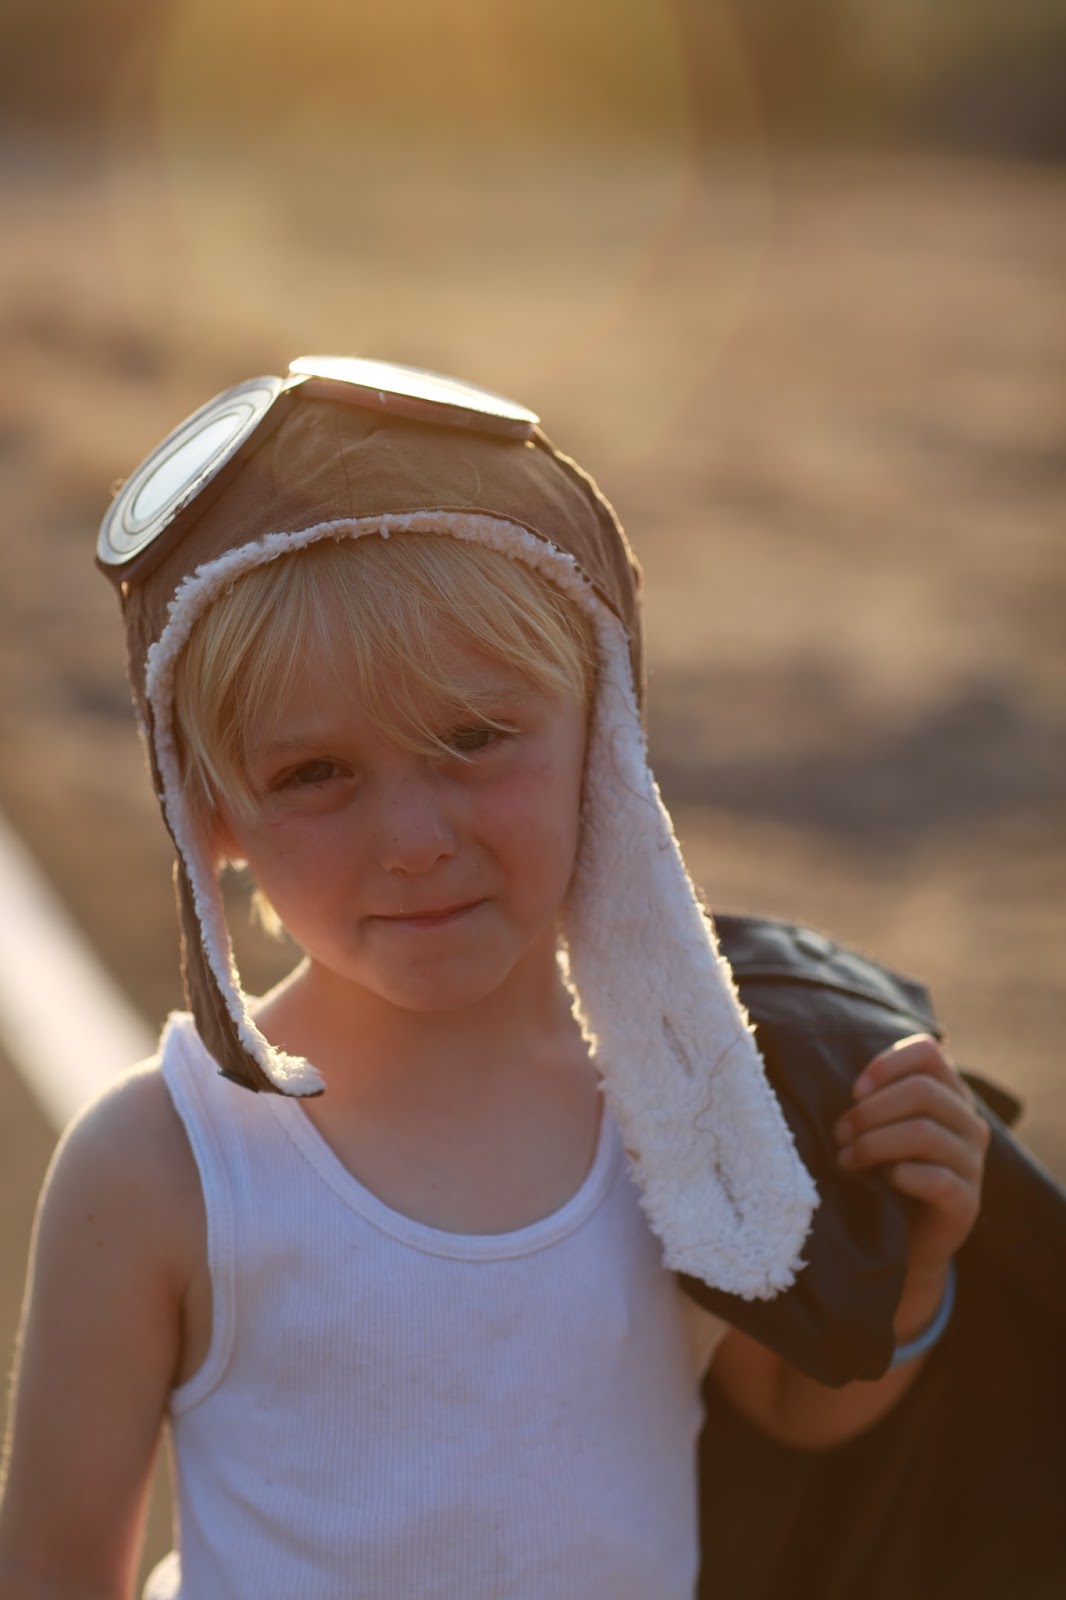
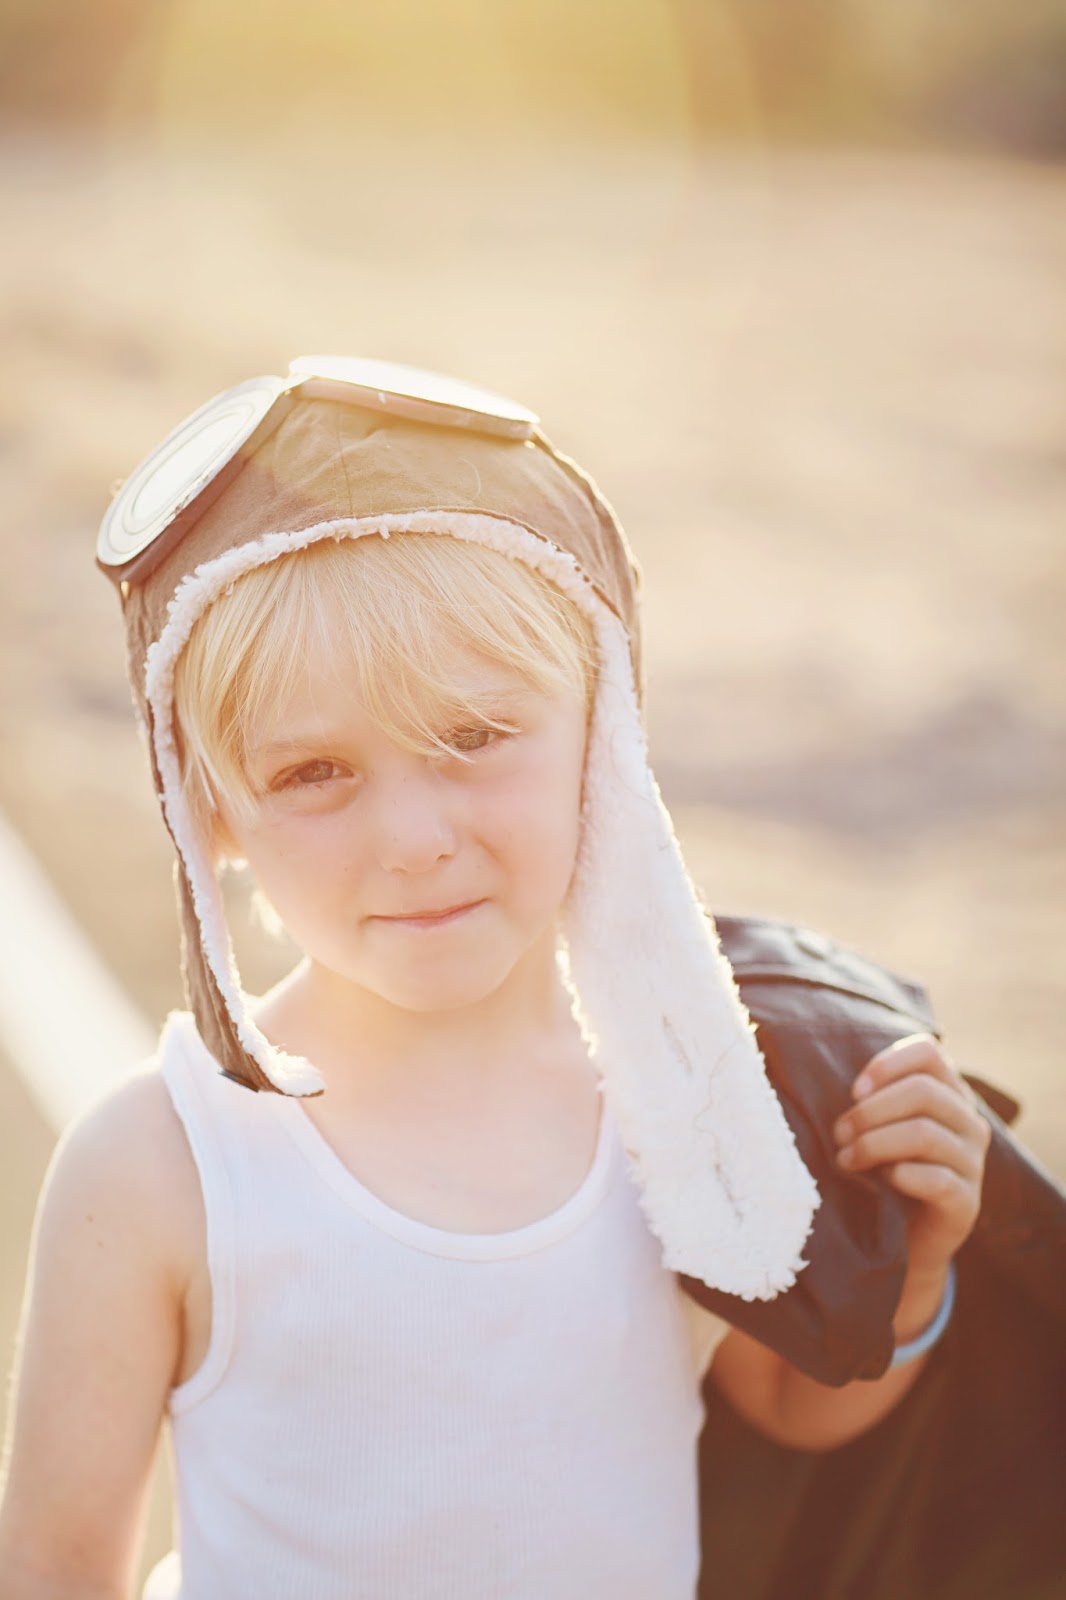
There are 16 different adjustment. Think of the adjustments as ingredients
- Ingredients by them selves are great but putting them together makes them even better.
- To much of any one ingredient can ruin the recipe so use them wisely
- You will use the ingredients/adjustments to create different recipes.
- You won’t use all of them each time.


_____________________________________________________________________________
- The main editing tools are on the right hand side of your photoshop and appear as little icons.
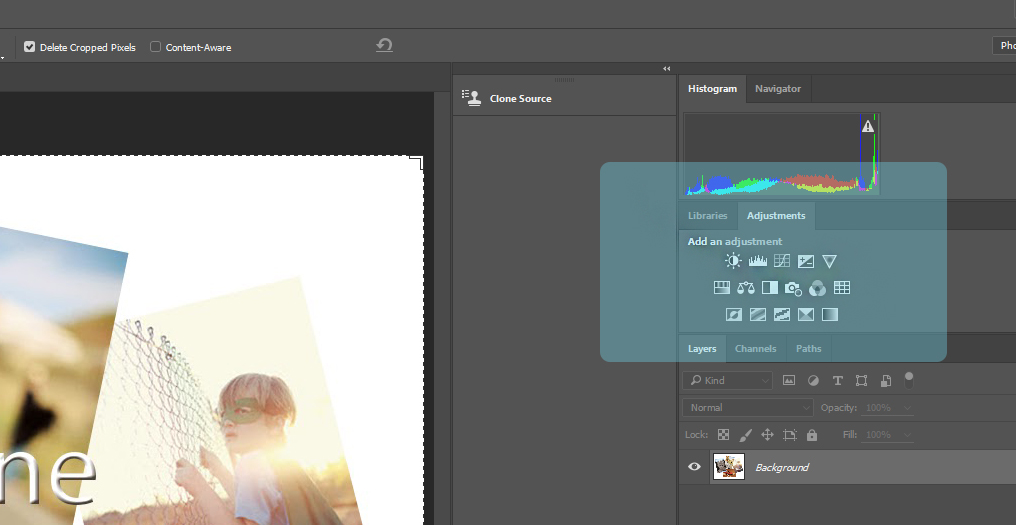
- If you can not see the adjustment icons go to Window and make sure the adjustment has a check mark by it. Anytime something has disappeared from photoshop, go to Windows at the top and make sure that it is checked.

The 5 Main Adjustments
Brightness/Contrast

The Brightness/Contrast adjustment layer is the simplest way to adjust the exposure or contrast of an image. Drag the Brightness slider to the right to brighten things, drag it to the left to darken things. It’s the same for the Contrast slider: drag it to the right to add contrast, drag it to the left to take it away.
Levels

Controls the darks, lights and mid-tones of your image
Curves

The Curves adjustment layer is the most powerful (and advanced) way to modify exposure and contrast. It’s a bit beyond most beginners, however it’ll frequently pop up in Photoshop tutorials, so it’s worth knowing.
Click anywhere on the slope to add a point. Drag the point up to brighten the corresponding tones; down to darken them. You can add as many points as you need. By manipulating which points you drag up, and which you drag down, you can add contrast to the image.
Hue/Saturation

The Hue/Saturation adjustment layer is a simple way to adjust the colors in your image. Every color has a hue, saturation, and lightness value. The Hue/Saturation adjustment layer’s sliders correspond to them. Drag the relevant slider around to manipulate that aspect of the colors.
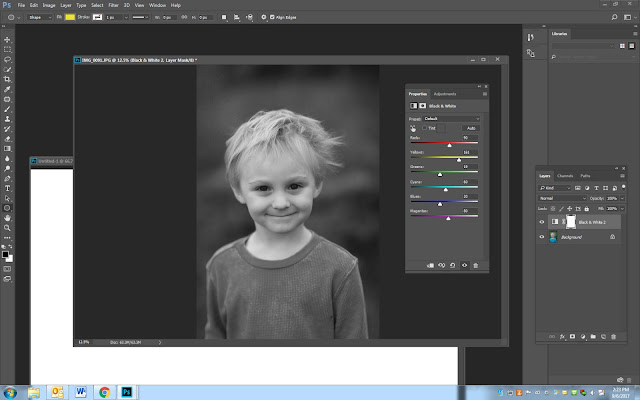
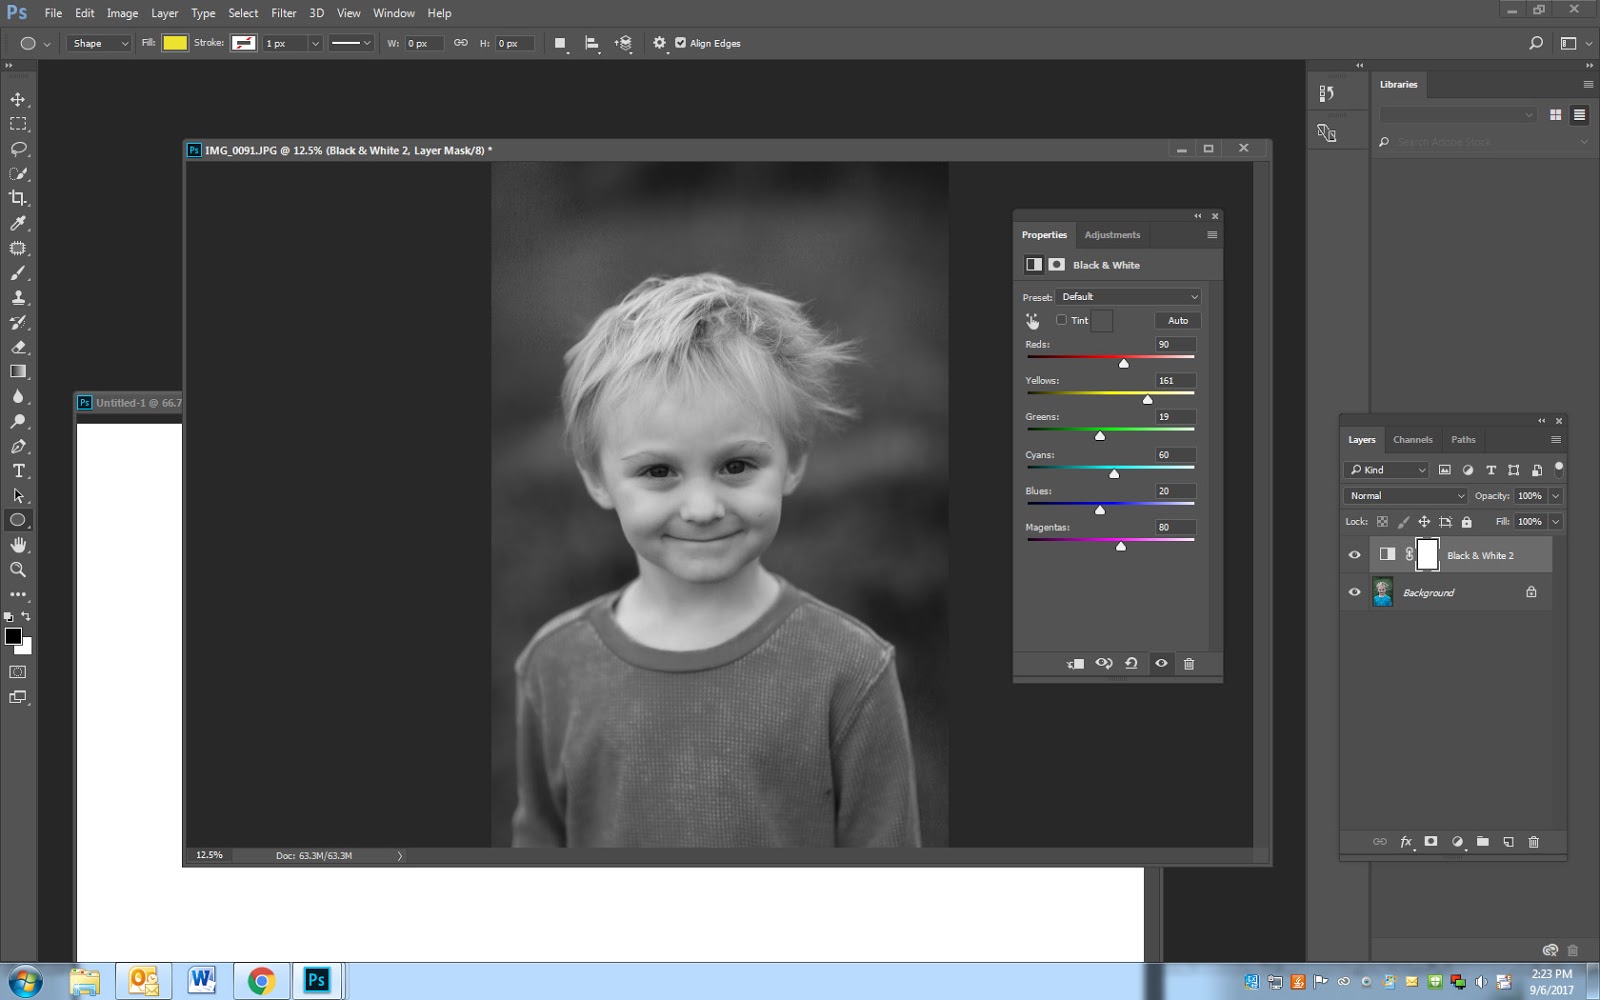
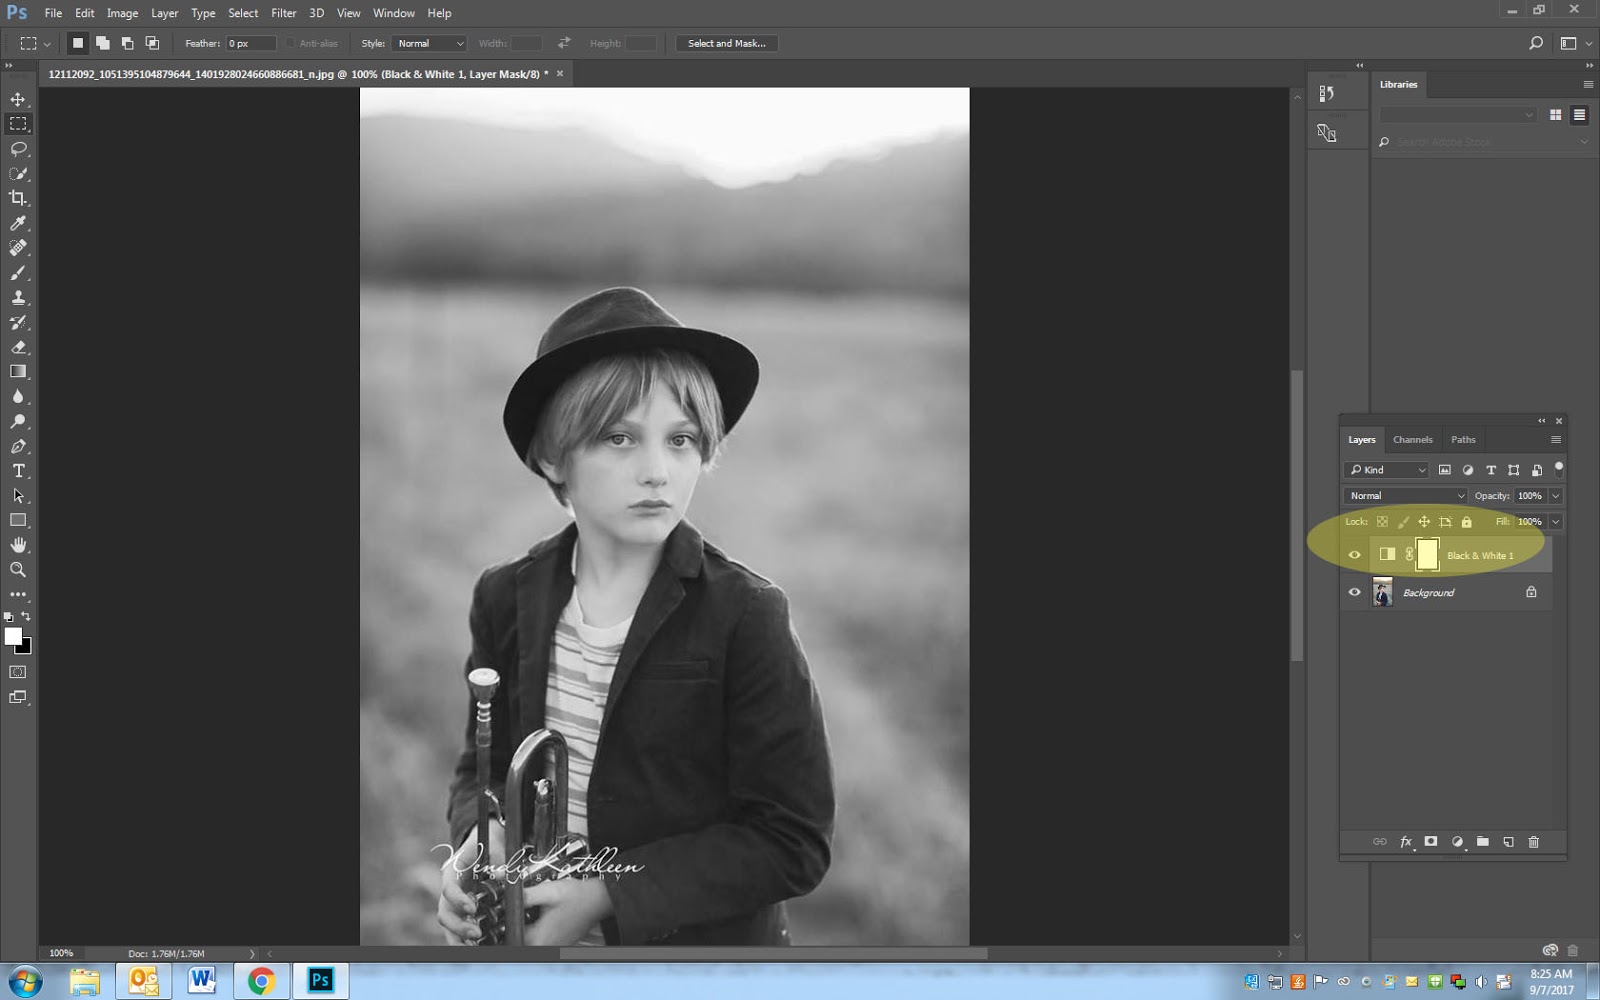
Black & White
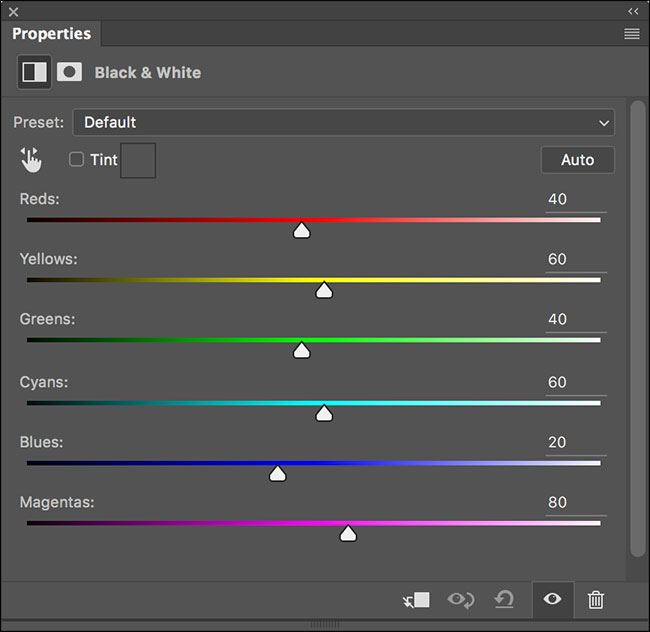
The Black & White adjustment. It has six sliders: one for each of Photoshop’s primary colors. Each slider controls how that color is converted into grayscale.
- Turn your image into Black and White
- When the colored sliders show up, slowly change them to fine tune your image.
_________________________________________________________________________________
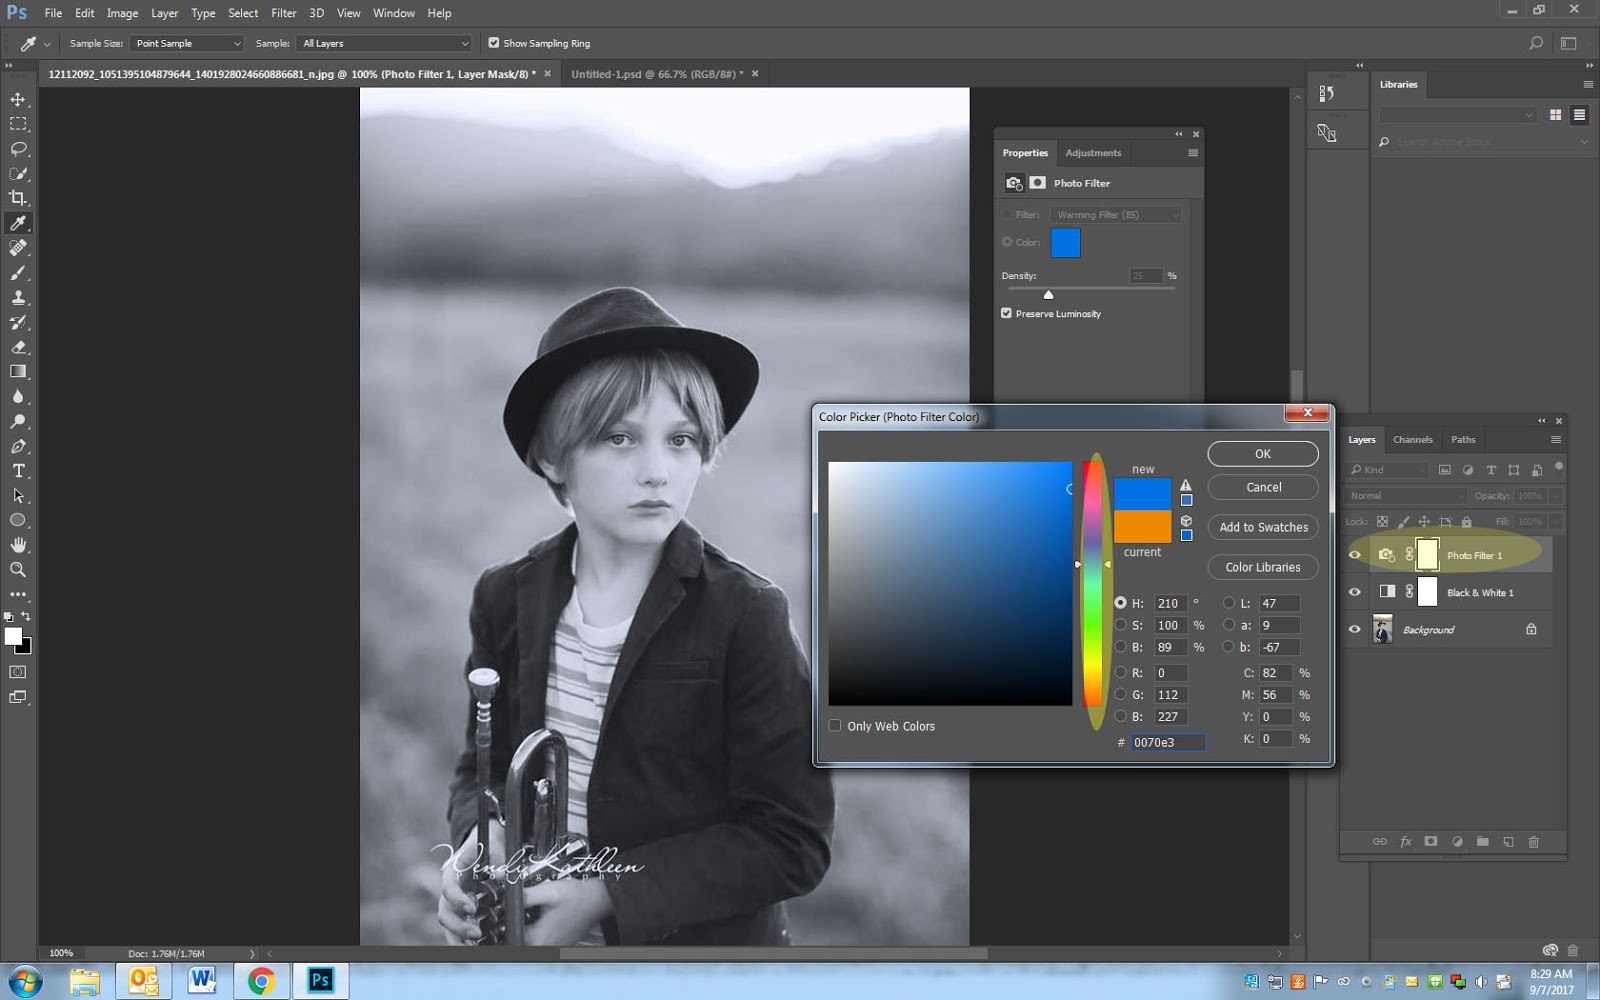
- Turn the photo black and white
- Add the Photo Filter adjustment
- Pick any color you like
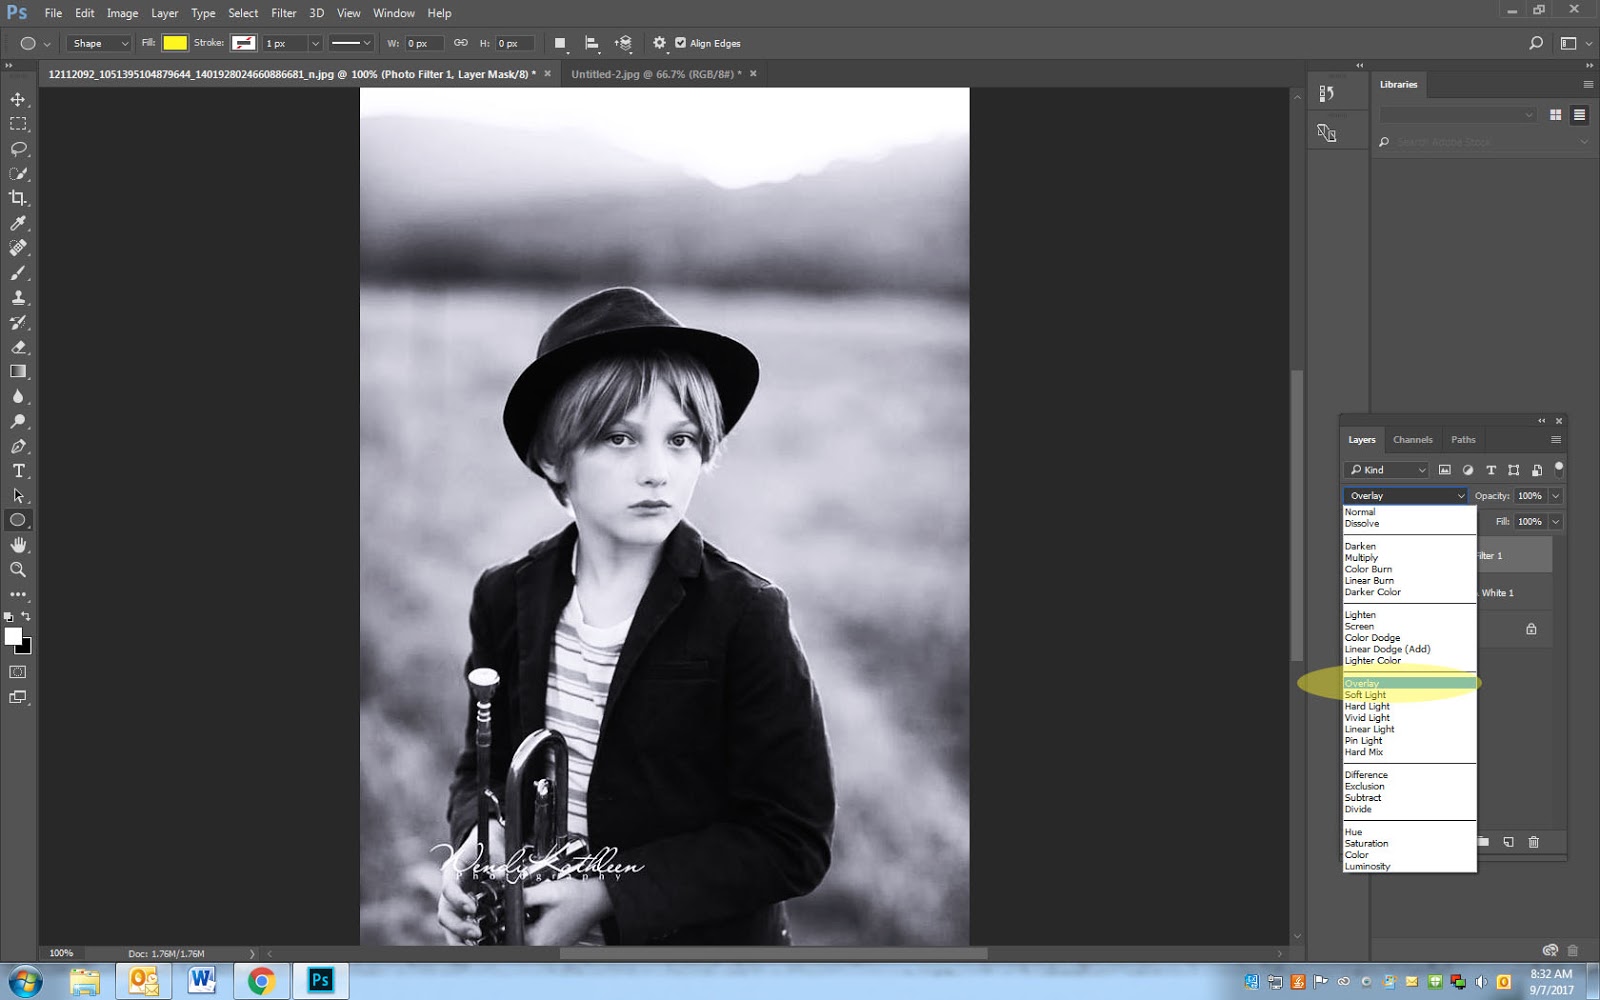
- If you would like your photo to be more dramatic do the following
- On the top of the layers pallet, change normal to overlay.
- Adjust the opacity sliders as desired.
_____________________________________________________________________________________
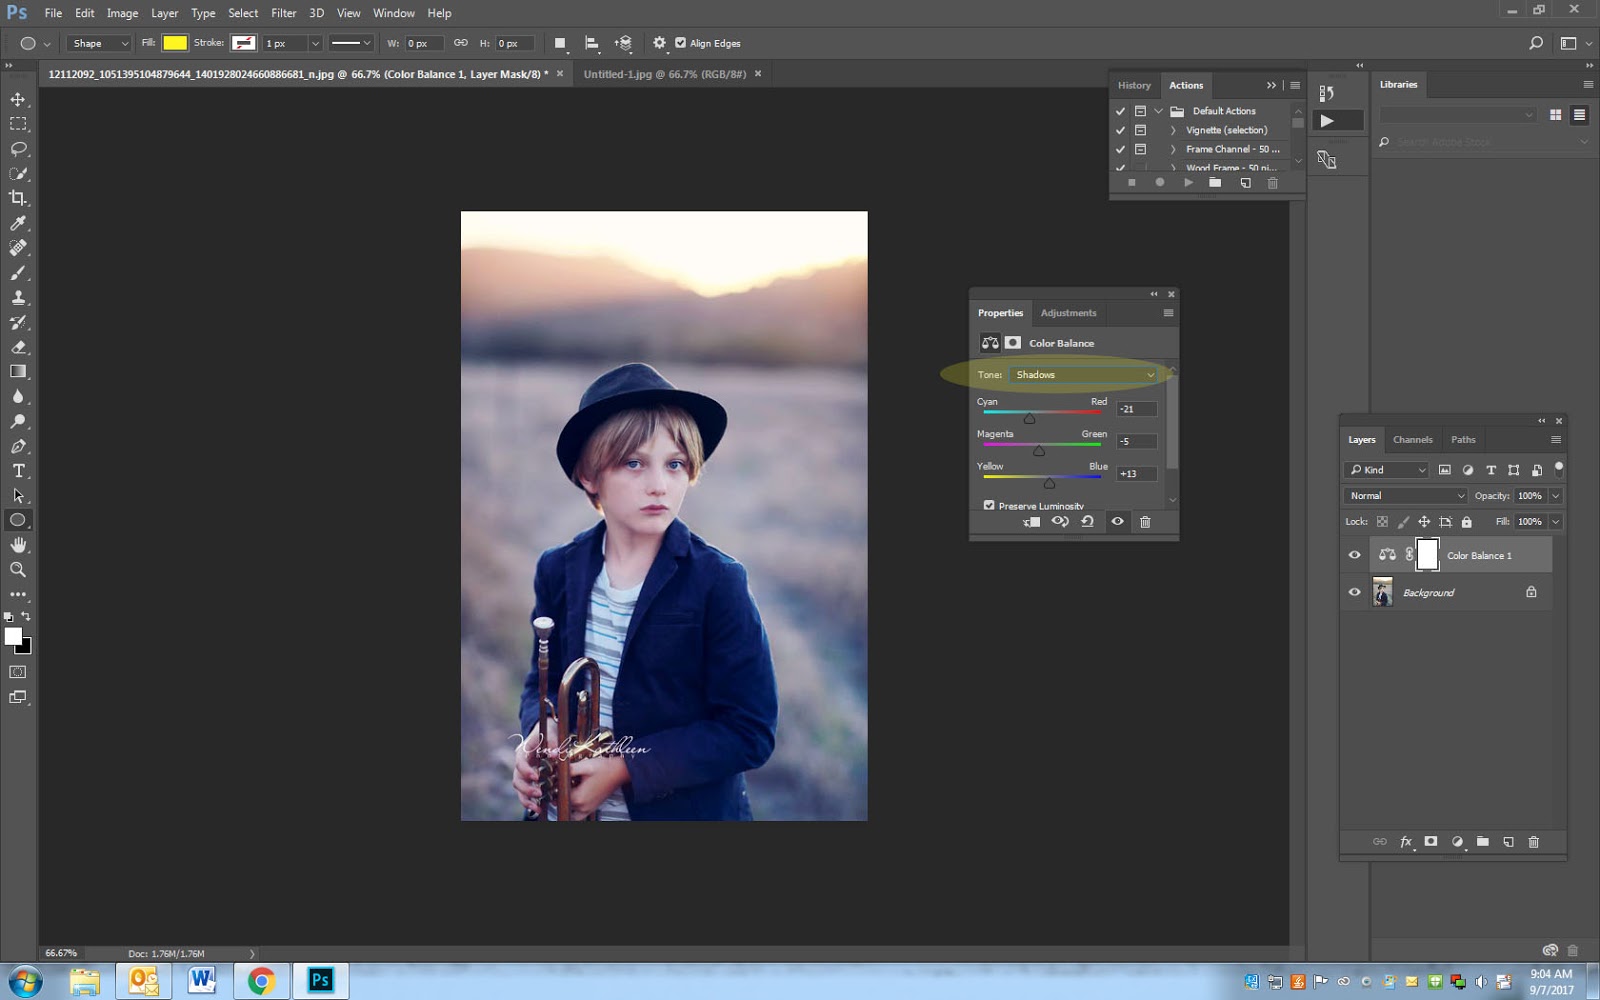
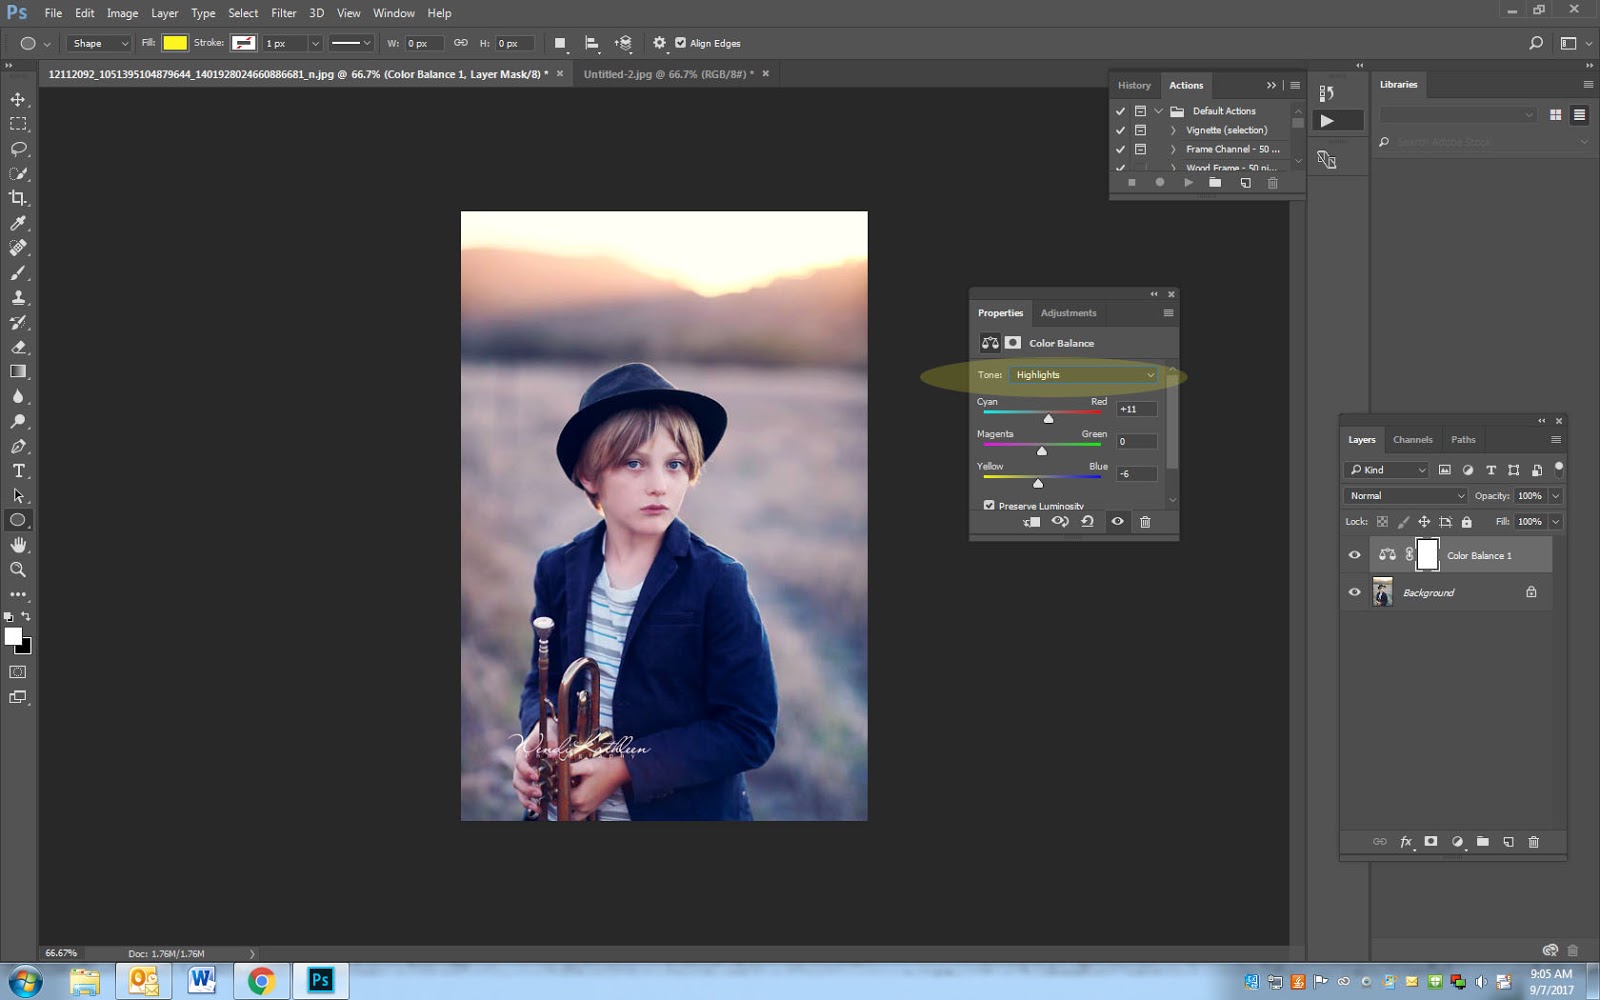
- Pick the Color Balance Adjustment
- Click on Tone and make sure Midtones is selected
- Slowly start playing with the sliders
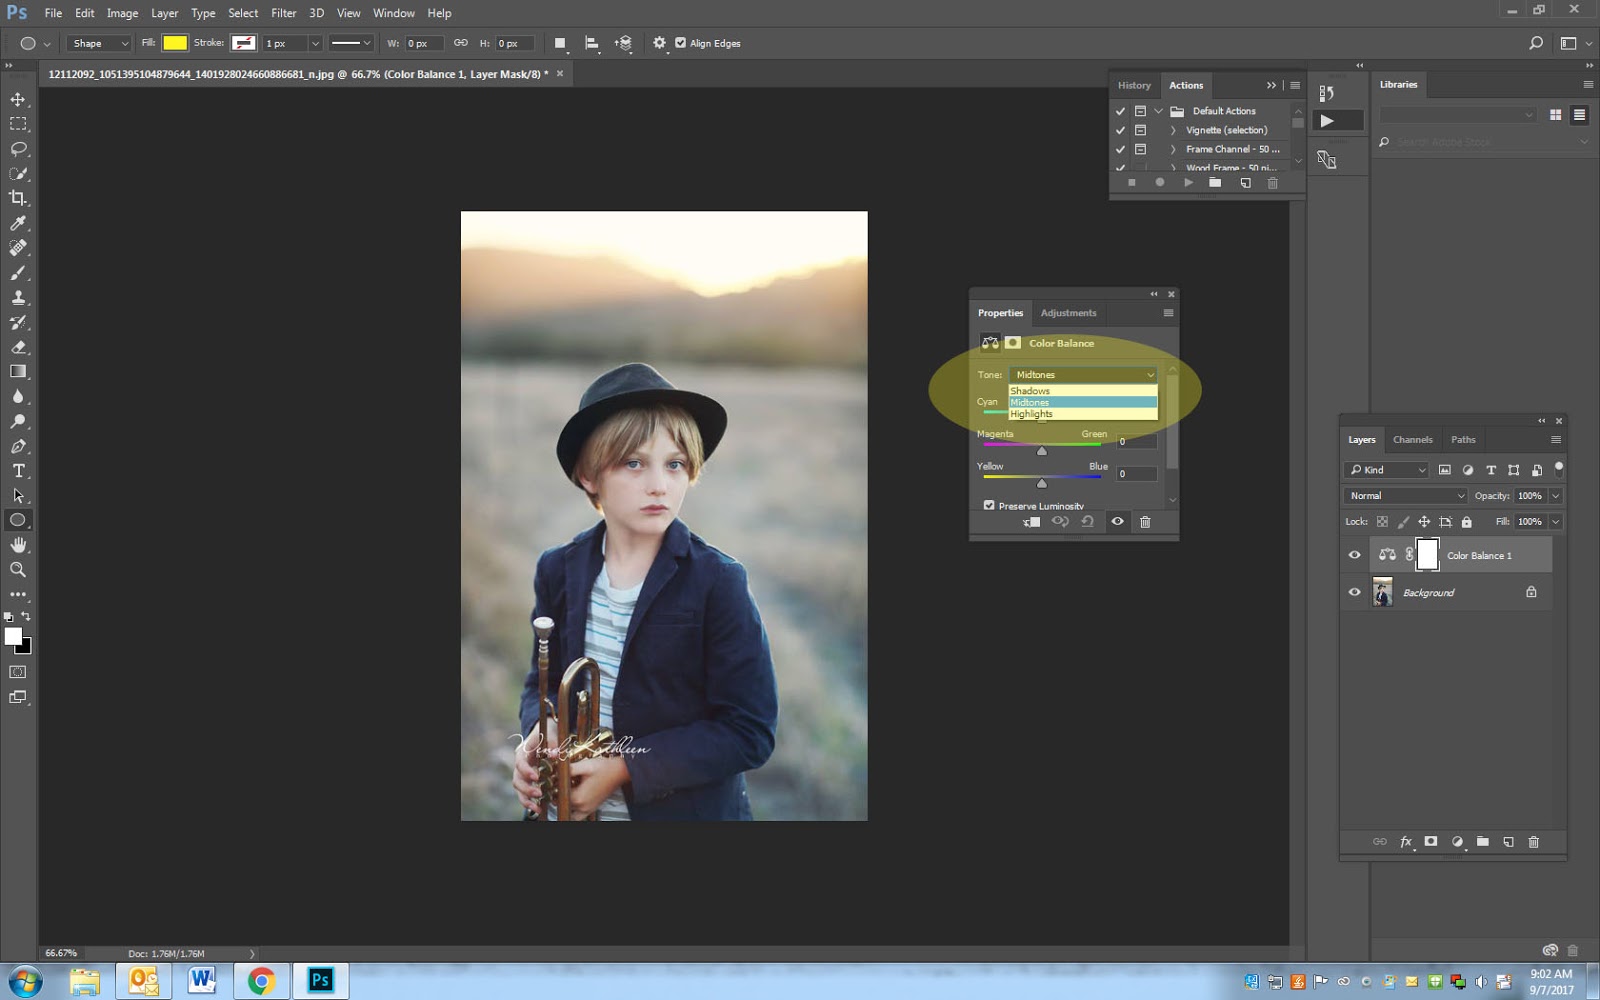
- Change mid-tones to Shadows
- Play with the sliders
- Change mid-tones to highlights
- Play with the sliders
Step 5
- To remove some areas back to the original image, click on the white mask (concealing) them pick a black brush (reveal) and paint back. For this example I painted back in his eyes to brighten them.


