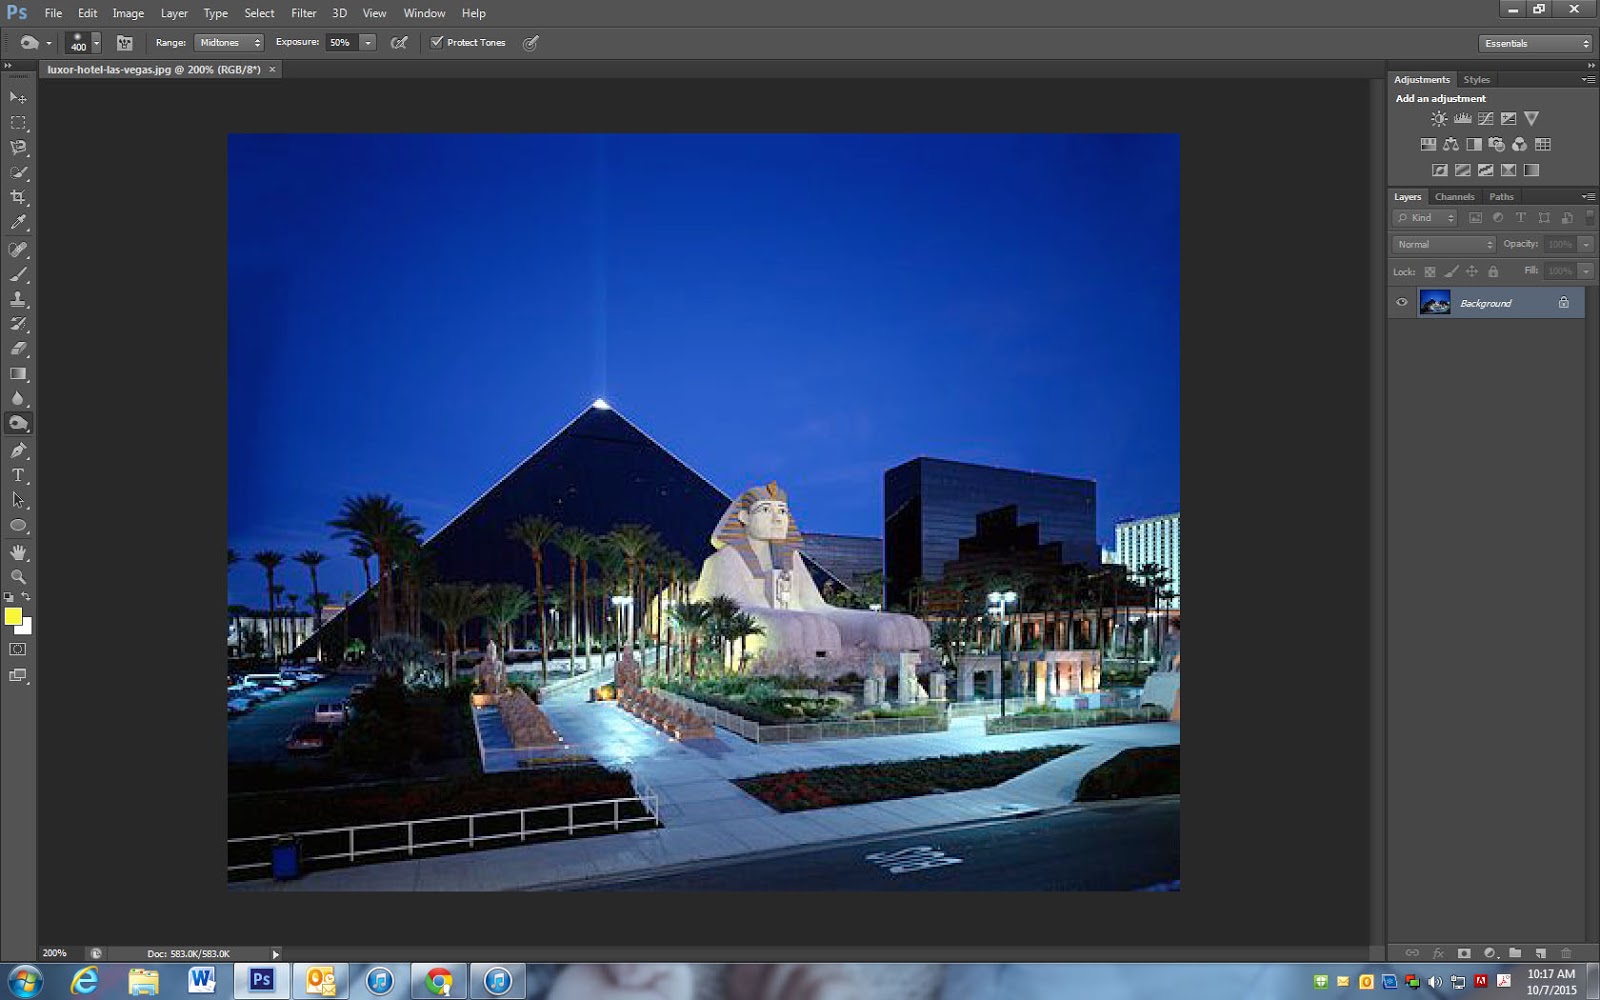
Step 1
- Open photo in photoshop
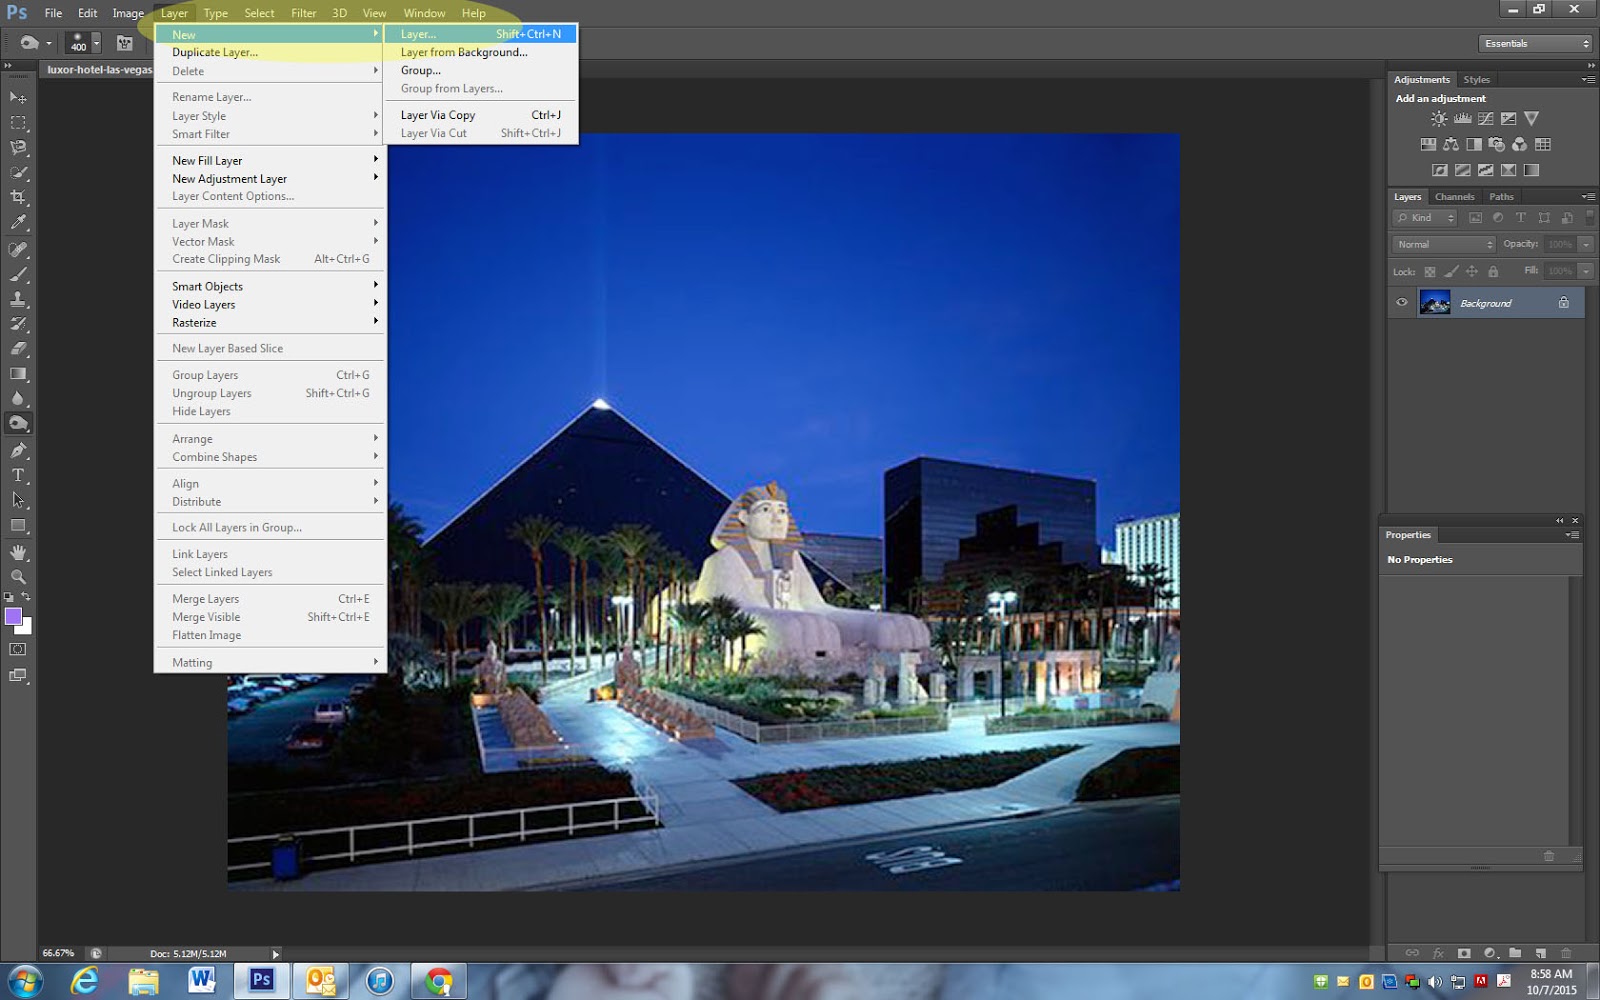
Step 2
- Go to the top of photoshop and click Layer- New- Layer
Step 3
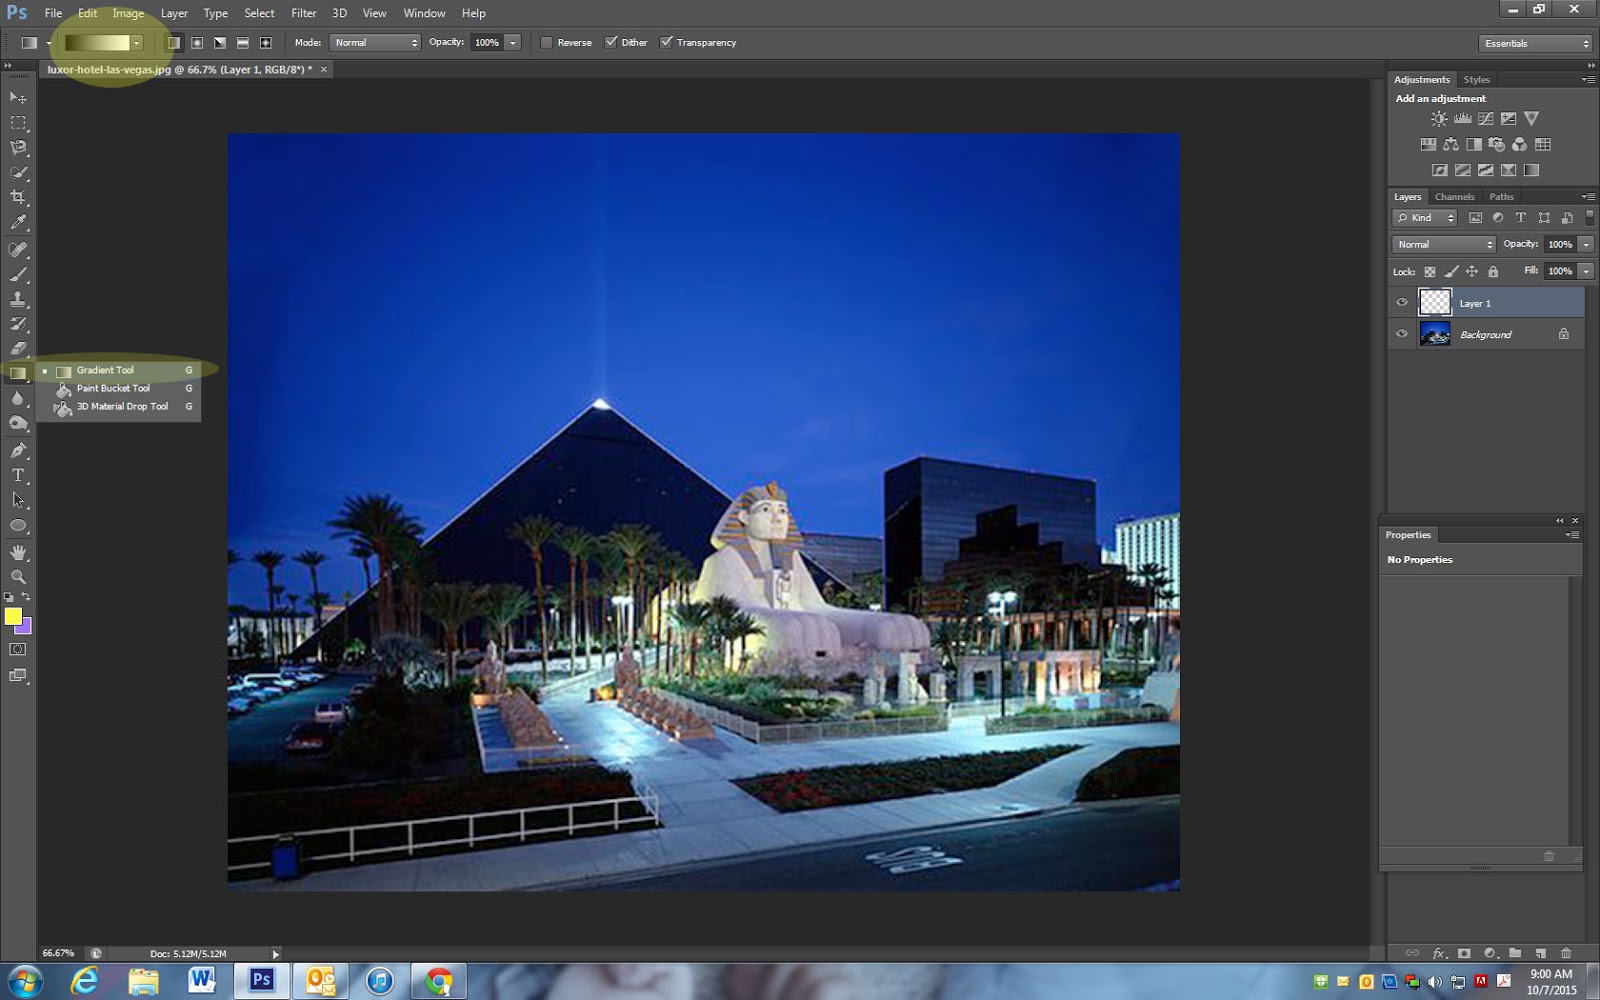
- You will now be on a new layer called Layer 1
- Click the Gradation icon on the right side. It is right below the eraser tool
- Make sure it shows only black and white at the top left. If it doesn’t, just click and change it to the black and white box.
Step 4
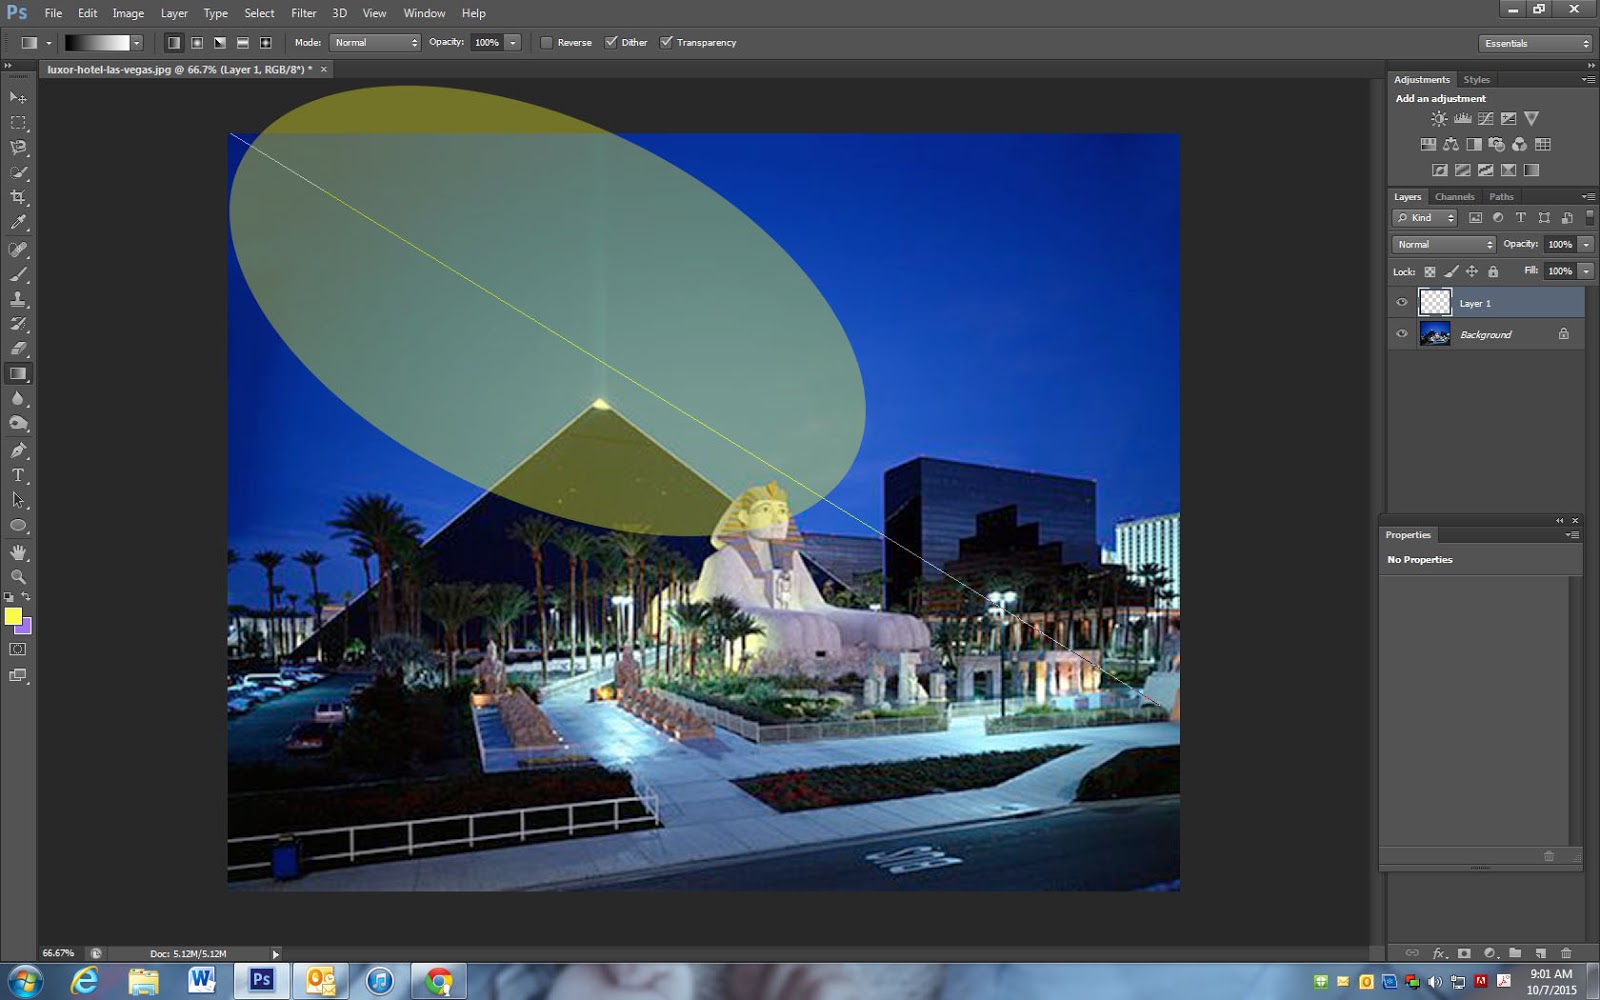
- Starting on the top left corner of your photo, click and drag your mouse to the bottom right corner.
- You will see a line go across your photograph
- Your photo will then be completely black and white (see photo under step 5)
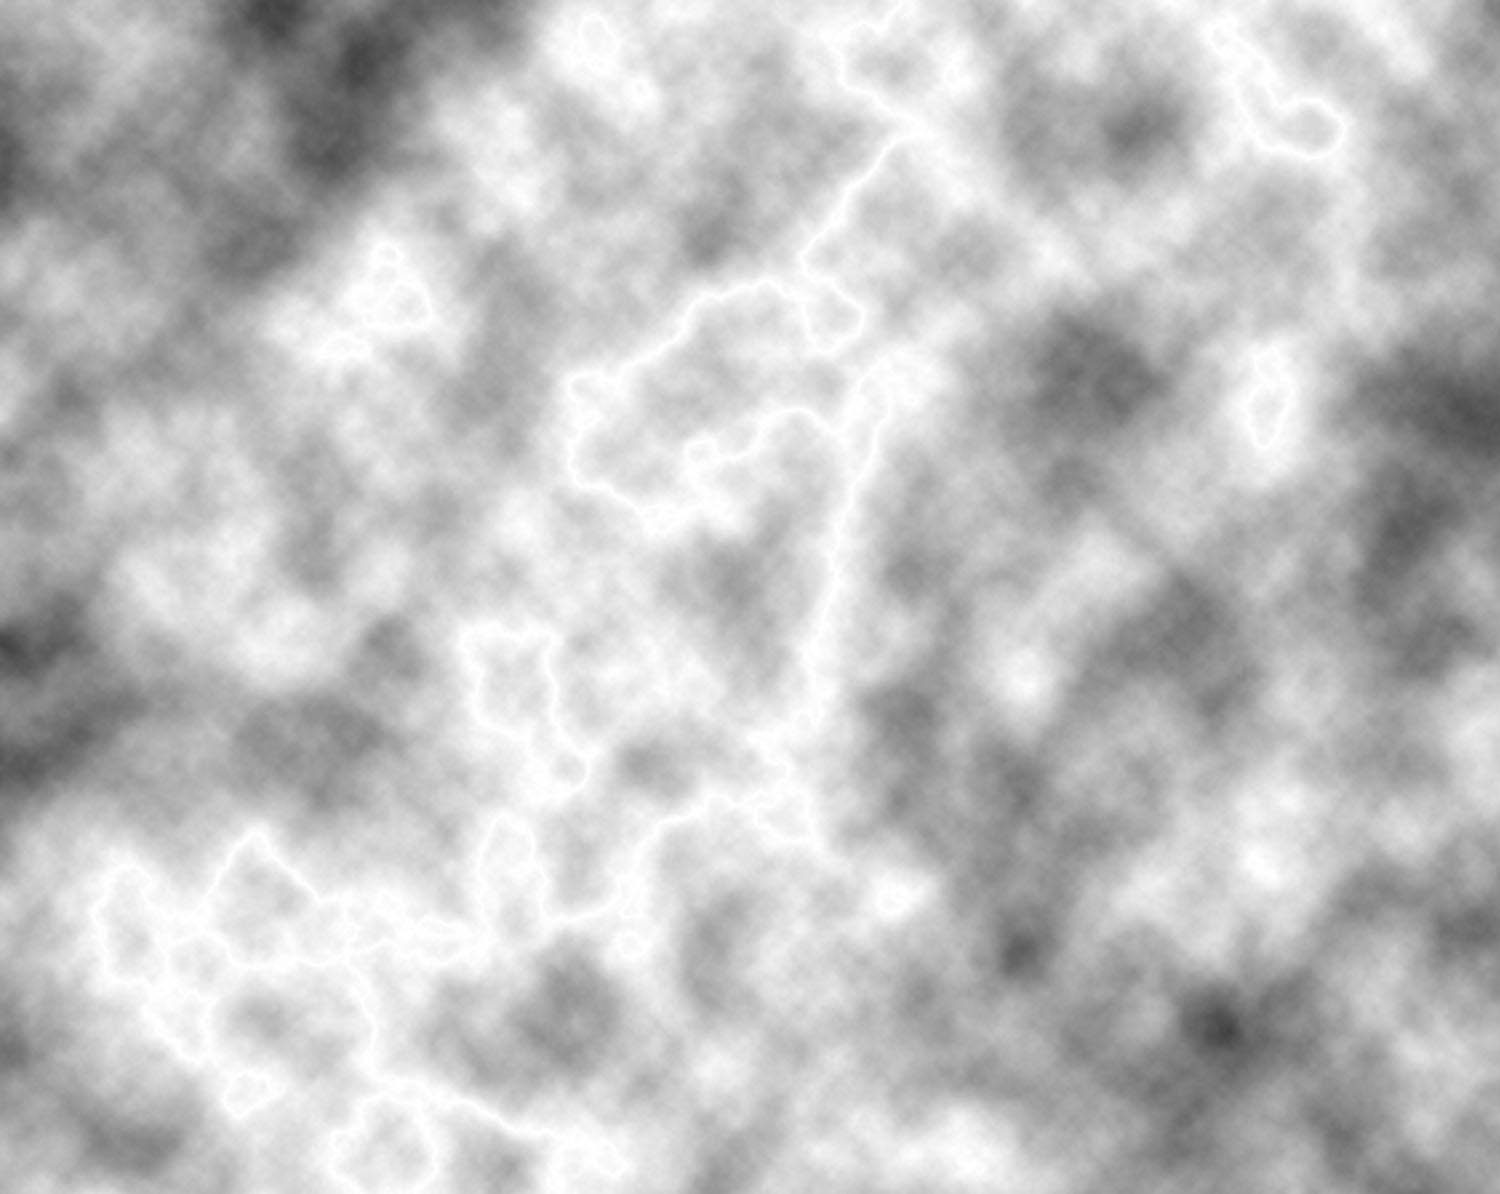
Step 5
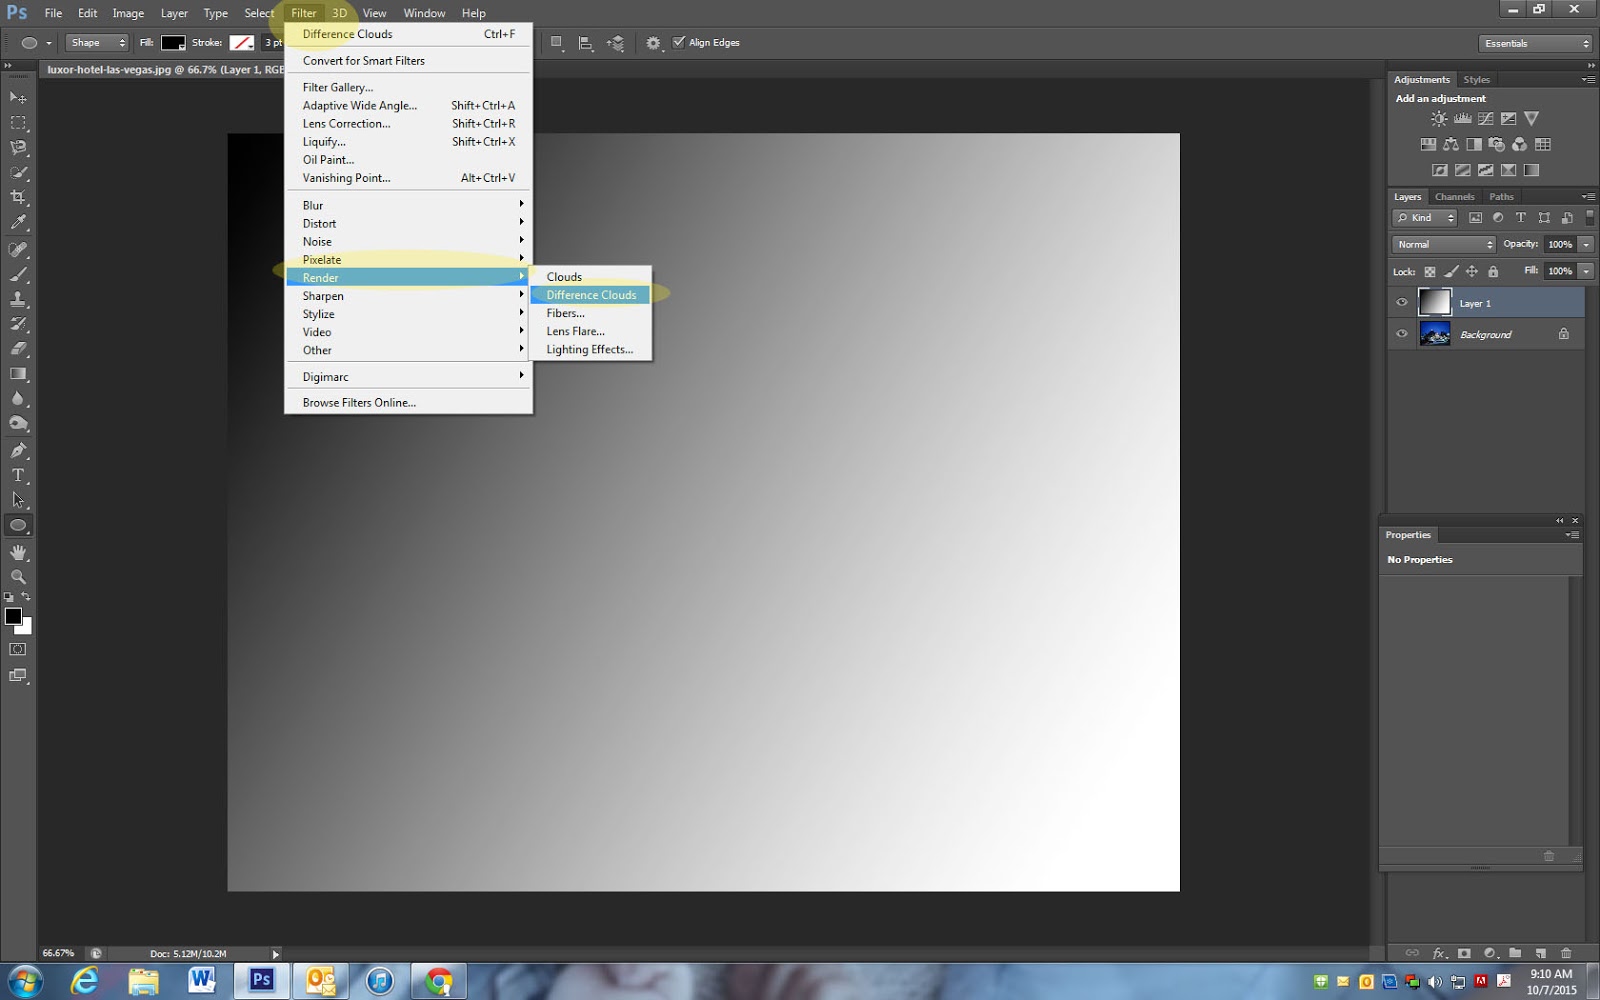
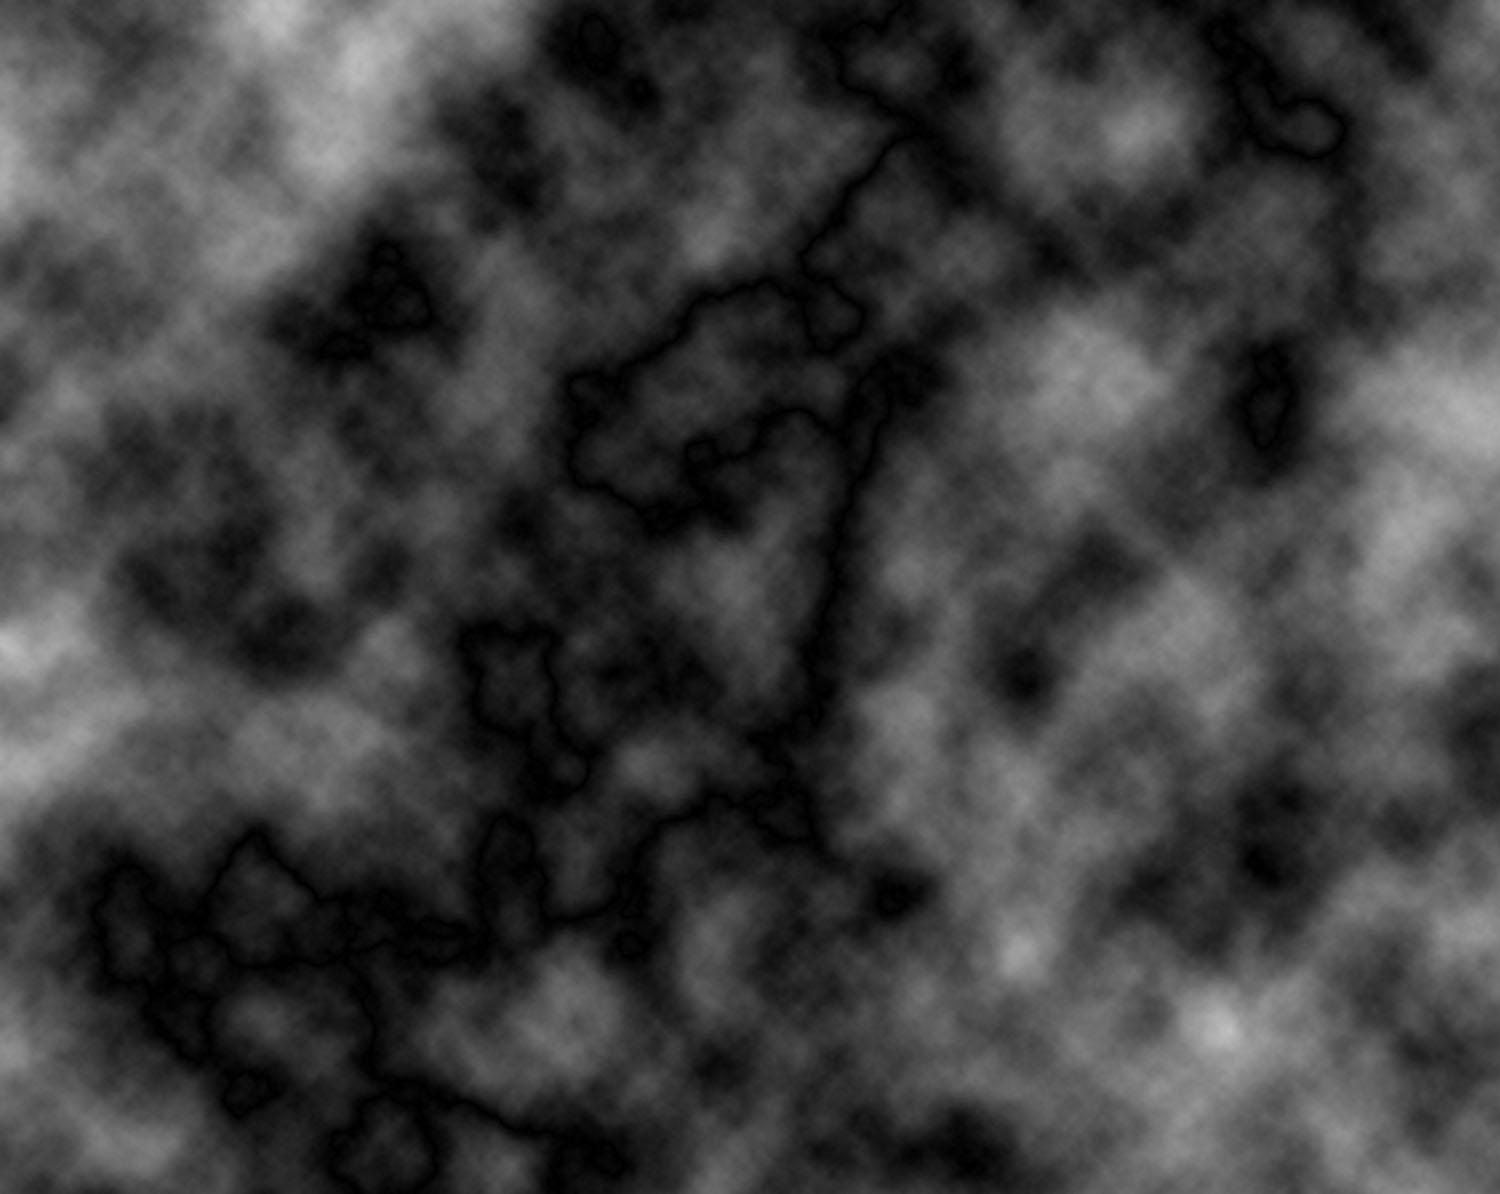
- Go to Filter- Render- Difference Clouds
- Your photo will now look like black and white clouds (see photo below)
Step 6
- Click Control +i
- This will allow the lightening to start to show through
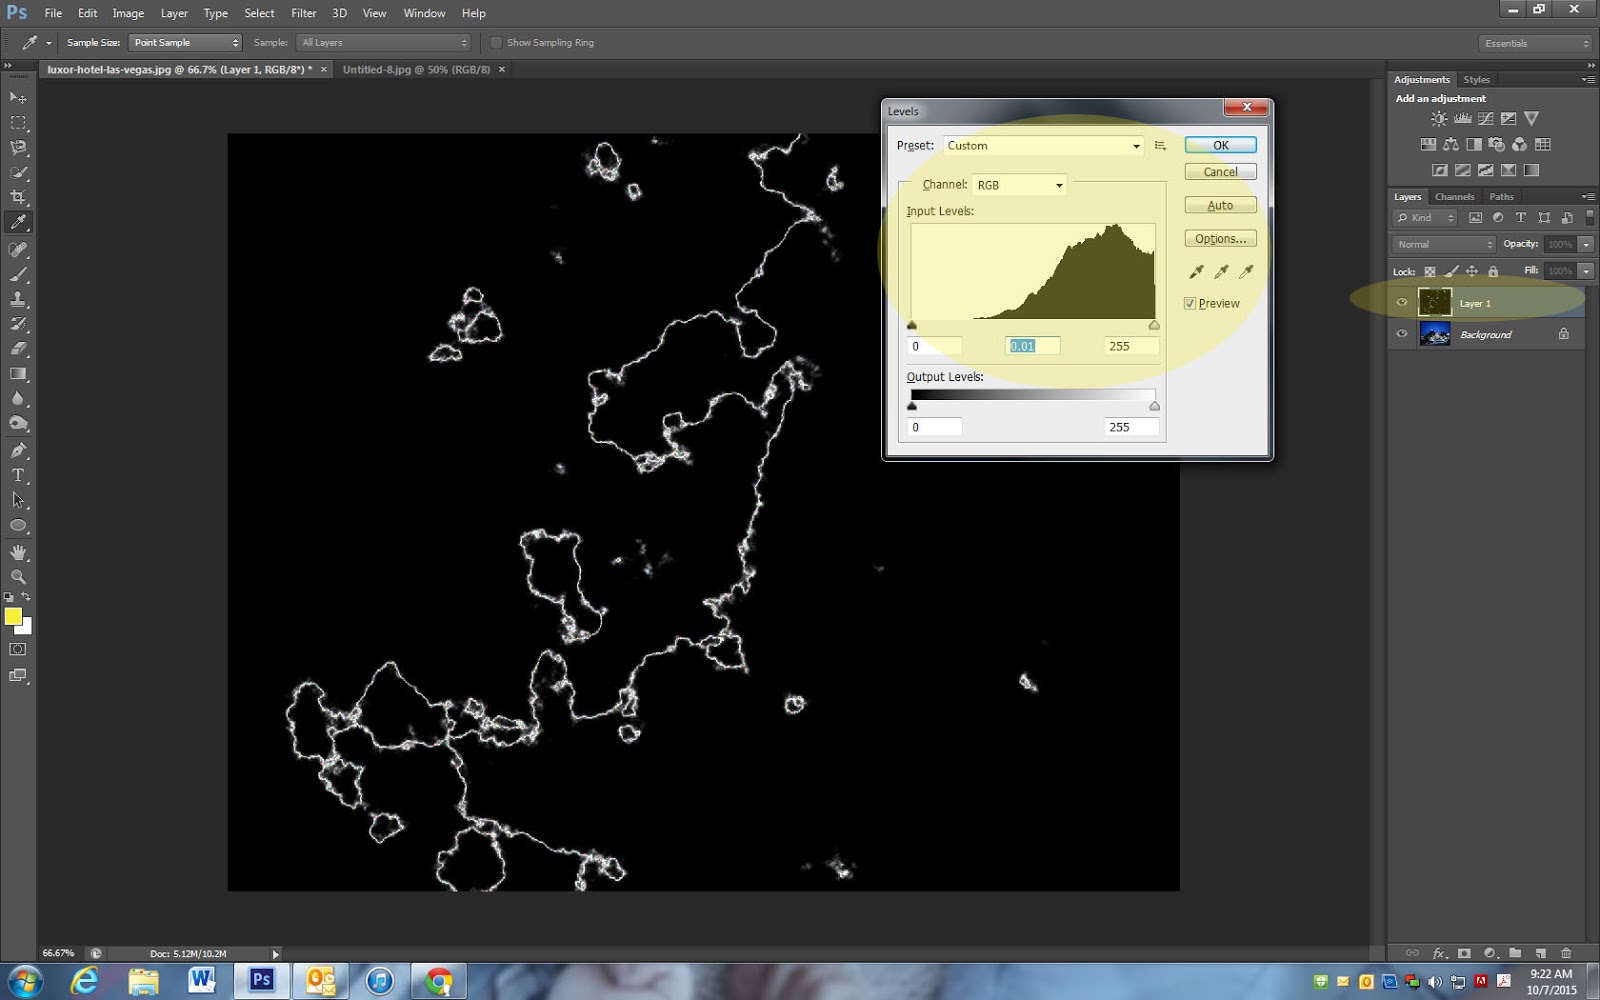
Step 7
- Click Control + L
- This will bring up the layers adjustment
- Drag the middle lever toward the right until the photo is black with white lines
- Click ok
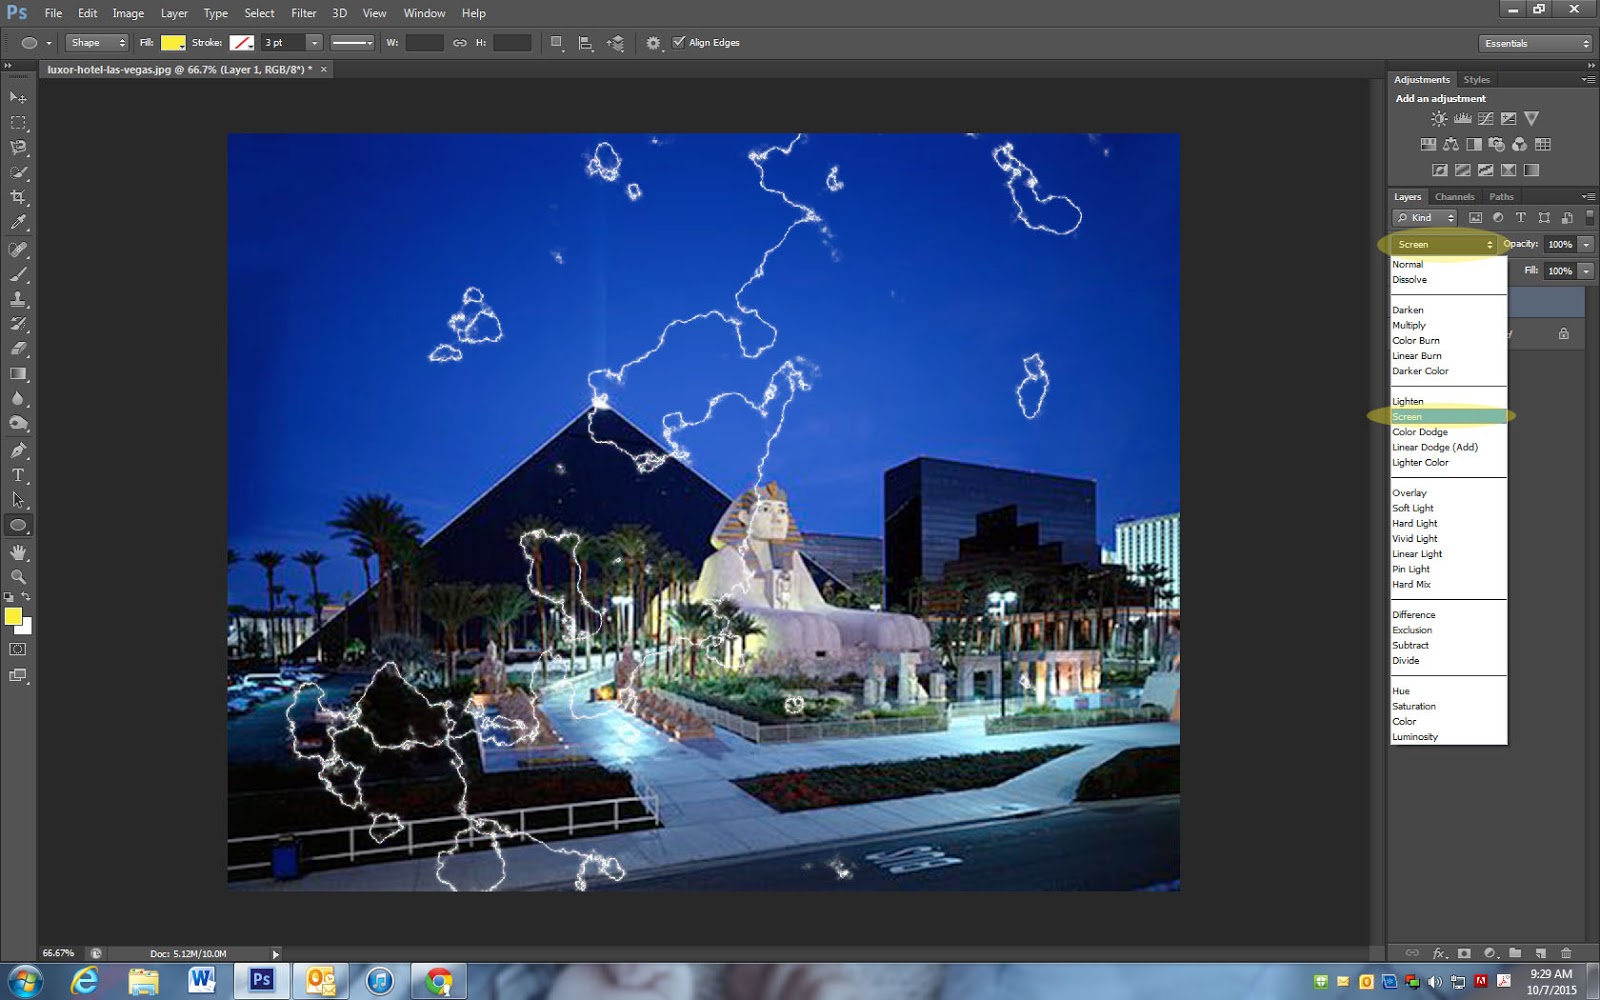
Step 8
- On the top of the Layers Pallet change Normal to Screen
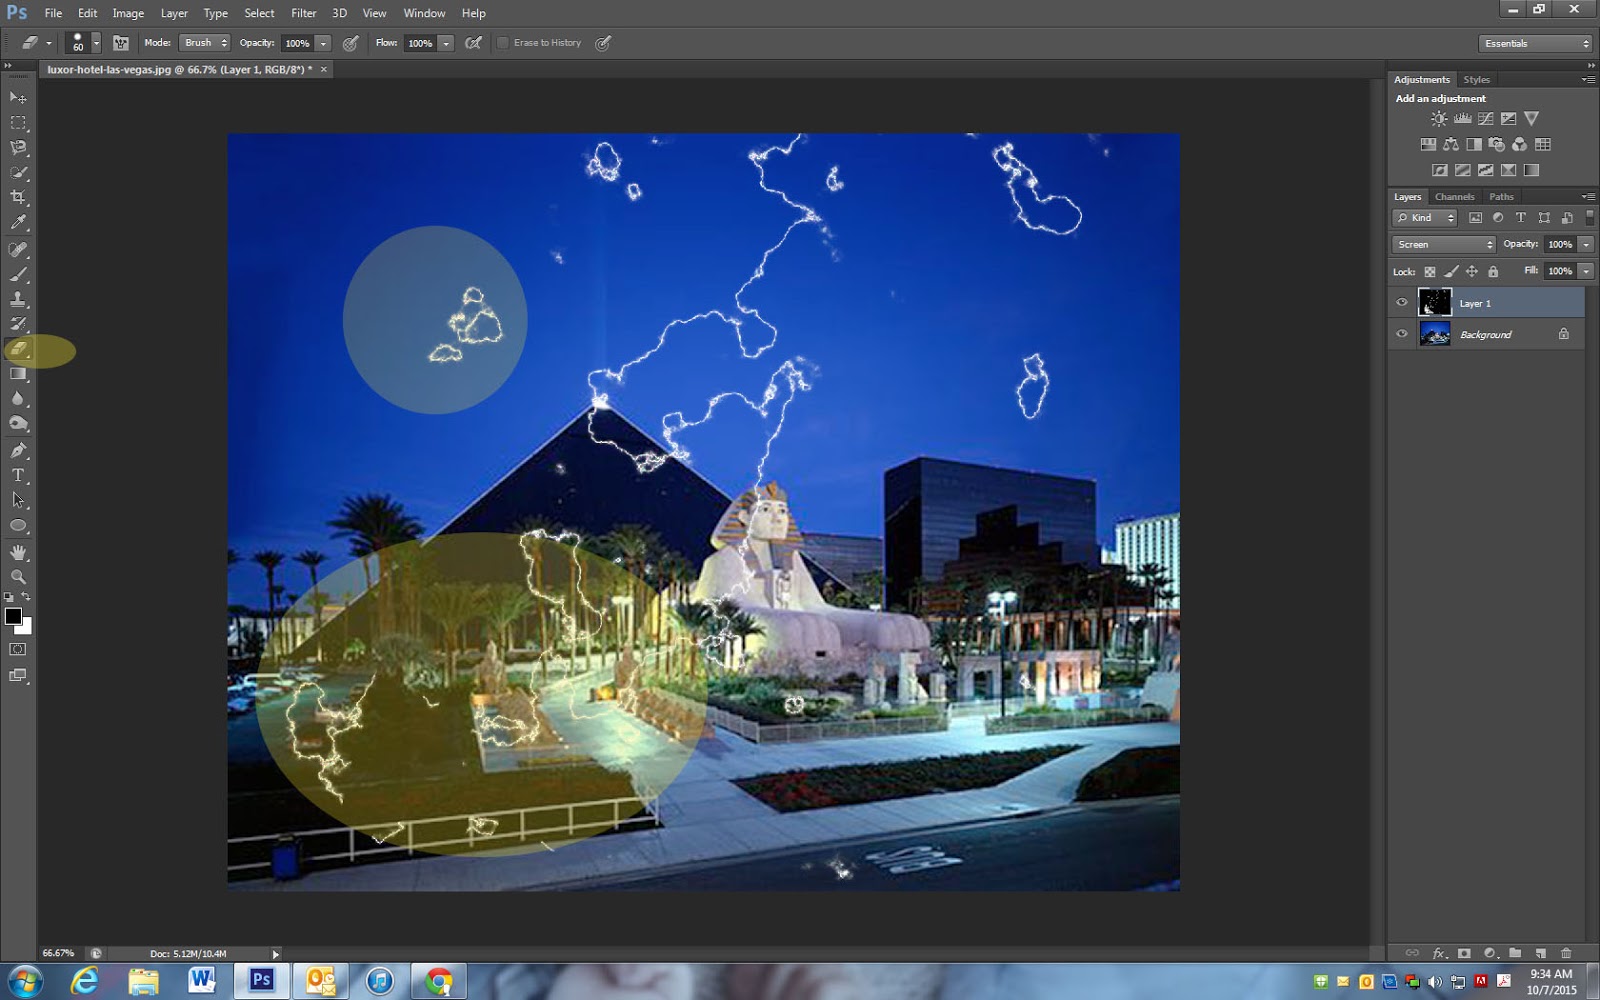
Step 9
- Click on the Eraser Tool
- Begin to erase any areas of lightening you do not want to show up in your final image
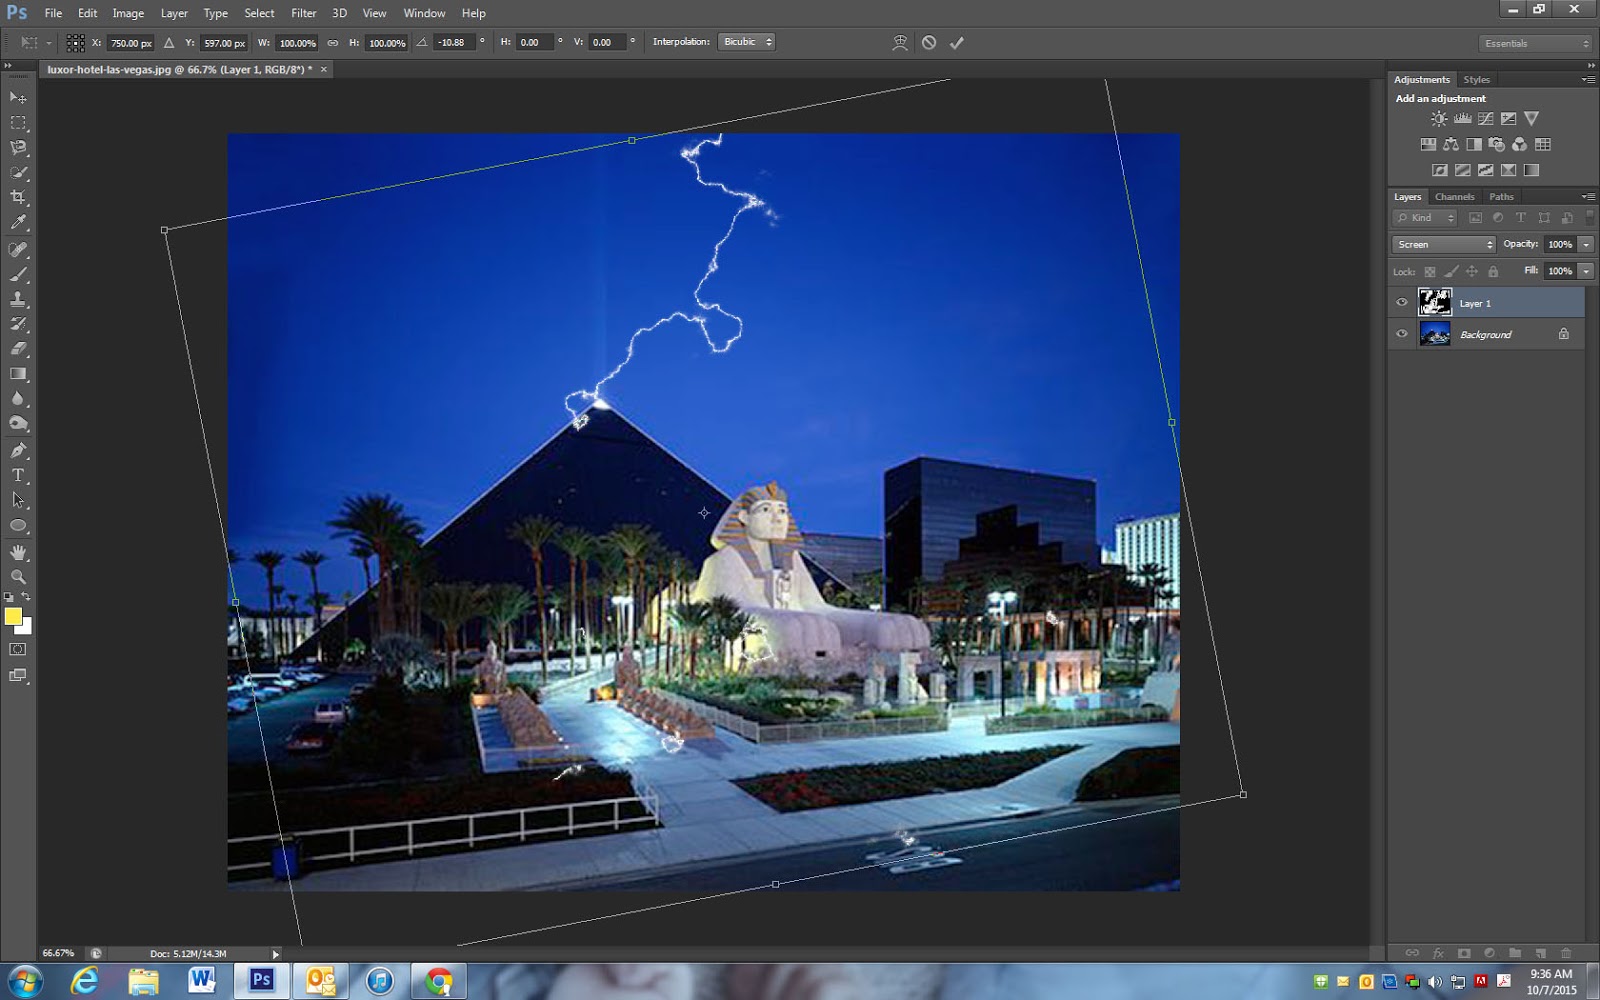
Step 10
- Click Control + T
- Turn your lightening in different directions until you achieve the look you want
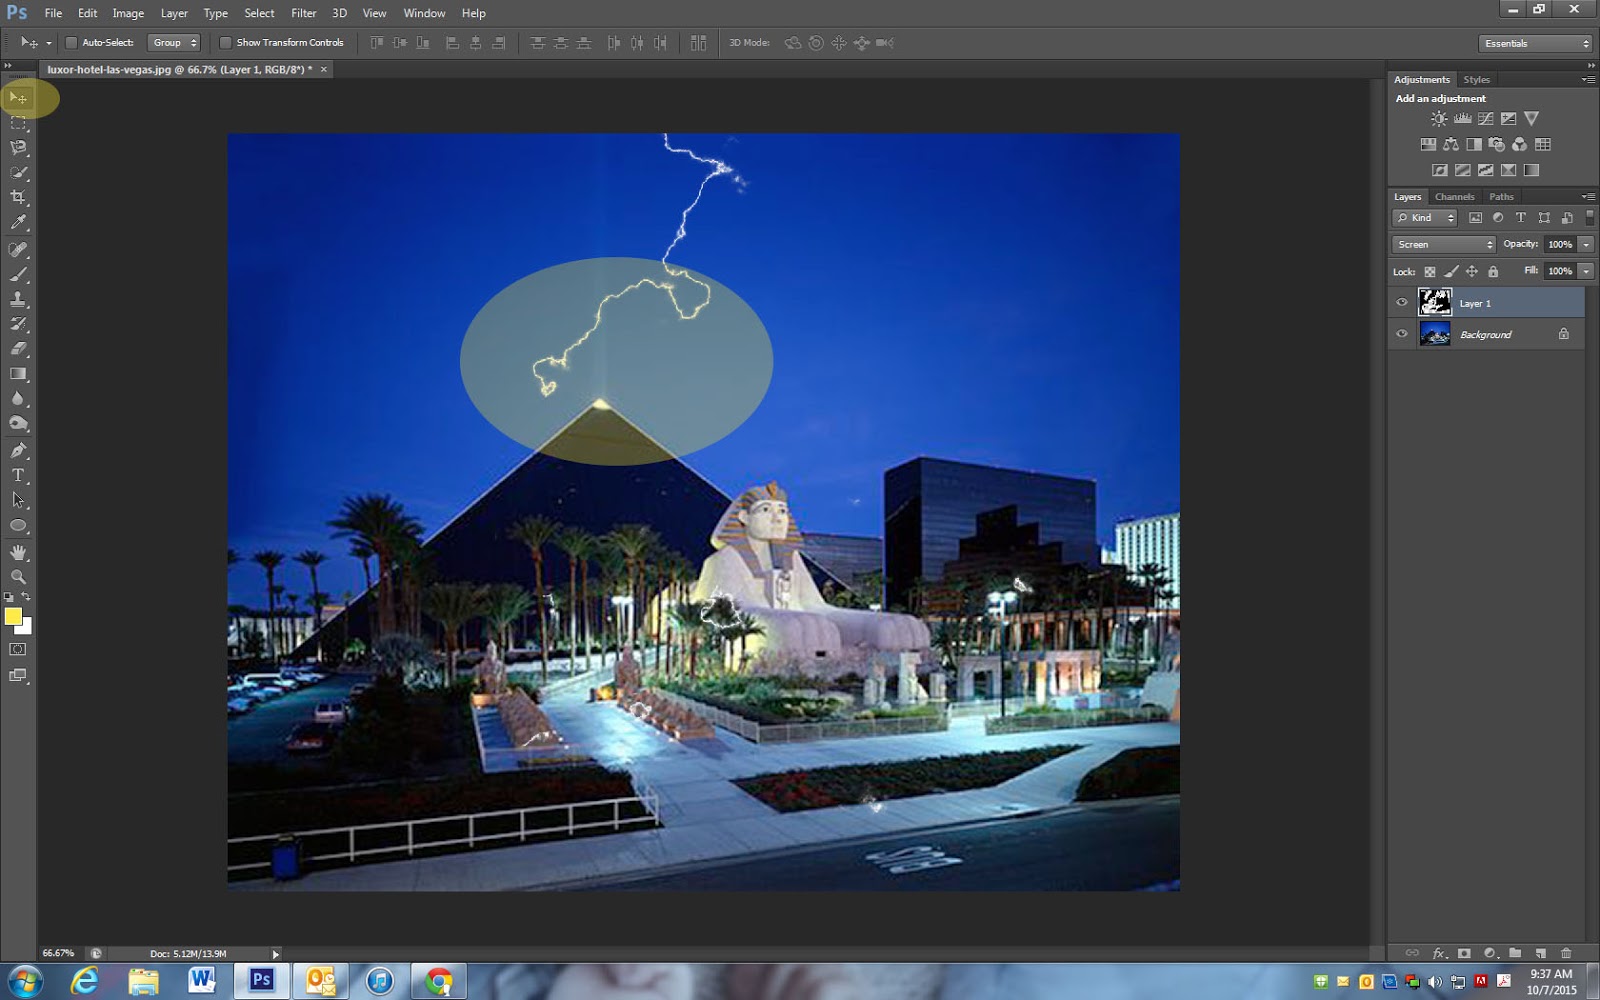
Step 11
- Use the Move tool to move the lightening where you would like it.
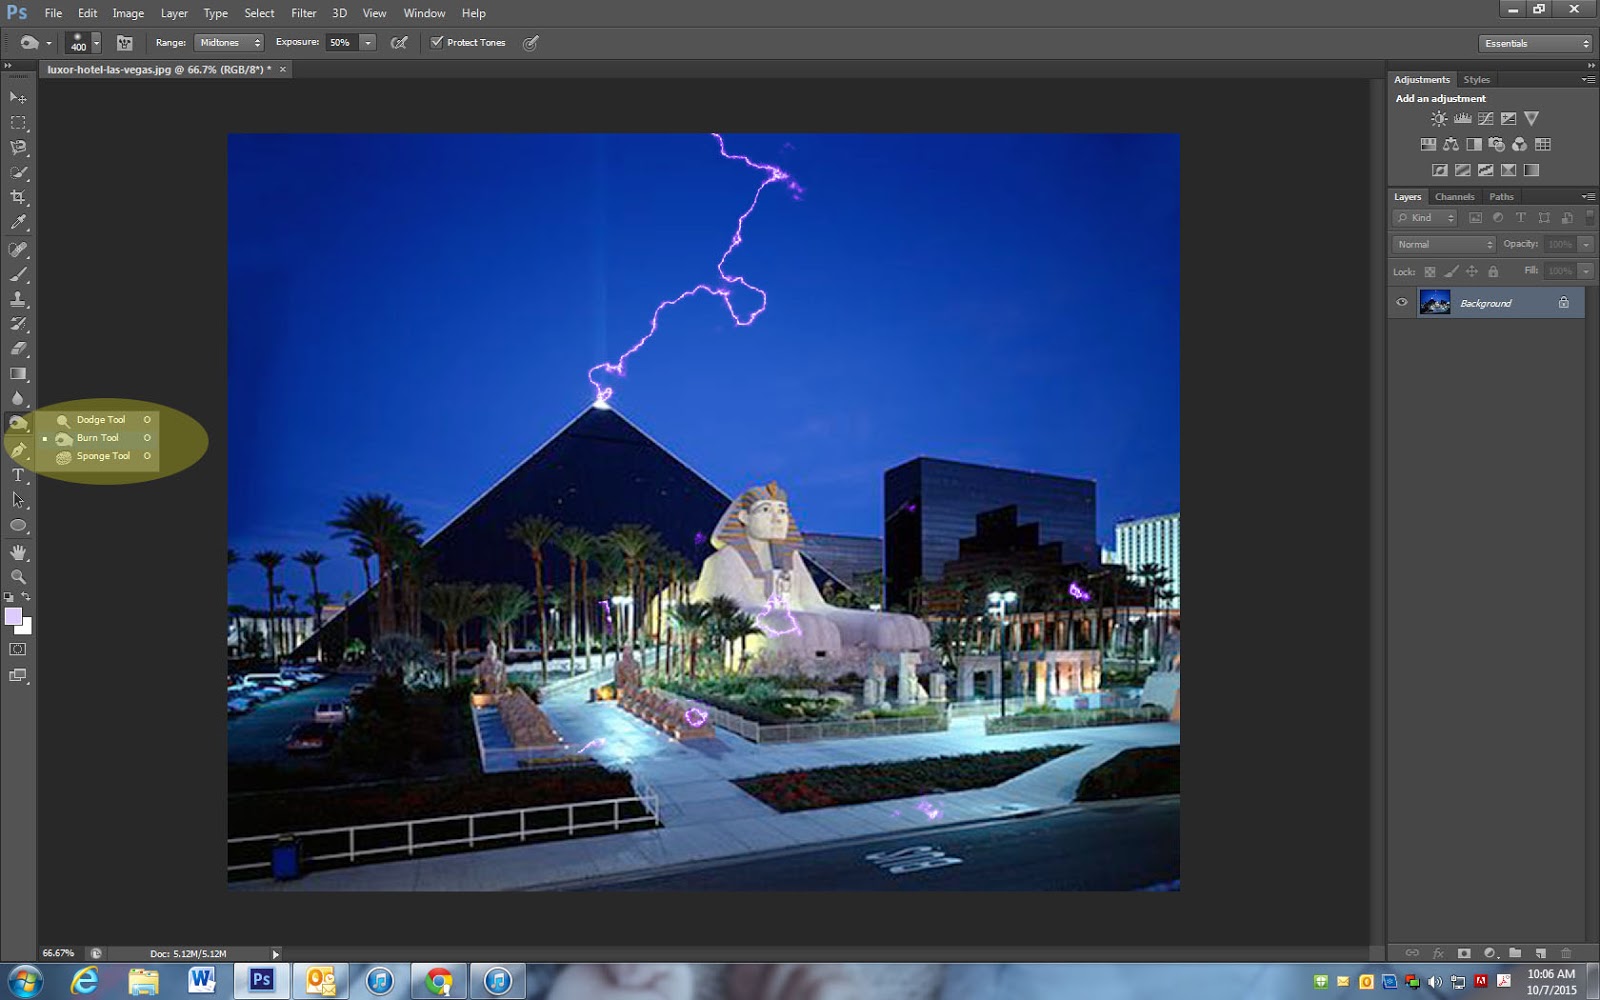
Step 12
- Right click on your background layer and merge visible (you will NOT be watermarking this as it is not your photograph)
- Click on the Burn tool. It allows you to darken parts of the photograph
- Make your brush large
- Begin to Burn the outside of your photograph and some of the inside.
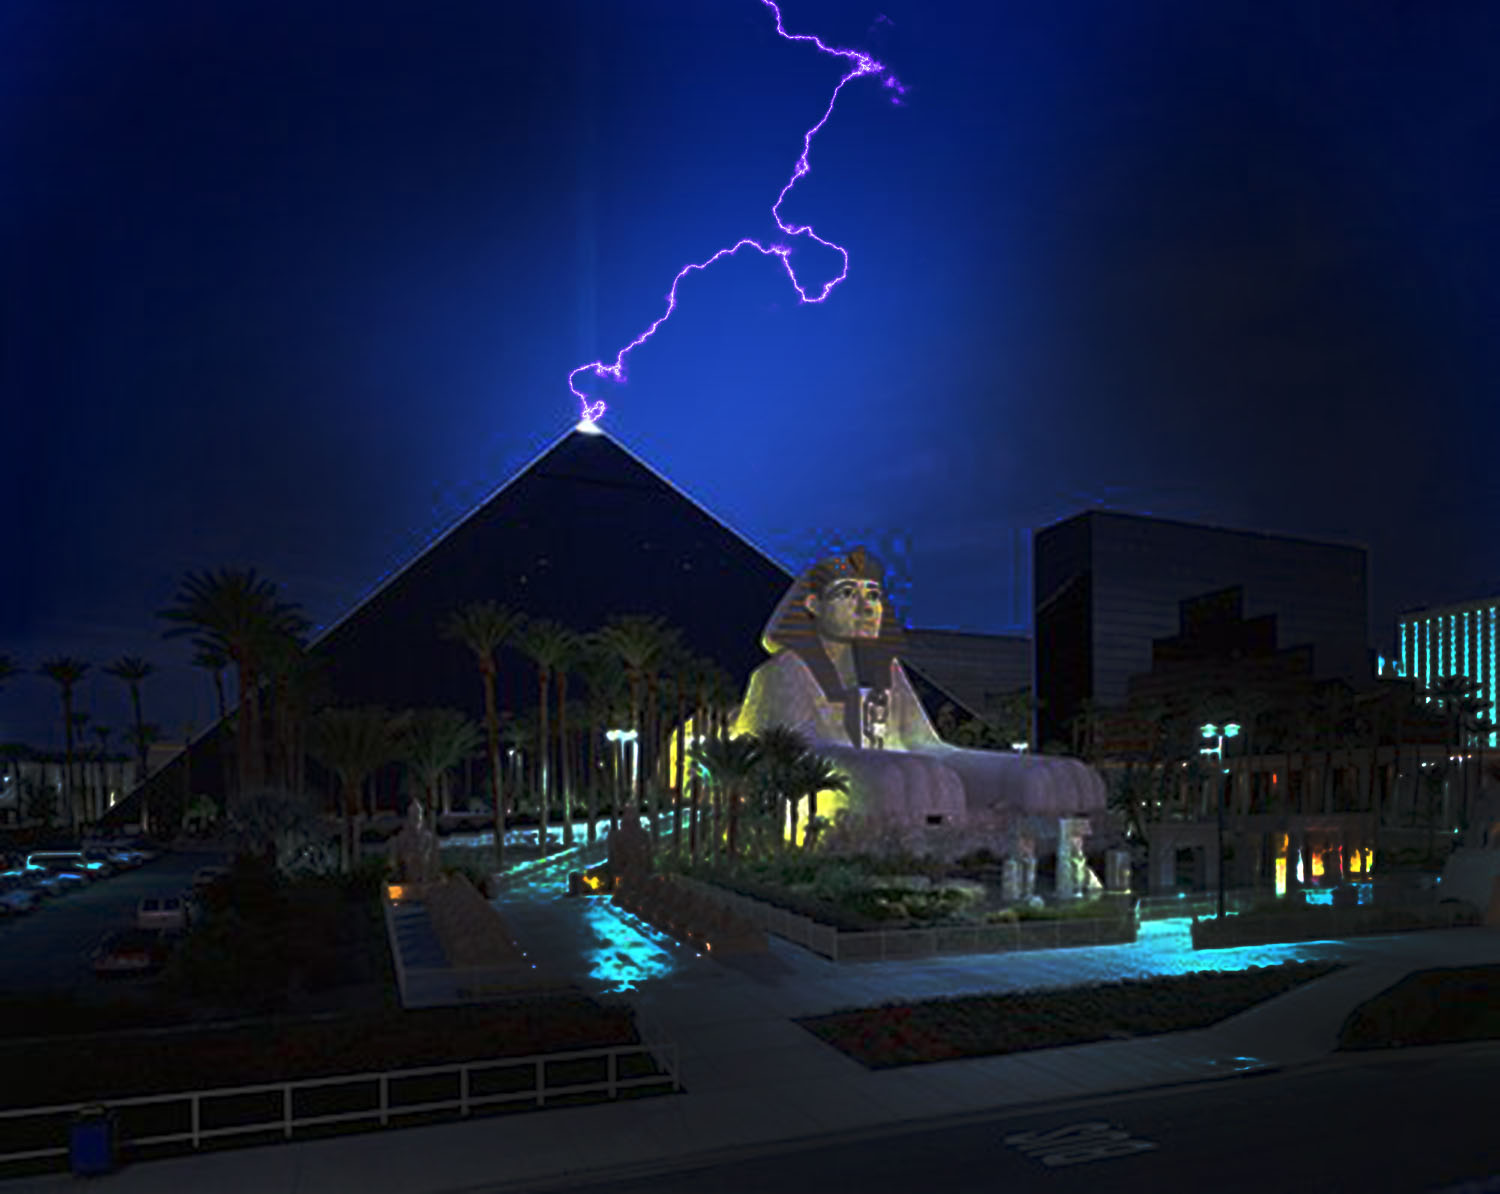
Final Image
_____________________________________________________
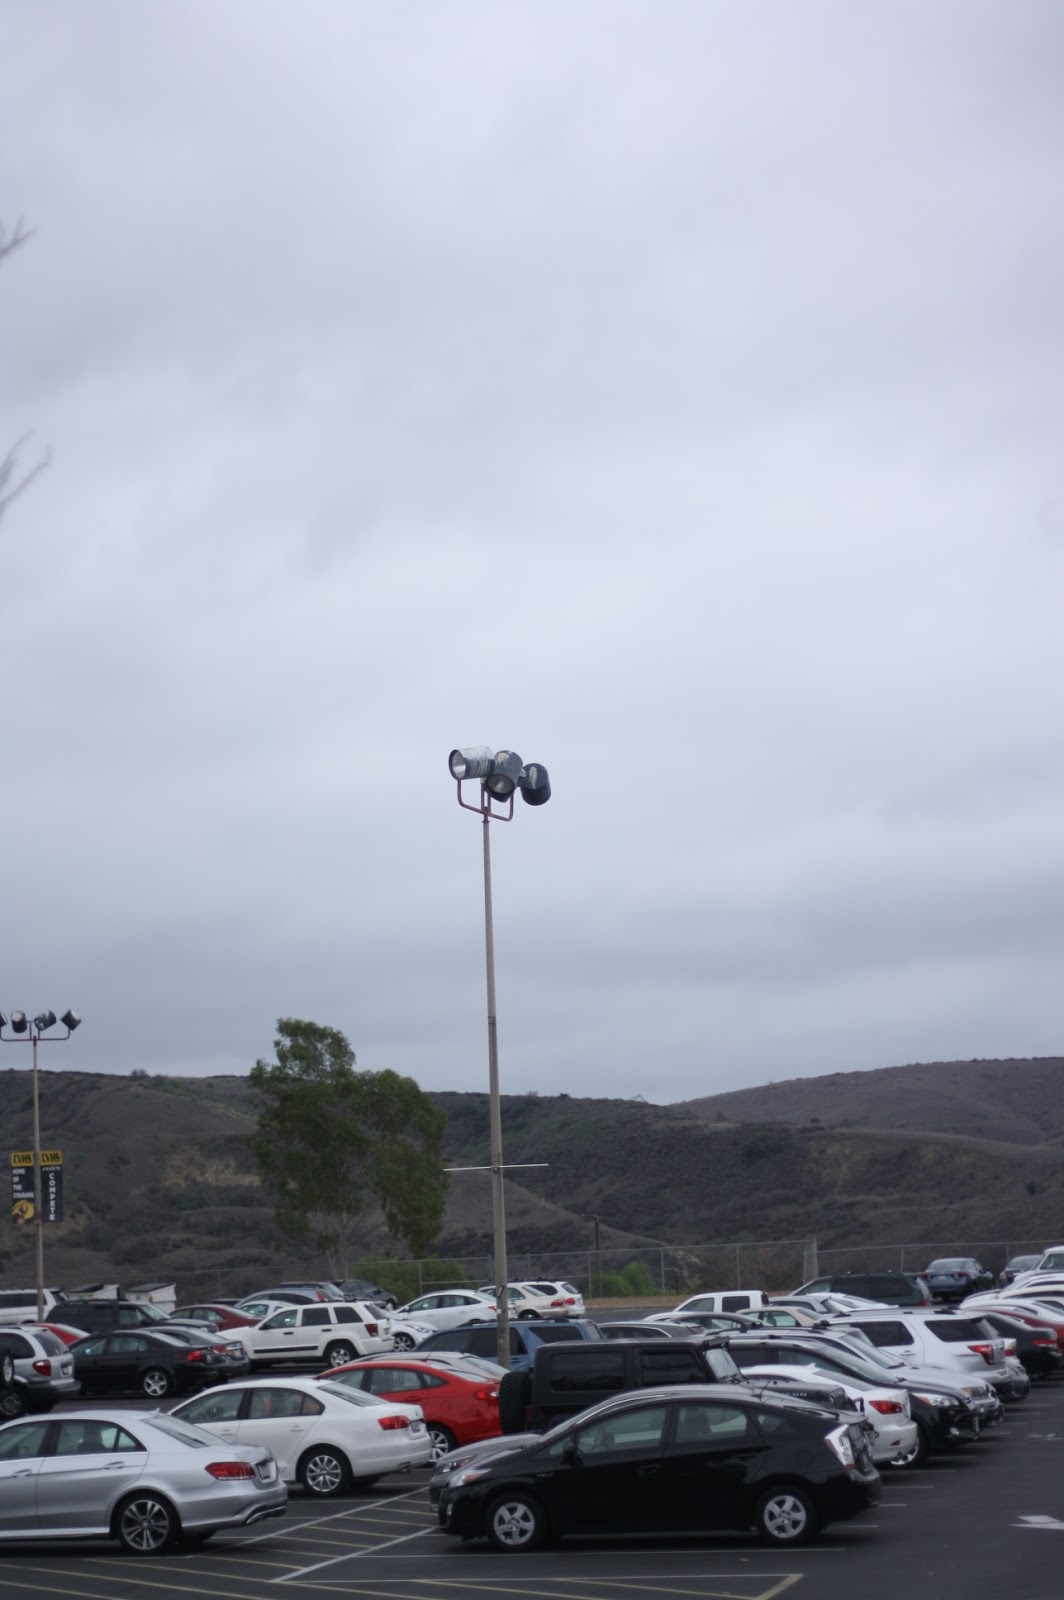
School Lightening Photo

Step 1
- Start by taking a photograph of something tall on campus (ex. basketball hoop, the tallest part of the school building, lamppost).
- REMEMBER: Lightening always strikes the TALLEST point. If you have everything in your photograph at the same height it will not be accurate.
Step 2
- Repeat the photoshop steps from above.
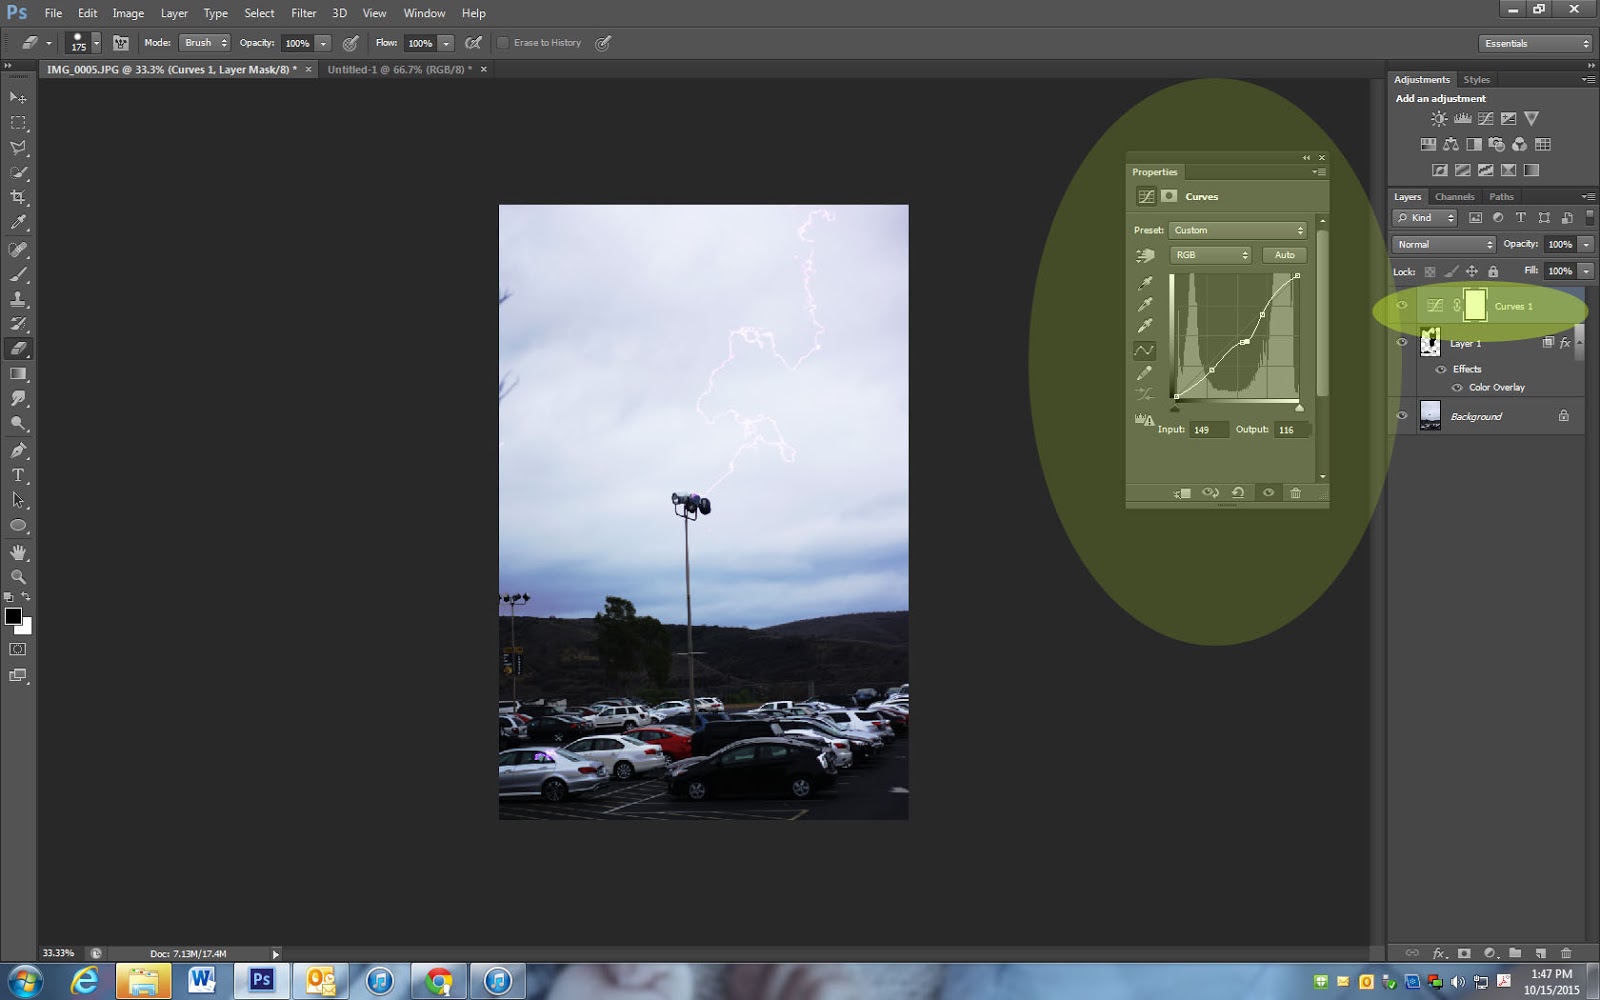
Step 3
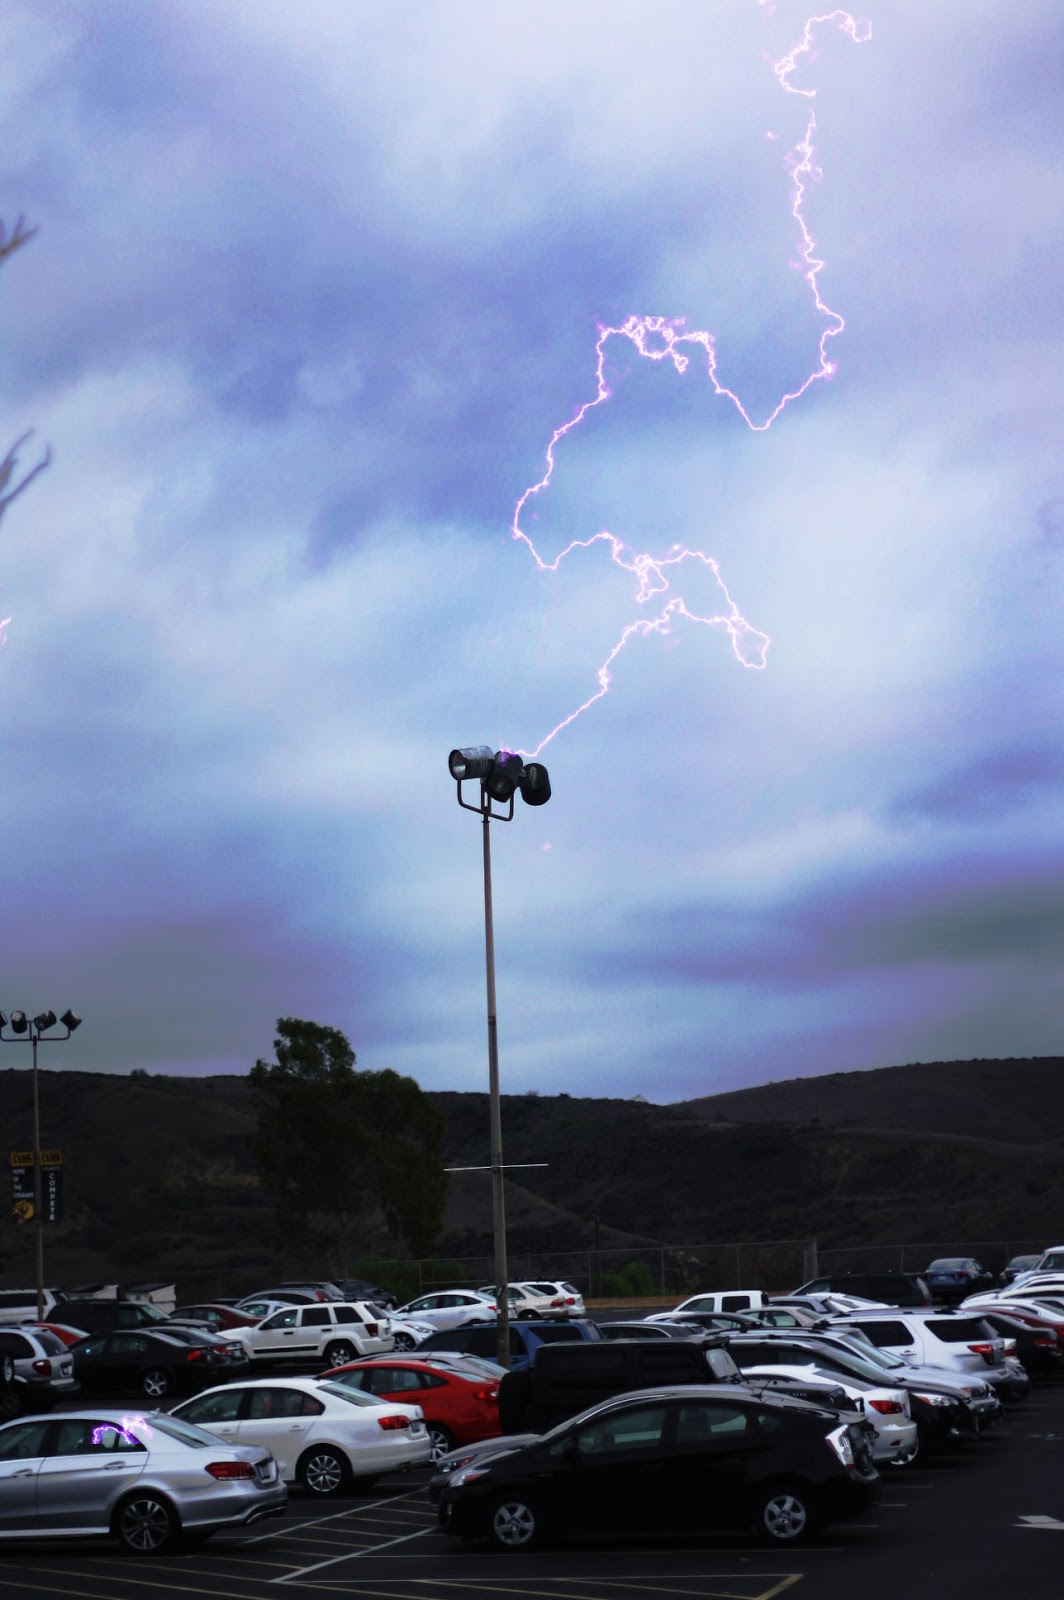
- You will be doing a final edit after you have completed the lightening steps.
- You do not want your photograph to look to bright. Click on Curves and move the sliders to get a darker looking setting.
- Do not go to crazy with this part
Step 4
- Click on your Background Layer
- Click on your Burn Tool (looks like a white glove)
- Begin to darken the photo to create a storm look.
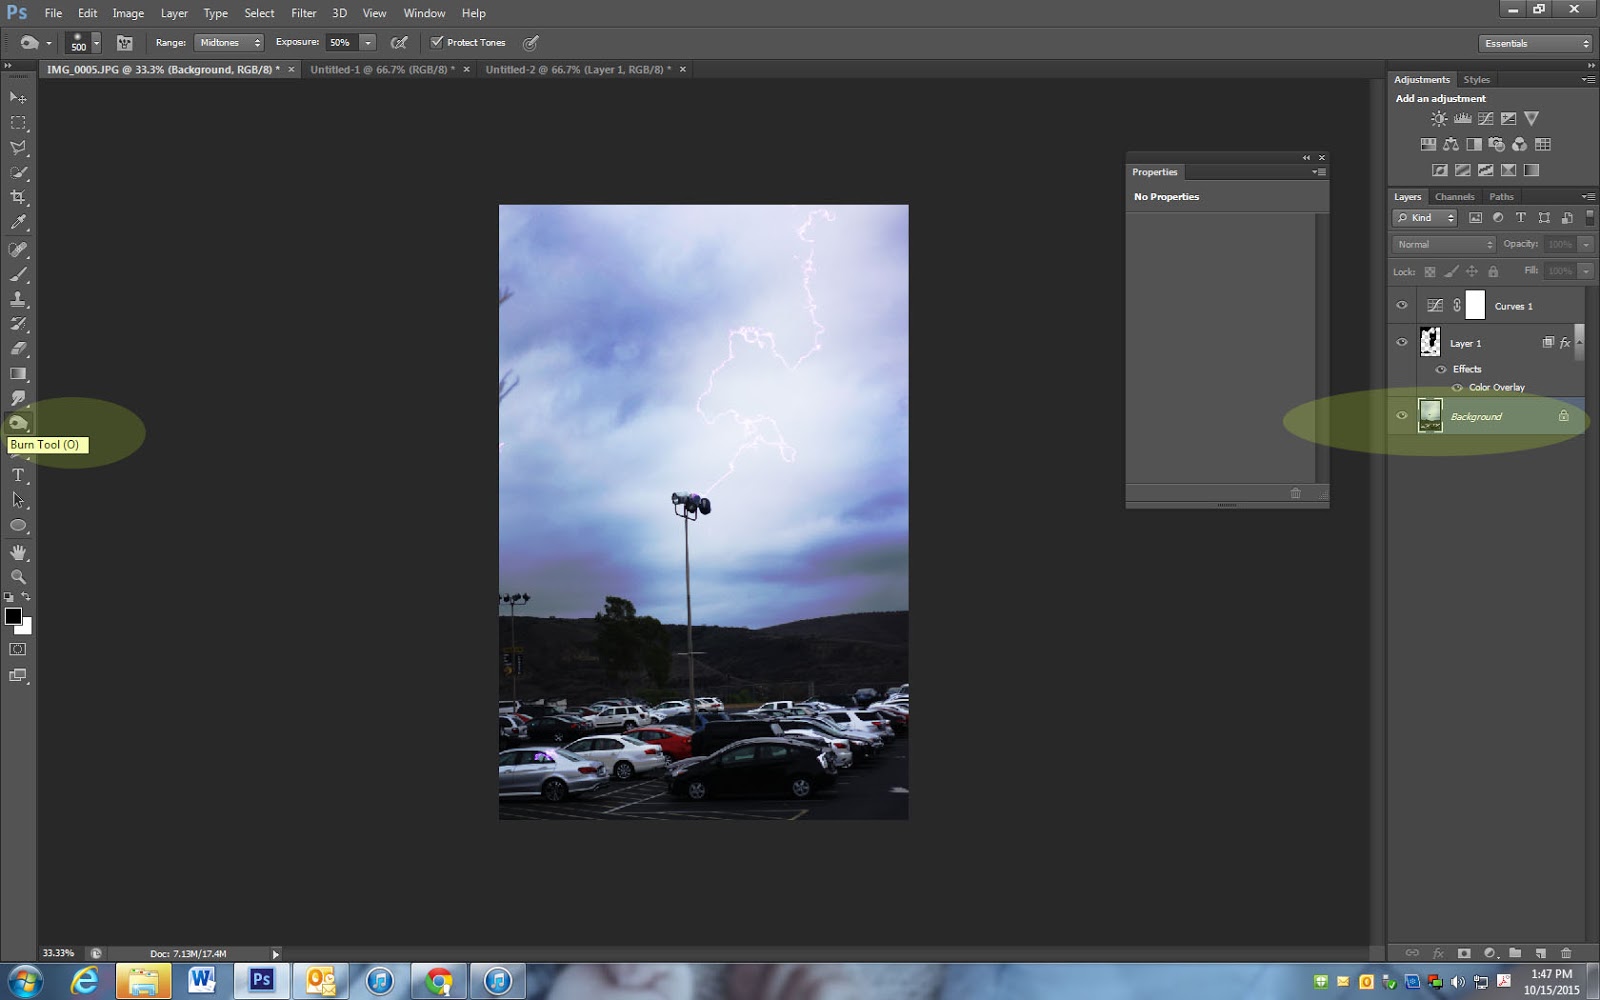
FINAL IMAGE