


Picking the Photos
Step 1: Choose one of the following combinations for your face swap
1. Photograph Friend – Photograph of celebrity
2. Photography of celebrity – Photograph of celebrity
3. Photograph of friend– Photograph of another friend
Step 2:
1. Pick the photograph that you want as your main photo
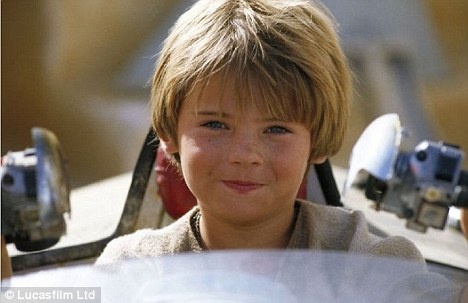
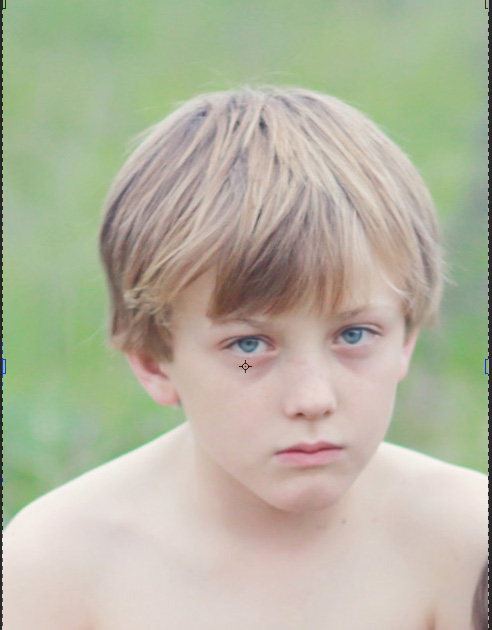
- Photos must be at least 1000 x 1000. They need to be a close up photo and not a whole body


- Make sure the photos are facing the same way
Step 3: Photoshop
- Open your main photograph
- Right click on the Background Layer
- Pick Duplicate Layer
- Name it Body


2. Open your photo that you will use for the face swap
- Click on the Lasso Tool (top of tool bar)
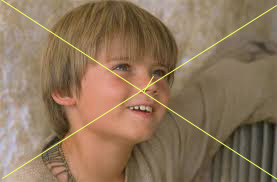
- Draw around the shape of the face to include eyes, nose and mouth…..Nothing more Avoid hair!

3. Move the cut out face over to the main photo with the move tool (you will now have 3 layers on your main image)
- So that you can see what you are now doing, pull down the opacity on the new face layer (top right of layers pallet)
- Click Control T to make the face bigger, smaller, turn it to align perfectly with the eyes, nose and mouth. It will take you a while to get the eyes, nose and mouth all aliened evenly
- Click enter when you are done otherwise you will lose all of your hard work.
- Pull the Opacity back up to 100%

Step 4: On the Background Layer, Click Off the Eye
Step 5: Hold the Control Key and Click to high light both the Body Layer and Layer 1

Step 6: Click and hold the Control button, while clicking on just the box of the face layer (layer 1). The face will now have the marking ants around it.

Step 7: Click off the eye on Layer 1. This will hid the cut out face.
Step 8: Click on the Body Layer

Step 9: Go to Select- Modify- Contract

- Make the Contract By: 10

Step 10: While the body layer is still selected with the marking ants, press Delete on the keyboard.
- The face will now disappear
Step 11: Click Select- Deselect to remove the marking ants

Step 12: Click the Eye back on for the face layer (layer 1)
- Highlight both the Body Layer and the Face Layer (layer 1)
- Go to Edit- Auto-Blend Layers

- Make sure the following boxes are checked. Click Ok

!!!!
