


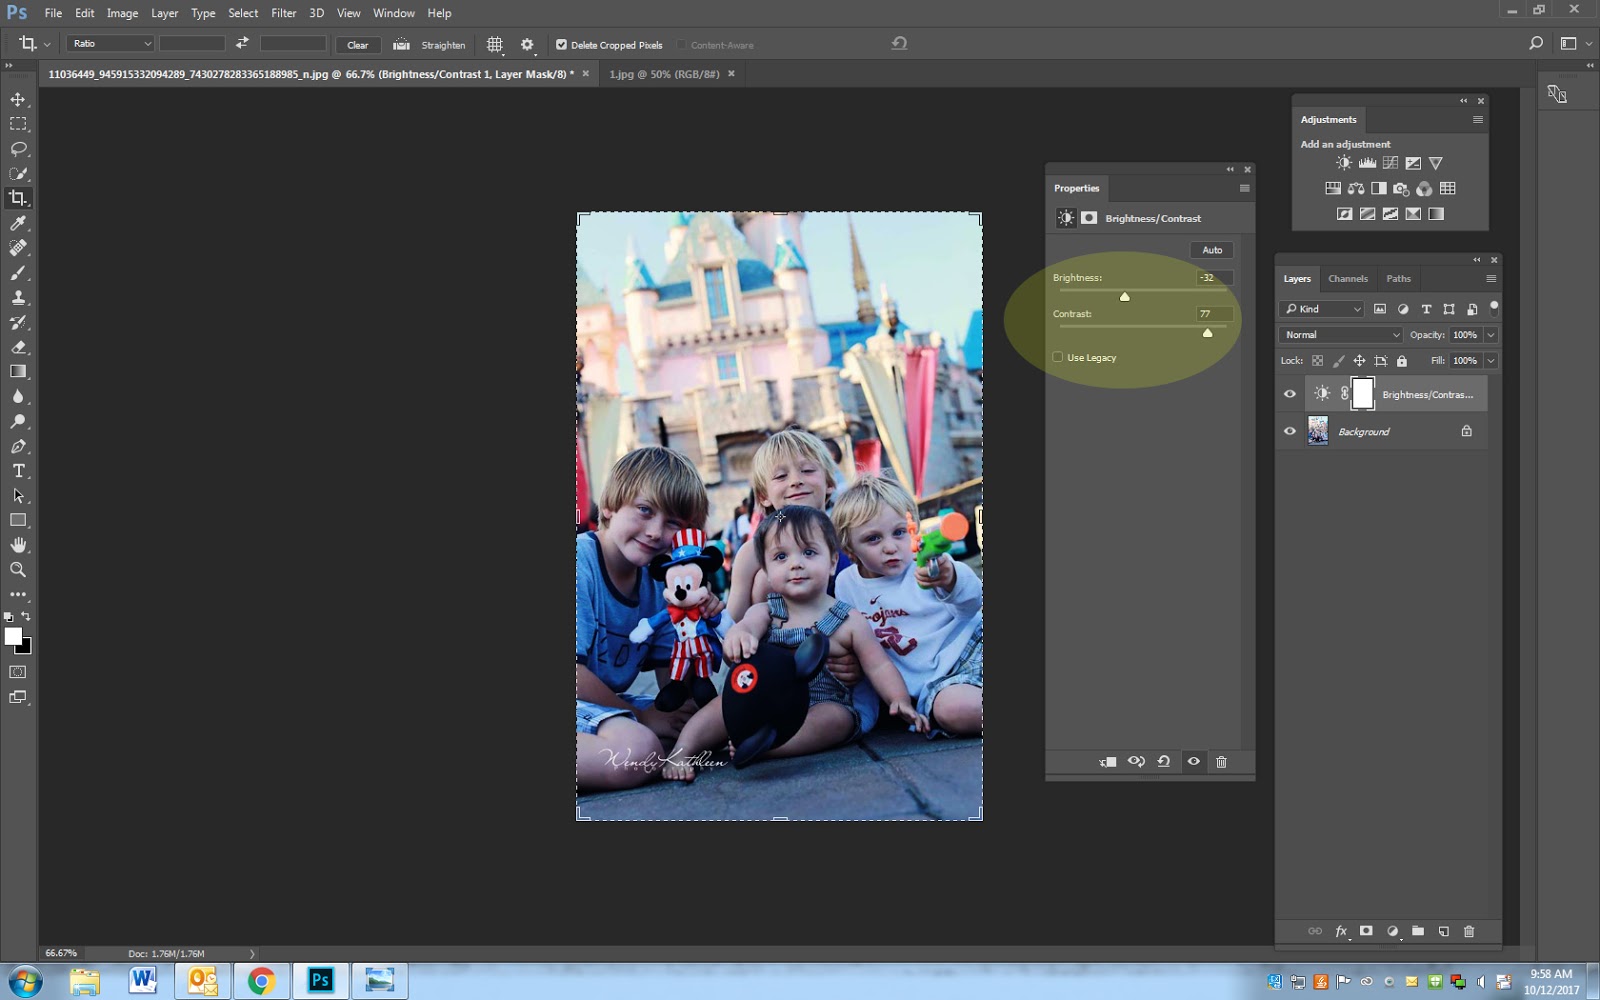
- Move your Contrast slider almost to the end of the right side. Not every photo is the same so use your own judgement
- If the photo looks to bright, move the brightness to the left to make it a little darker. Use your own judgement to decide how much.
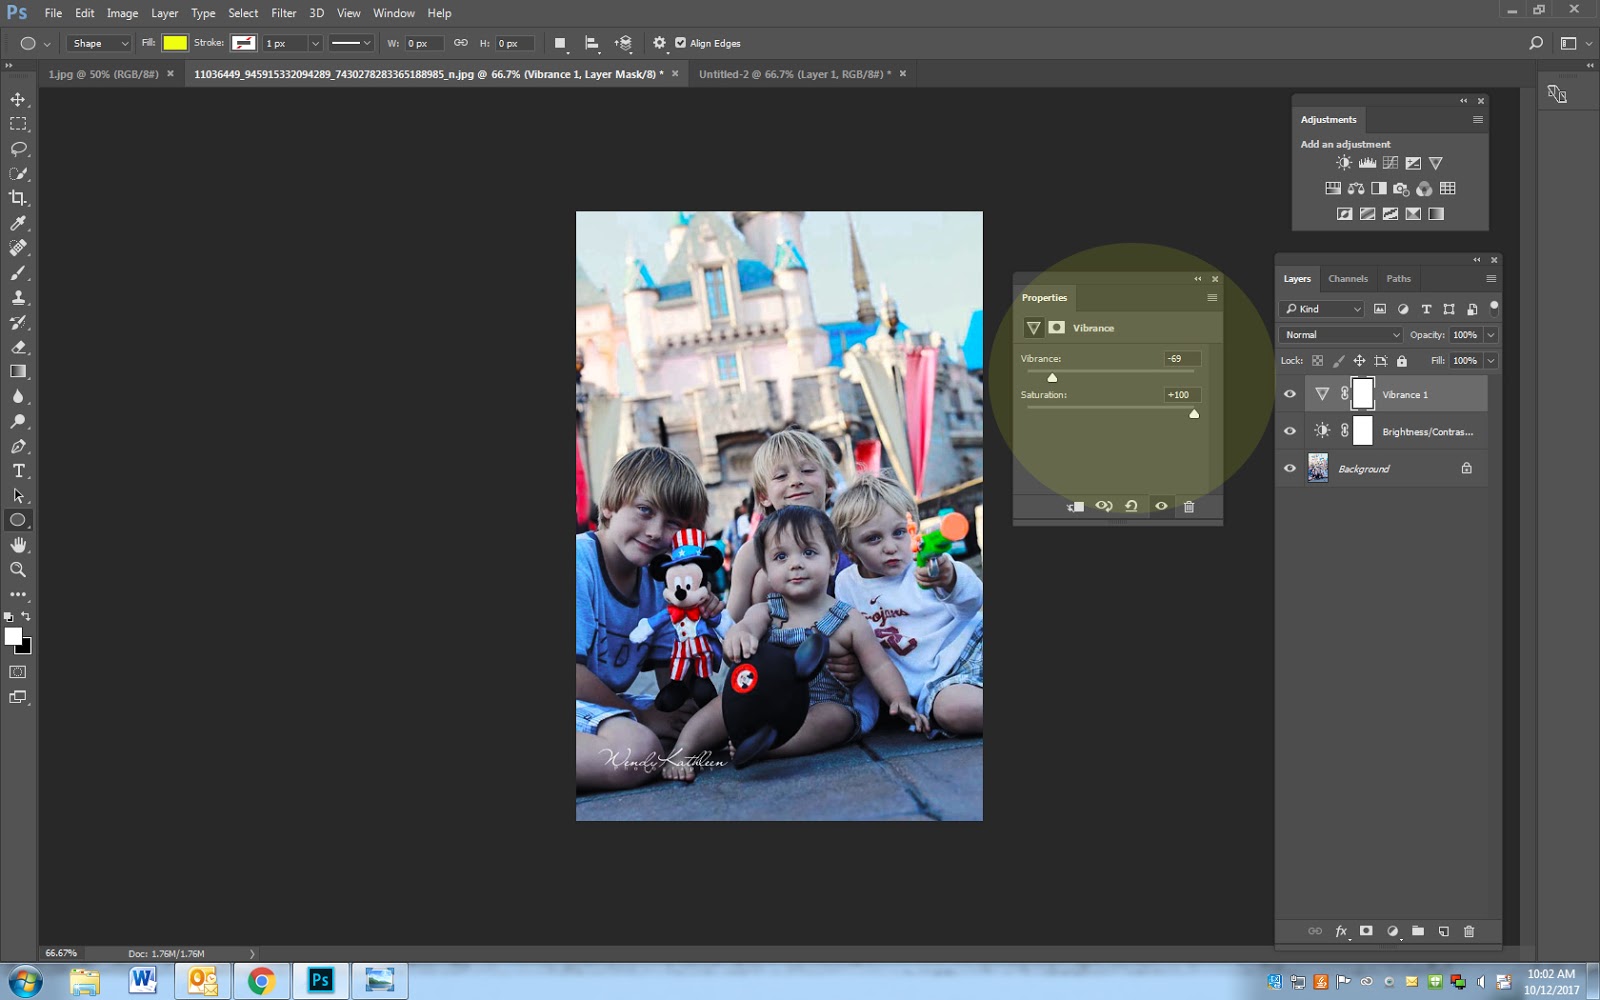
- Move your Vibrancy slider half way to the left. Not every photo is the same so use your own judgement
- Move your Saturation slider toward the right.
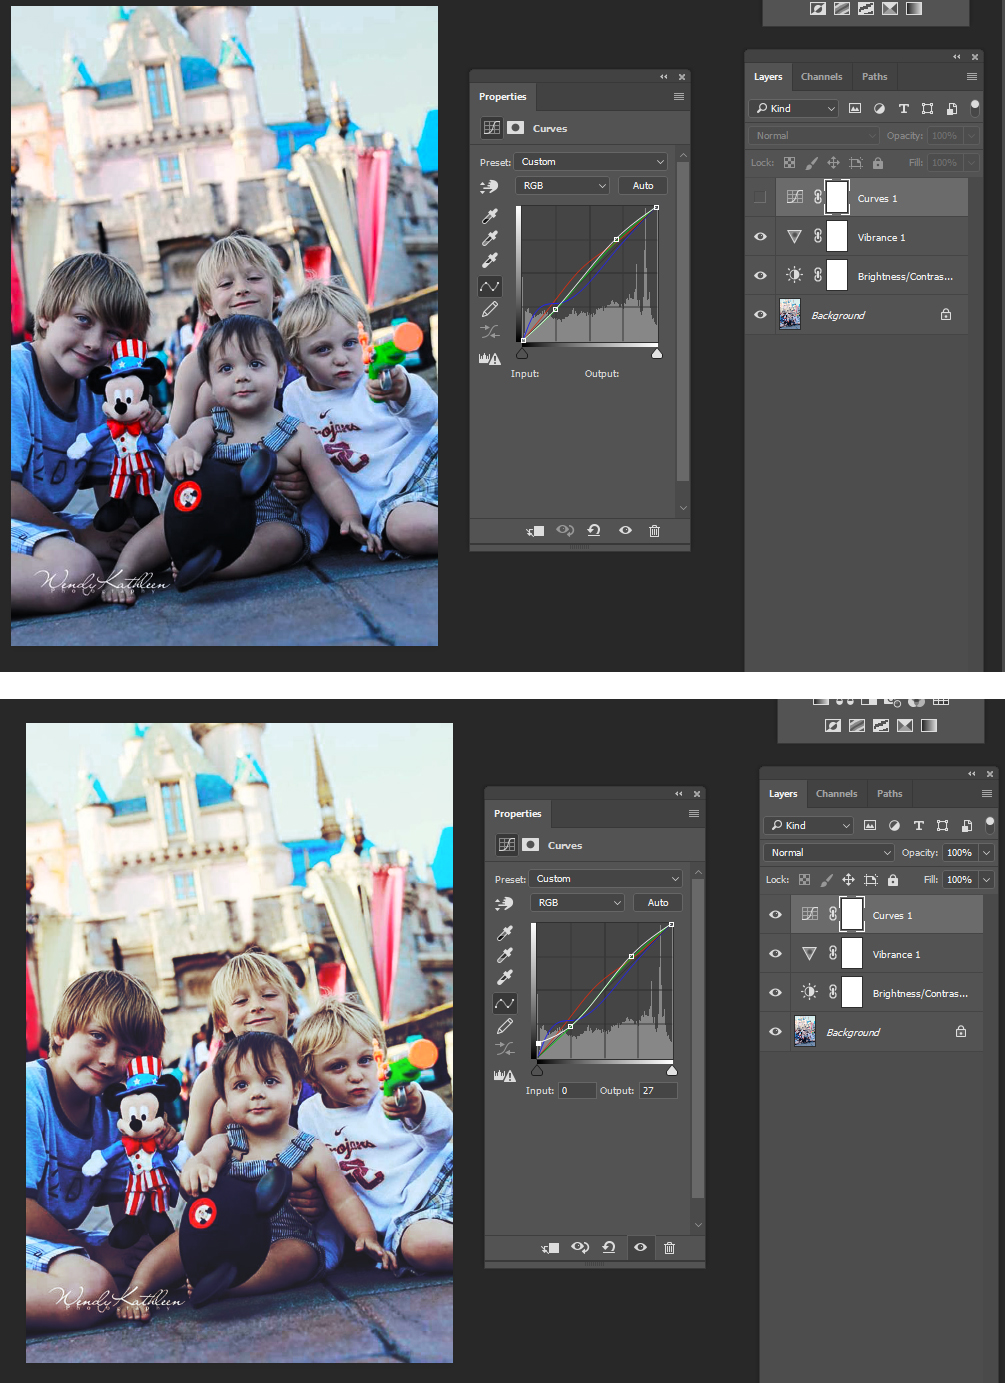
- To give your photograph a matt/film look, click on the bottom left point and move it straight up. This step is up to you on how matt you would like it to look.
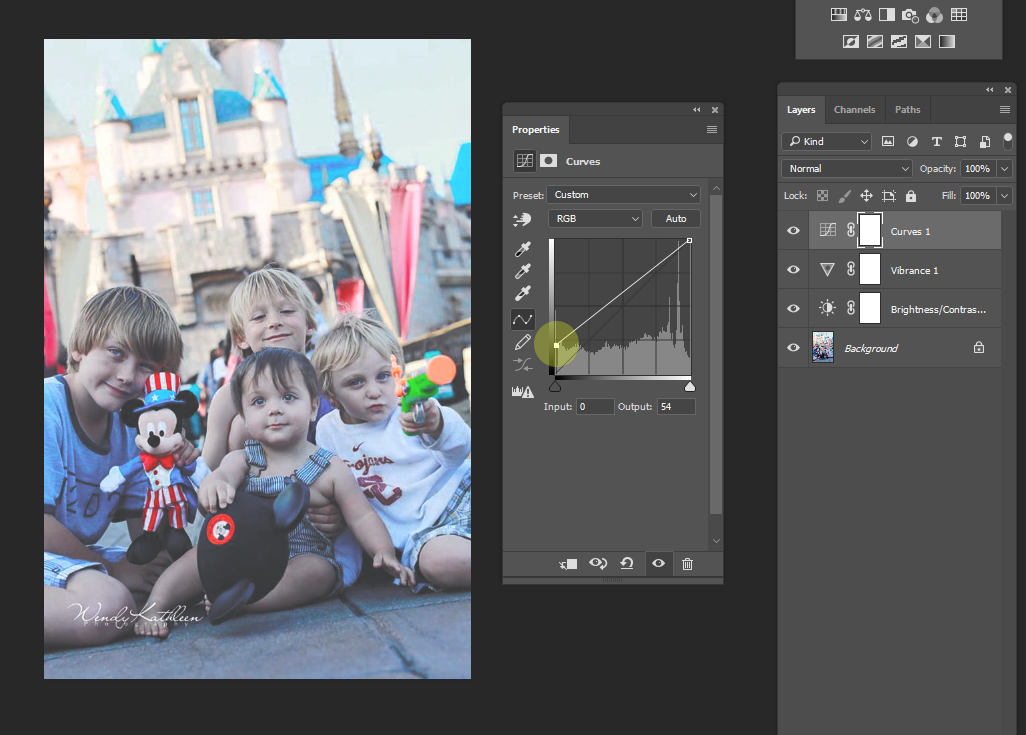
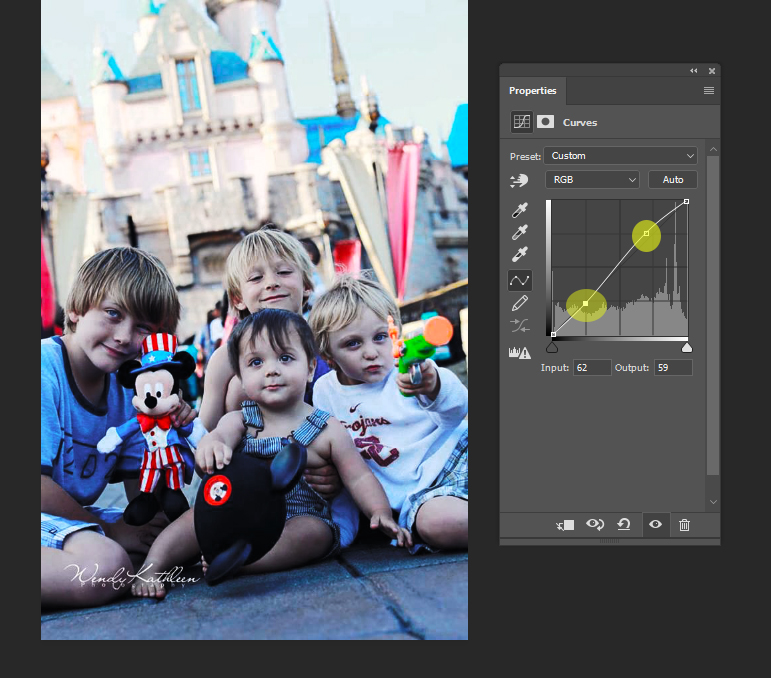
- Along the straight white line click about 1/4 of the way down from the top. While holding your mouse on the dot, drag it slowly up. This will start to lighten up parts of your photograph. Only move it a little way.
- Along the straight white line click about 3/4 of the way. While holding your mouse on the dot, drag it slowly down. This will start to darken up parts of your photograph. Only move it a little way.
- It will start to look like an S shape.
5. On Curves still, click where it says RGB and change it to Red

6. On the red graph start to move it up and down to make the reds more or less intense.

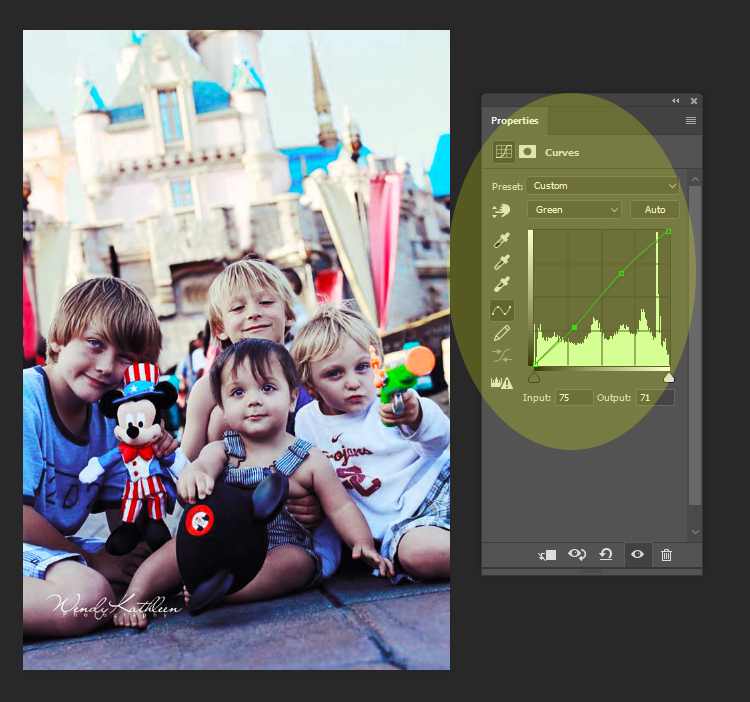
7. Where it says Red, change it to green graph. Start to move it up and down to make the greens more or less intense.
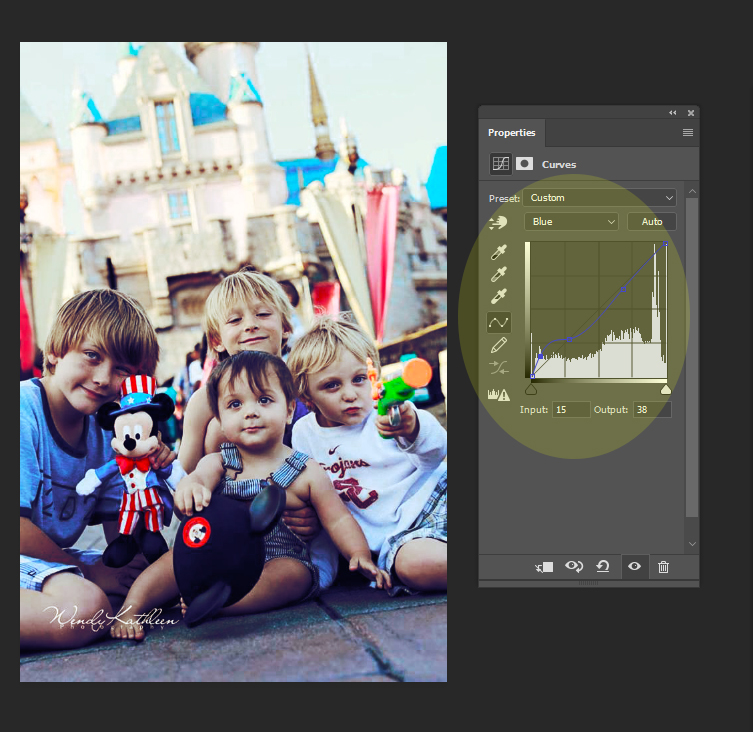
8. Where it says Green, change it to the blue graph. Start to move it up and down to make the greens more or less intense.
9. Click on the Brightness/Contrast adjustment again. (This step is optional depending on how your photo looks)
- Notice if there is a small section on your photo that needs to either be made lighter.
- Zoom into the photo and only look at that part. For the photo below I want the kids faces lighter.
- Move your Brightness slider until the section you want lighter looks good. Do not worry that the rest of the photograph is to bright.

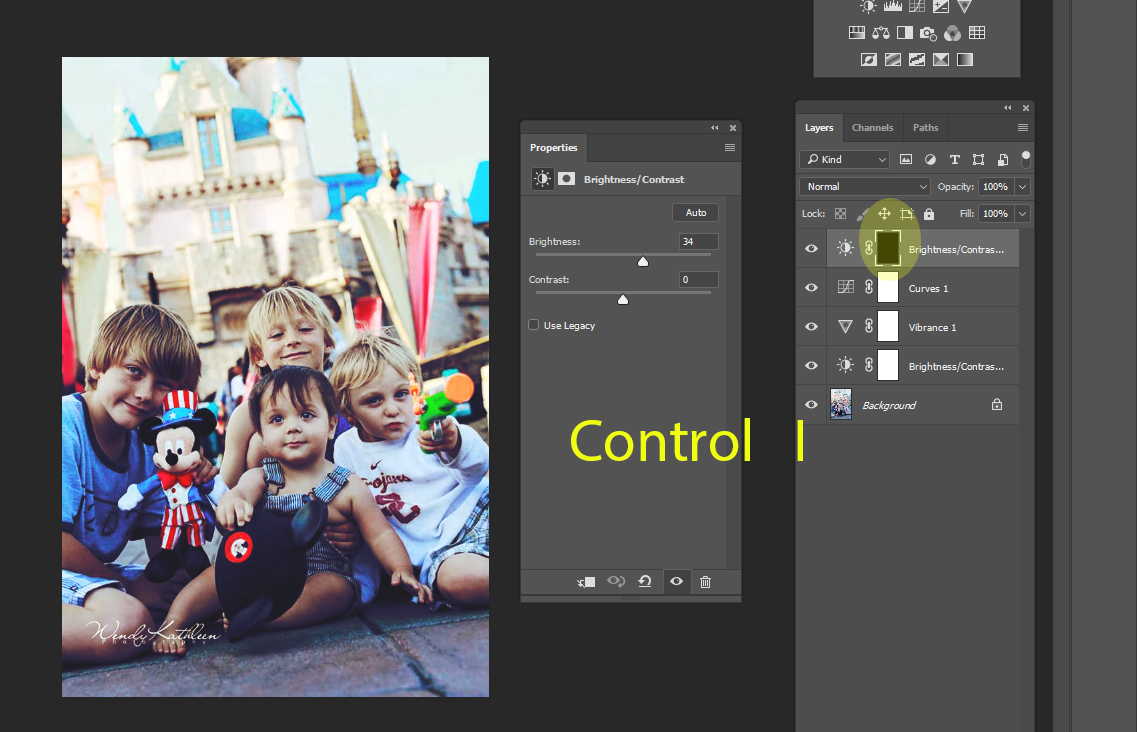
10. While on the new Brightness/Contrast layer click Control I at the same time
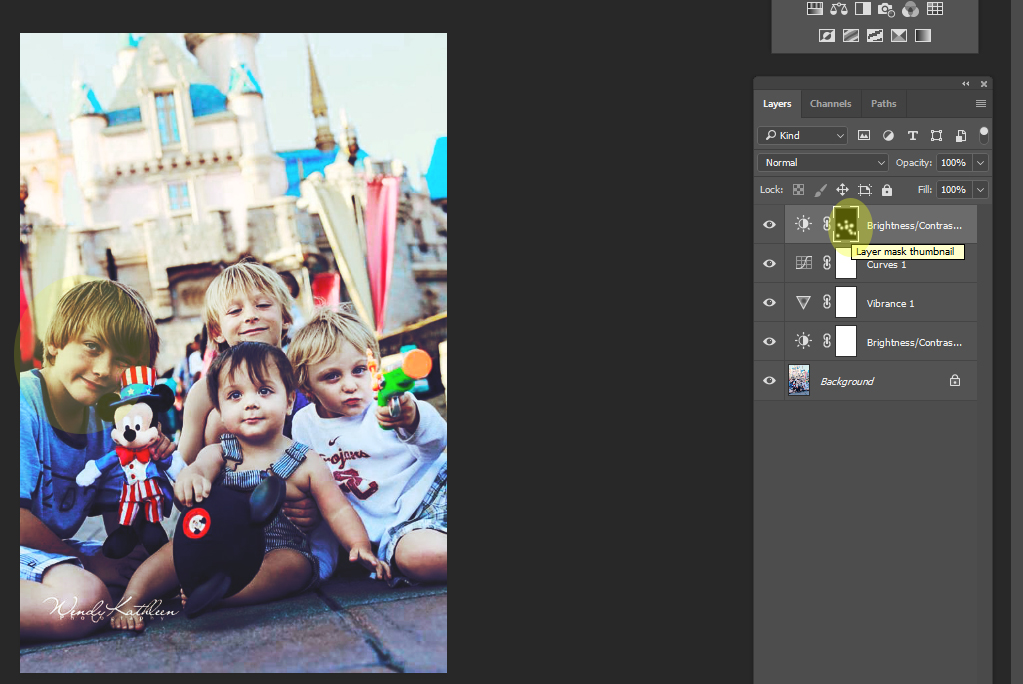
- You will notice that the white mask has now turned black.
- You will also notice that all of the areas that were very bright are gone. We have changed the white layer mask to a black one. The black mask is Concealing what we have done on that layer.
11. Click on a WHITE Brush and make sure you are still on the brightness/contrast layer with the now black mask
- Paint on the areas that you would like brightened on the photograph.
- If it is to bright pull down the opacity on the the layer.
12. Click on the Color Balance adjustment
- Move the sliders slowly to create the look you would like. Do not go crazy here.

13. After you have moved the Color Balance Sliders and you find it has the wrong color in an area, click on the black brush and paint on the white mask.
