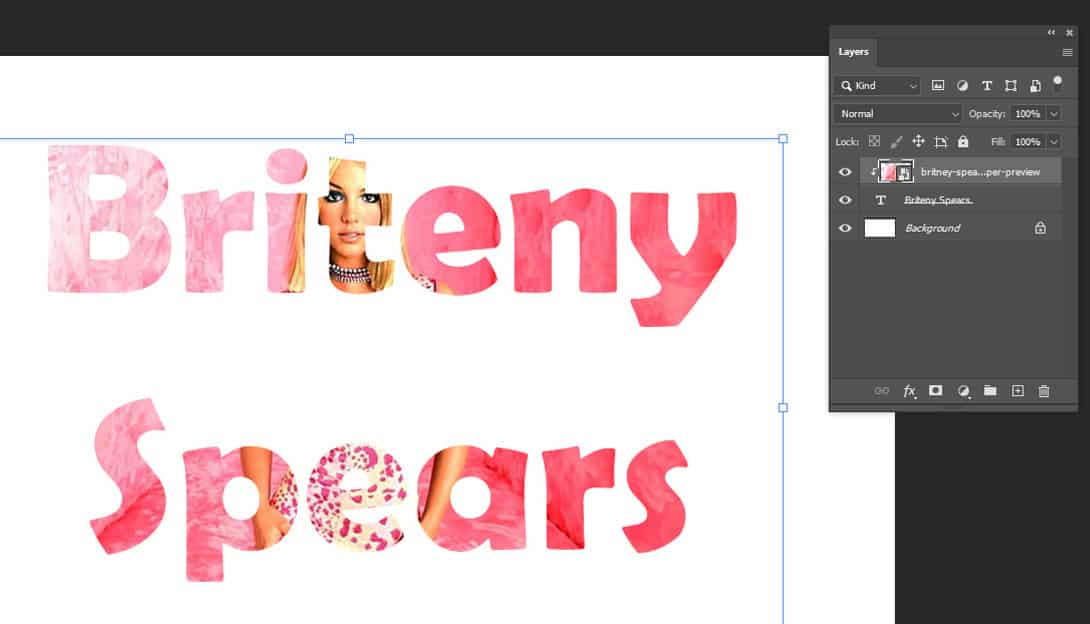
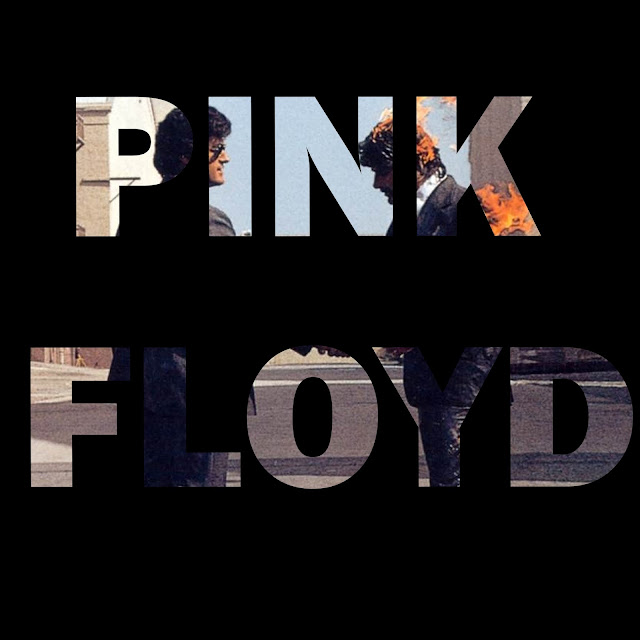
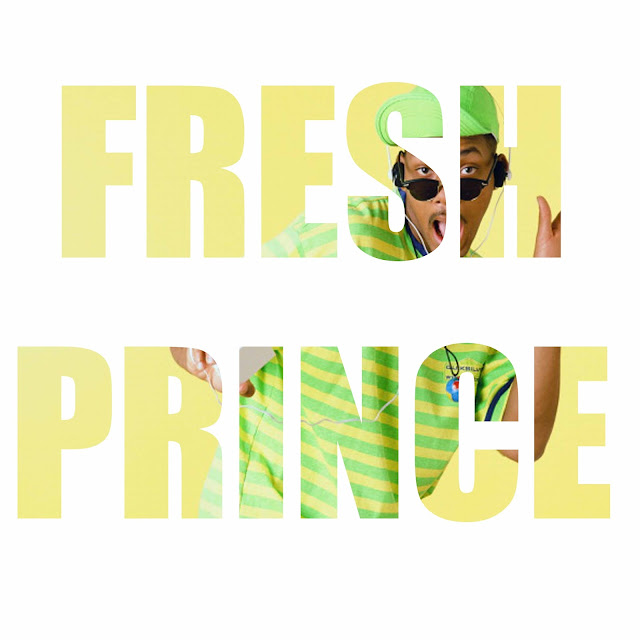
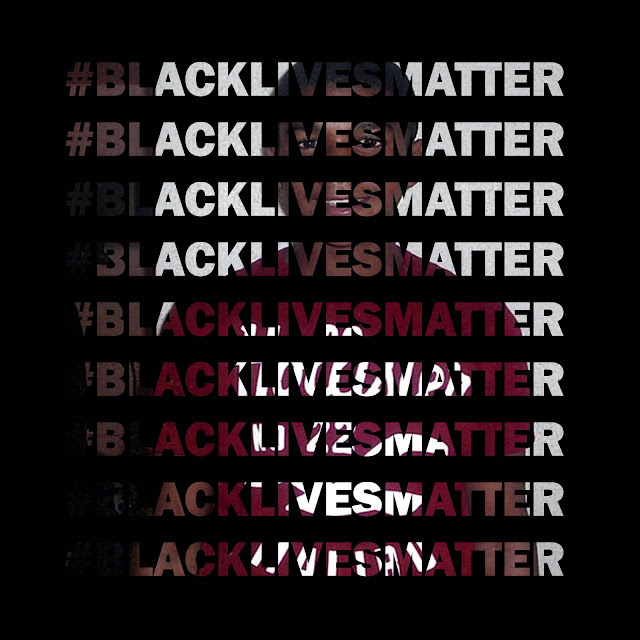
Words With Photo Inside using Clipping Mask
Setting Up the Project
Step 1:
- Pick a Word(s) from a movie, band, sports team, business
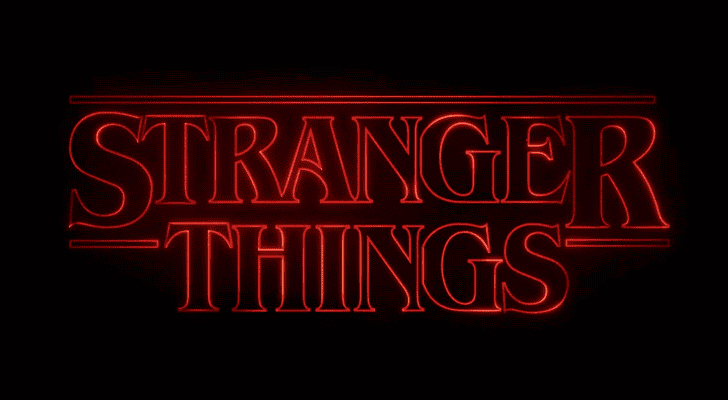
- Google to find the name online so that you have the official font/logo
- Ex: Stranger Things Font or Stranger Things Logo
Step 2:
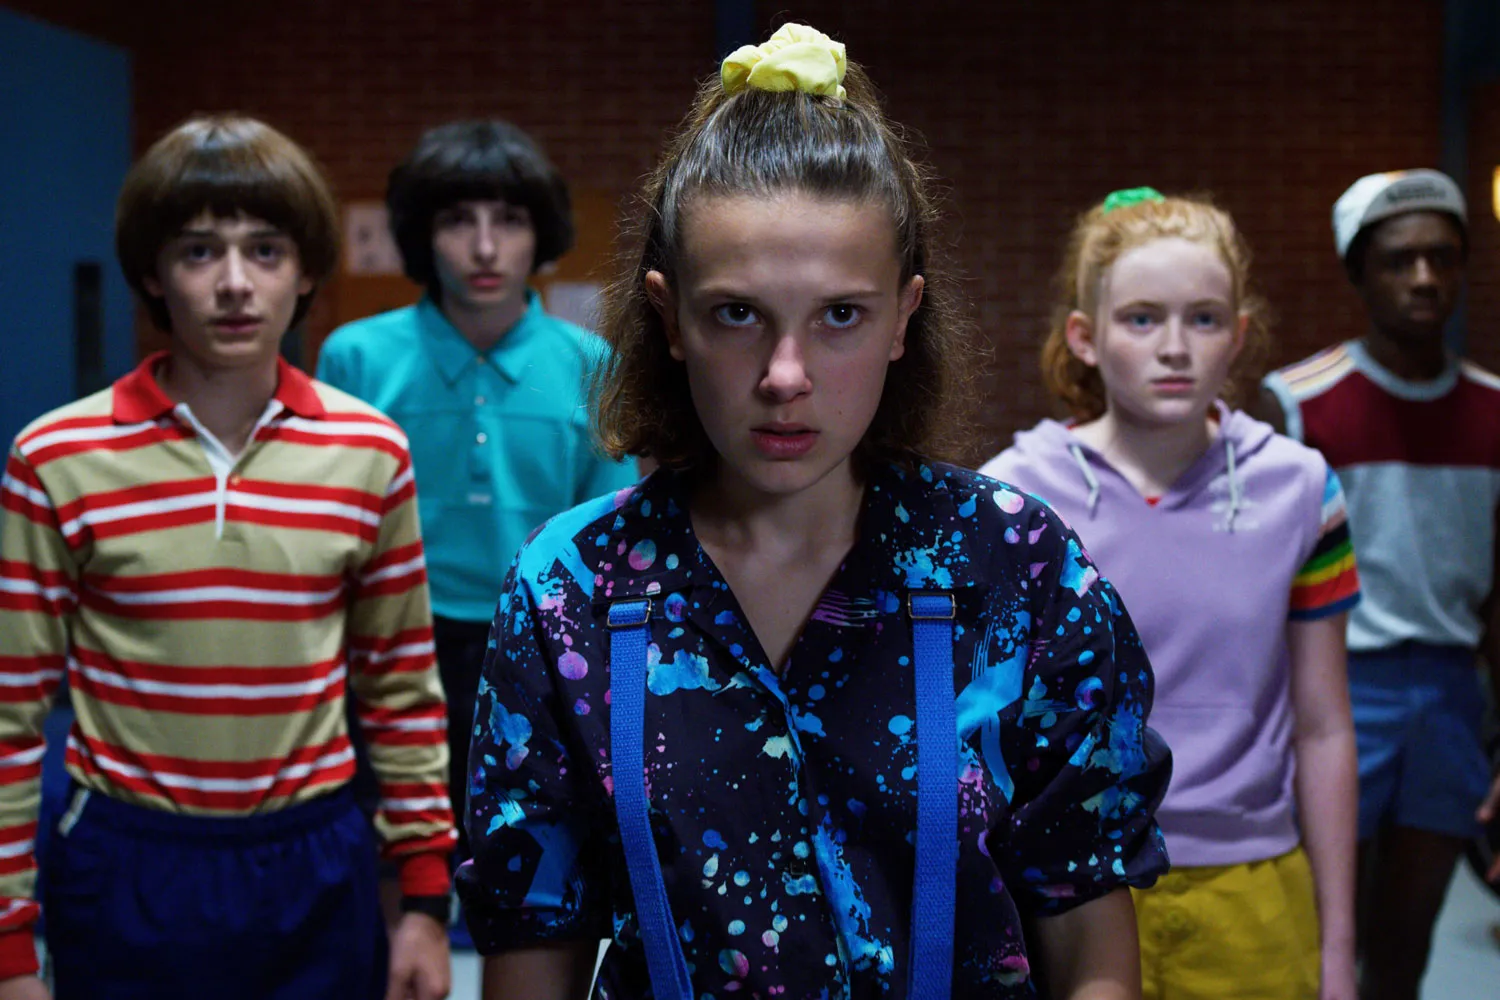
- Pick an image from online that correlates with the word(s
- Make sure it is high resolution so that it will not be blurred (at least 1000 pixels)
Photoshop
Step 1:
- File
- New
- 30 Inches width x 17 Inches Height
- Resolution 150
- Background Color White or Black or any other color you’d like
- New
Step 2:
- Open the words
- Choose Quick Select Tool
- Select the letters
Step 3:
- Choose the Move Tool
- Move the words onto the canvas
Step 4:
- The words should take up most of the canvas
- To make the words bigger or small click CONTROL T
- Hold the SHIFT key as you change the size. This will keep the image in proportion.
Step 4:
- File
- Place Embedded
- Choose the image
- Click Place
- Choose the image
- Place Embedded

Step 5:
- The photo will be placed in the middle of the canvas over the words
- Make the photo larger until it covers all of the words
- Click Enter when done
- Make the photo larger until it covers all of the words

Step 6:
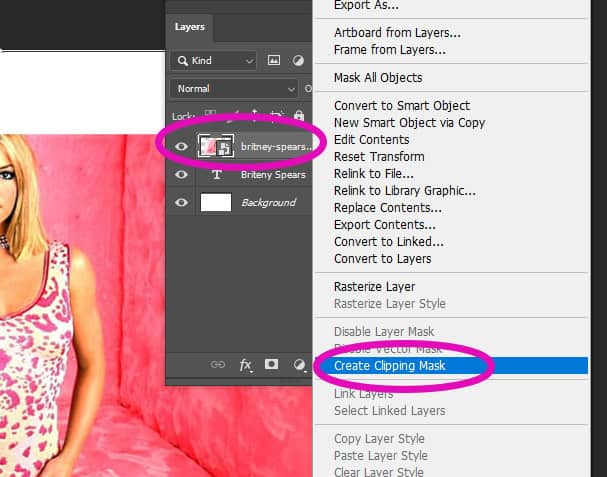
- Make sure you are on the PHOTO layer and not the Words layer
- Go to
- Layer
- Create Clipping Mask
- Your photo will now be inside of the words
- Create Clipping Mask
- Layer
Step 7:
- Click Control T
- You can move the photo around in the letters so that it looks the way you’d like
- You can also make it bigger or smaller as needed
- Flatten Image when done
- DO NOT at LOGO
