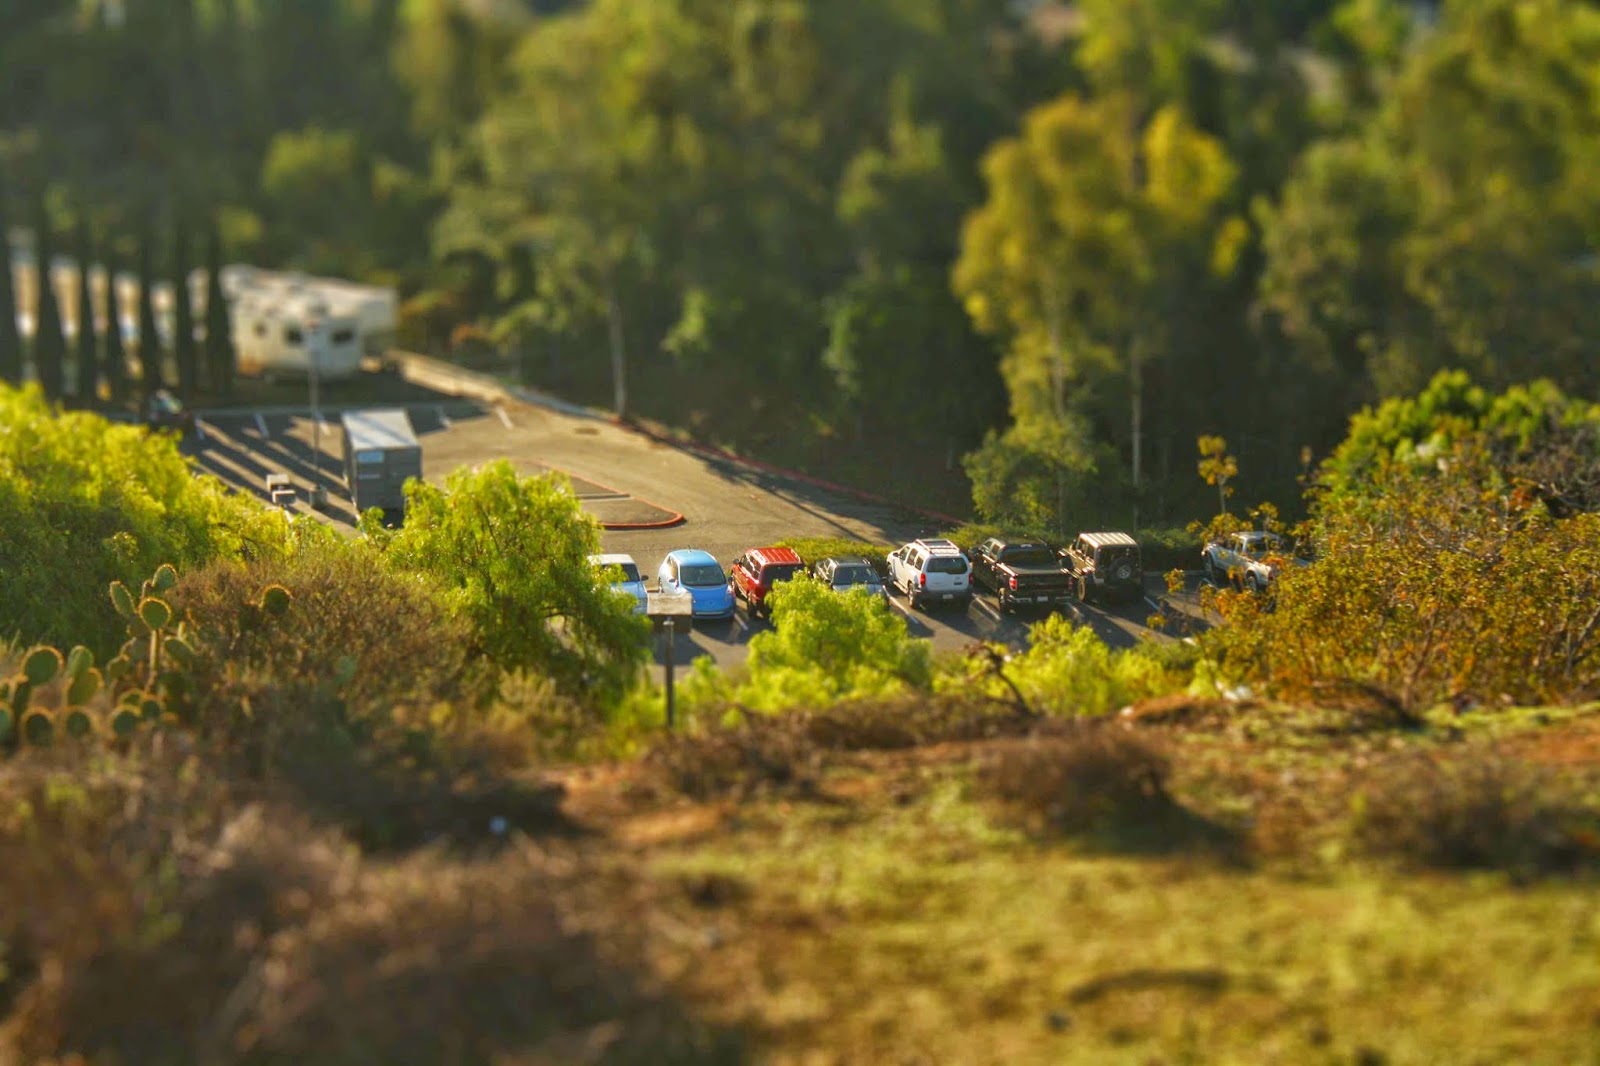
Photo 1:
Top of Senior Lot looking down to Junior Lot


Photo 2:
Sporting event area (baseball field, basketball, swimming, football)


Photo 3:
Over Looking Freeway


Photo 4:
Free Choice
- This may be taken at school or you may take it on your cellphone at home
- This may also be a photo you have taken in the past (baseball game, disneyland, etc)


How to take the Photo
- Scene:
- Use f/8 or above (f/stop)
- Take a photograph from a high vantage point photographing down at a lower location.It must not be close up
- Depth:
- Should include multiple objects…..the more the better
- Focus:
- Somewhere in the middle of the image.
(Example photo has the focus on in the middle, the blue car)
- Somewhere in the middle of the image.
Photoshop Section

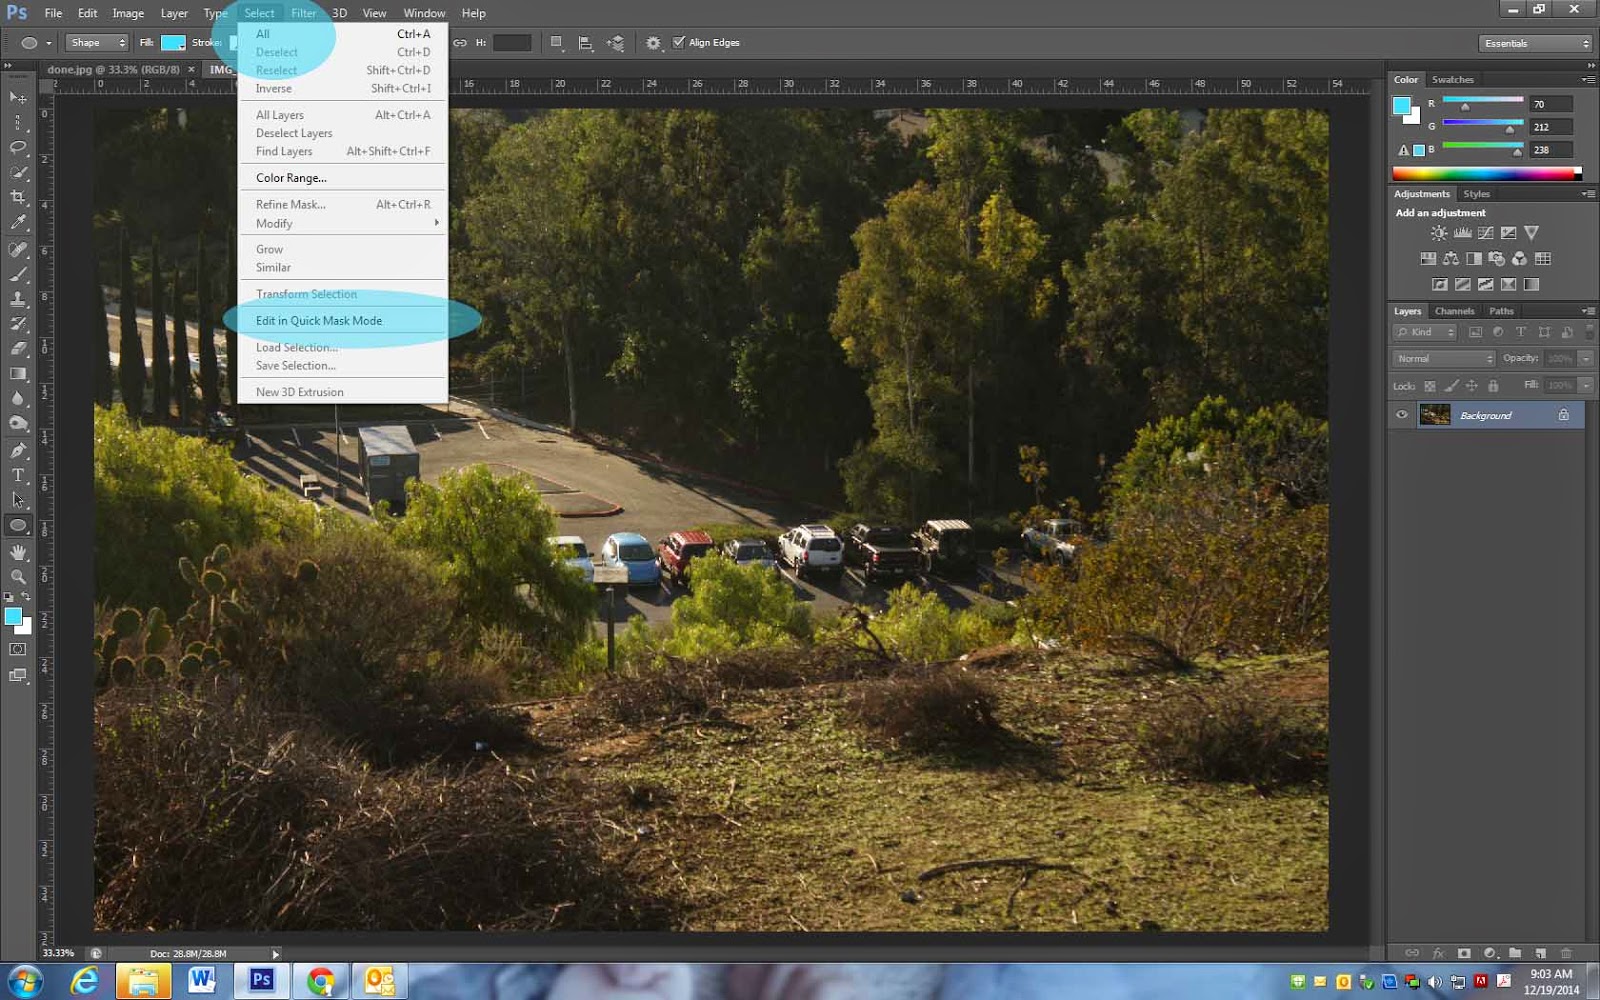
Step 1
- Open photo
- Go to
- Select
- Edit in Quick Mask Mode
- Your Background Layer will now be redish/pink

Step 2
- Pick the Gradient Tool located on the left side of Photoshop
- If you do not see it ask me

Step 3
- You will see the Gradient Box At the top of Photoshop
- Make sure the Gradient Box going from black to white
- You will see a line of 5 little boxes
- Click on the 4th box Reflected gradient

Step 4
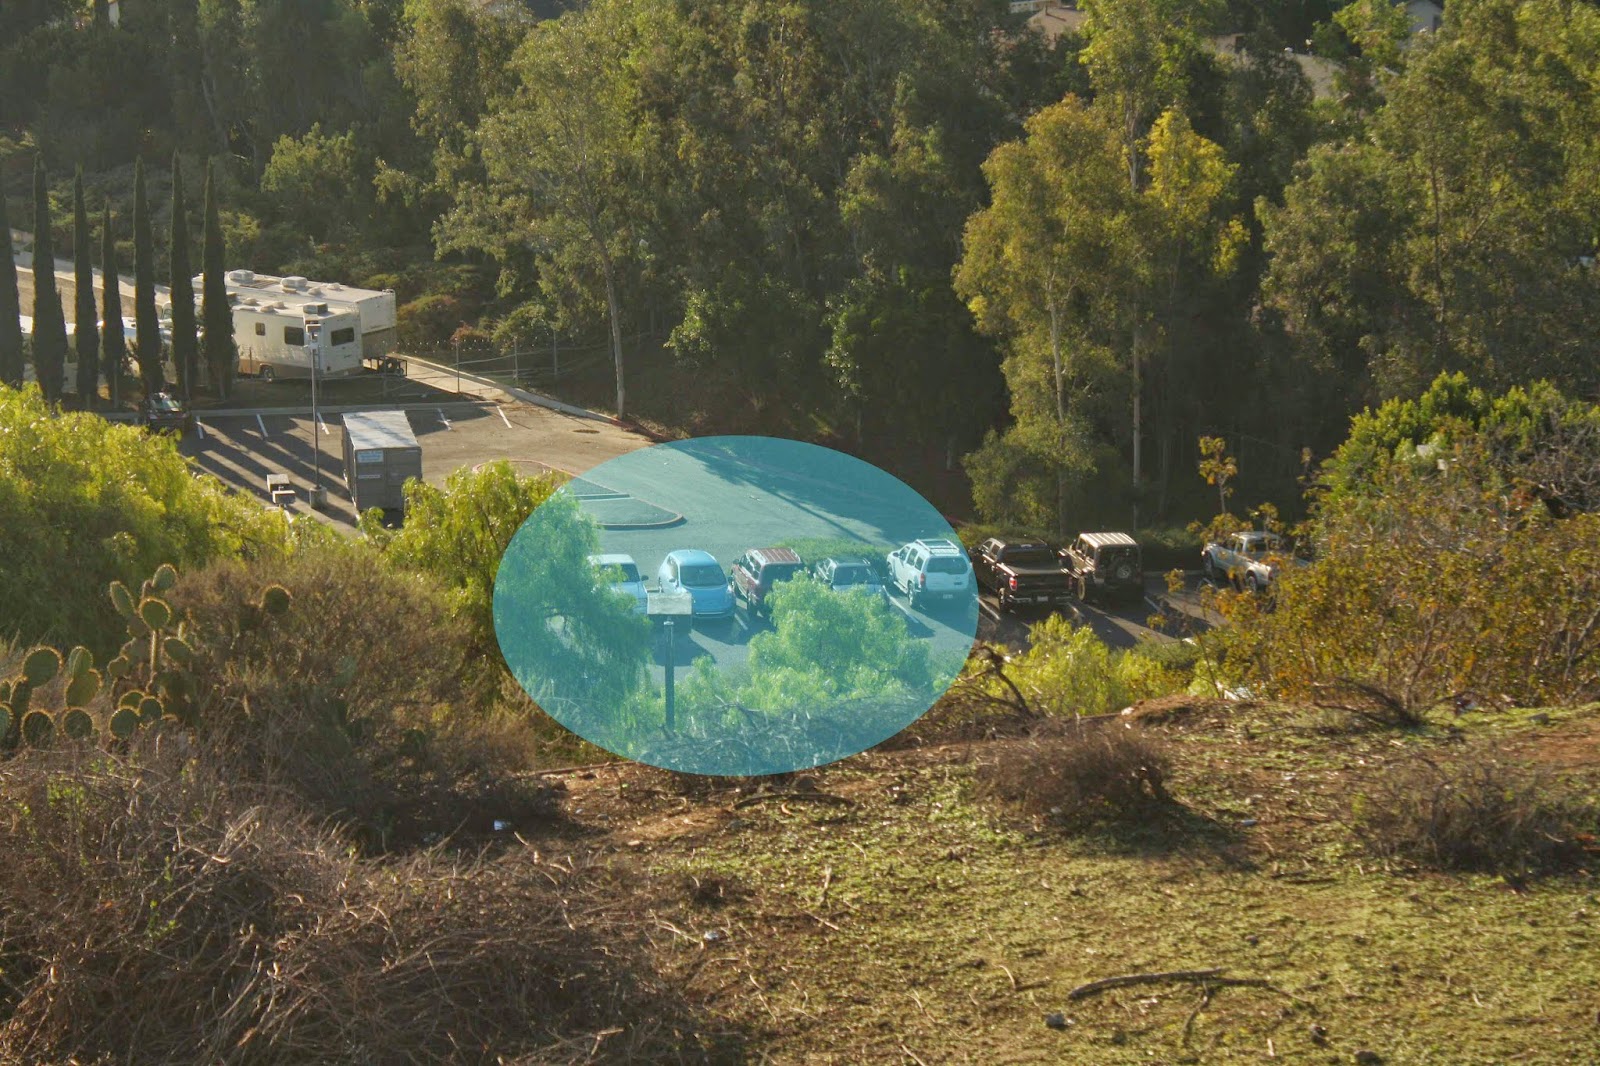
- Locate an area of objects you want in focus
- Click on the objects you would like in focus
- Drag your mouse about 1 inch from where you first clicked
- Let your mouse go when you are done
- Drag your mouse about 1 inch from where you first clicked
- Click on the objects you would like in focus

Step 5a
- You will now see a red line across your image
- The section with the red line will be what stays IN FOCUS

Step 5b
- If the red area is not where you want it, draw another short line.
- This may take a couple tries to get it right

Step 6
- Click the letter Q
- This will release the red area
- You will see little lines where the red was
- This will release the red area

Step 7
- Go to Filter -> Blur -> Lens Blur.
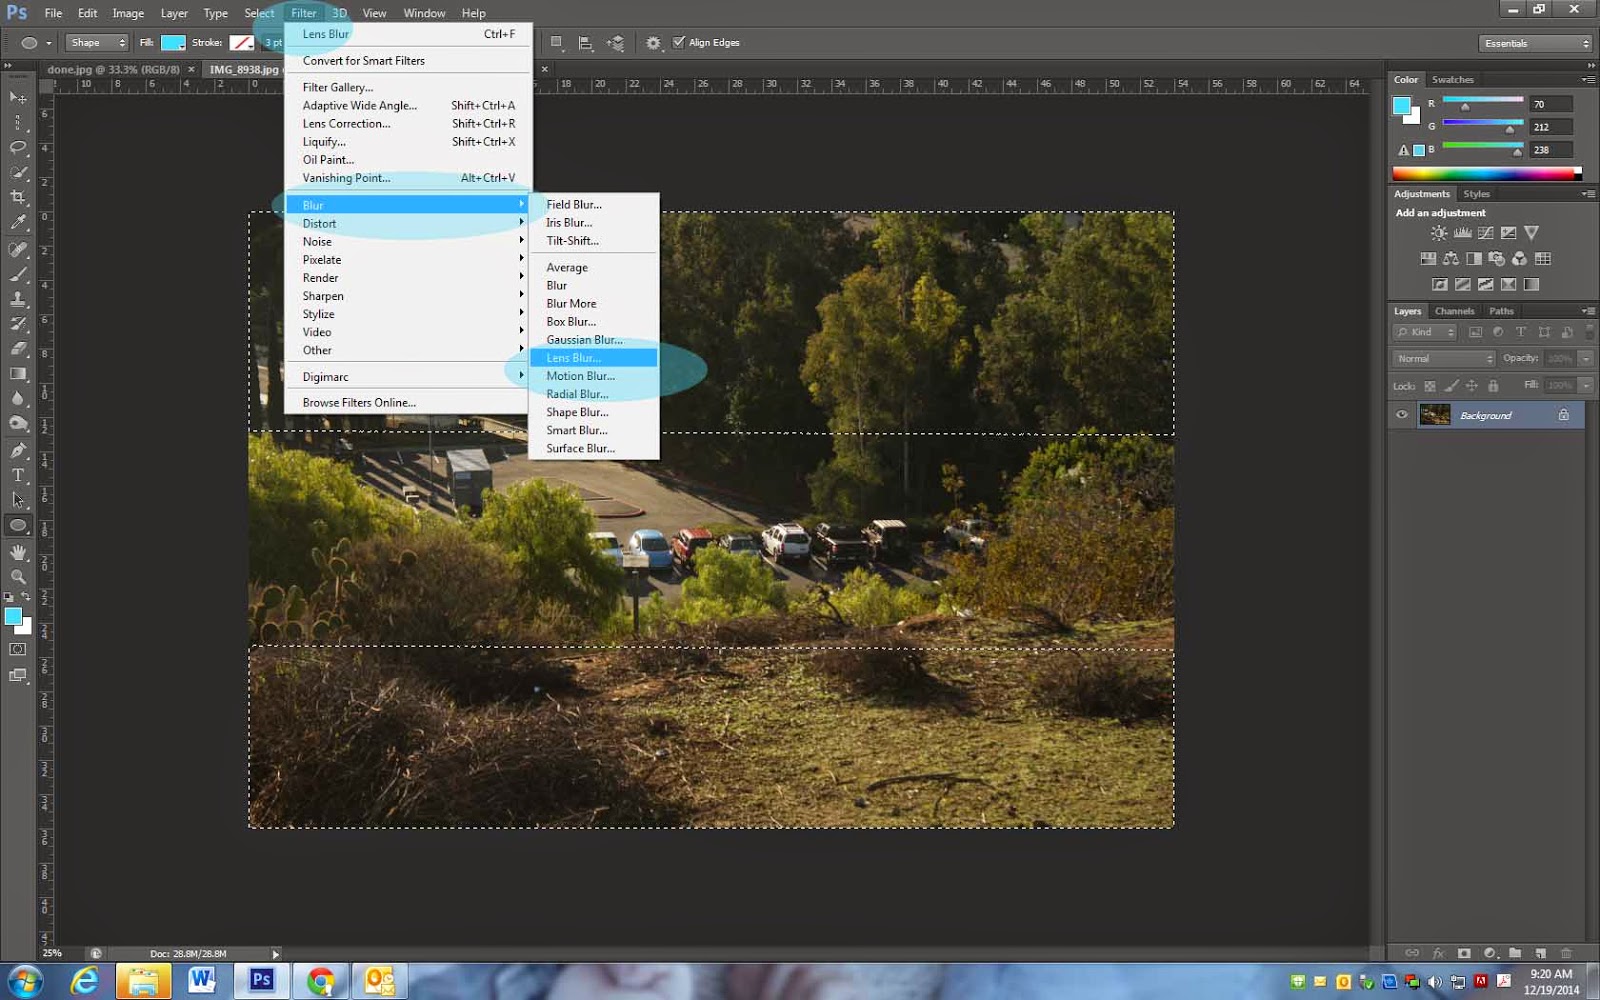
Step 8
- Change the shape from Hexagon to Octagon
- Change the Radius from
- O to somewhere between 50-90
- It’s up to you how much blur you want in your photo
- O to somewhere between 50-90
- Change the Radius from
- This will create the miniature look

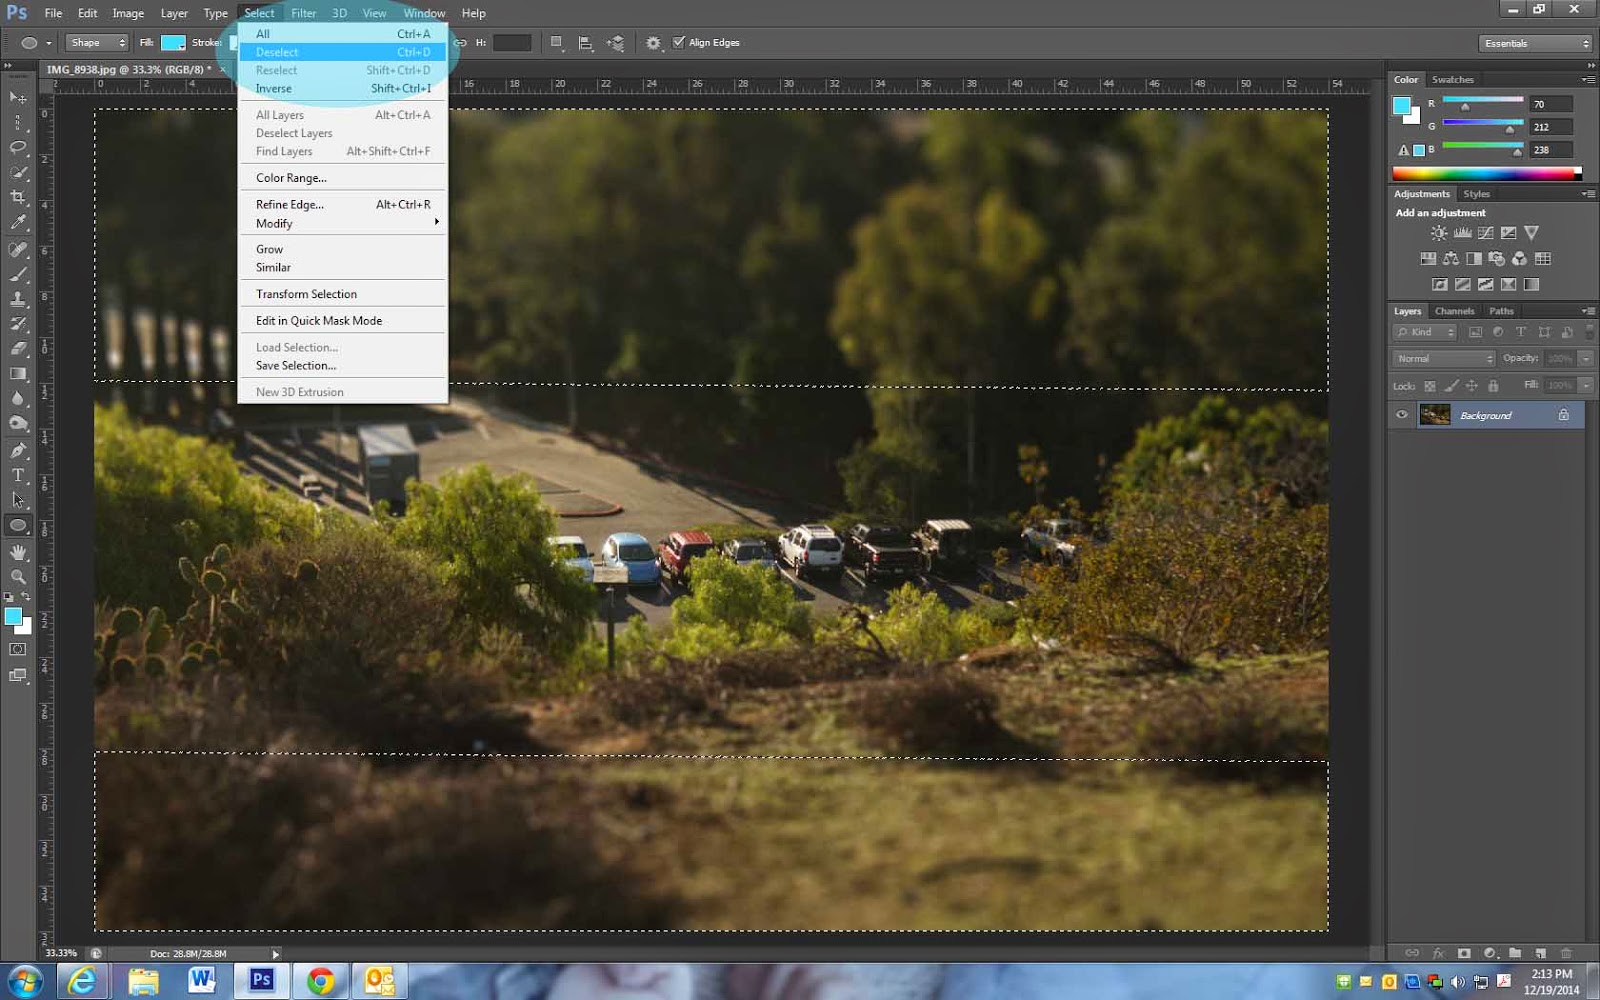
Step 9
- Go to Select -> Deselect.
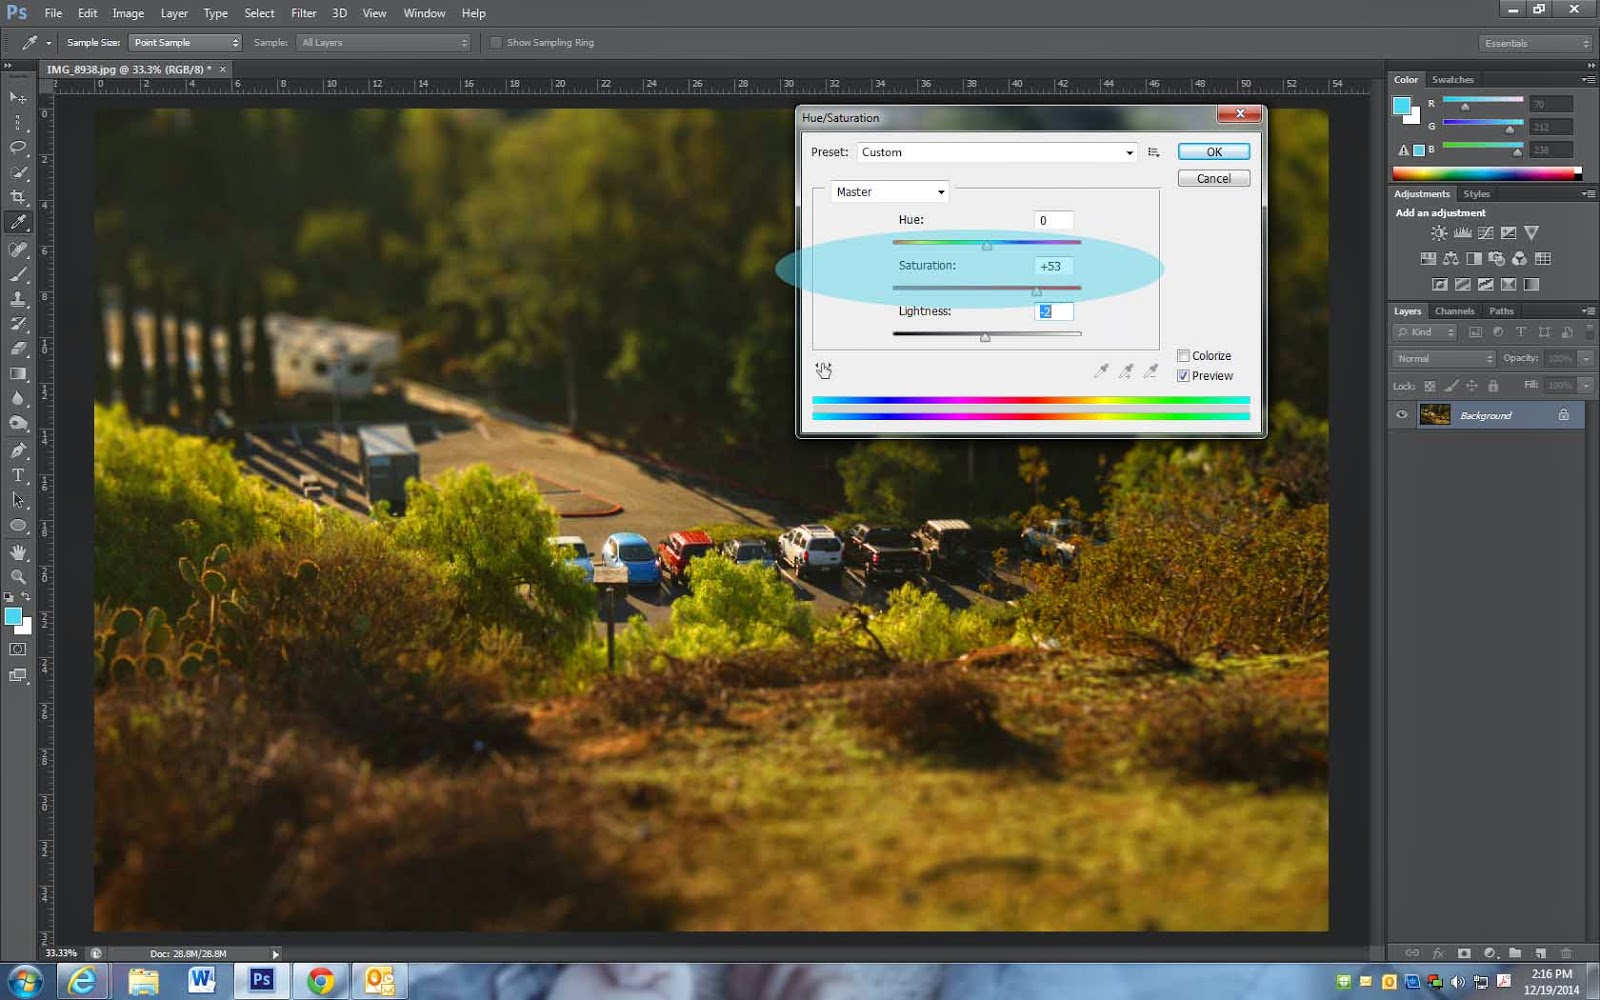
Step 10
- At the top of photoshop go to
- Image -> Adjustments -> Hue & Saturation.
- Move the saturation slider to the right to increase it.
- Don’t go overboard with the saturation, but just add enough to give the image the feel of a toy.
Final Result