Ghost Editing Color Overlay

Step 1
- Open photo in Photoshop
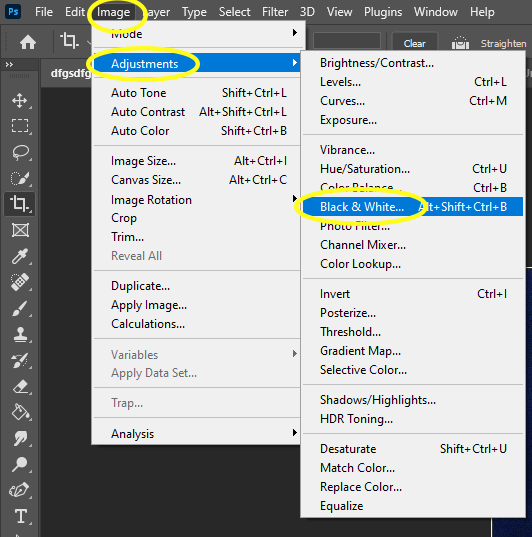
- Go to
- Image
- Adjustments
- Black and White
- Click OK
- Black and White
- Adjustments
- Image

Step 2
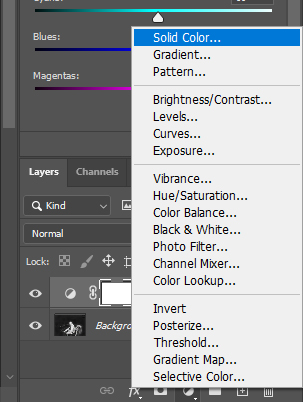
- Go to Layers Pallet
- Click on the half black/white Circle at bottom of layers
- Pick Solid Color
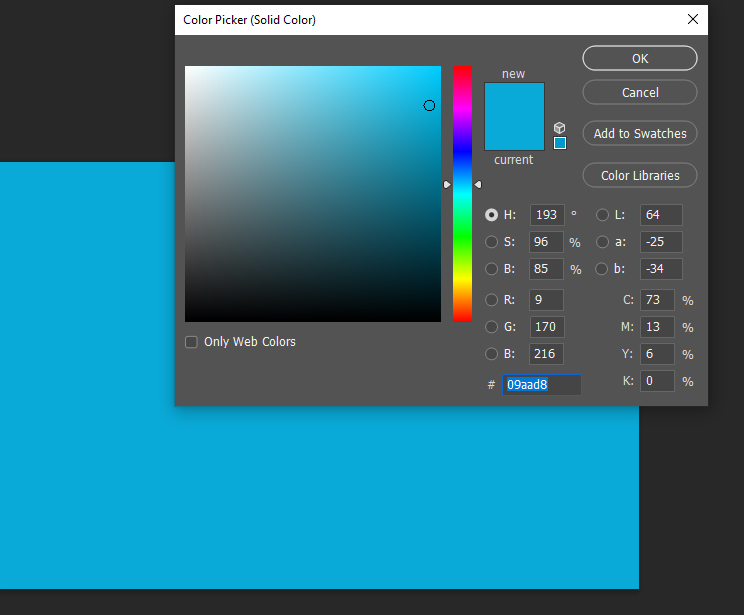
- Choose any color you would like for your photo
- Your photo will now be covered in a solid color
- Choose any color you would like for your photo
Step 3
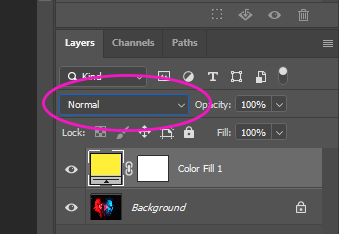
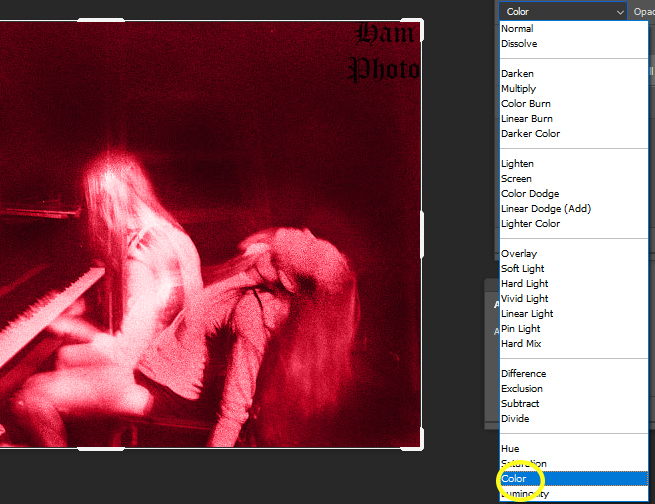
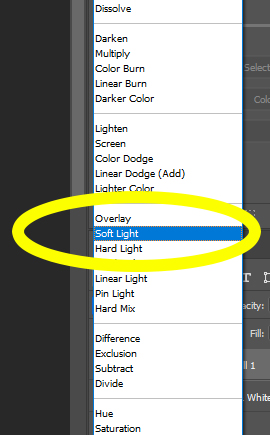
- On your Layers Pallet click where it says Normal
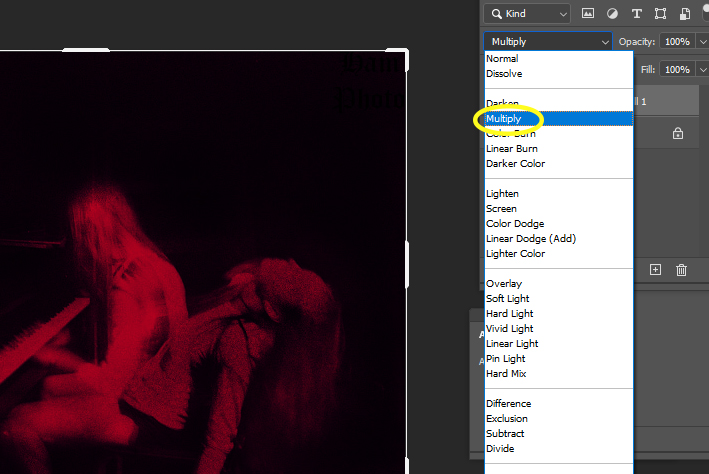
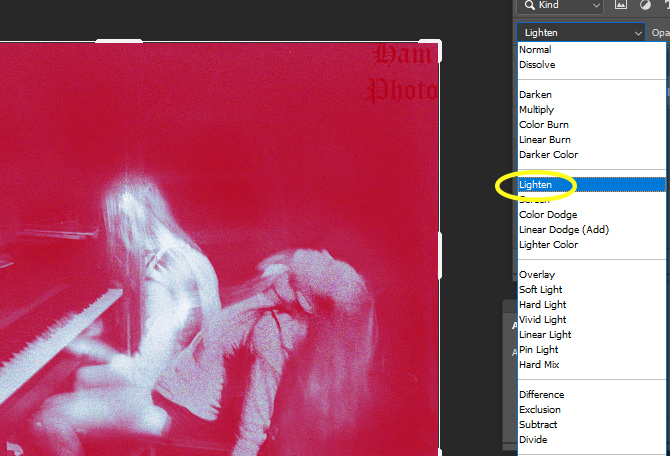
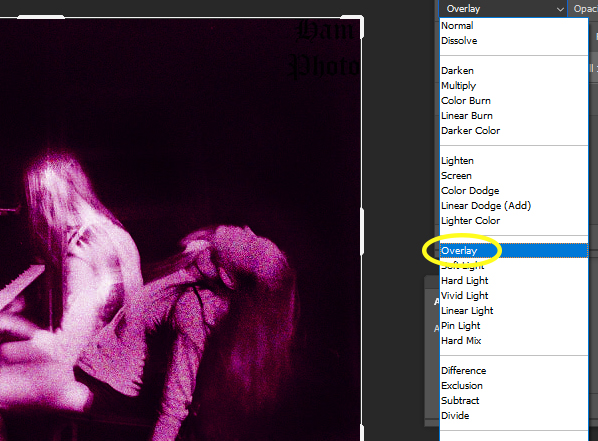
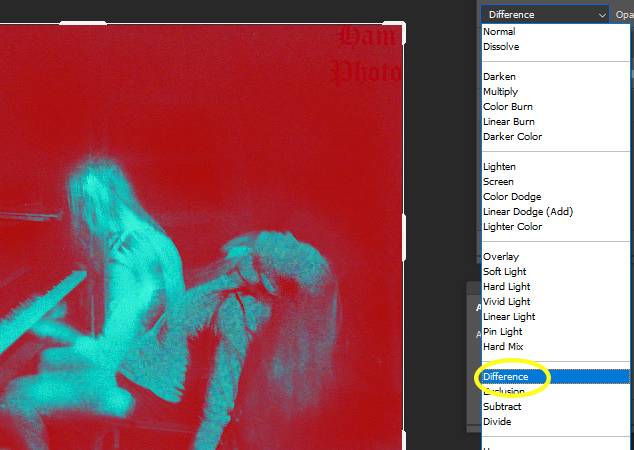
- You will be trying the following different overlays
- After you try them pick the one you like best
Overlays
- Multiple
- Lighten
- Overlay
- Difference
- Color
- Soft Light
Step 4
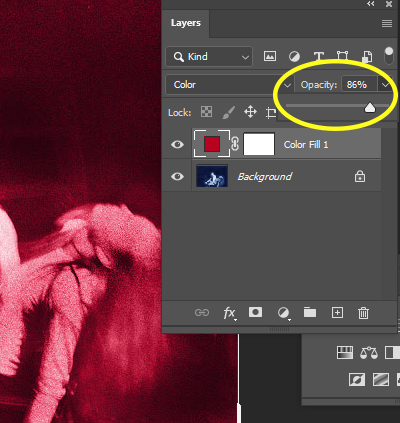
- You can change the Opacity on the Color Fill 1 Layer if it’s to strong
- You do not have to do this if you like the way your photo looks
Step 5
- If the photo is to dark or light
- Change the Brightess/Contast
- Add Logo
- Flatten Image
