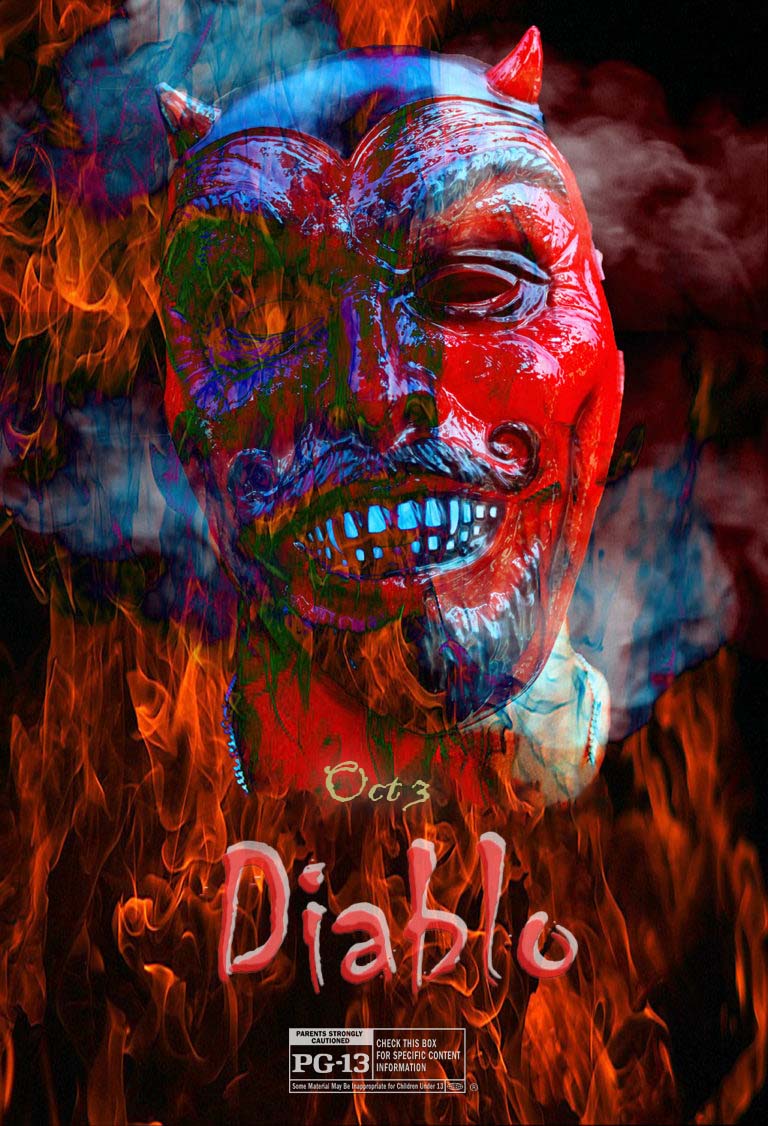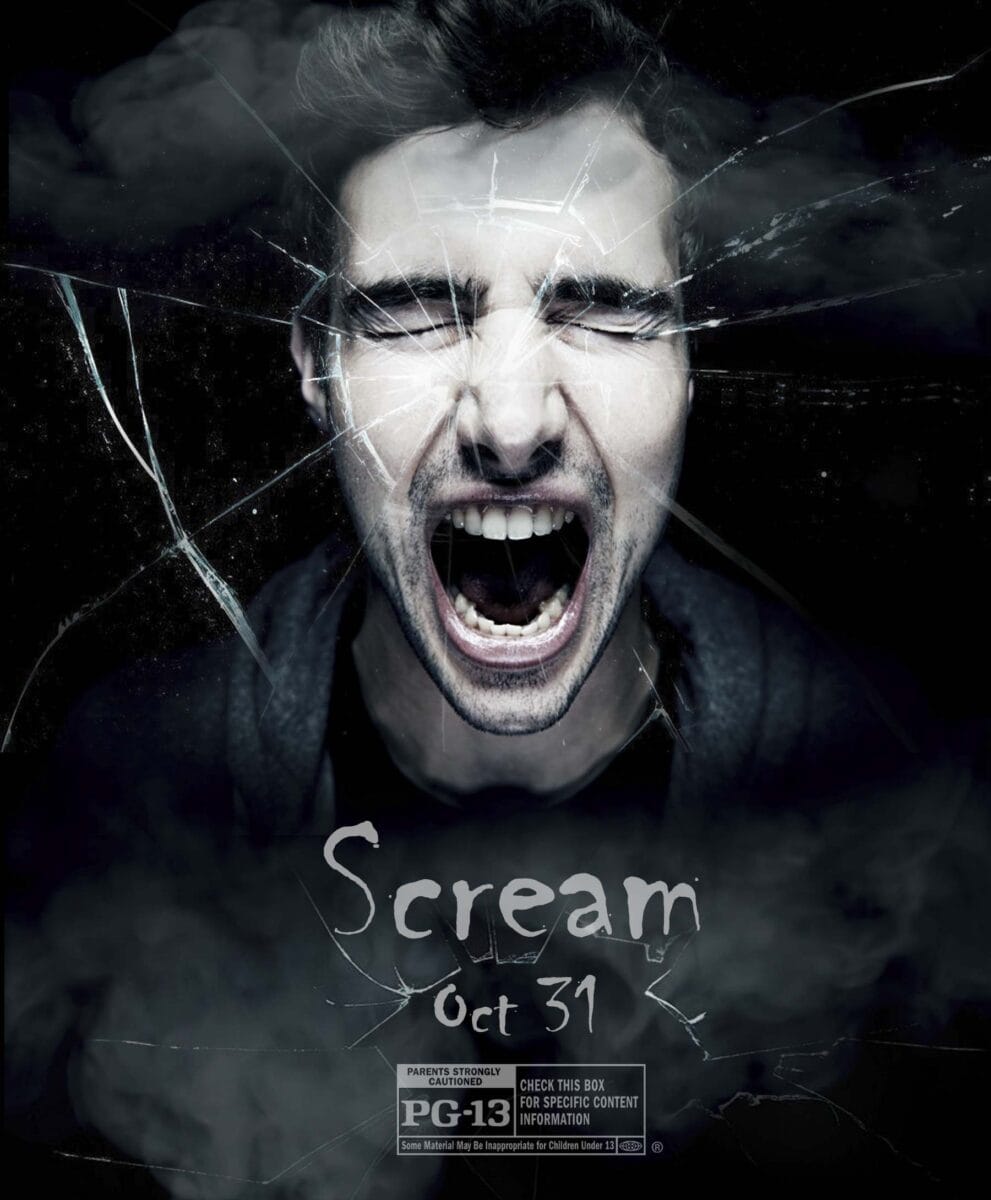
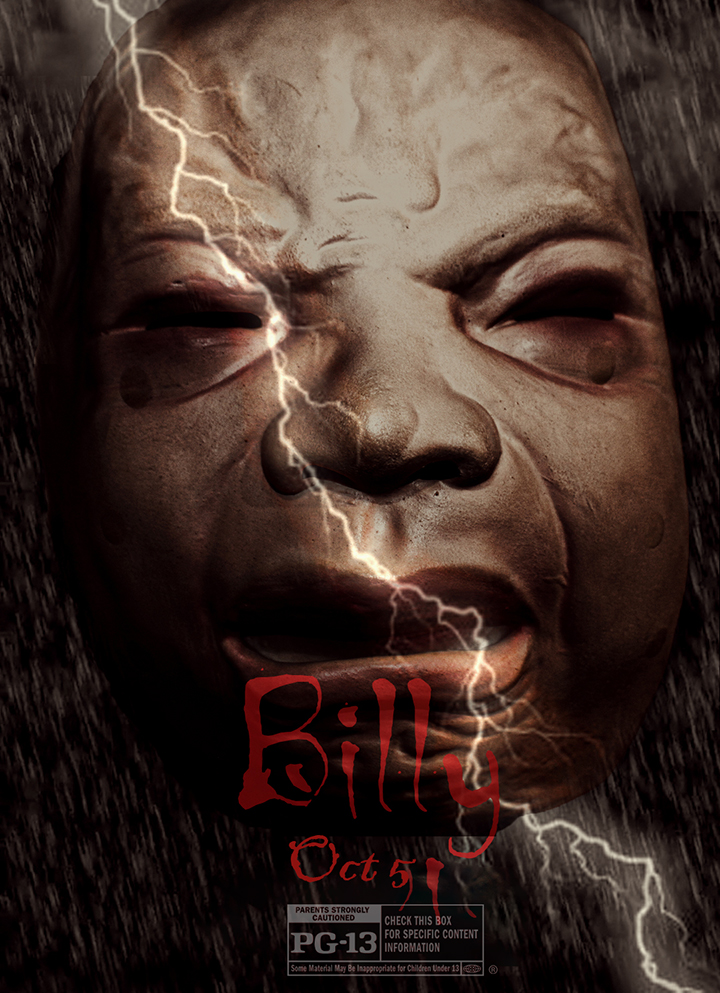
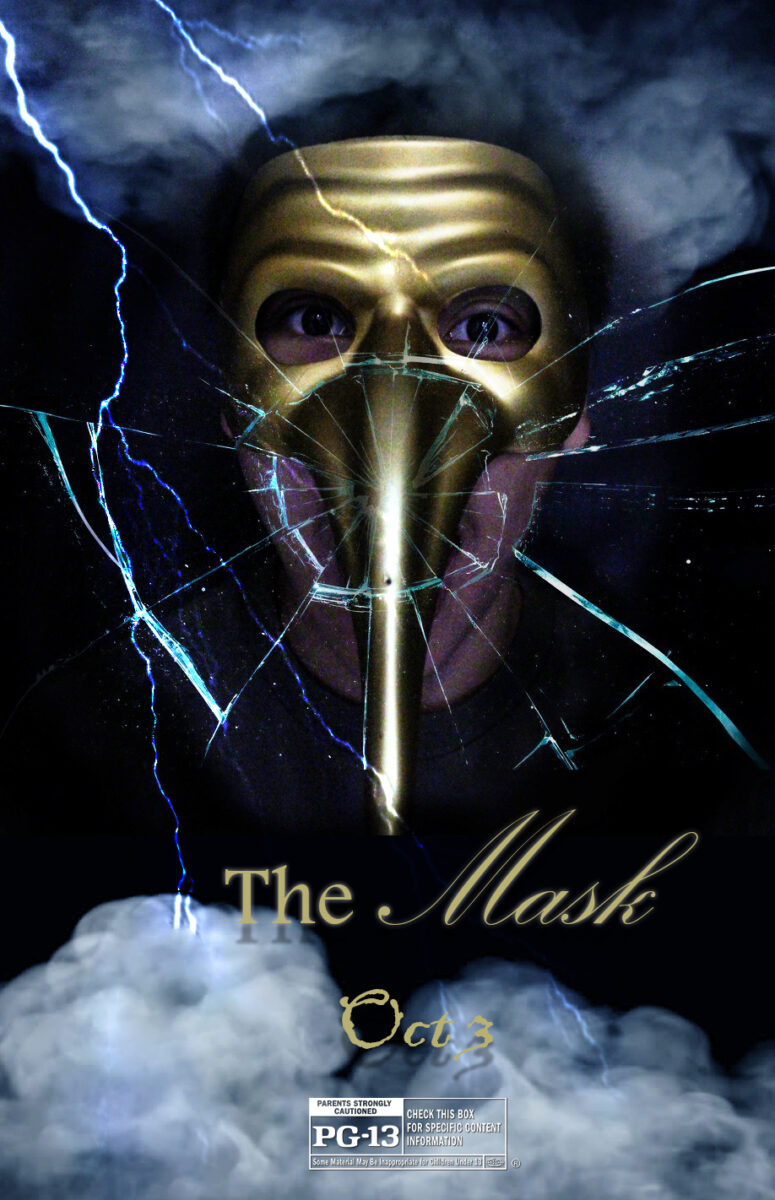

The Photograph
- Use the black backdrop in the classroom
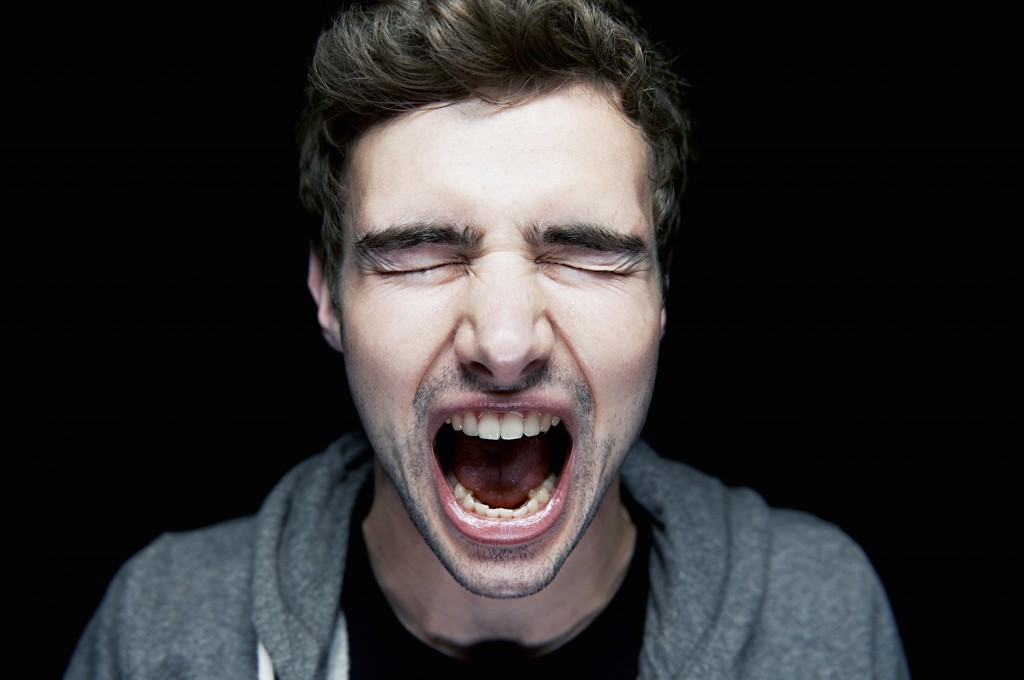
- Take a close up photograph of a person from the sholders up
- They should be screaming, yelling or making a crazy face
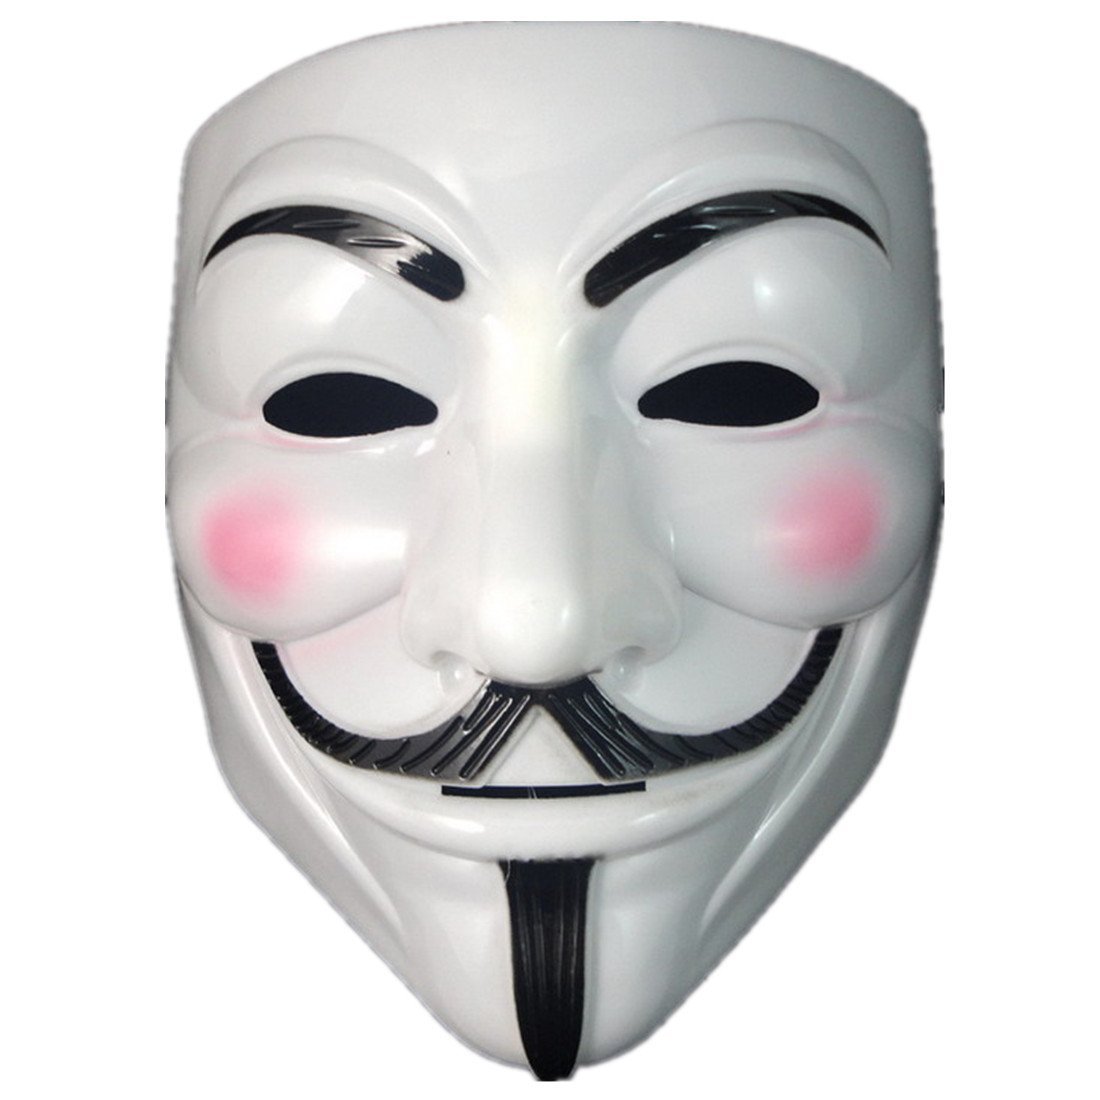
- You may also have them wearing a mask
- They should be screaming, yelling or making a crazy face
The Photoshop
Step 1:
- Open the photo of the person in photoshop
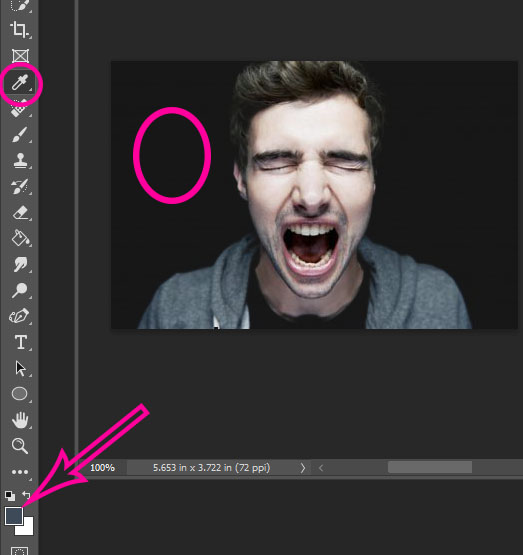
- Pick the Eye Dropper Tool
- Click on the black area of your photo
- This will now become the color of the top square
- Click on the black area of your photo
- Pick the Eye Dropper Tool
Step 2:
- Go to
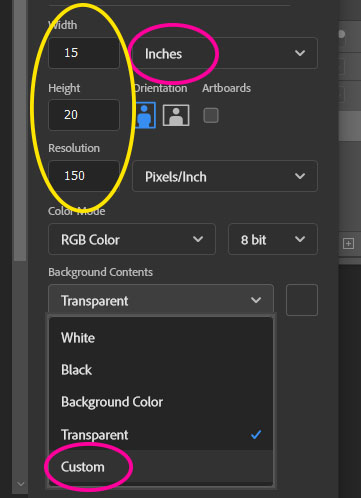
- File- New
- Make sure you are on INCHES
- Width 15
- Height 20
- Resolution 150
- Background Contents
- Custom
Step 3:
- A box with colors will show up
- Do NOT click in the box
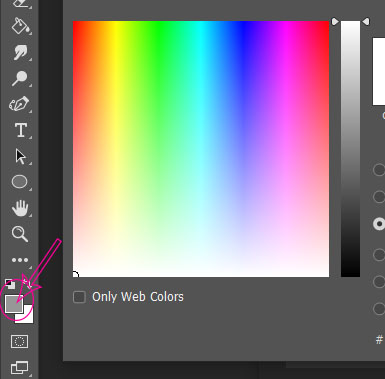
- At the BOTTOM of the tools bar
- Click the top box
- This will select the custom color
- Click the top box
Step 3:
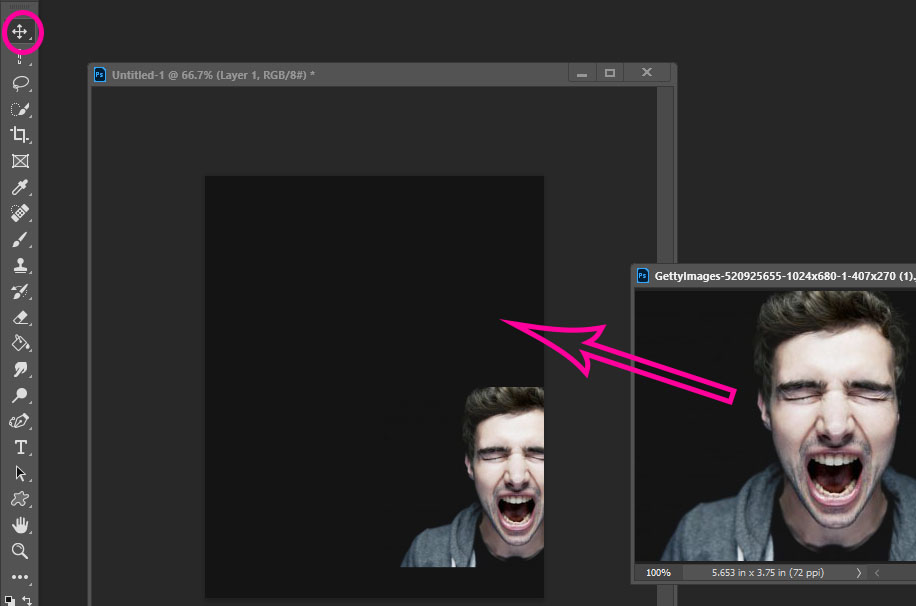
- Click on the Move Tool
- Move the photograph of your person onto the Black Canvas you just made
Step 4:
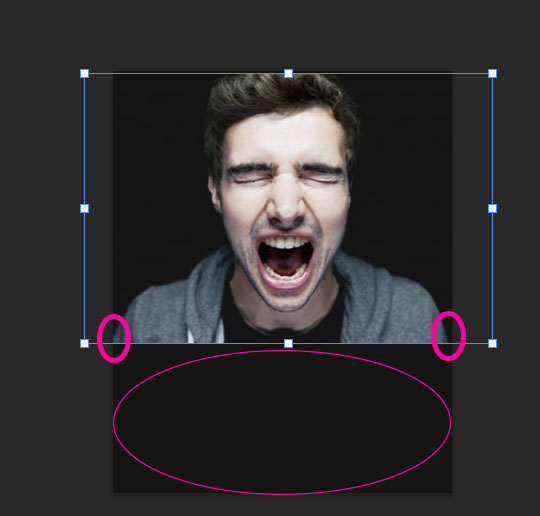
- Click Control T
- Move the person so shoulders touch the edge of the black canvas
- Leave area at the bottom of the canvas
- Flatten Image
Step 5:
- Pick the Eye Dropper Tool again
- Click on the black area of your photo to select the color again

Step 6:
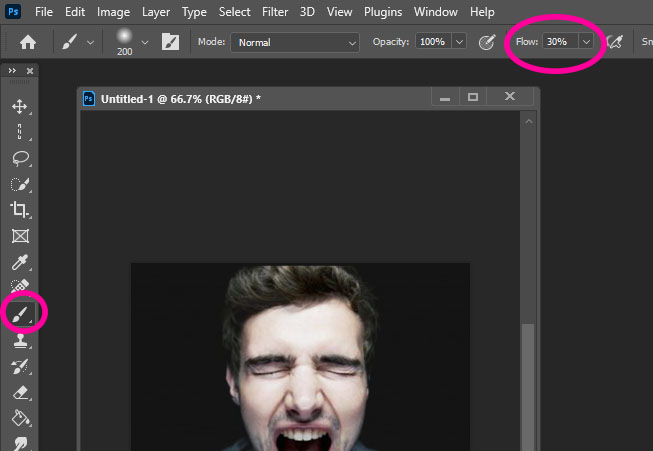
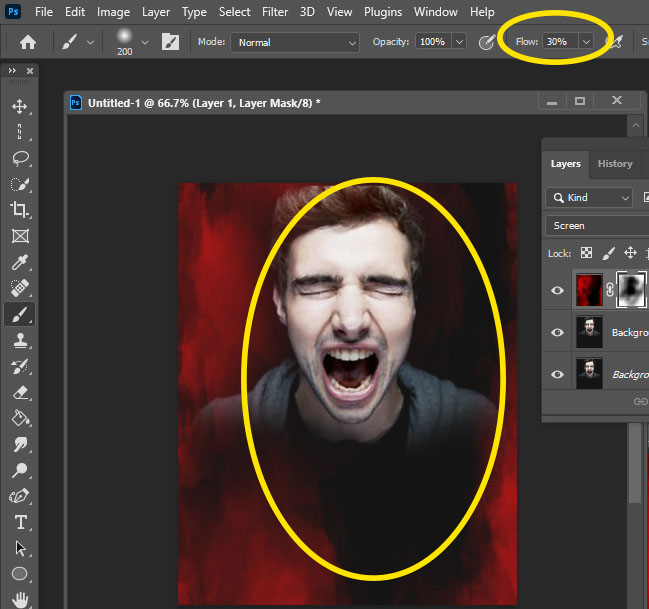
- Select the Paint Brush Tool
- Change the Flow to 30%
- Make the brush big……..about the size in the example
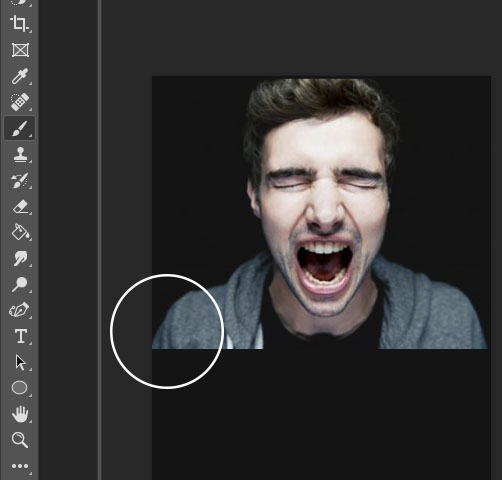
Step 7:
- Slowly Paint over the bottom area of the person’s shirt
- You want it to look like a gradual fading of the black over the shirt
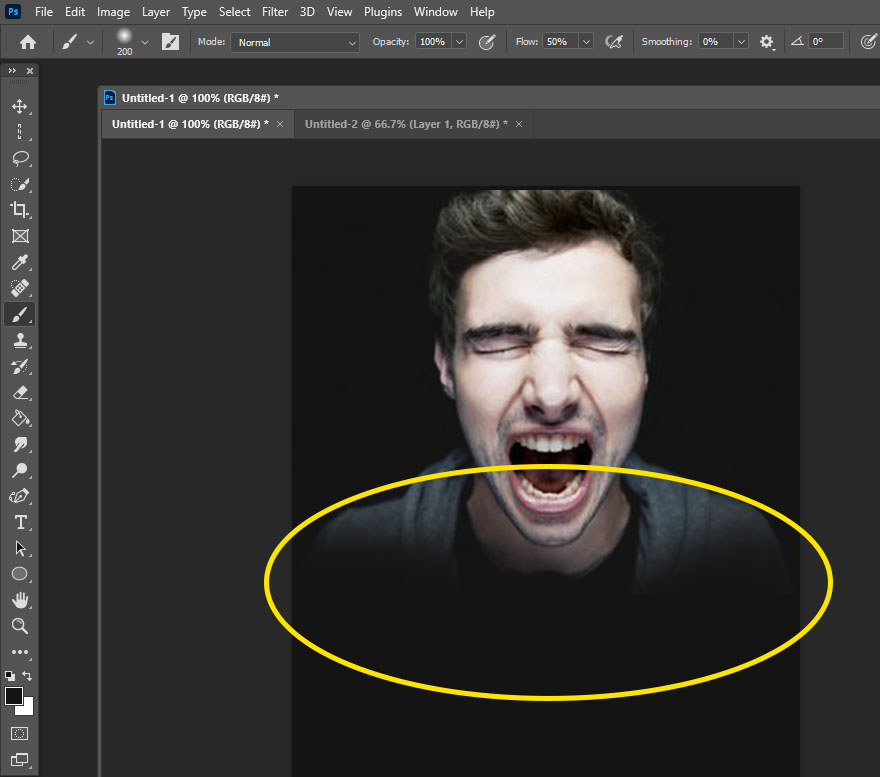
Step 8:
- Right click on the background layer
- Duplicate Layer
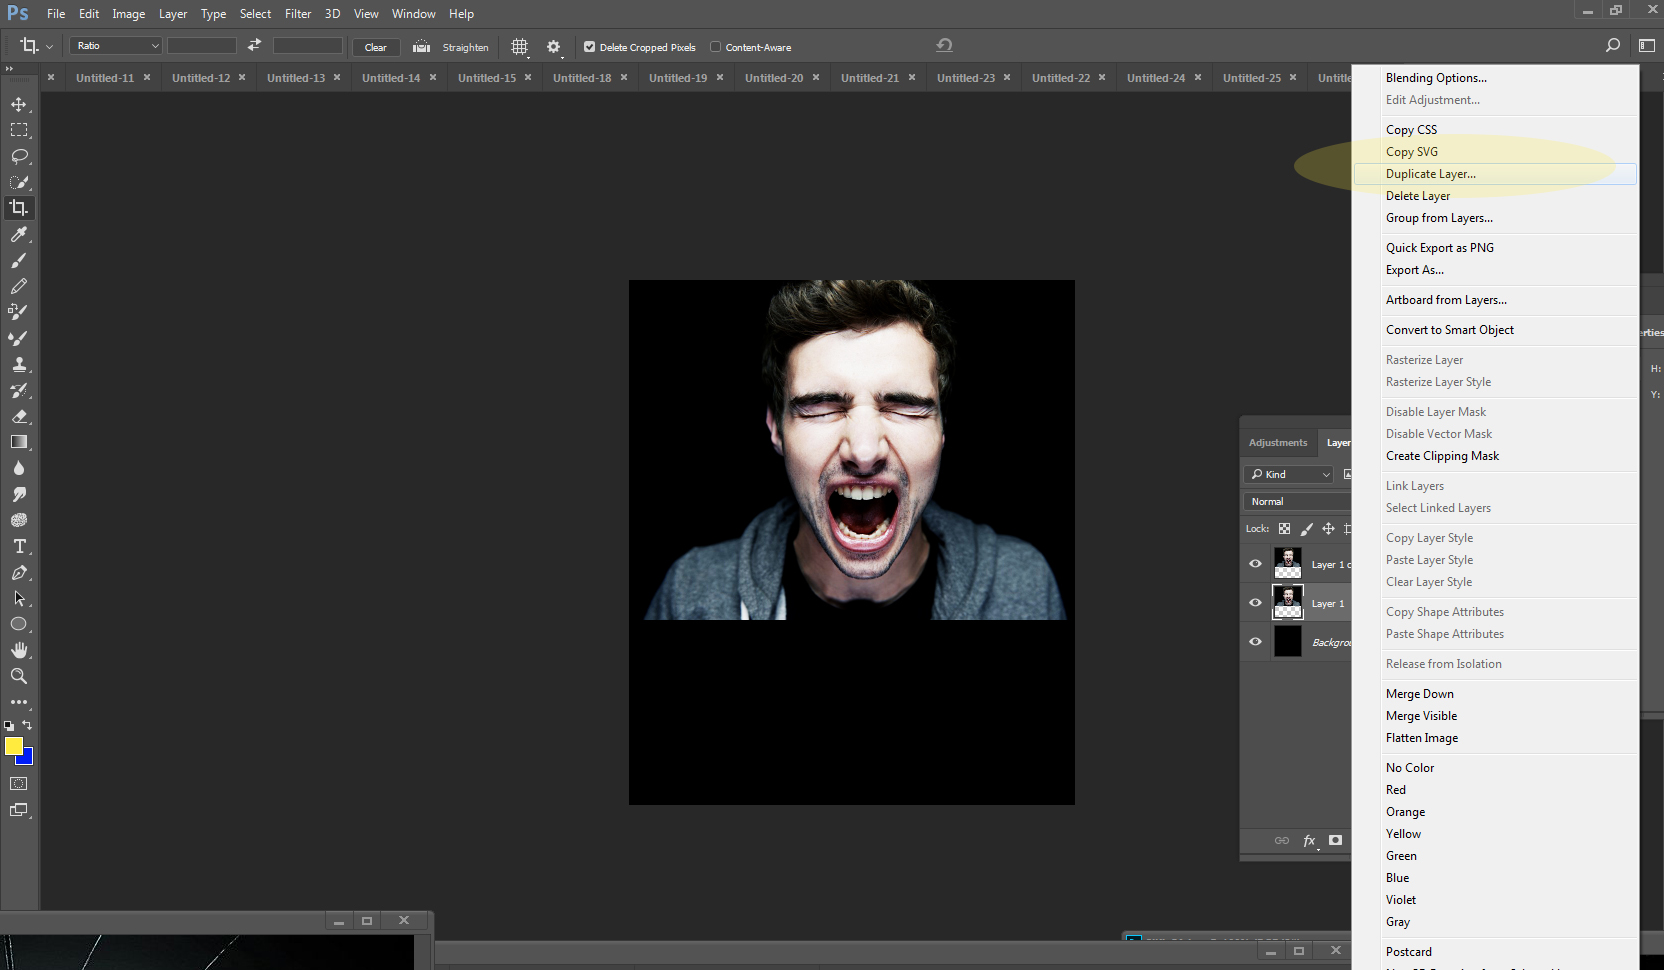
Step 9:
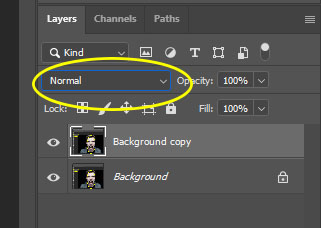
- Stay on the duplicated layer
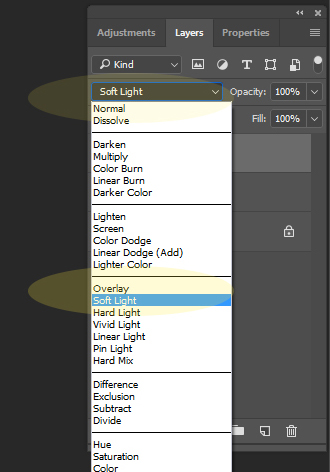
- Normal on the layers pallet
- Change to Softlight
- If you do not like Softlight you may try a different overlay
Smoke Section
Step 6:
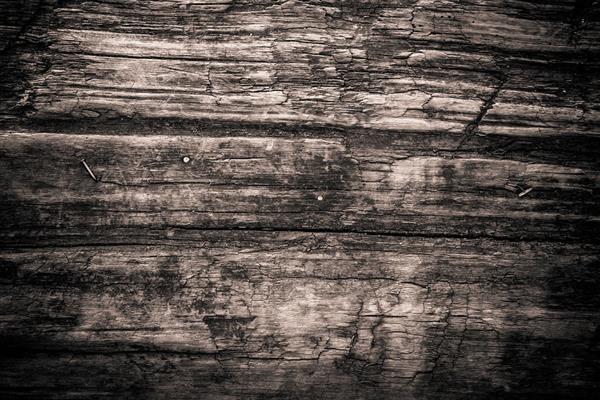
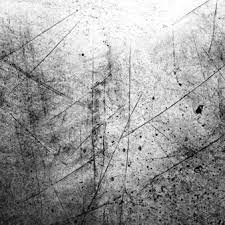
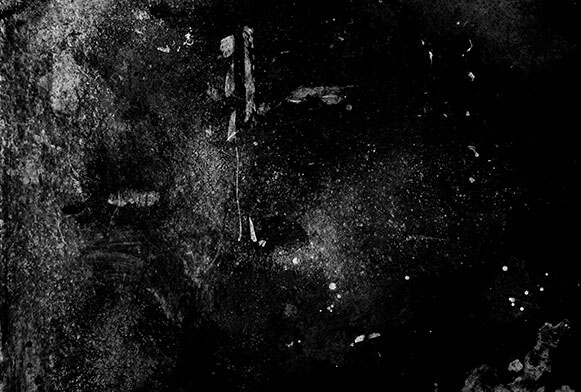
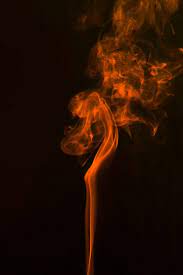
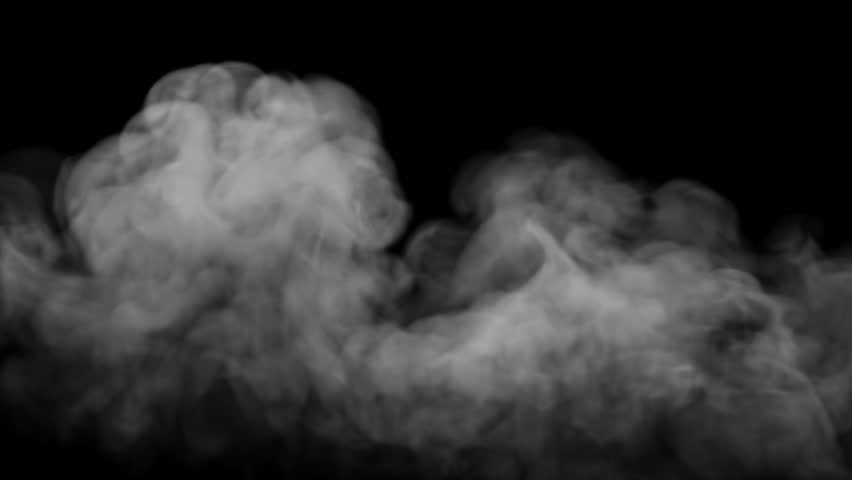
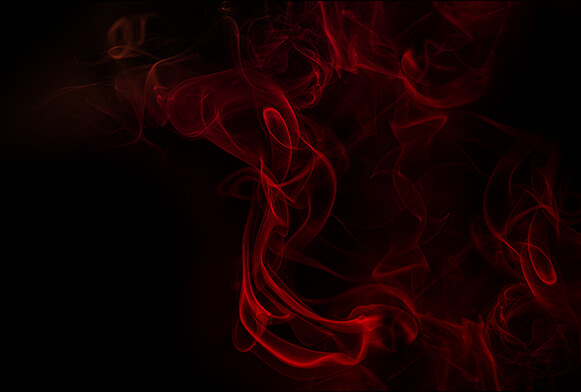
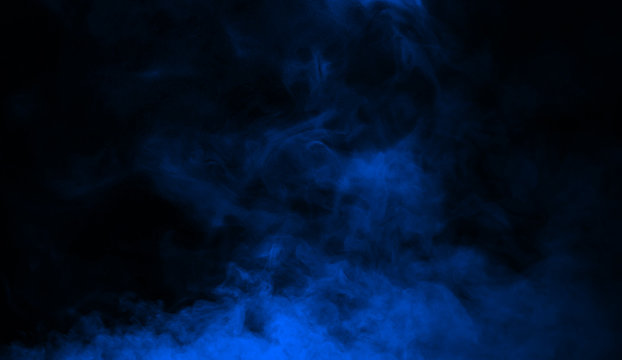
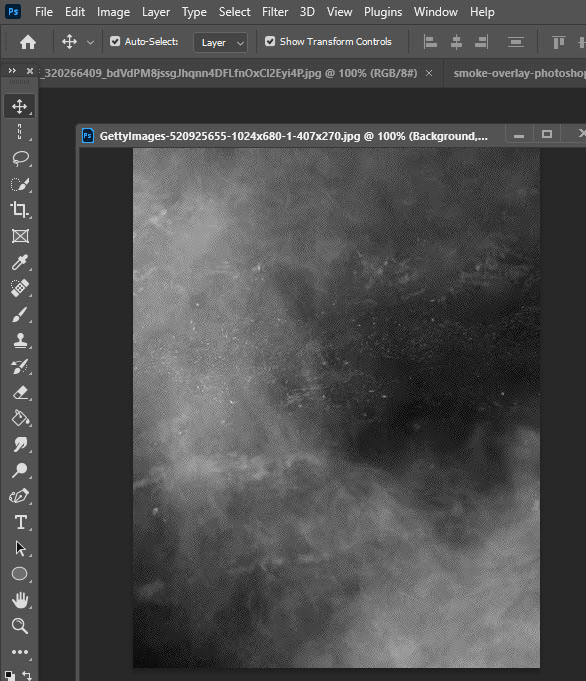
- Pick and save one of the smoke/texture image below
- If you do not like my files you are welcome to find your own
- Open the file in photoshop after you save it
Step 7:
- With the MOVE tool
-
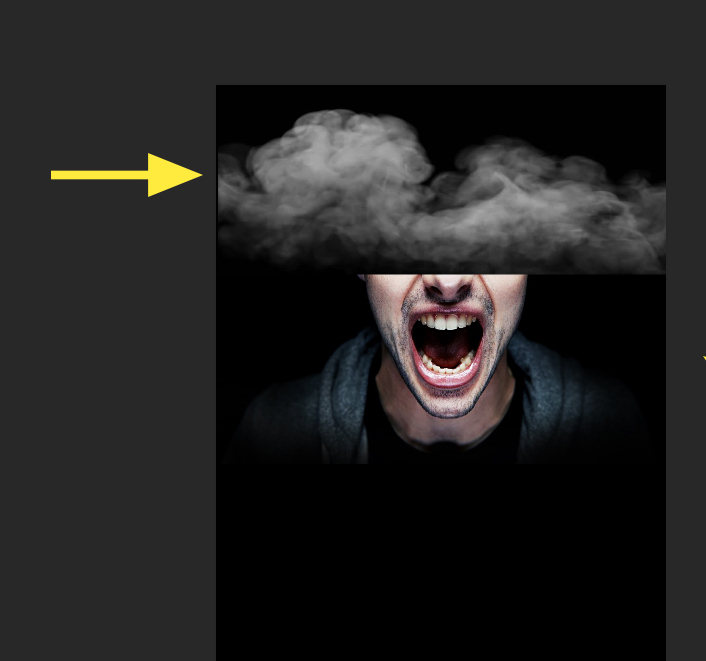
- Move the smoke file onto the Person/Black photo (It will look blurry until the end of step 7)
- Click Control T
- Hold the Shift key as you drag the image over the person
- Cover the whole photo
- Hold the Shift key as you drag the image over the person
- Click Control T
- Move the smoke file onto the Person/Black photo (It will look blurry until the end of step 7)
-
Step 8:
- Stay on the Smoke Layer
- At the top of the Layers Pallet
- Change Normal to Screen
- If you do not like Screen you may change it to something else
- Change Normal to Screen

Step 9:
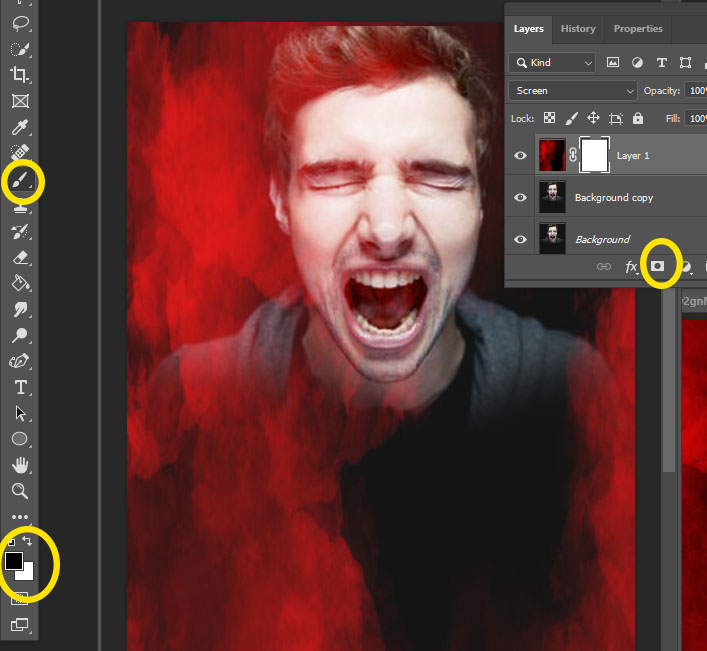
- Add a Mask to the Smoke layer (box at bottom of layers)
- Select Paint Brush
- Black box on top
- White box on bottom
Step 10:
- Make the Opacity 30%
- Paint off the areas you do not want the smoke (ex. face)
- Flatten Image when you are done
Optional Added Smoke:
- You may add a second smoke color at this time.
- Repeate the steps 7-11 for adding the second color of smoke
Step 11:
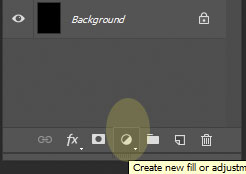
- Click on the black/white circle at the bottom of the layers pallet
Step 12:
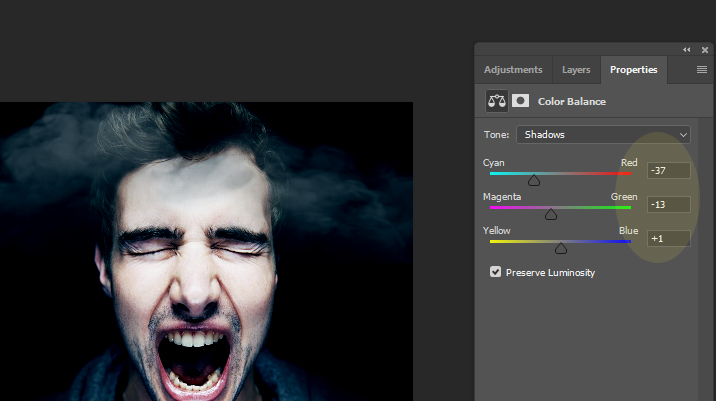
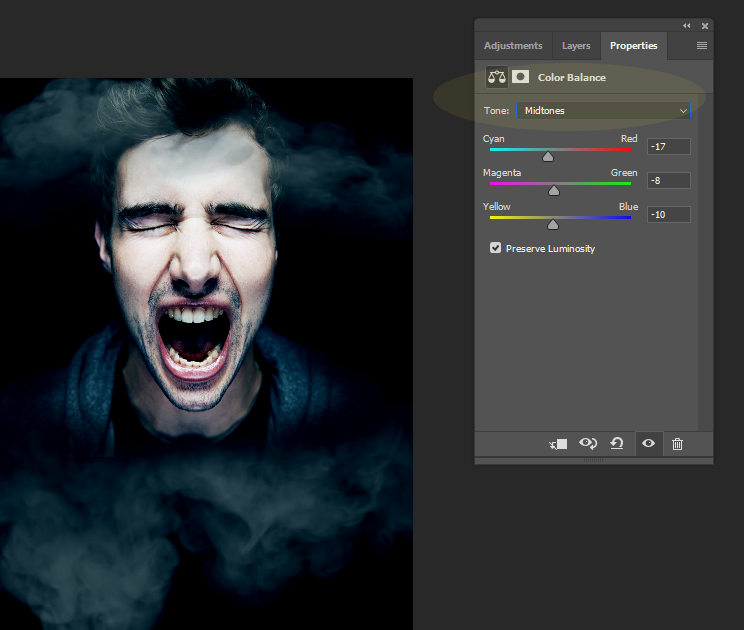
- Choose Color Balance
- Move the sliders for
- Midtones
- Shawdows
- Highlights until it starts to achieve a different tint
- Shawdows
- Midtones
- Do not go overboard with the color!!!!!!!!!!!!!!!!!!!!!!
- Flatten your image when done
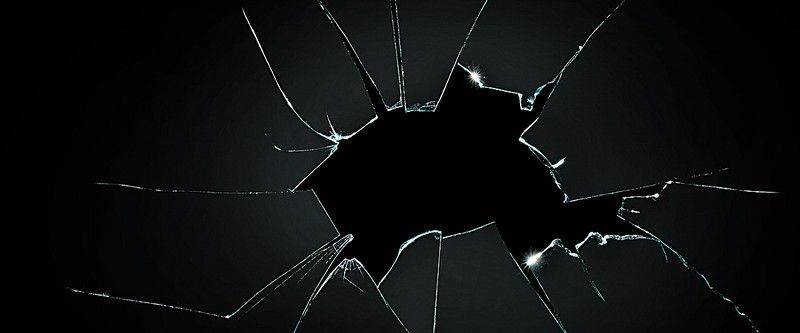
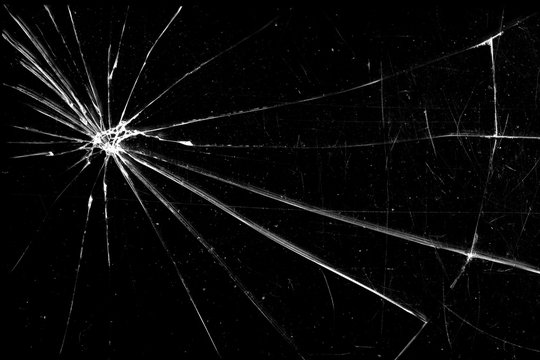
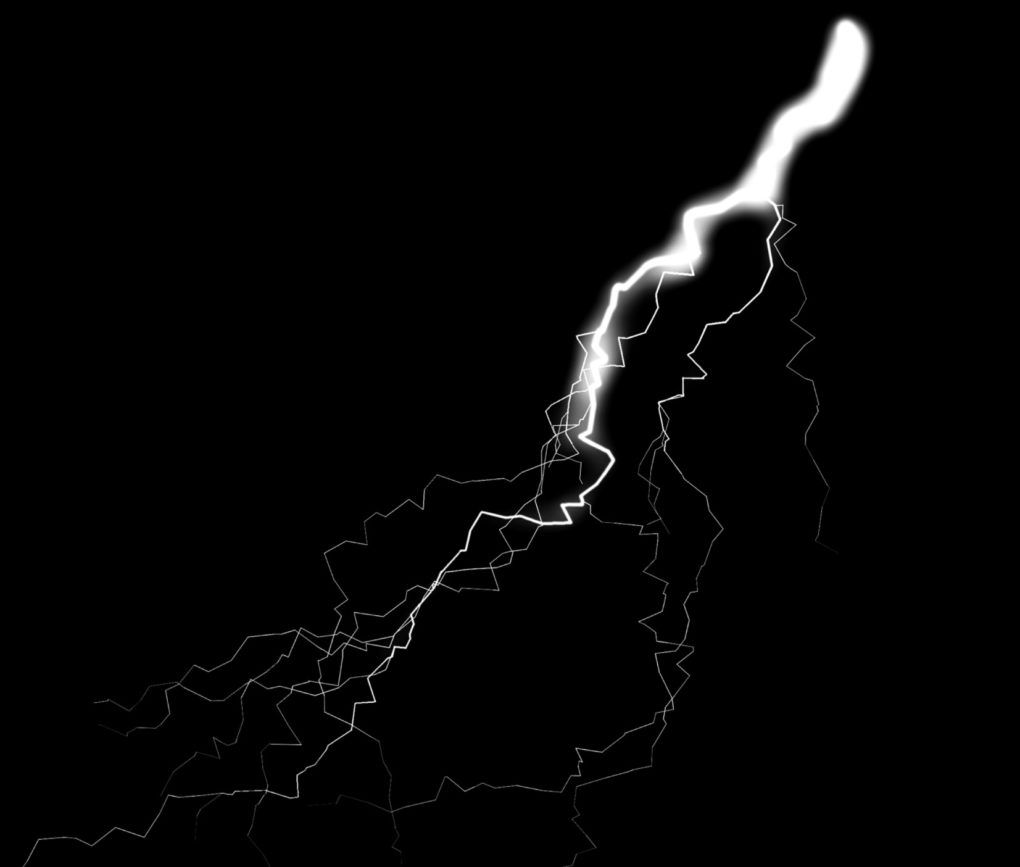
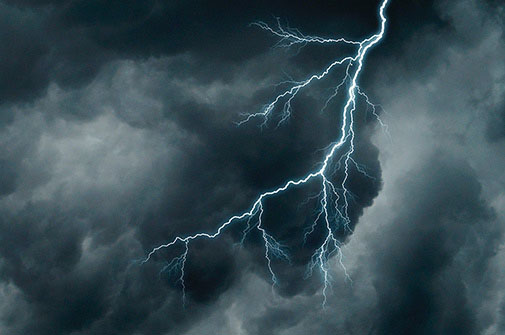
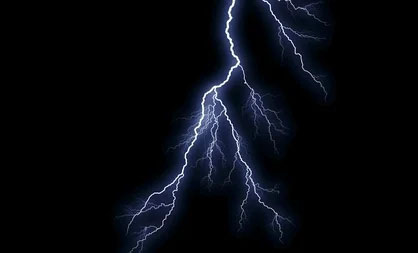
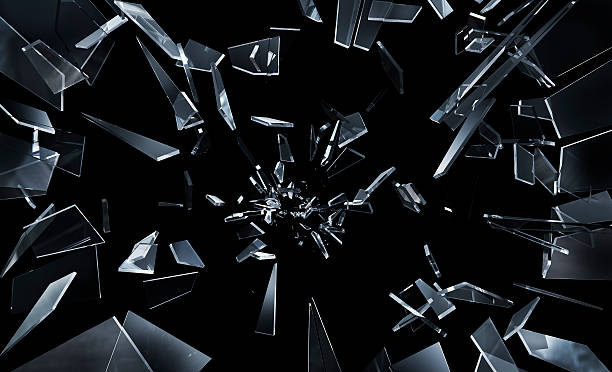
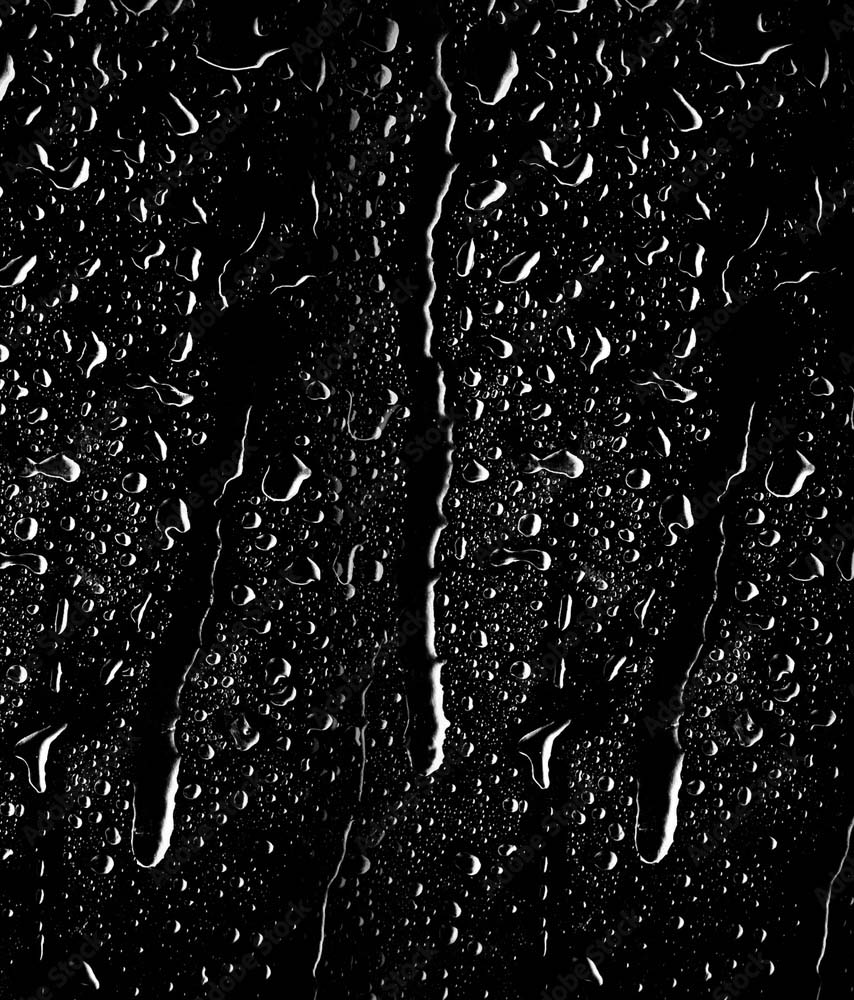
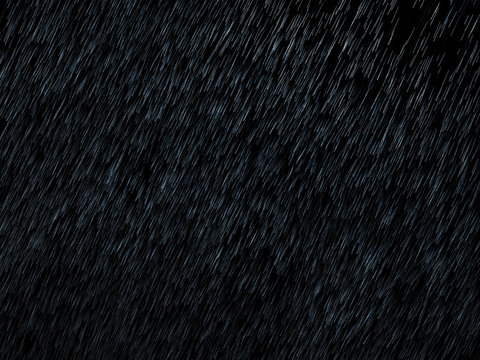
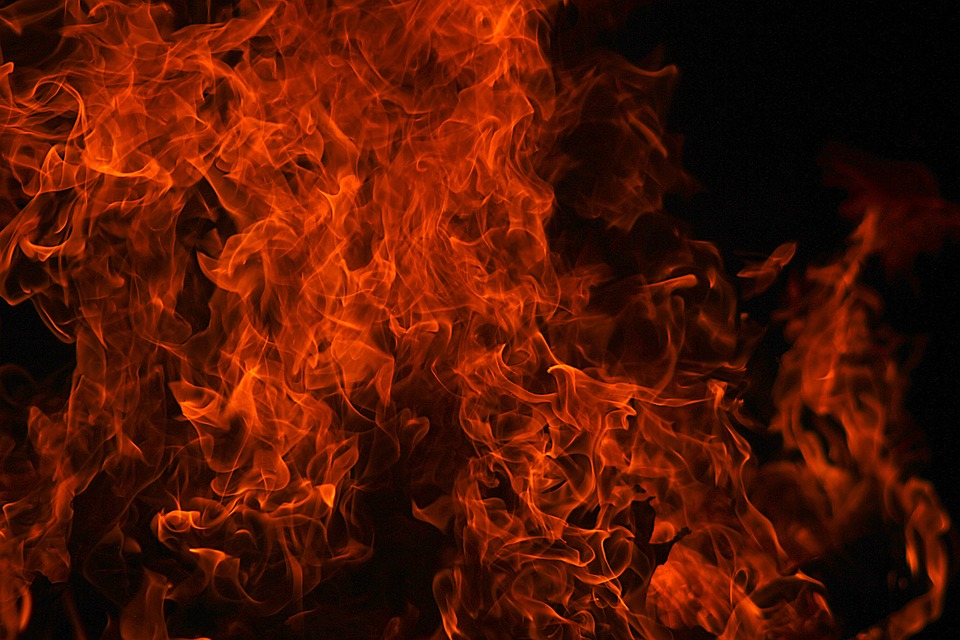
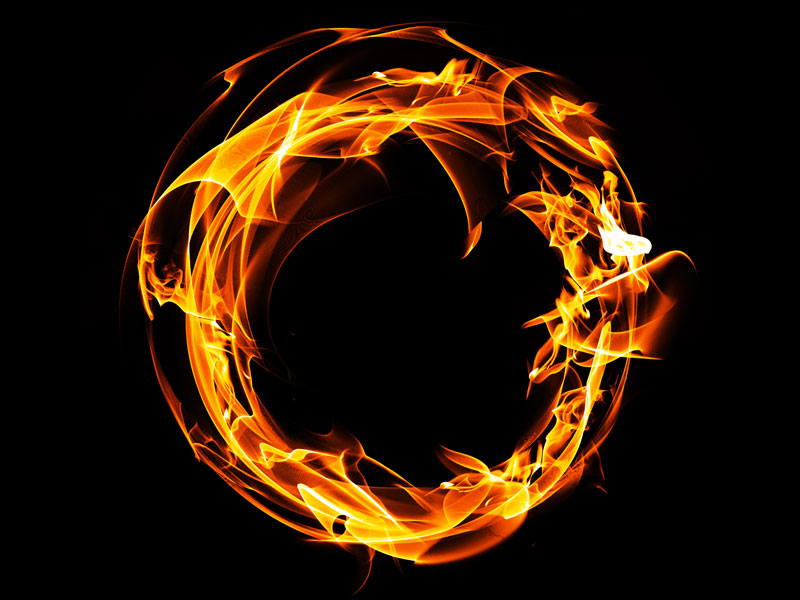
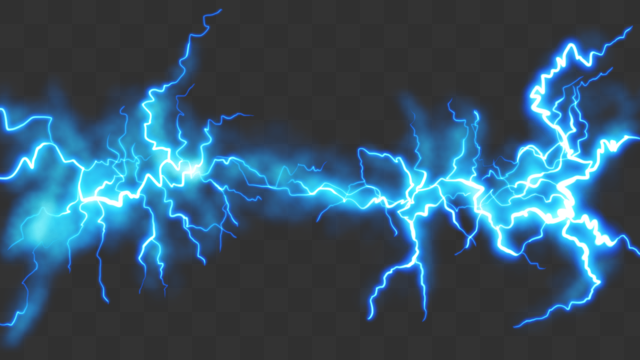
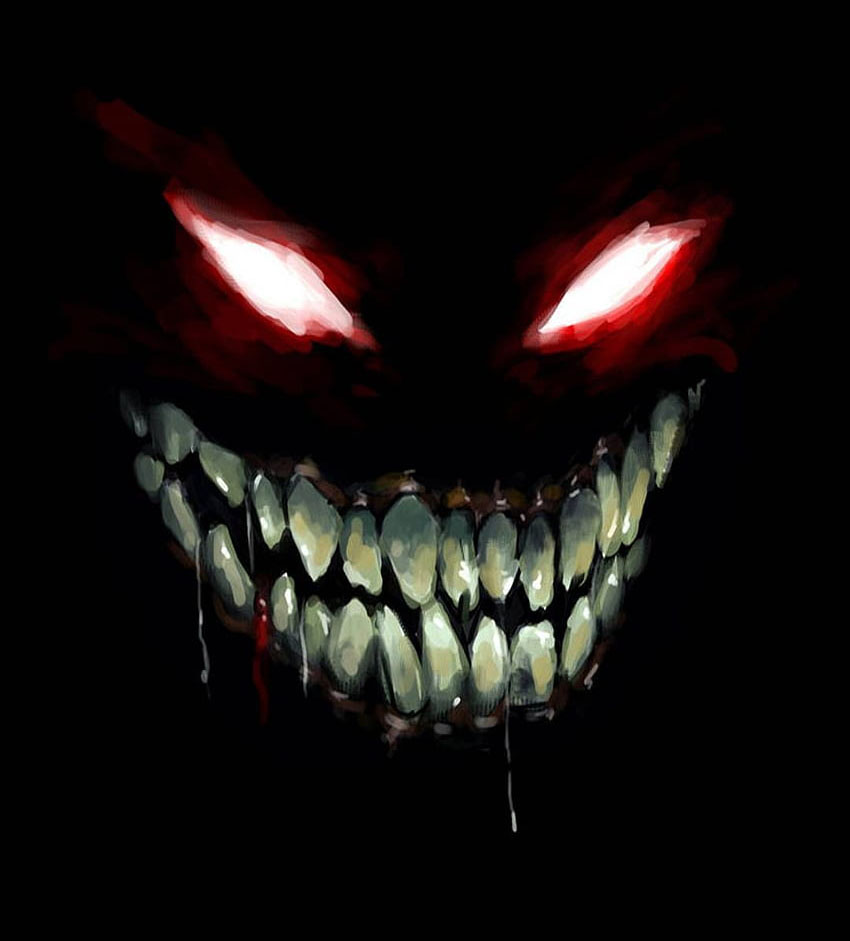
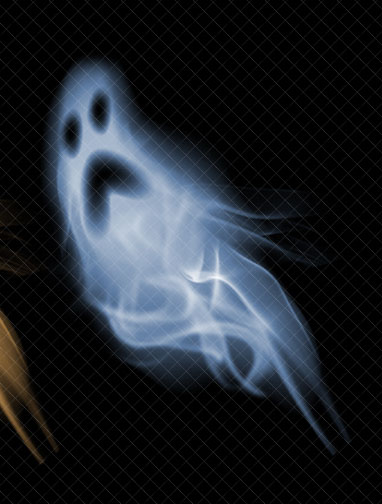
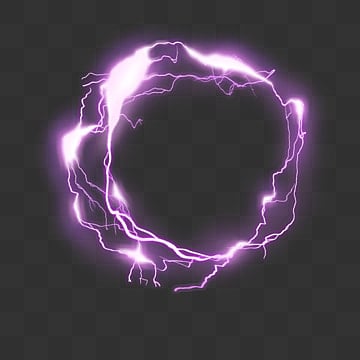
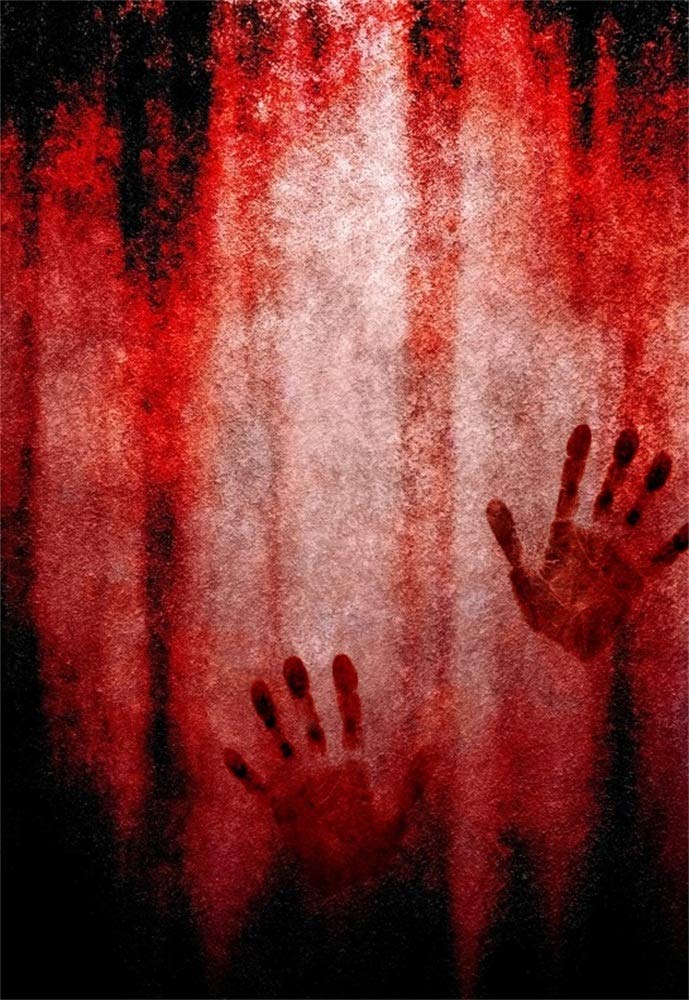
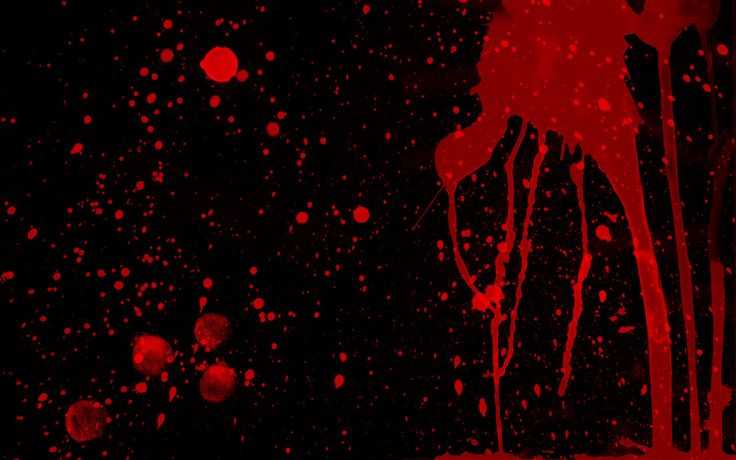
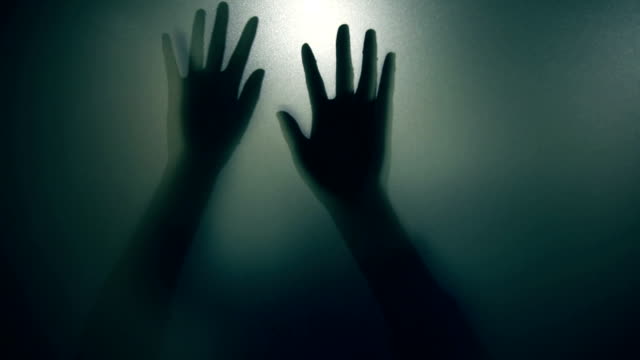
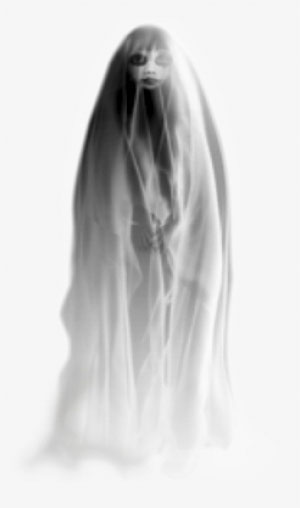
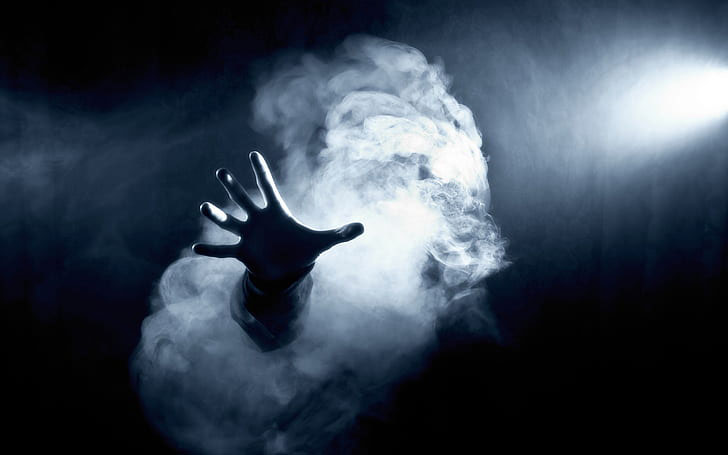
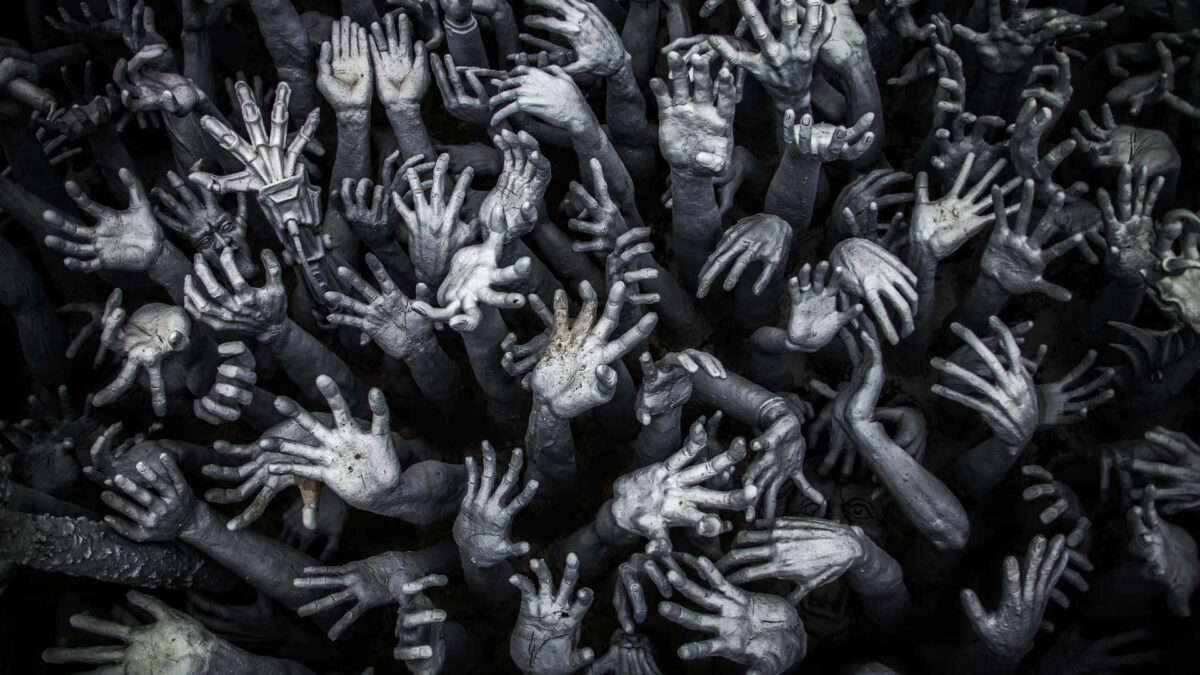
- Save one of the files below
- You can pick anyone of the files or you may find your own

Step 14:
- Open the saved file
- Choose the Move Tool
- Move the image onto the main photo
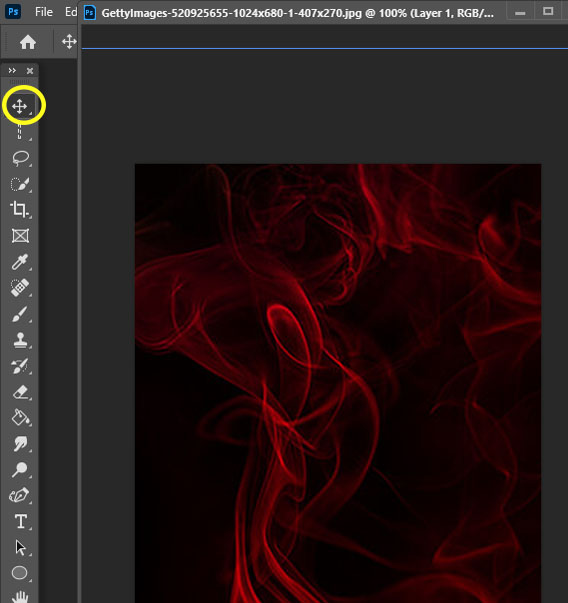
Step 15:
- Click Control T
- Hold the Shift Key
- Drag the image over the entire photo (Don’t worry if it looks blurry as you drag it)
- Move the file around until you like the placement over the person
- Click Enter when done
- Drag the image over the entire photo (Don’t worry if it looks blurry as you drag it)
- Hold the Shift Key
Step 16:
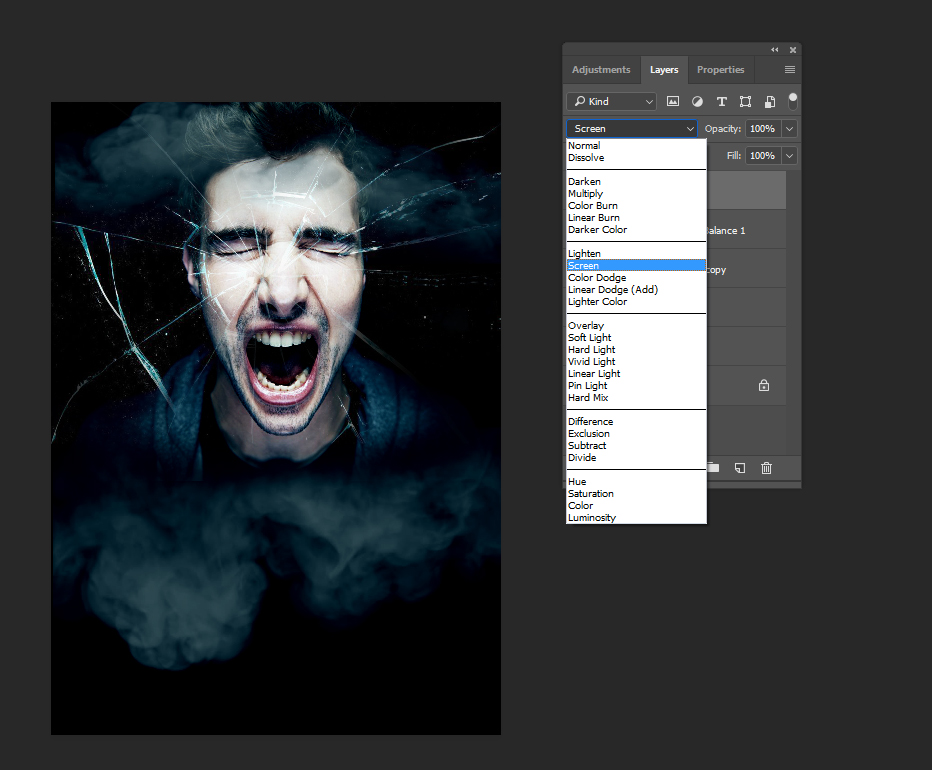
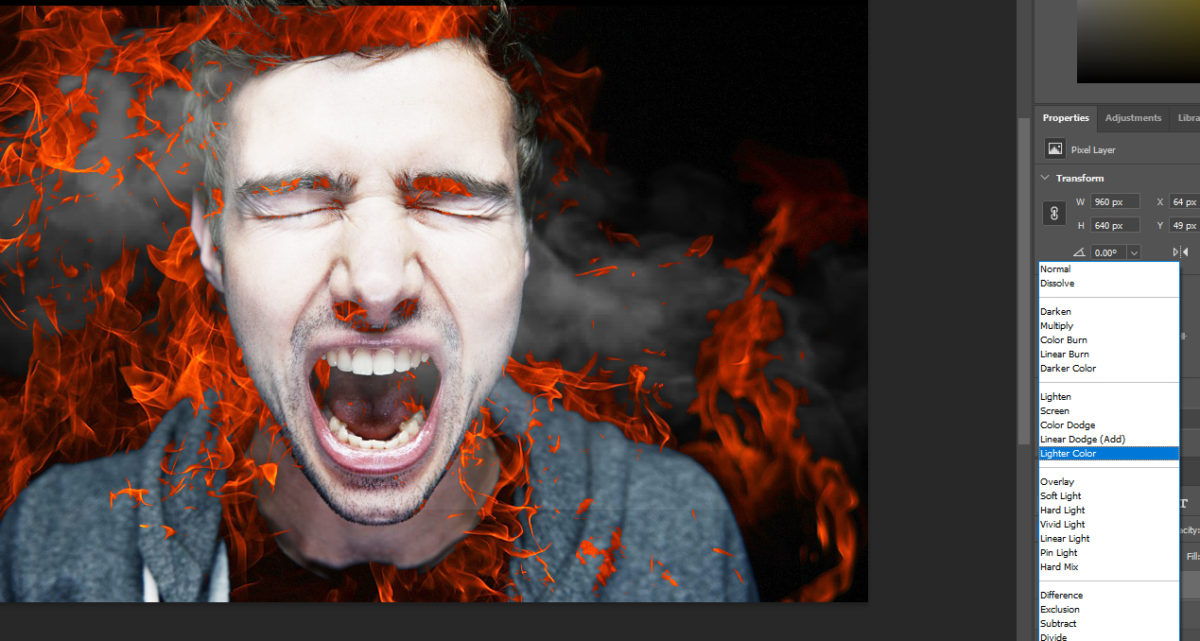
- Make sure you are on the glass/fire/rain layer
- Layers Pallet top left
- Change Normal to Screen or Lighten
- You may also pick another overlay if you would like
- Change Normal to Screen or Lighten
Step 17:
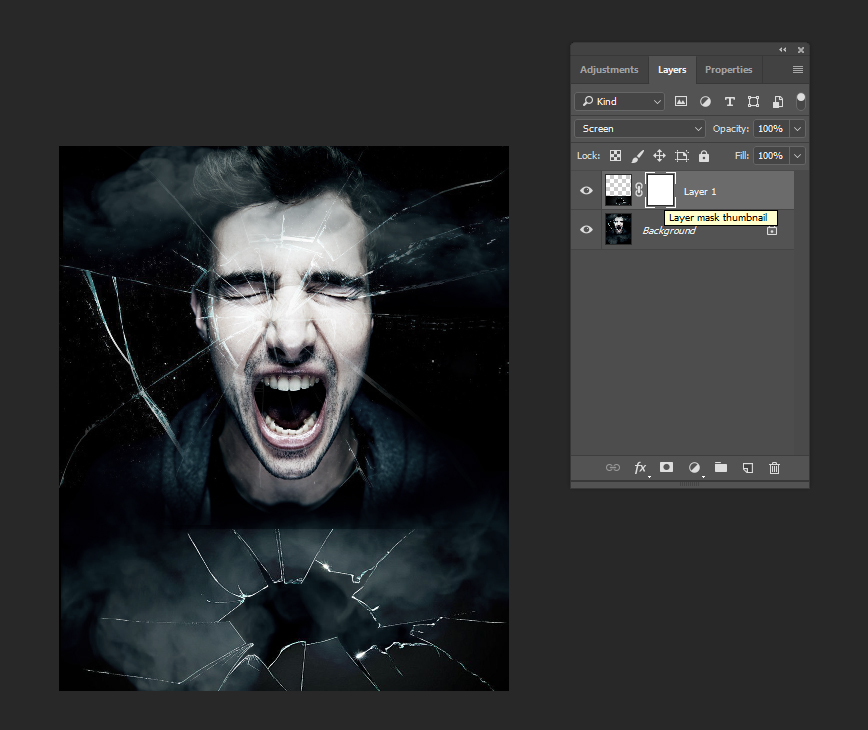
- At the Bottom of the layers pallet
- Add a mask (black/white square)
- Pick a black paint brush
- Paint out parts of the glass/fire/ect you do not want
- When you are done
- Flatten Image
*****If you would like to add another image to the poster follow the steps 15-18 again*********************

Step 18:
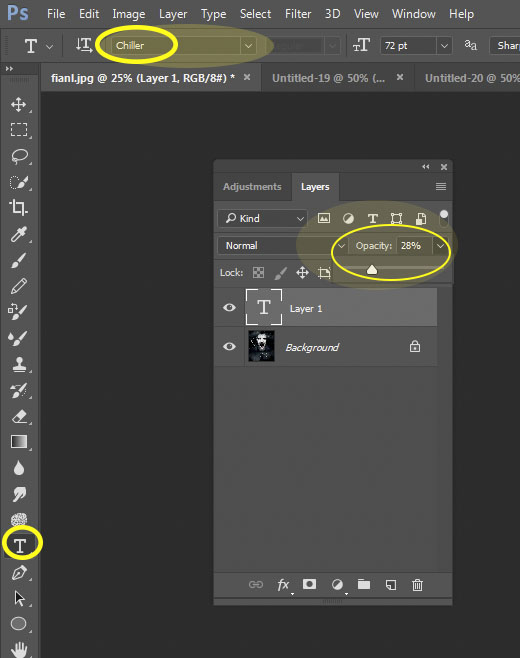
- Choose the Text Box
- Draw the text box under the person
- Pick a font (Chiller or Another font you like)
- Pick a Color for the font
- Lower the Opacity to between 25%-60%
- Pick a Color for the font
Step 19:
- Pick the name of your movie
- Type the Name
- You can change the color and font as needed
- Type the Name

Step 20:
- When you are done typing the name of the movie
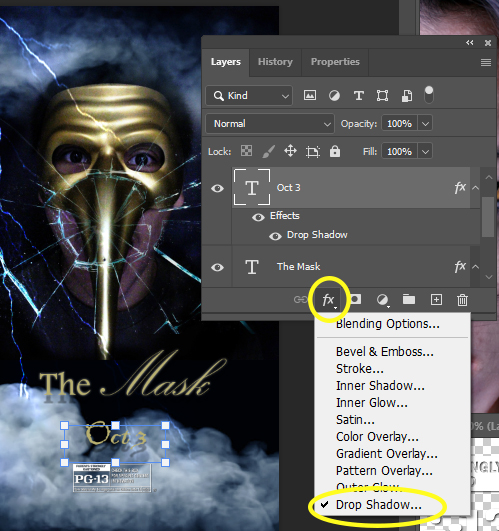
- Click the fx at the bottom of the layers pallet
- Pick Drop Shadow
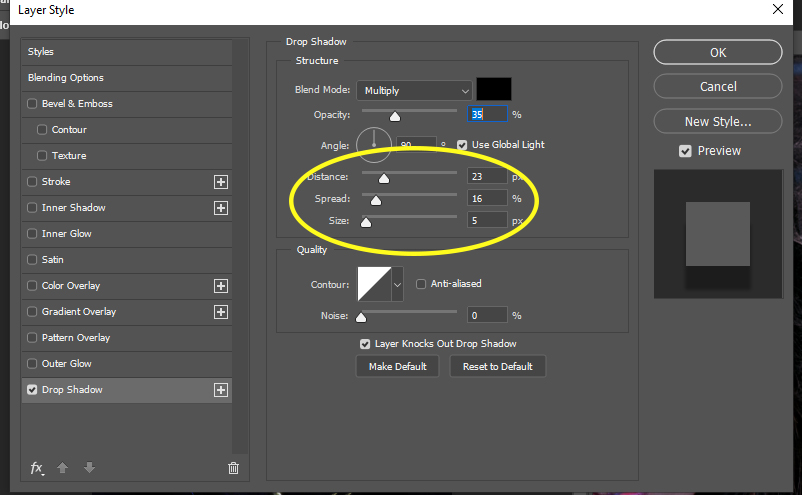
- Move the Distance sliders to get the shadow you like
- You may also move the other sliders to your liking
- Move the Distance sliders to get the shadow you like
- Pick Drop Shadow
- Click the fx at the bottom of the layers pallet
Step 21:
- Sectect the Text Box Tool again
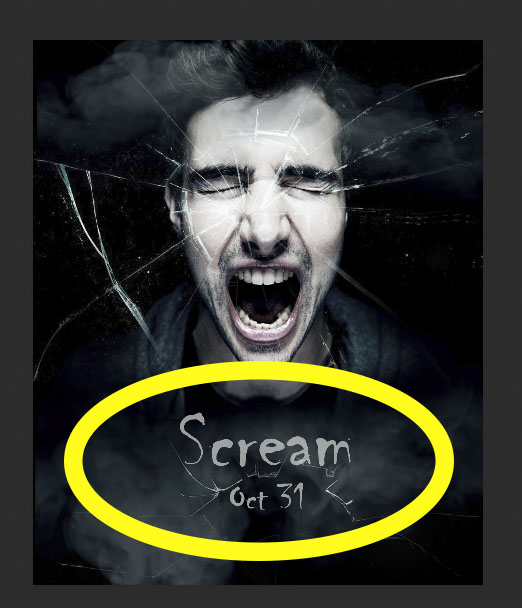
- Draw the text box Above the title or Below the title (your choice)
- Pick ANY date the movie will open
- Make the date a SMALLER font size than the movie title
- On the top right of Layers Pallet
- Decreace the Opacity of the Font
- Pick ANY date the movie will open
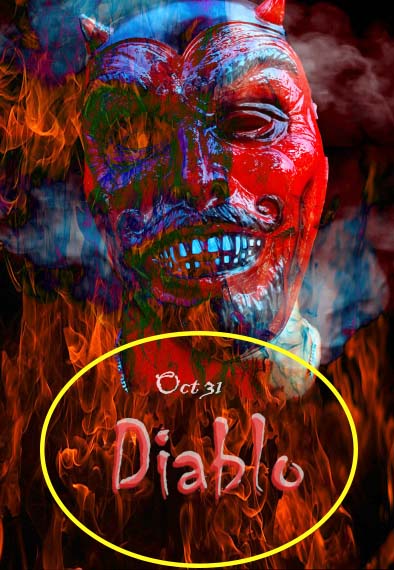
Step 22:
- Make sure you are on the layer for the date
- Again, click the fx at the bottom of the layers pallet
- Pick Drop Shadow
- Play with the sliders to get the shadow you like
- Pick Drop Shadow


Step 23:
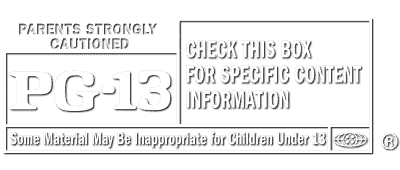
- Decide if your movie is rated PG-13 or R
- Save either the PG-13 or R file from below
- Open the rating file in photoshop
- Save either the PG-13 or R file from below

Step 24:
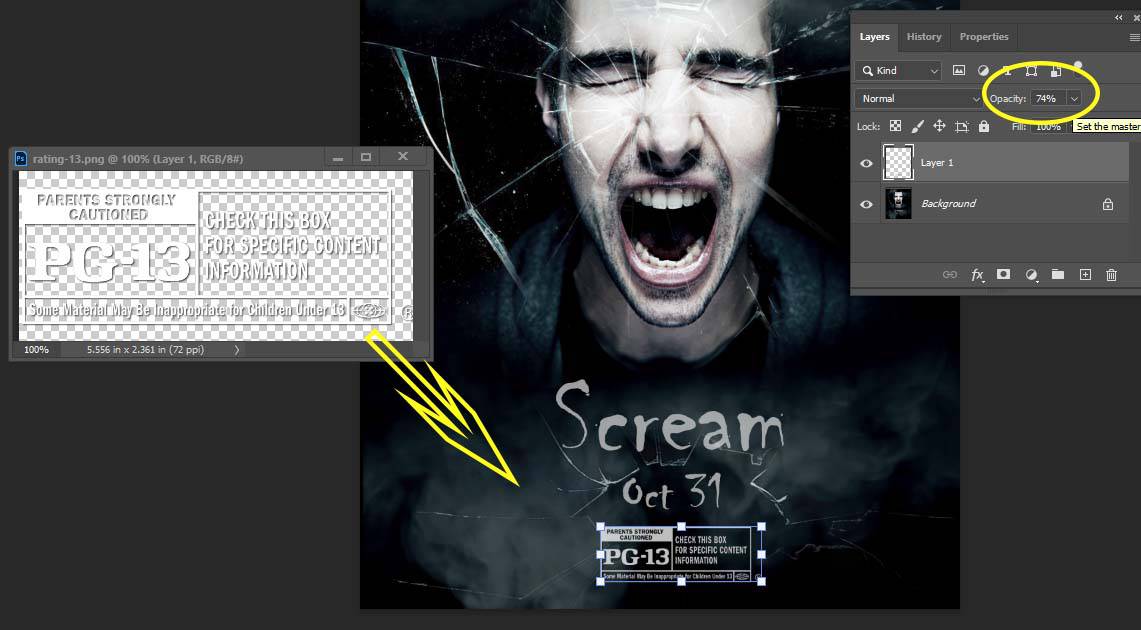
- Move the Ratings file UNDER the date
-
- Make sure the rating file is SMALLER than the date
-
- On the top right of Layers Pallet
- Decreace the Opacity so it matches the title/date
Step 25:
- Flatten Image
- NO LOGO

