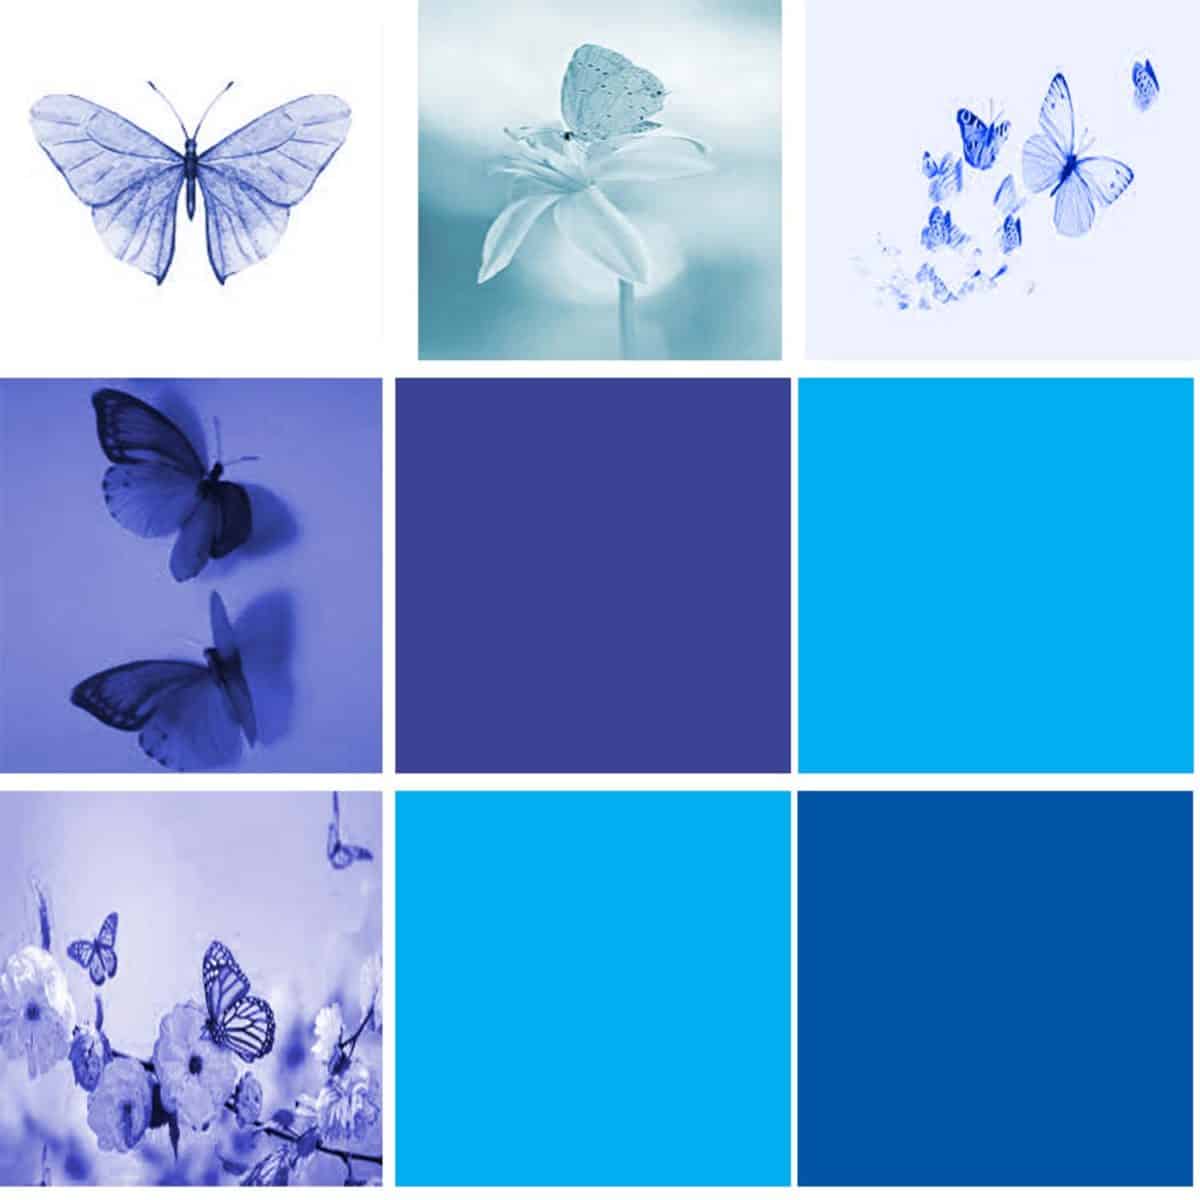
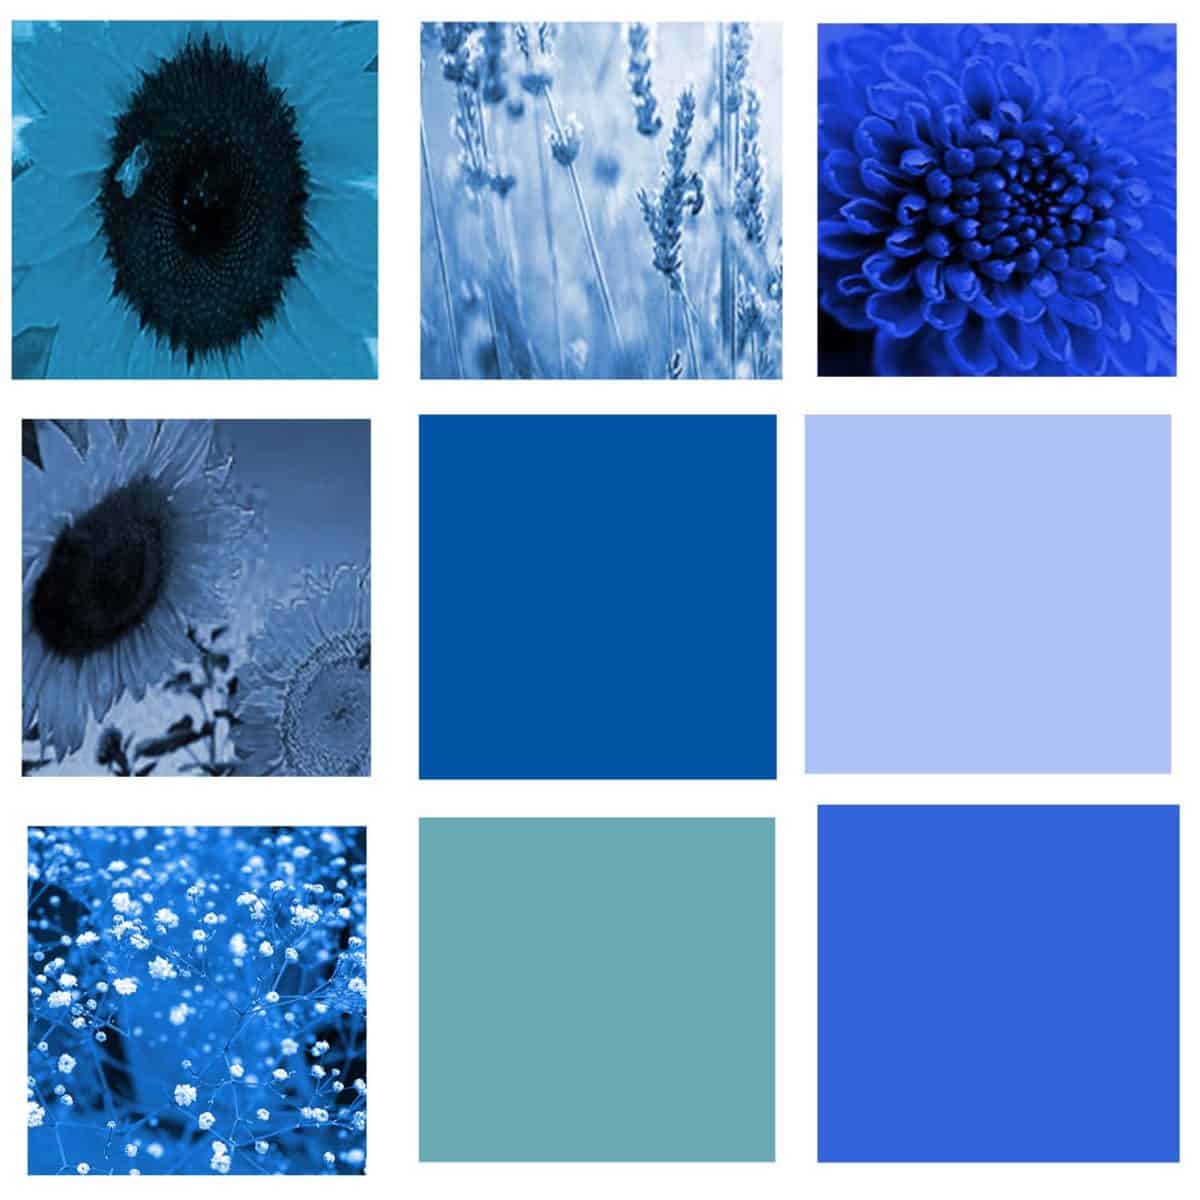
Steps 1 :
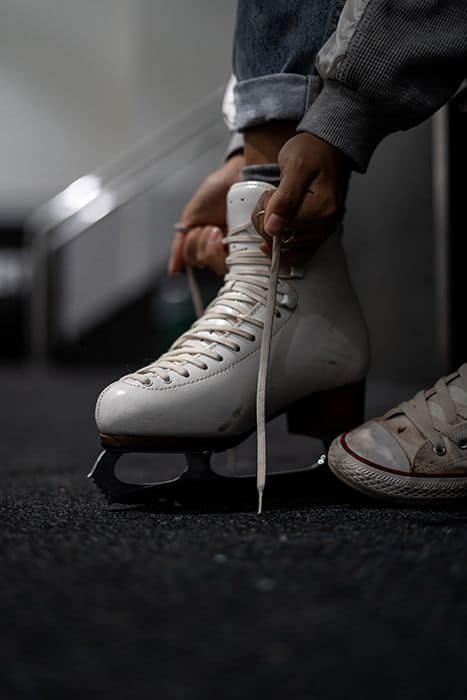
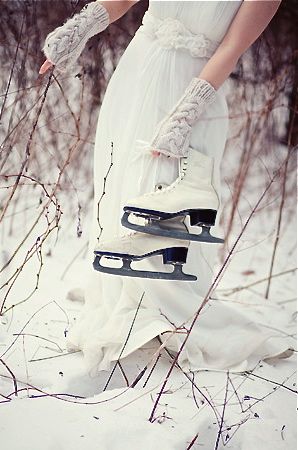
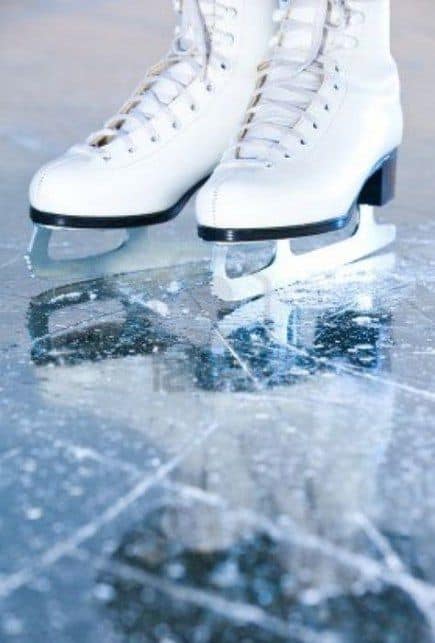
*Pick 5 Images of a similar topic. (sport, cars, hobby, food, person, objects, etc.)
* These objects do NOT have to be blue. We will be changing their color in the next few steps.
*I choose 5 different photos for Ice skates for my topic.
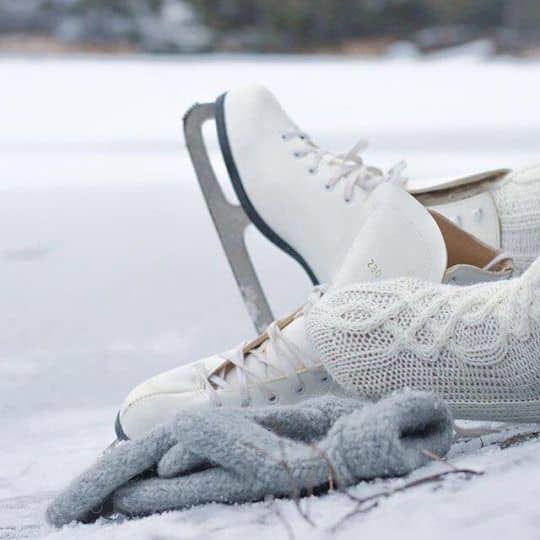
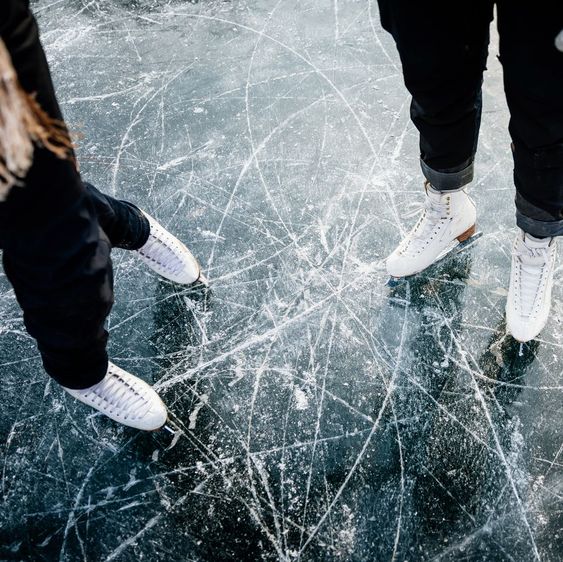
Step 2:
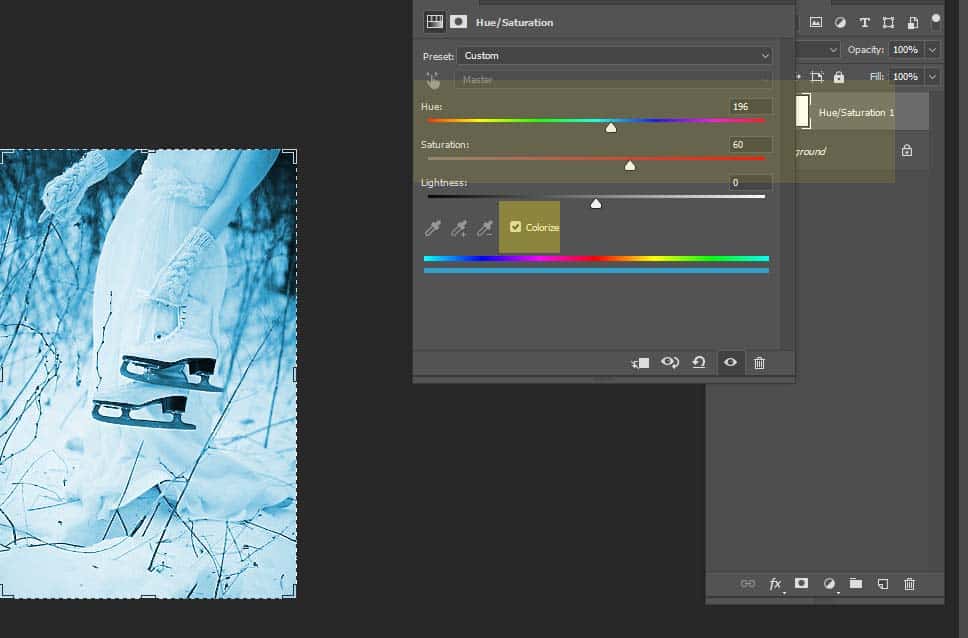
You will be changing each image to a blue hue
* Go to the Adjustments- Hue/Saturation
* Click the Colorize Button
* Move the Hue Slider to create a Blueish color
* Move the Saturation to make the Blue stronger or lighter
* Flatten your images and Save all of your images once you turn them blue.
Step 3:
You will be making a New Canvas.
* Go to the File – New
* 11 x 11 inches – 300 Resolution
*Background Color White
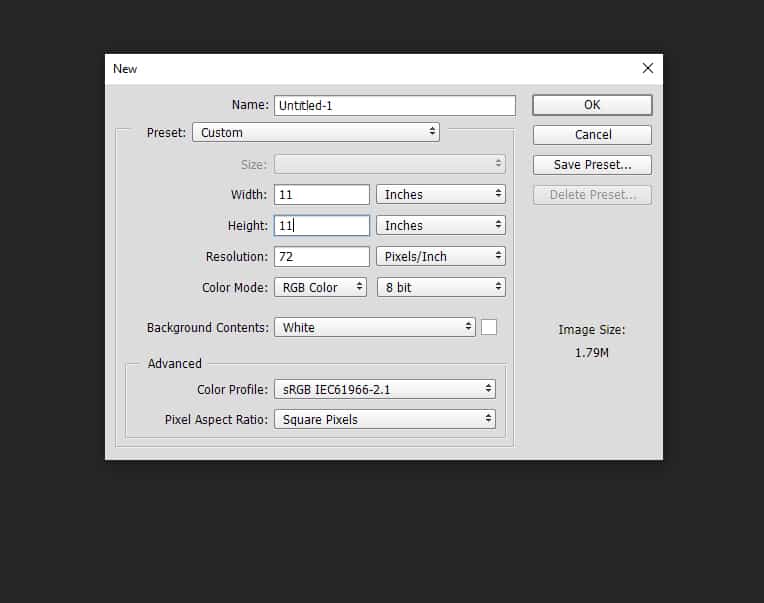
Step 4
* Go to View – New Guide Layout
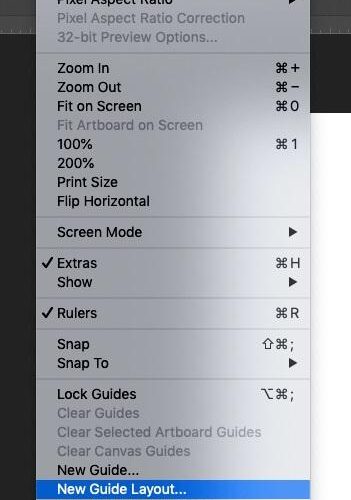
Step 5:
* Make Columns Number 3
* Make Rows Number 3
*Leave everything else blank
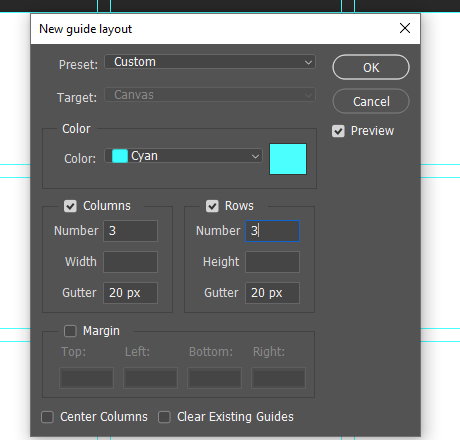
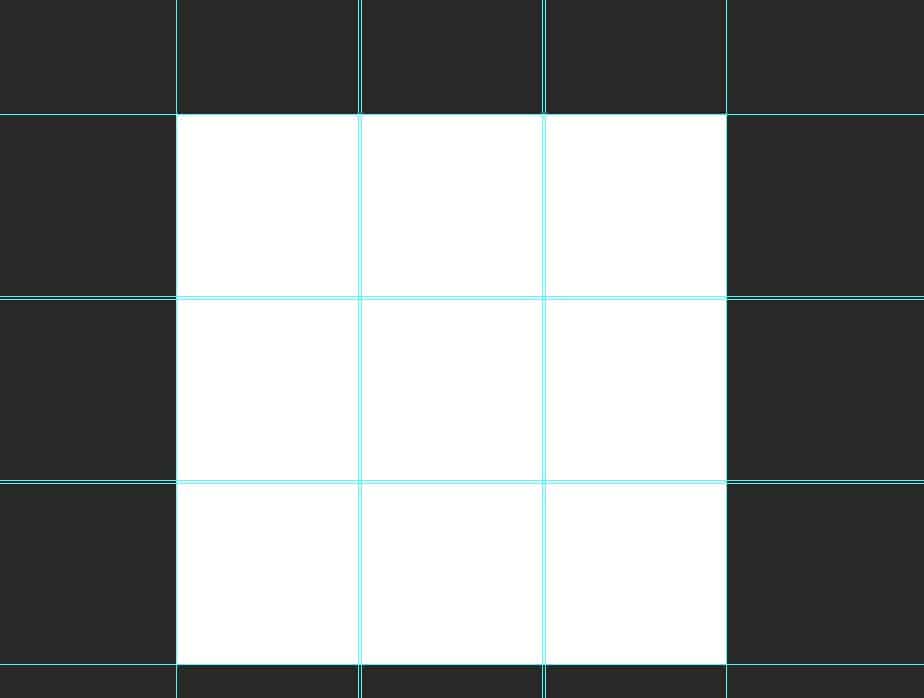
Step 6:
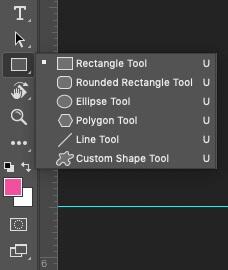
* Select the Rectangle Tool
* Change the top color to a shade of blue
Step 7:
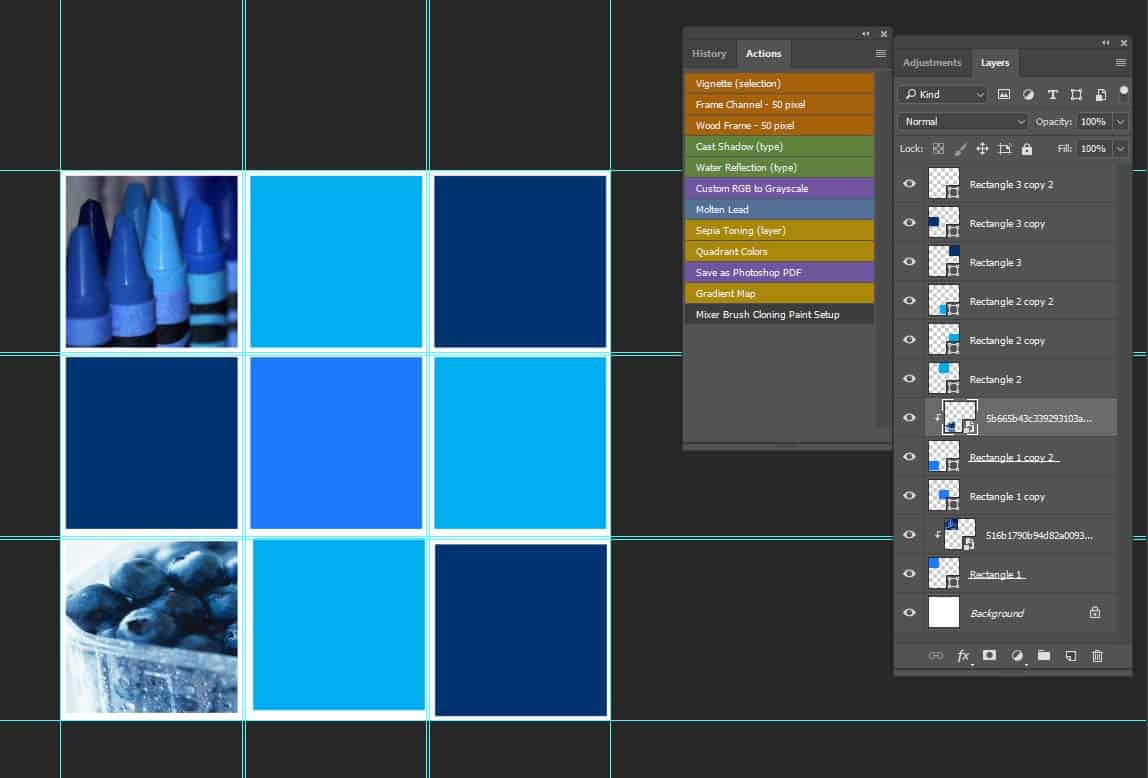
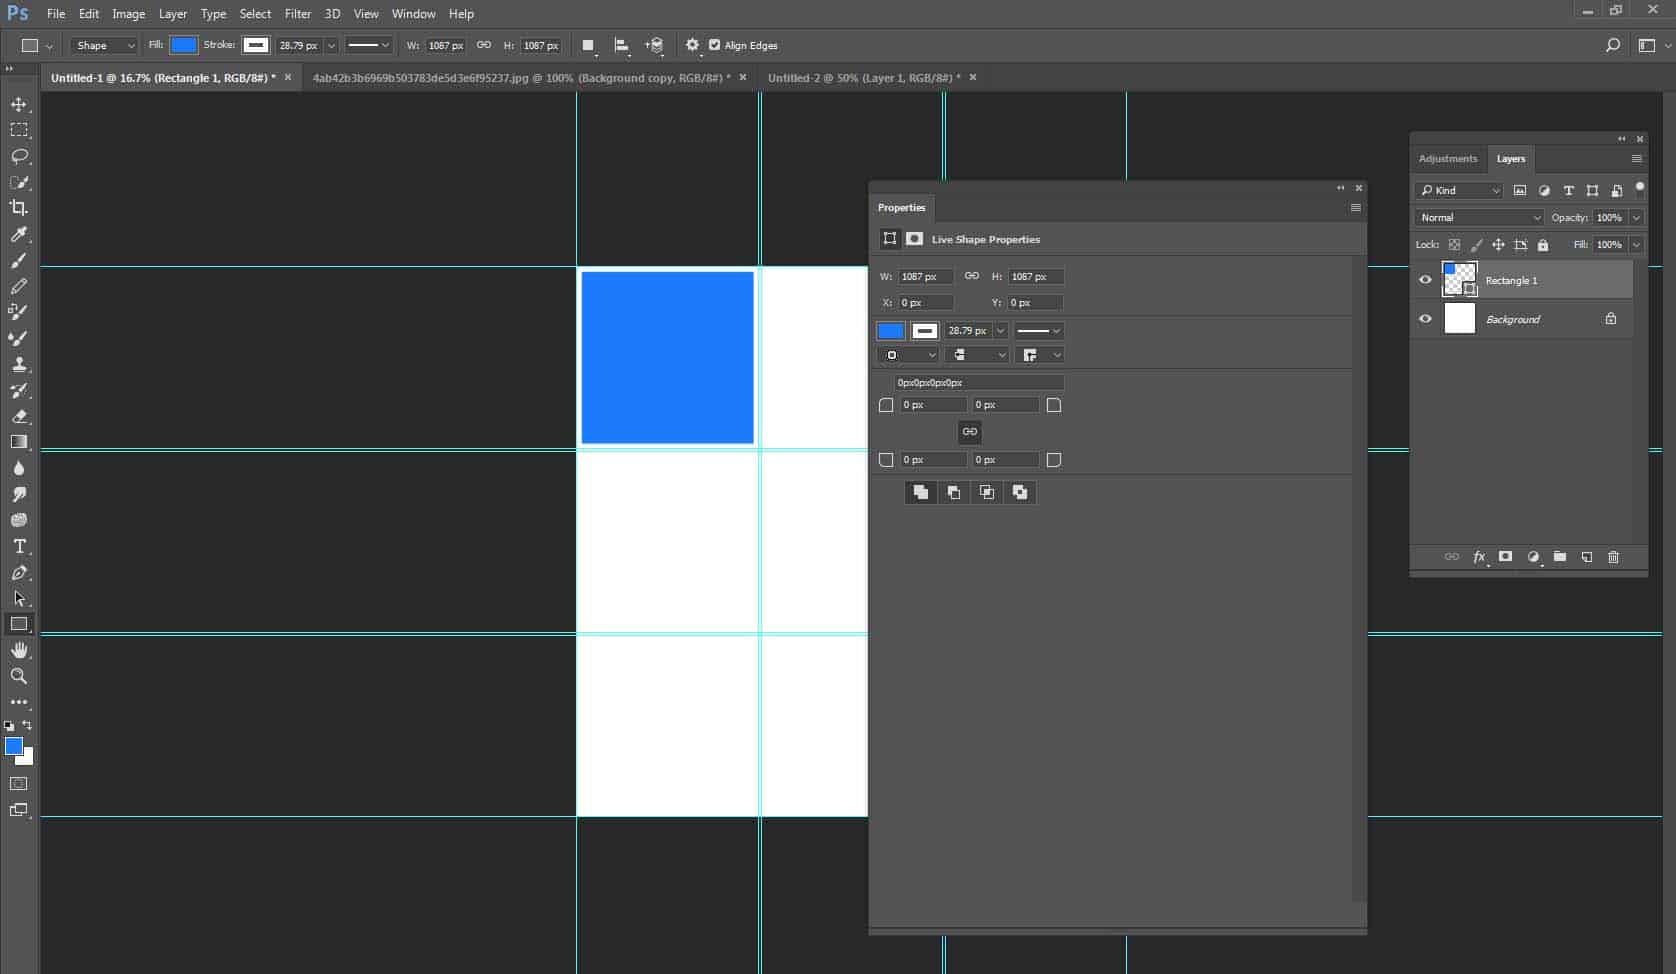
* Draw a box in the first square
* There should be a TINY bit of a white boarder around it
 `
`Step 8:
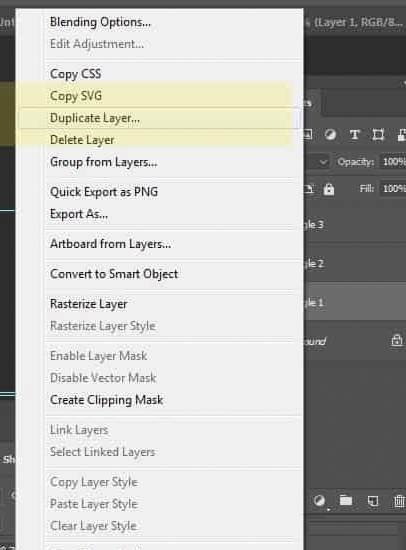
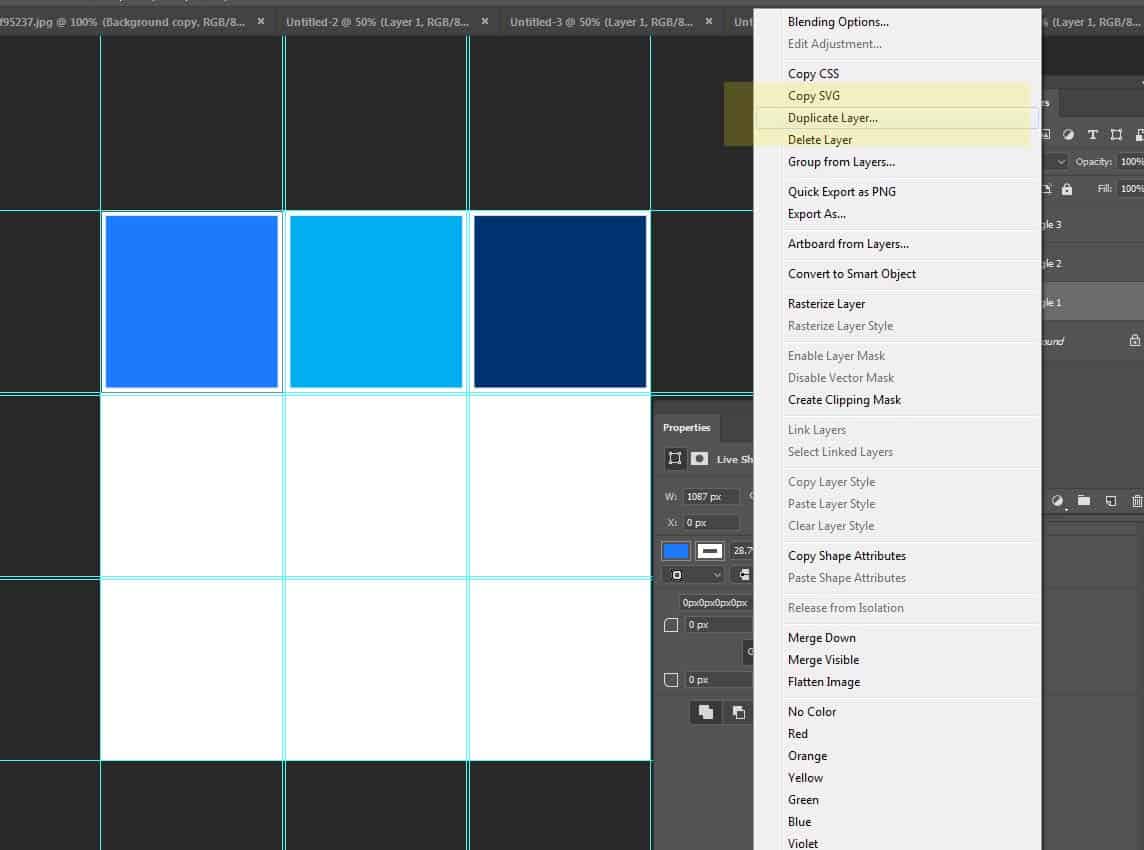
* Right Click on the Layer you just made with the Blue Square
*Duplicate the Layer
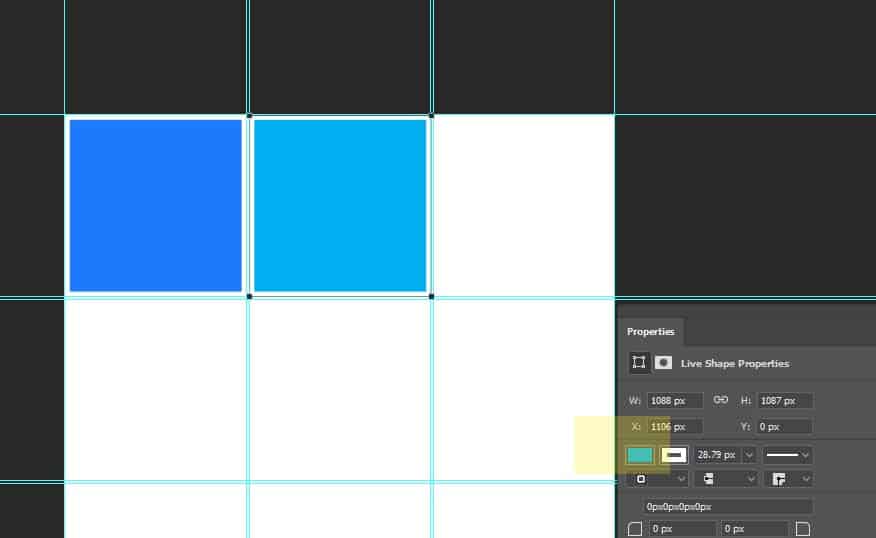
*Drag the duplicated blue square over to the next box
* Change the blue to a different shade
Step 9:
* Right Click on the first blue box layer and Duplicate the box again
*Drag to the third box
*Change the blue to a different shade
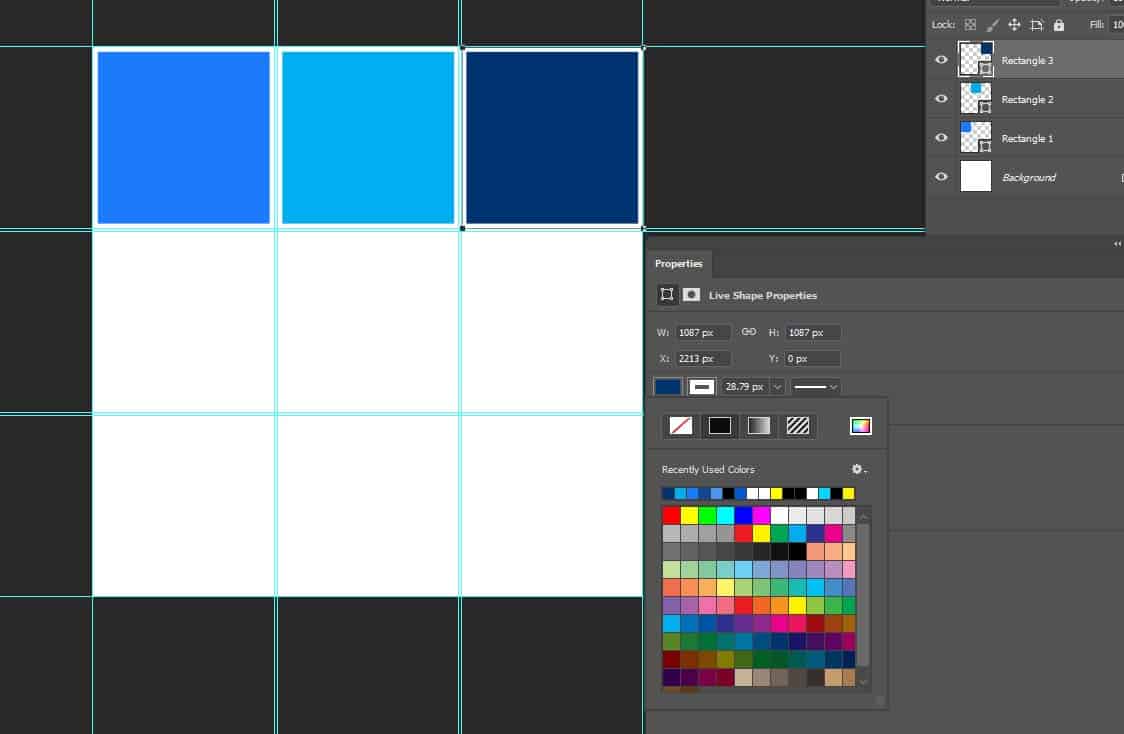
Step 10:
* Return to the layer where you drew your first blue square * Right Click and Duplicate Layer
Step 11:
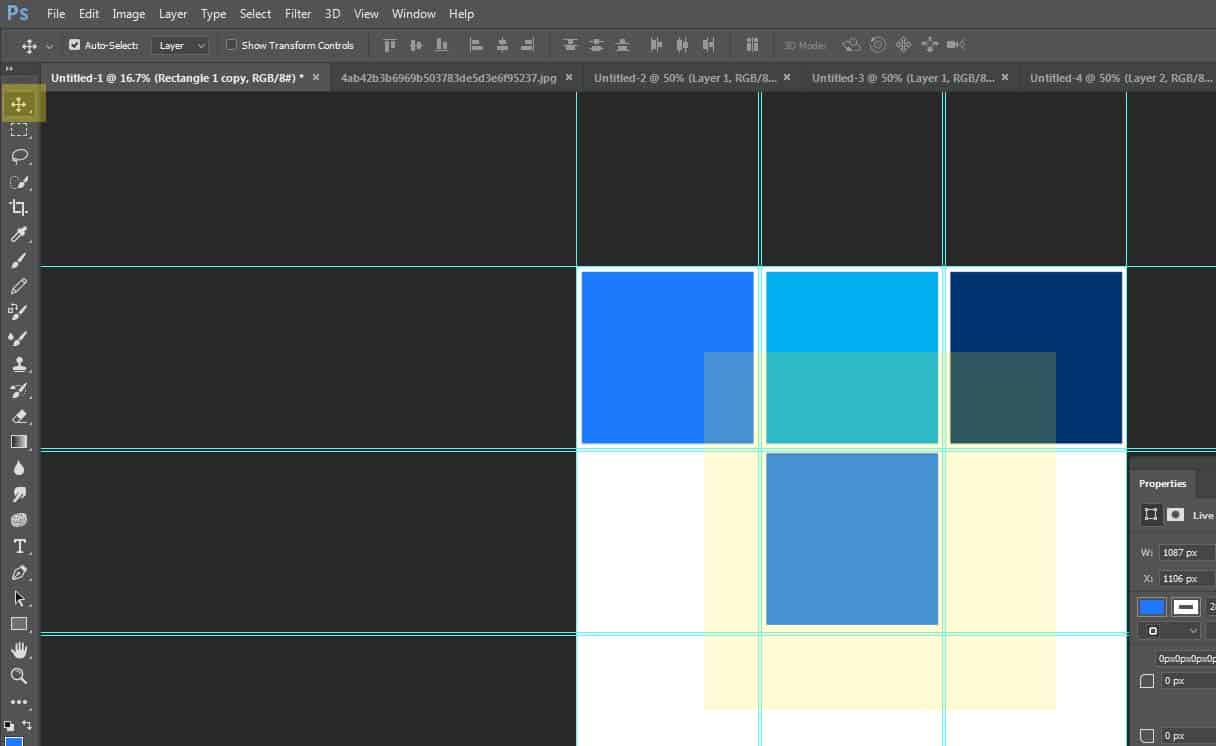
* Click on the Move Tool and drag the duplicated layered square to another box.
Step 12:
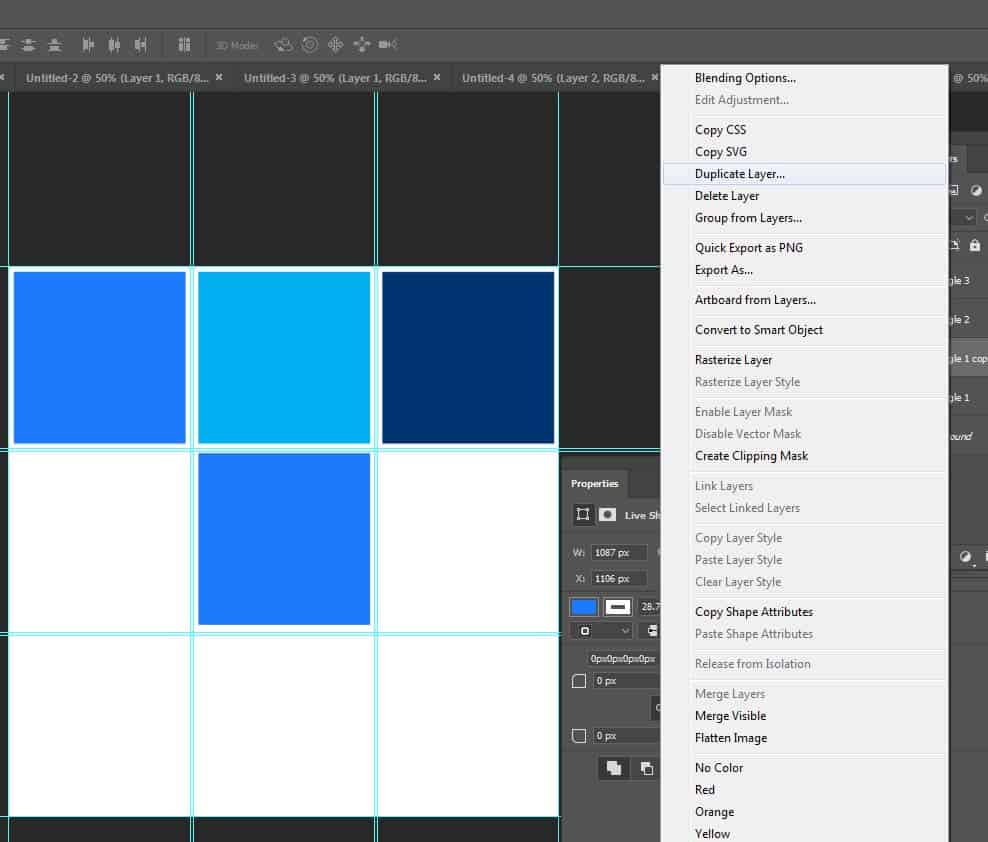
* Return to a layer with the Second blue square
* Right Click and Duplicate Layer
* Drag this duplicated layer to another empty square
Step 13:
* Repeat the steps until you have all the squares filled. 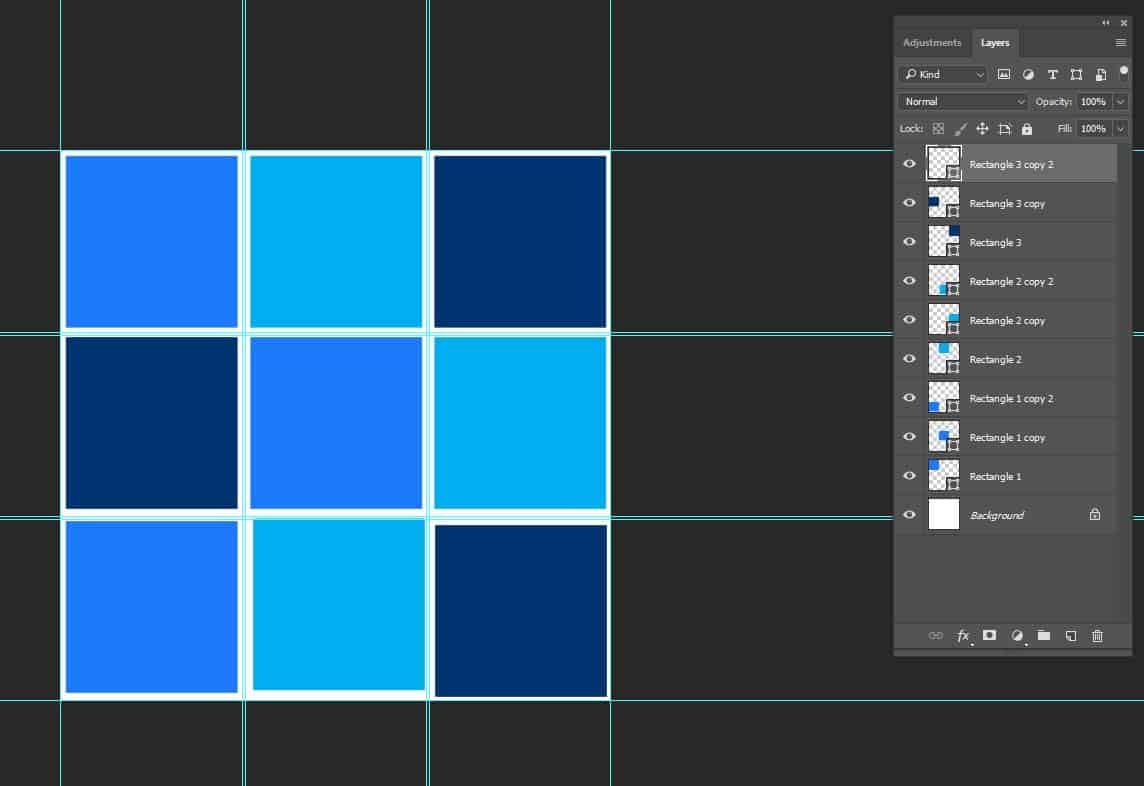
Step 14:
We will now be adding the photos you picked and turned blue
* Click on Layer 2 (the first blue box you made)
* File– Place Embedded
* Pick one of the blue photos you edited earlier
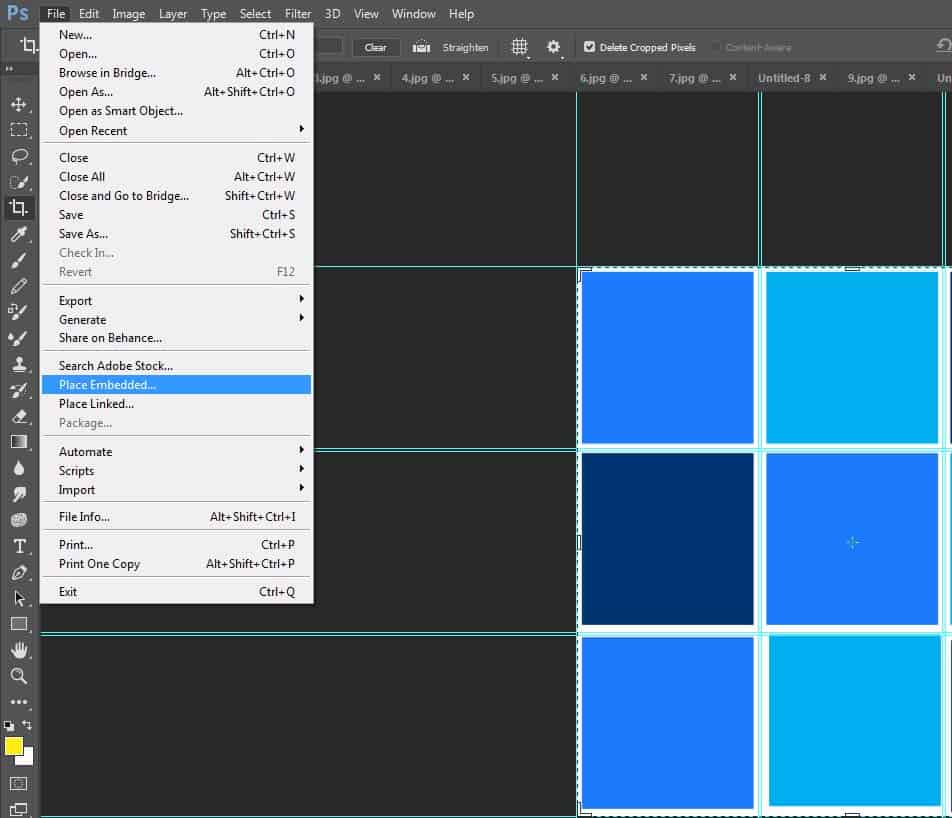
NOTE: ALL EMBEDDED photos will show up in the middle and behind some boxes.
Just move the photo until it is over the square/layer you picked.
Step 15:
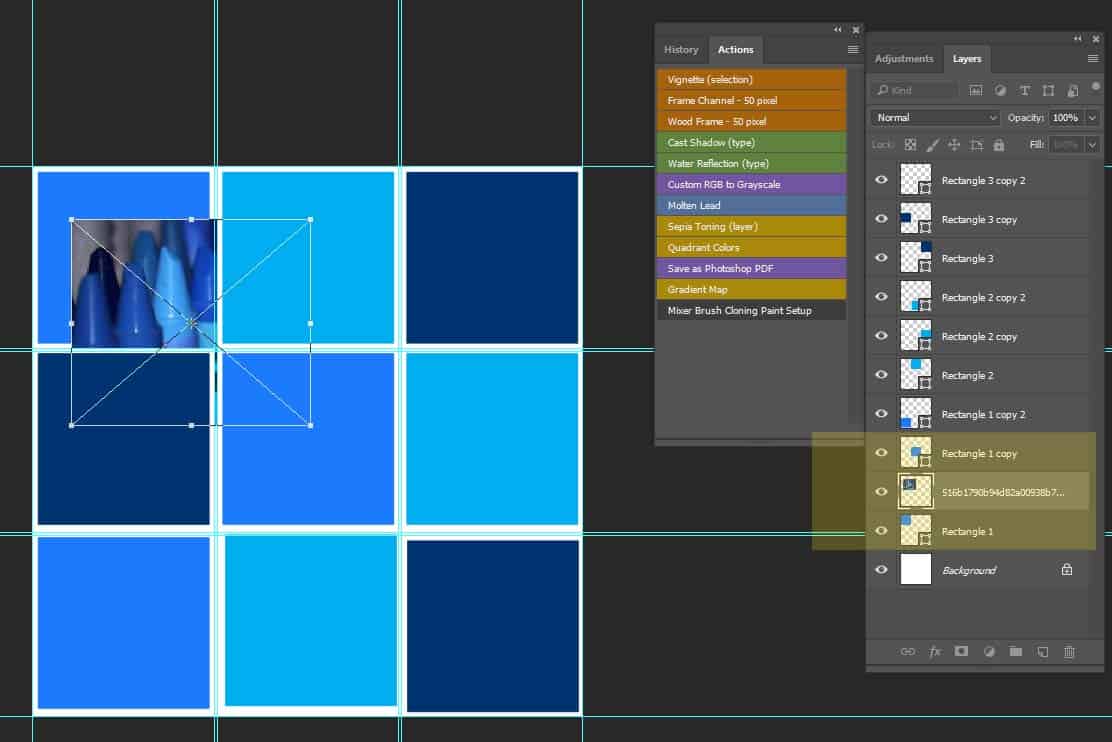
* The photo should now be the 3rd Layer, right above the first square layer
* Move your image until its a little bigger than the square.
* Click Enter
Step 16:
* Stay on Layer 3
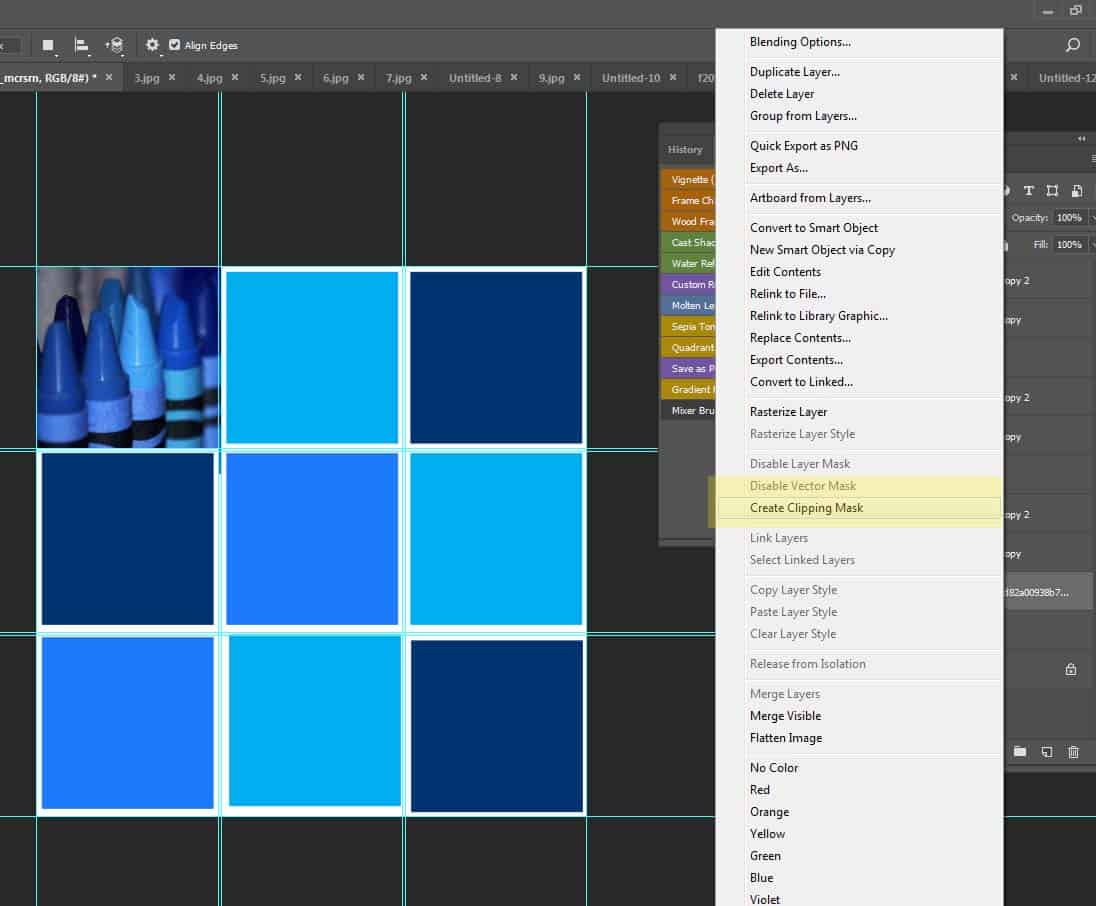
*Right click and choose Create Clipping Mask
* The photo will now be in the square
Step 17:
* Click on Layer 4
* File- Place Embedded
* Move to fit a little bigger than the box
* Right click and pick Create Clipping Mask
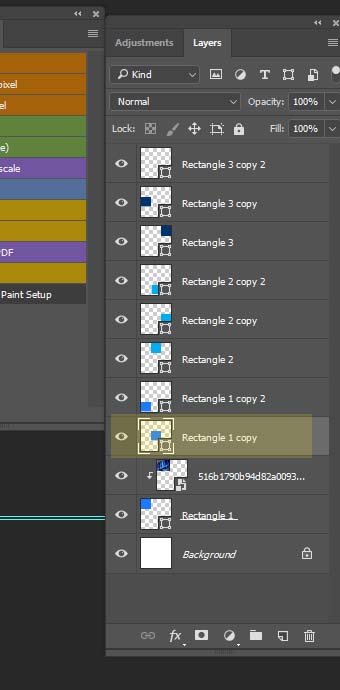
Step 18:
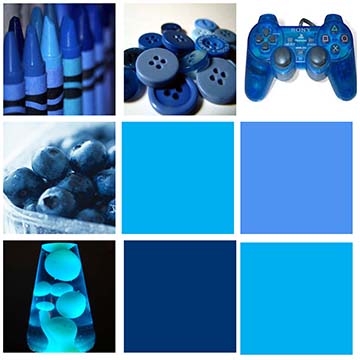
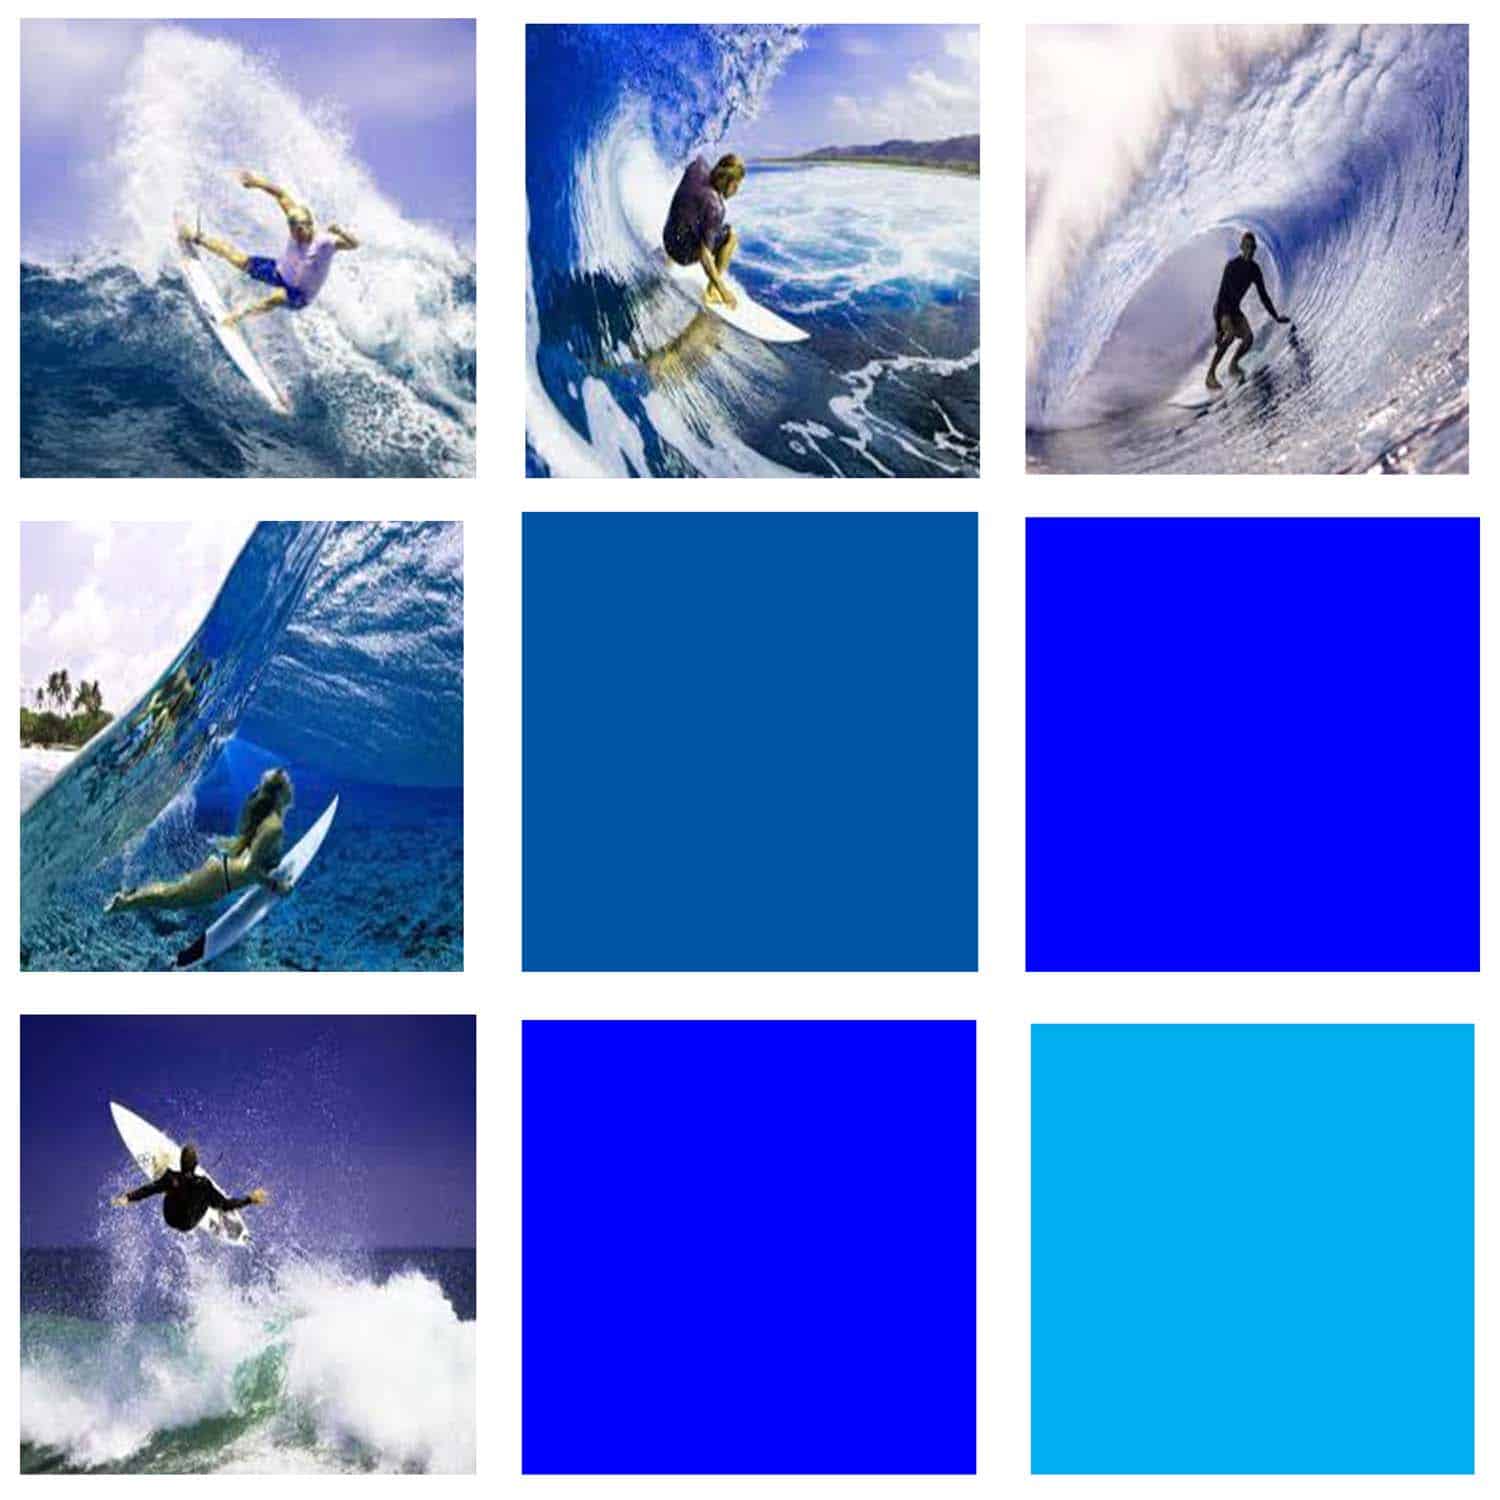
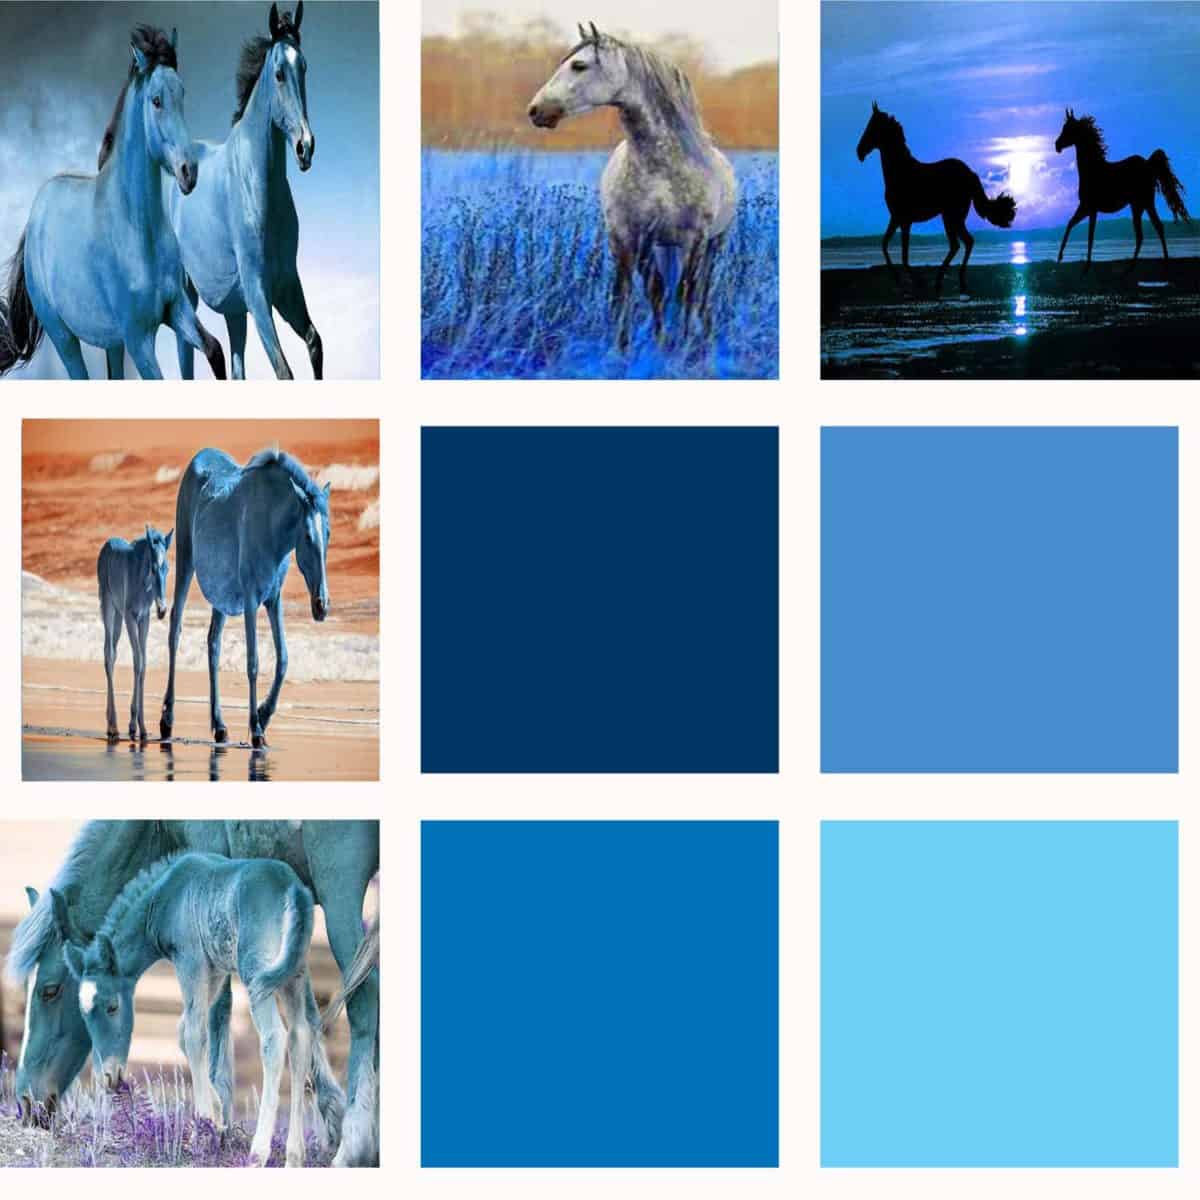
* Continue repeating the steps above until you have filled the top row of squares and the far left squares. DO NOT put images in the four squares that are left without photos.
