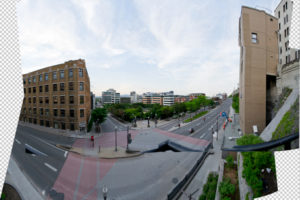
Combining Photos to create Panoramic
Step 1
- Go to
- File
- Automate
- Photomerg
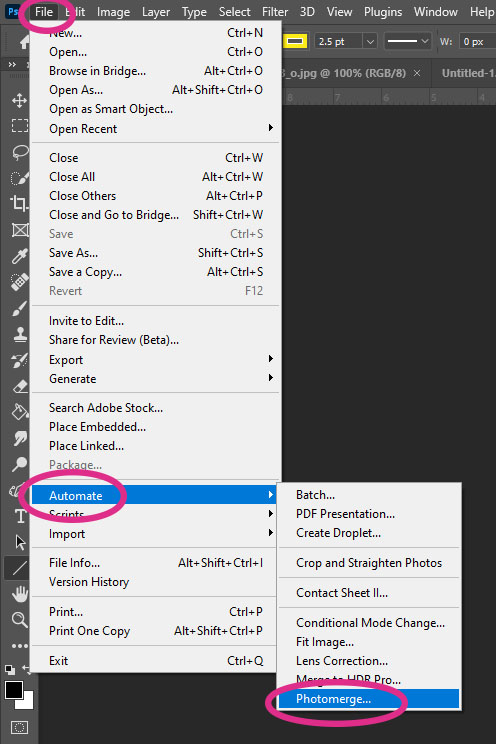
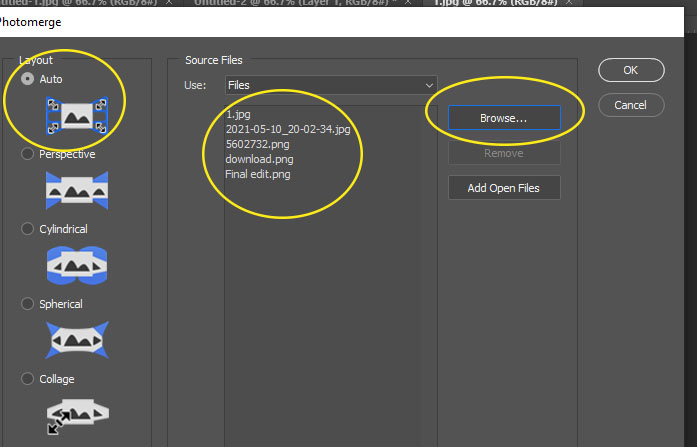
Step 2
- Click Auto
- Click Browse
- Pick the 5 photos you took for the panoramic photo.
- Click OK
- Sit back and wait while Photoshop combines them
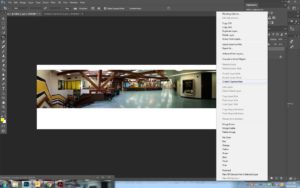
Step 3
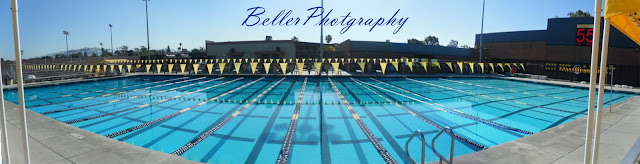
- Your photos will be stitched together in photoshop
- The will be uneven but don’t worry about it.
Step 4
- Pick the Crop Tool
- This will put a box around your whole photo
- Drag in the side to crop of what you don’t want
- Click Enter to lock it in

Step 5
- On the Layers Pallet
- Right click on the bottom layer
- Pick Flatten Image
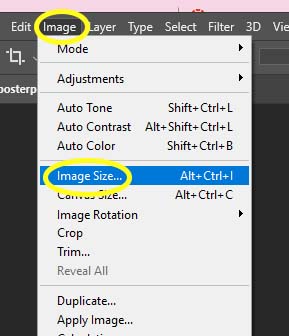
- Go to
- Image
- Image Size
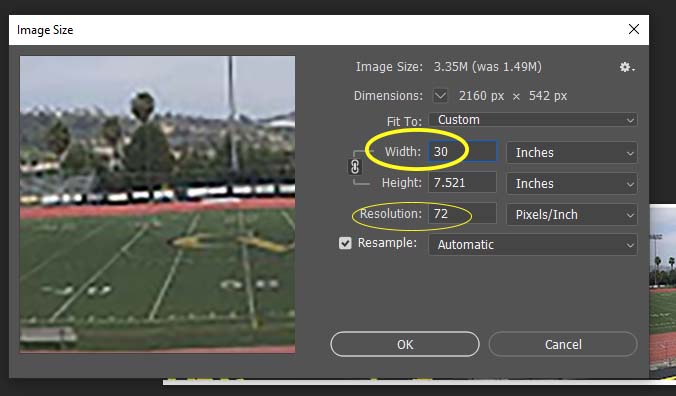
Step 7: Make sure you are on inches and not pixels
- Horizontal Panoramic
- Change your Width to 30 inches.
- Don’t worry about the height. It will change automatically
- Change the Resolution to 72
- Change your Width to 30 inches.
- Vertical Panoramic
- Change your Height to 30 inches.
- Don’t worry about the width. It will change automatically
- Change the Resolution to 72
- Click ok
- Change your Height to 30 inches.
Step 8
- Edit in Camera Raw
- Do NOT put your logo on this photo.
- Save as jpeg

______________________________________
Poster Directions

-
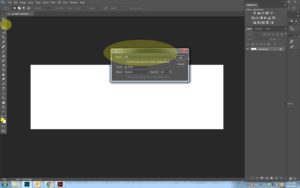
- Go to File- New
- Width size- Add 4 inches to your width from your number above
- Height size- Add 10 inches to your height from your number above
- Background Contents-White
- Go to File- New
- Drag the panoramic photo onto the new canvas and move.
- Make sure that you leave more space at the bottom of the canvas then the top.
- Click on the Text box (Tools section on the Left) and create a box below the panoramic photo. This is where you will type the information.
- Click on the lines at the top of photoshop that says Center Text. This will make your text start in the center.
7. Type in the name of the location. Click on something that looks like a hyphen to separate the location name and city or state
Square Poster Directions

- Open your Panoramic photo.
- Go to Image- Image Size
- Make sure you are on inches
- Change your Width to 40 inches. Don’t worry about the height. It will change automatically.
- Write down the height and width of your panoramic
- Go to File-New
- Width size- Add 4 inches to your width from your number above
- Height size- Add 10 inches to your height from your number above
- Background Contents-White
- Go to Layer- New Layer
- Name it square
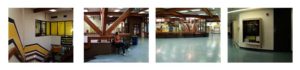
7. Click on the Square Marquee Tool – See above photo where it is circled on the right side
- Draw a box similar in shape to the one below. don’t make it to big or to small because you will be adding 4 boxes total
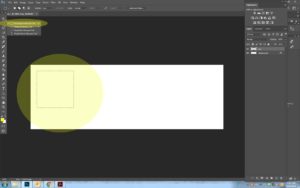
8. Make sure that the black color is selected at the bottom color pallet 9. Go to Edit- Fill- color- OK (It will fill the box with black)

10. Click on the Layer named Square
11. Click CONTROL and J at the same time. This will duplicate your square Layer. You should now have 3 layers 12. Click on the move tool and the Black Square. 13. Drag the square to the right. Leave space between the boxes. 14. Click Enter to lock it in.
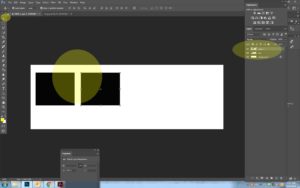
15.. Click on the third layer (Second Square Layer ) 16. CONTROL and J at the same time. This will duplicate your square again 17. Click on the move tool and the square and drag it to the right. Leave space between the boxes and Click Enter to lock it in. 18. Repeat the above steps another time until you have 4 boxes

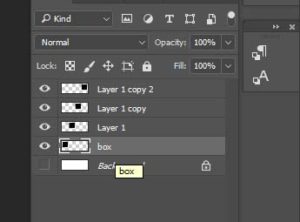
19. IMPORTANT STEP!!!!!!!!!!! On the Layers pallet, Un-click the Eye on the Background Layer. This will be hiding it. 20. Click on the first Layer that is called Square so that it is highlighted 21. Right click on it and click Merge Visible
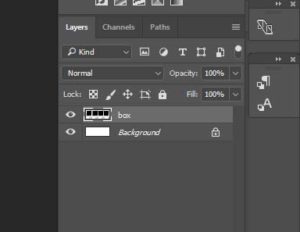
22. Click the Eye back on the Background Layer ( You will now have two layers)
23. Drag your Panoramic photo on-top of the 4 boxes
- If it does not fit
- Click Control T and drag it bigger
- Drag it until it fits over all 4 boxes
- Click Enter

24. Make sure you are on the Panoramic Layer which should be your top layer
- Right Click
- Pick Create Clipping Mask
25. The photo will now be behind all 4 boxes
- If you would like to re-position your panoramic photo
- Click on the move tool and move it around
26. Extra white at the bottom of the square panoramic
- Add Text to it like you did on the poster assignment