Editing With Layer Masks
You can add a mask to a layer and use the mask to hide portions of the layer and reveal the layers below
Step 1
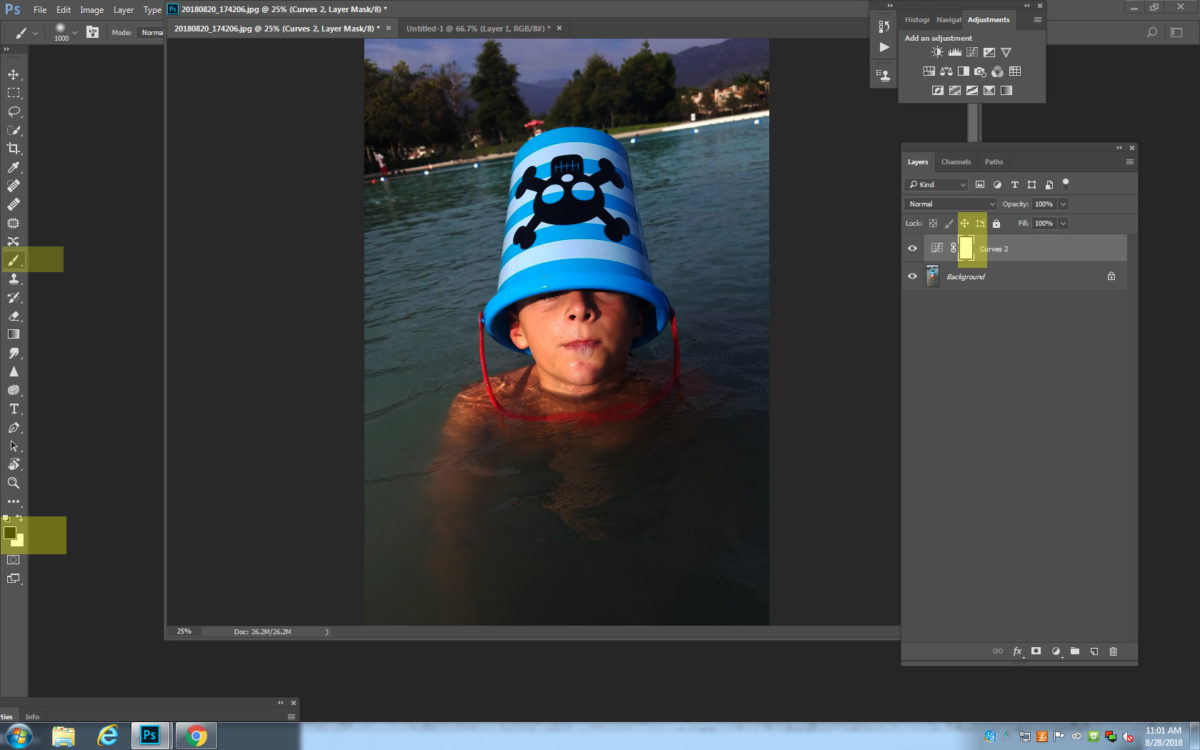
- Open the adjustment (here we are using Curves) and make the adjustment to your photo

- You will notice a white box next to the adjustment on the layers
- The white box is called a Mask
- The white Mask is going to help us REVEL what is below the adjustment

Step 2
- We want to REVEL parts of the layer below
- Click on the WHITE Mask on your second layer
- Click on the BRUSH tool
- Make sure BLACK is selected on the color pallet. It must be ontop with white below

Step 3
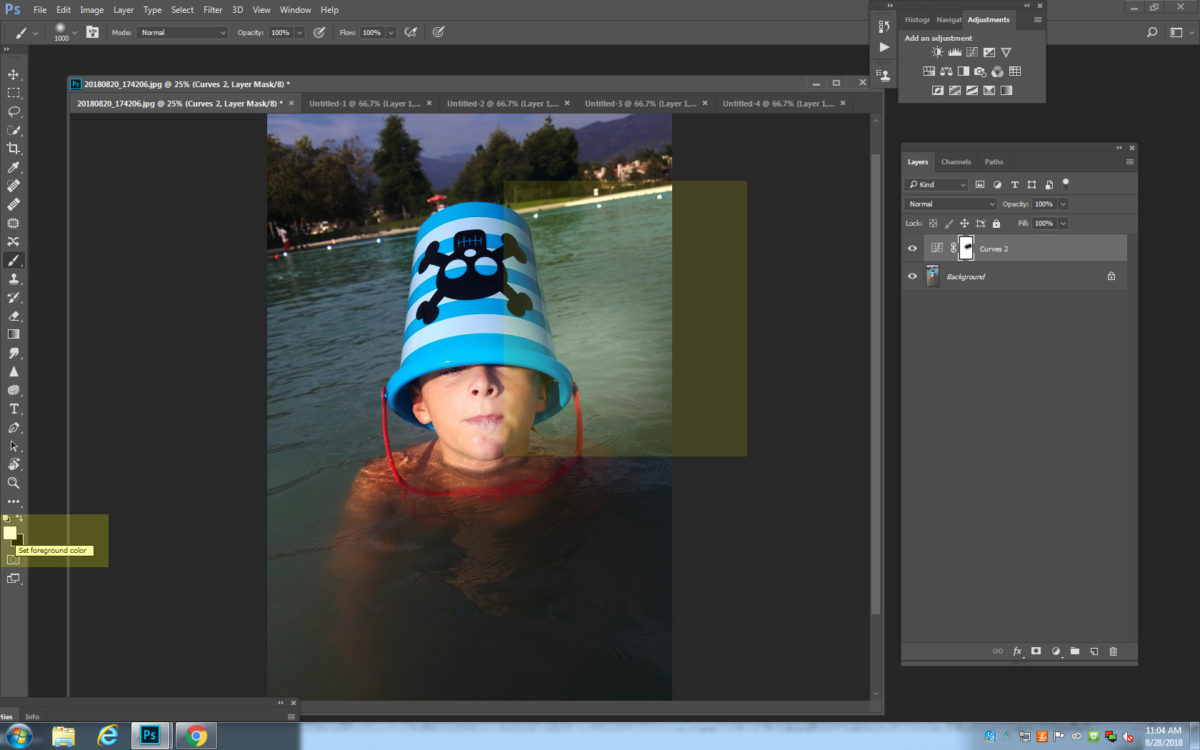
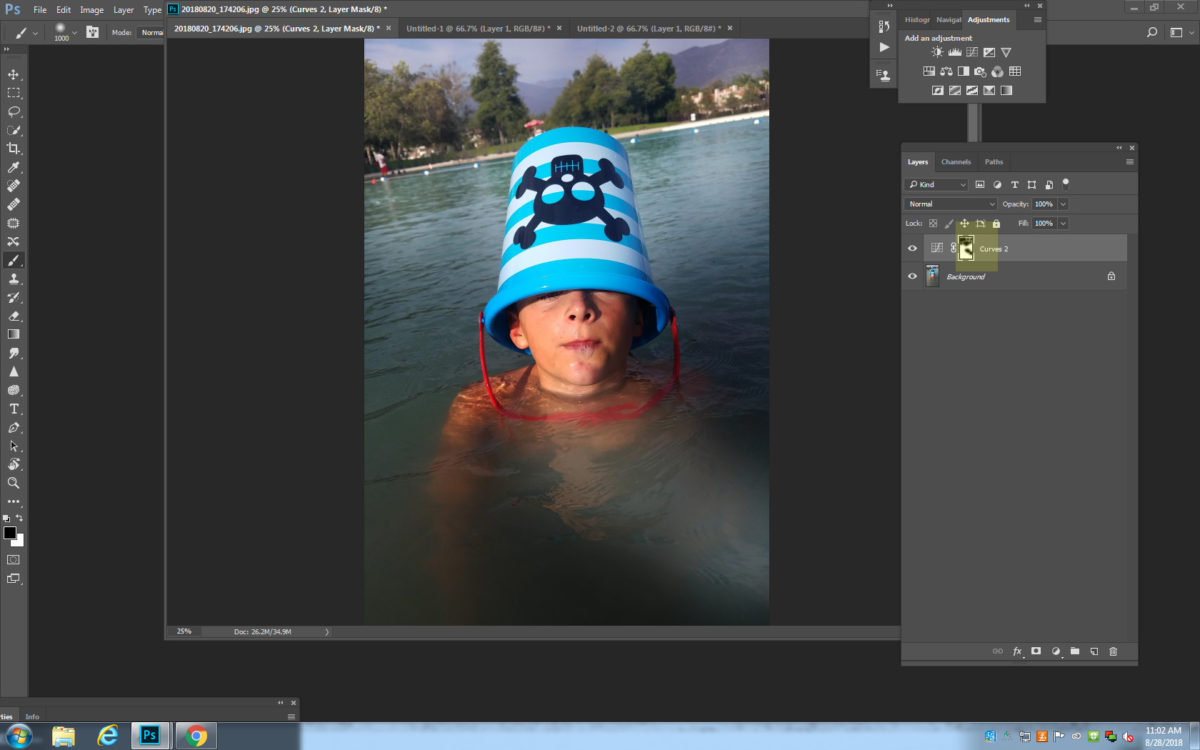
- Paint on the areas where you want to REMOVE the adjustment to REVEL the layer below

Step 3a
- If to much is being removed, you can change the OPACITY at the top of Photoshop.
- Lowering the Opacity will allow you to remove less of the top adjustment

Step 4
- If you remove to much and want to bring the adjustment back
- On the colors pallet, flip white to the TOP
- Paint back in what you took off.

VIBRANCY Adjustment with Mask
- I used the vibrancy adjustment to brighten the colors of this photo
- I like all of the color except the skin tone is to orange
- To remove the orange
- Click on the white Mask box
- Click the paintbrush tool
- Make sure Black is selected
- Paint off the Orange


