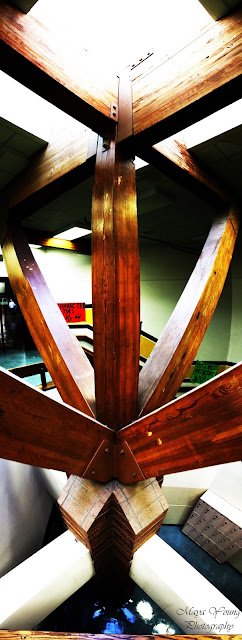
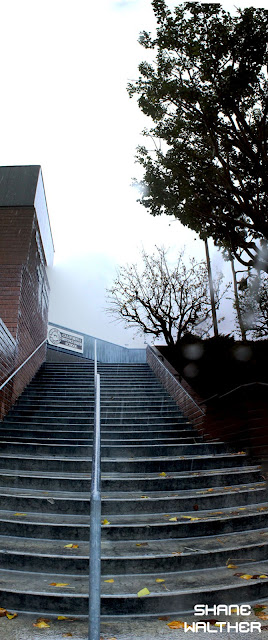
Taking the Panoramic Photos:
- Set your Camera to AV
- Set your Apeture between f/14
- You will be taking 4-5 photos total
- Each photo will overlap the photo before it
- Stand in the middle of the area you will be taking the panoramic photo
- Each photo will overlap the photo before it

First Photo:
- Take a photo at the far left of the panoramic
- When you are done taking the photo
- Find a reference point in your photograph.
- This can be anything (car, tree, building, etc.)
- Find a reference point in your photograph.
Second Photo:
- Move your camera to the right
- Locate the reference point from photo 1
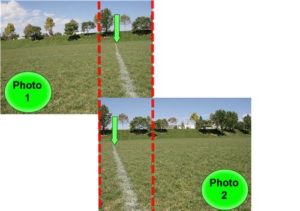
- This second photo must overlap the 1st photo by at least 20%
- If you don’t over lap enough photoshop will not be able to stitch it together.
- Move your camera to the right
Third through fourth/Fifth Photo:
- Move your camera to the right
- locate the reference point from photo 2
- The 3rd photo must overlap the 2nd photo by at least 20%
- Continue for the 4th and 5th photo
- Move your camera to the right
Combining Photos to create Panoramic
Do NOT open your images! You will be loading them into photoshop during step 1!!!!
Step 1
- Go to
- File
- Automate
- Photomerg
- Automate
- File

Step 2
- Click Auto
- Click Browse
- Pick the 5 photos you took for the panoramic photo.
- Click OK
- Sit back and wait while Photoshop combines them
- Click OK
- Pick the 5 photos you took for the panoramic photo.
- Click Browse

Step 3
- Your photos will be stitched together in photoshop
- It will be uneven but don’t worry about it.

Step 4
- Pick the Crop Tool
- Crop out the area with the checkered background
- Click Enter
- Crop out the area with the checkered background

Step 5
- Go to Layers Pallet
- Flatten Image
- We need to make our photo smaller before we can do anything else!!!!
- Go to
- Image
- Image Size

Step 7:
Make sure you are on inches and not pixels
Horizontal Panoramic
- Width to 30 inches.
- Don’t worry about the height. It will change automatically
- Resolution to 72
- Width to 30 inches.

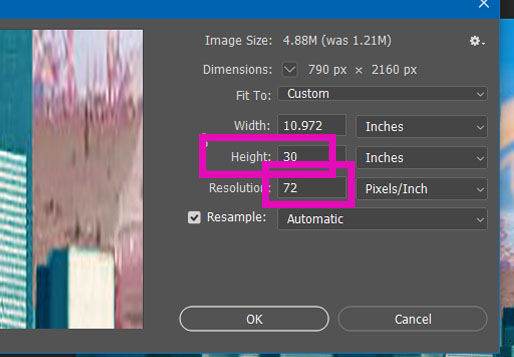
Vertical Panoramic
- Change your Height to 30 inches.
- Don’t worry about the width. It will change automatically
- Change the Resolution to 72
- Click ok
- Change your Height to 30 inches.
Step 8
- Edit in Camera Raw to make the colors stand out
- Save as jpeg
1. Horizontal Panoramic
- Must be ON CAMPUS
- Follow directions to combine your images
- Edit to make the colors stand out.

2. Vertical Panoramic
- Must be ON CAMPUS
- Follow directions to combine your images
- Edit to make the colors stand out.


