Step 1:
- In ACR
- Do quick edit to clean up the color, exposure, contrast
- Keep it open in Photoshop when you done with ACR

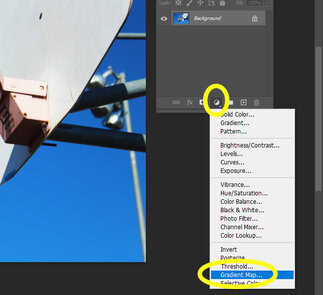
Step 2
- Layers Pallet
- Click black/white Circle at the bottom
- Click Gradient Map
Step 3
- Your photo will turn black and white
- Click anywhere on the black and white long box

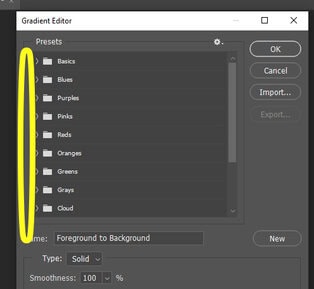
Step 4
- The Gradient Editor will Open
- Click the Arrow of any color you would like
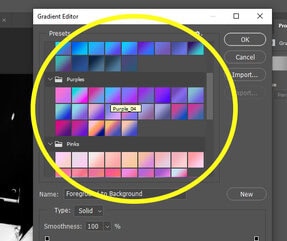
Step 5
- Pick any square of any color you would like
- Click OK
Step 6
- You will now have 2 layers and your photo will have changed color

Step 7
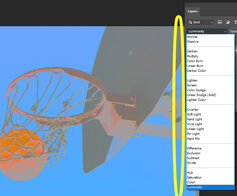
- Make sure you are on the Gradient Map Layer
- Go to the top of the layers pallet
- Click Normal
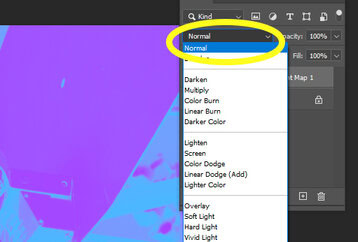
Step 8
- A long list of overlays will appear
- Start clicking through them until you find one that you like
- Below are examples of the different overlays


Step 9
- If you do not like any of the overlays
- Click on the long colored box again (this use to be the white to black box that you started with)
- Pick a different color and box
- Click on the long colored box again (this use to be the white to black box that you started with)

Step 10
- Return to the list of overlays and continue to change them until you find the one you like.

Step 11
- Add your logo
- Flatten the Image