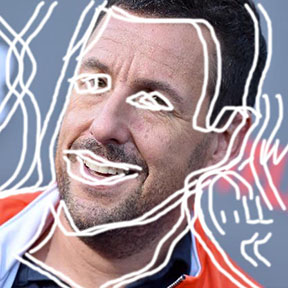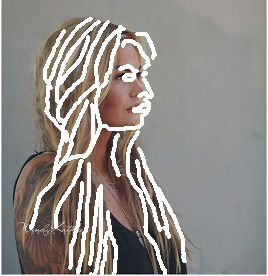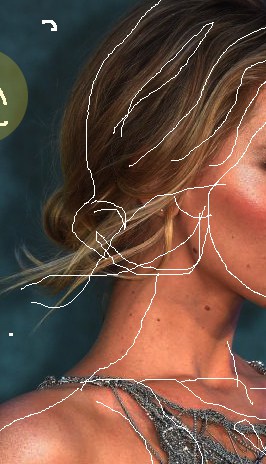
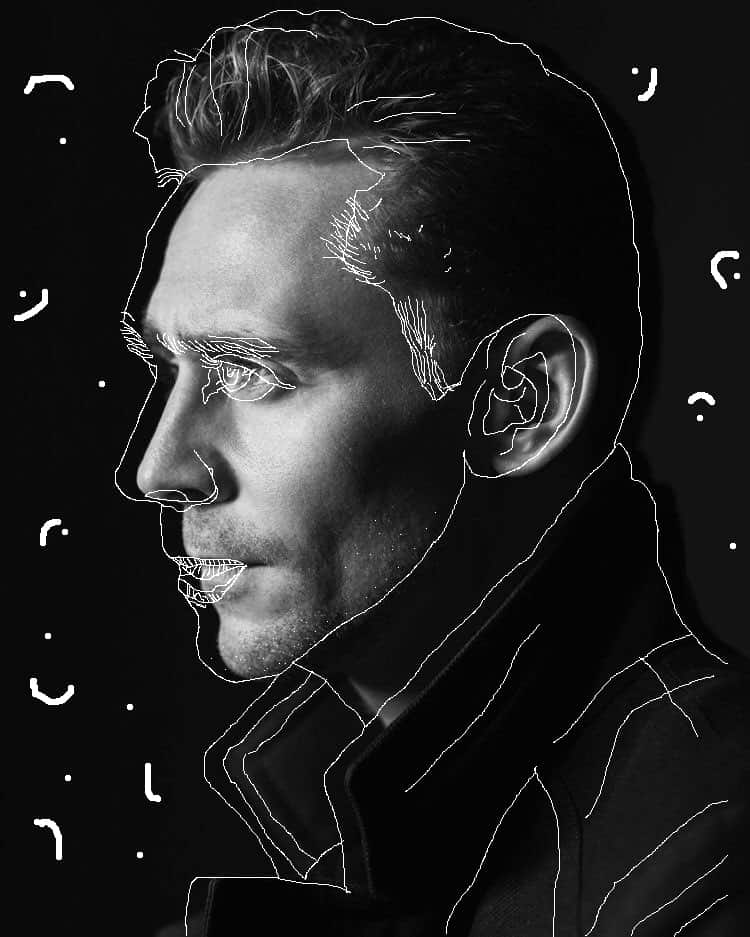
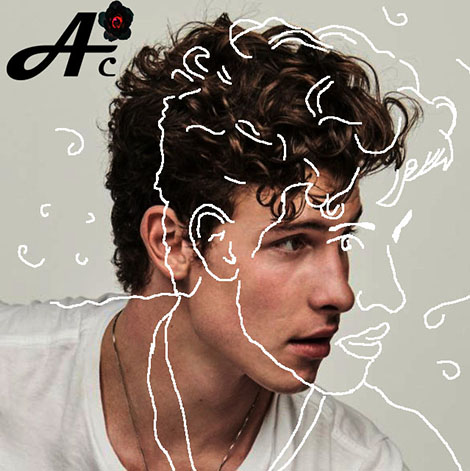
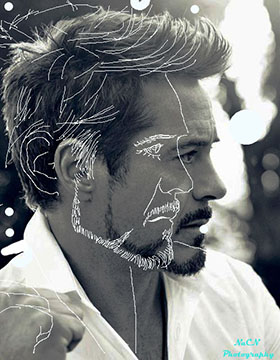
Step 1: Pick a HIGH Resolution image from online of a person turned to the side. *Look for a plain background *Black and White photos can be a fun choice also

Step 2: * Open the Curves Adjustment * Click on the middle line at the two spots shown below. * Move the dots downward so that the photo becomes darker. Making it darker will help the white lines to stand out better.

Step 3: * Go to Layer- New- Layer

Step 4: * Select the Pencil Tool * Change the Pencil size between 4 – 8. * Draw a sample line to see if it’s to thick or to thin.

Step 5: * Start with the eyes and eye brows * Draw in all of the face details * Finish by drawing in all of the clothing and hair. The MORE DETAILS you do the better your photo will turn out!
Step 6: * Select the Move Tool at the top of the tool bar * Click on the Layer 1 layer and move your outline away from the face toward the background or move it back onto the face. Either way is fine. Don’t move it to far.

Step 7: * Draw little dots and circles that are not all of the way closed. You may also use the SHAPE tool to draw in different shapes.

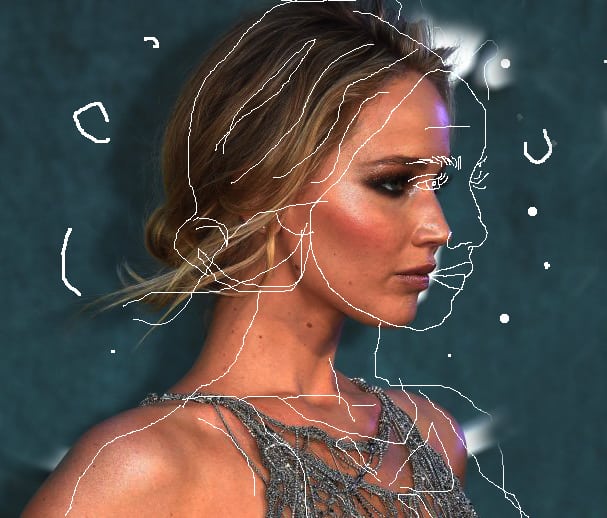
Not done Correctly!!!!!!!
