


Photography Section


Photography Directions
Step 1:
- Stack stools, chairs or any other object that are MOVABLE
- Do not use a wall or other object that can not be moved!!!!!
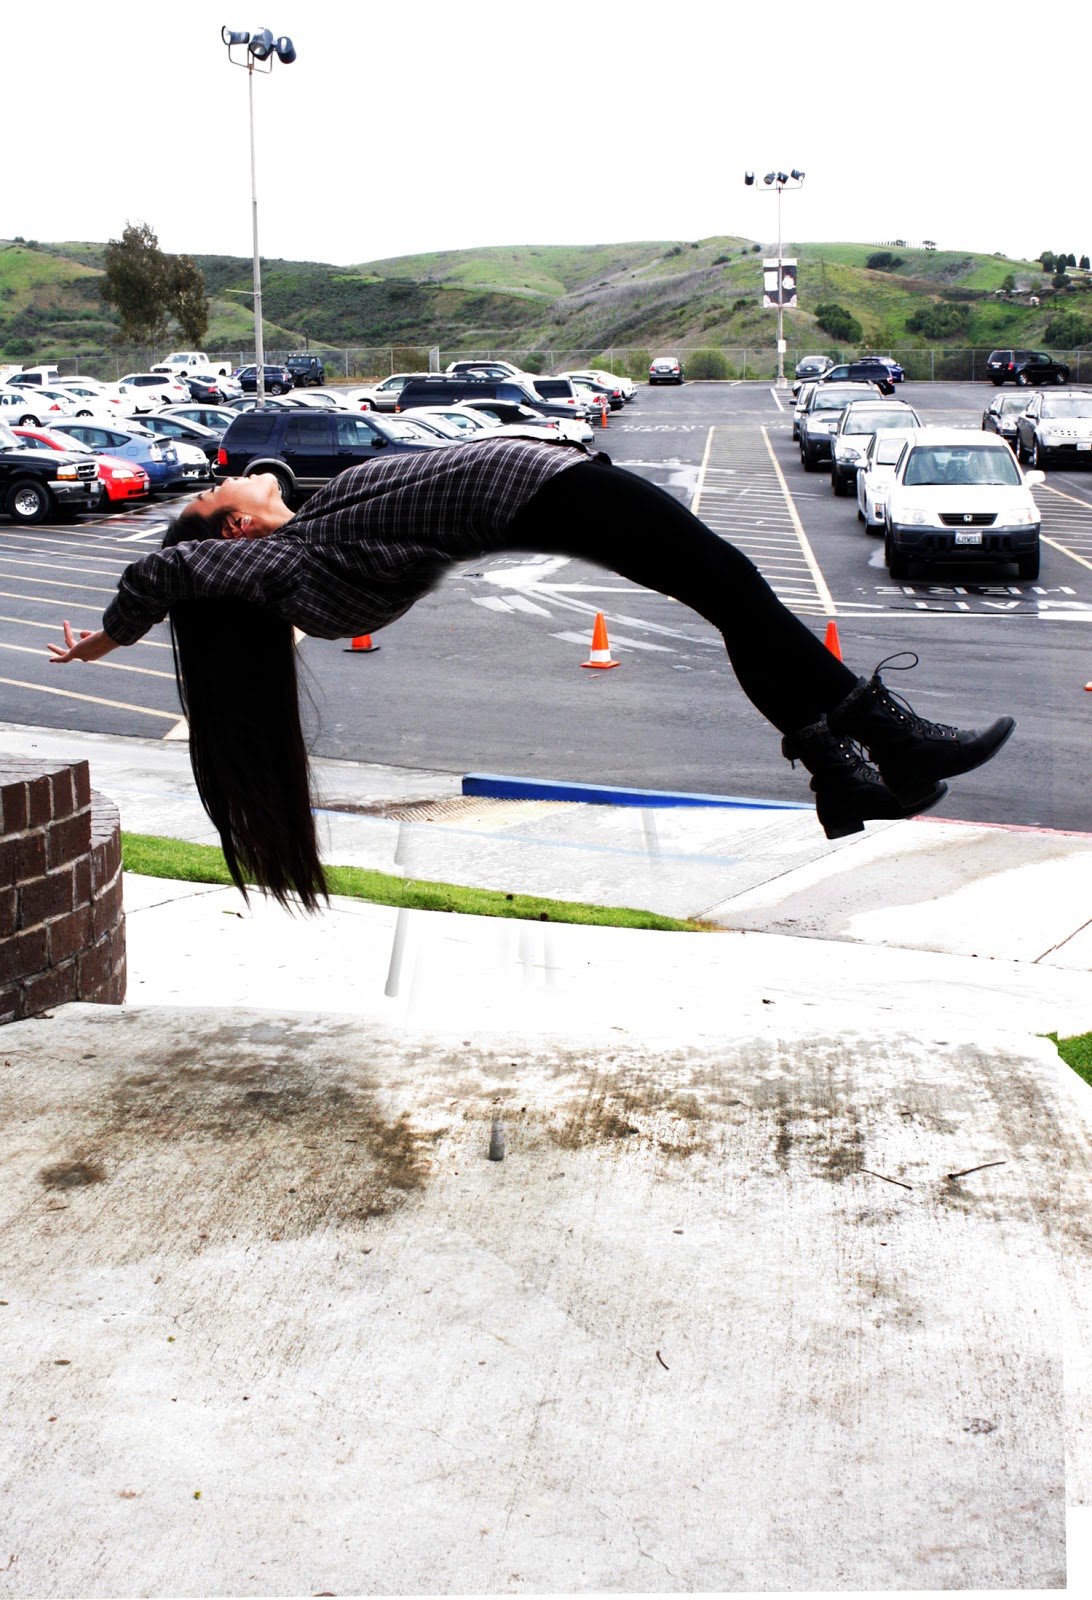
- Person gets into a position to look like they are levitating
- Take your photo of the person on the chairs/stools

Step 2:
- DO NOT MOVE! You must stay still
- Have the person move with all of the chairs/stools
- Take another photo once everything has been moved out of the area.
.JPG)
Photoshop Section
Step 1:
- Open both images in photoshop.
- Move the person photo on top of the non-person photo.

Step 2:
- Go to Layers pallet
- Click on Layer 1
- Click and hold the shift Key
- Click on background layer
- This will highlight both layers
- Click on background layer
Step 3:
- Go to Edit
- Auto Align Layers

Step 4:
- Chose Auto
- Click Ok

Step 5:
- Click on the crop tool
- cut out the area that is extra

Step 6:
- Add a layer mask to Layer 1

Step 7:
- With a black brush, paint out the chair/stool
- FLATTEN YOUR IMAGE

Step 8:
- If there is any body parts behind the chair/tool
- Use the clone stamp tool to bring them back (see under his right arm)

Step 9:
- Edit in ACR (Ctrl Shift A)
- Add Logo
******If you want to get creative, add elements to the photo or edit like the fast shutter ghost photo)

Extra Step:
- If the person looks flat where they layed on the chair we can fix that.
- You may not need this step
- Go to
- Filter-Liquify
- Pick the Forward Warp Tool (top left)

- With the brush, carefully pull down parts of the body that look flat
- DO NOT over do this step!

______________________________________________________________


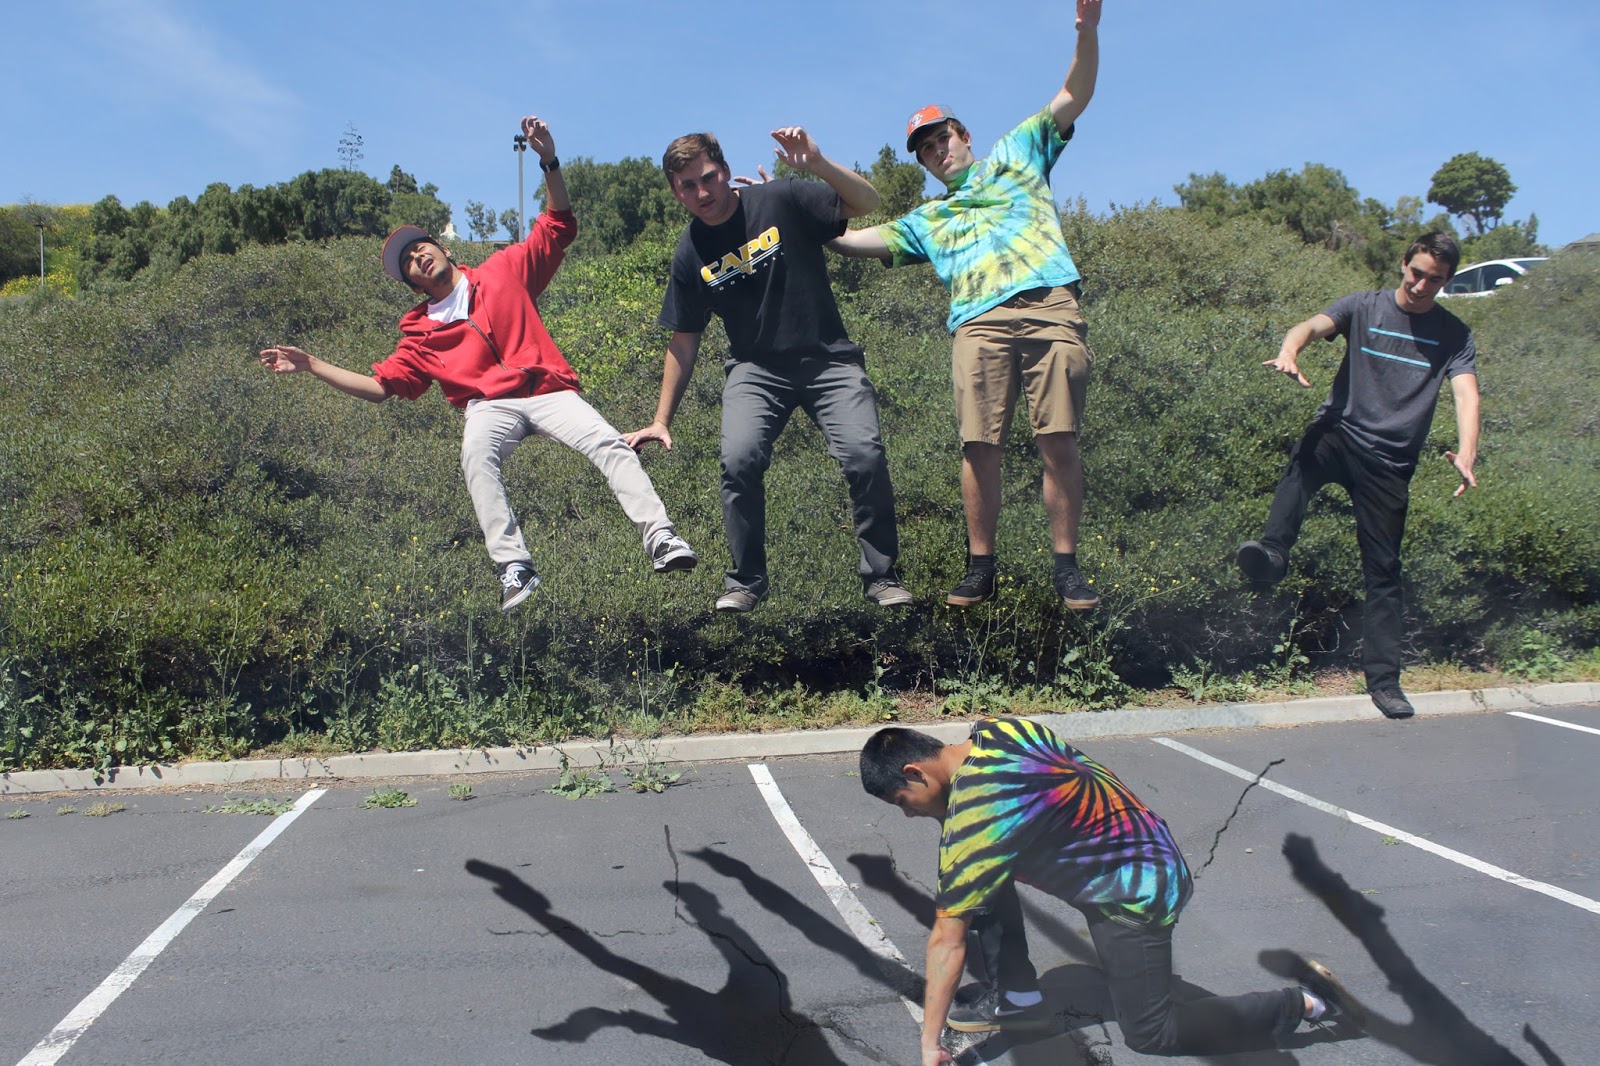


What not to do!!!!!!!!!


