
Jpeg vs PNG files
- PNG: files that have a transparent background (like your watermark)
- Jpeg: files will have a solid background
PNG file
- Will be transparent when moved onto another image
- Not everything online that says it’s a png is transparent or a real png.
- You must check what type of file it is when you open it in photoshop
- Not everything online that says it’s a png is transparent or a real png.

JPEG file
- Has solid background and will be not be transparent when moved onto another image.

_______________________________________________________________________________
PNG files and Photoshop:
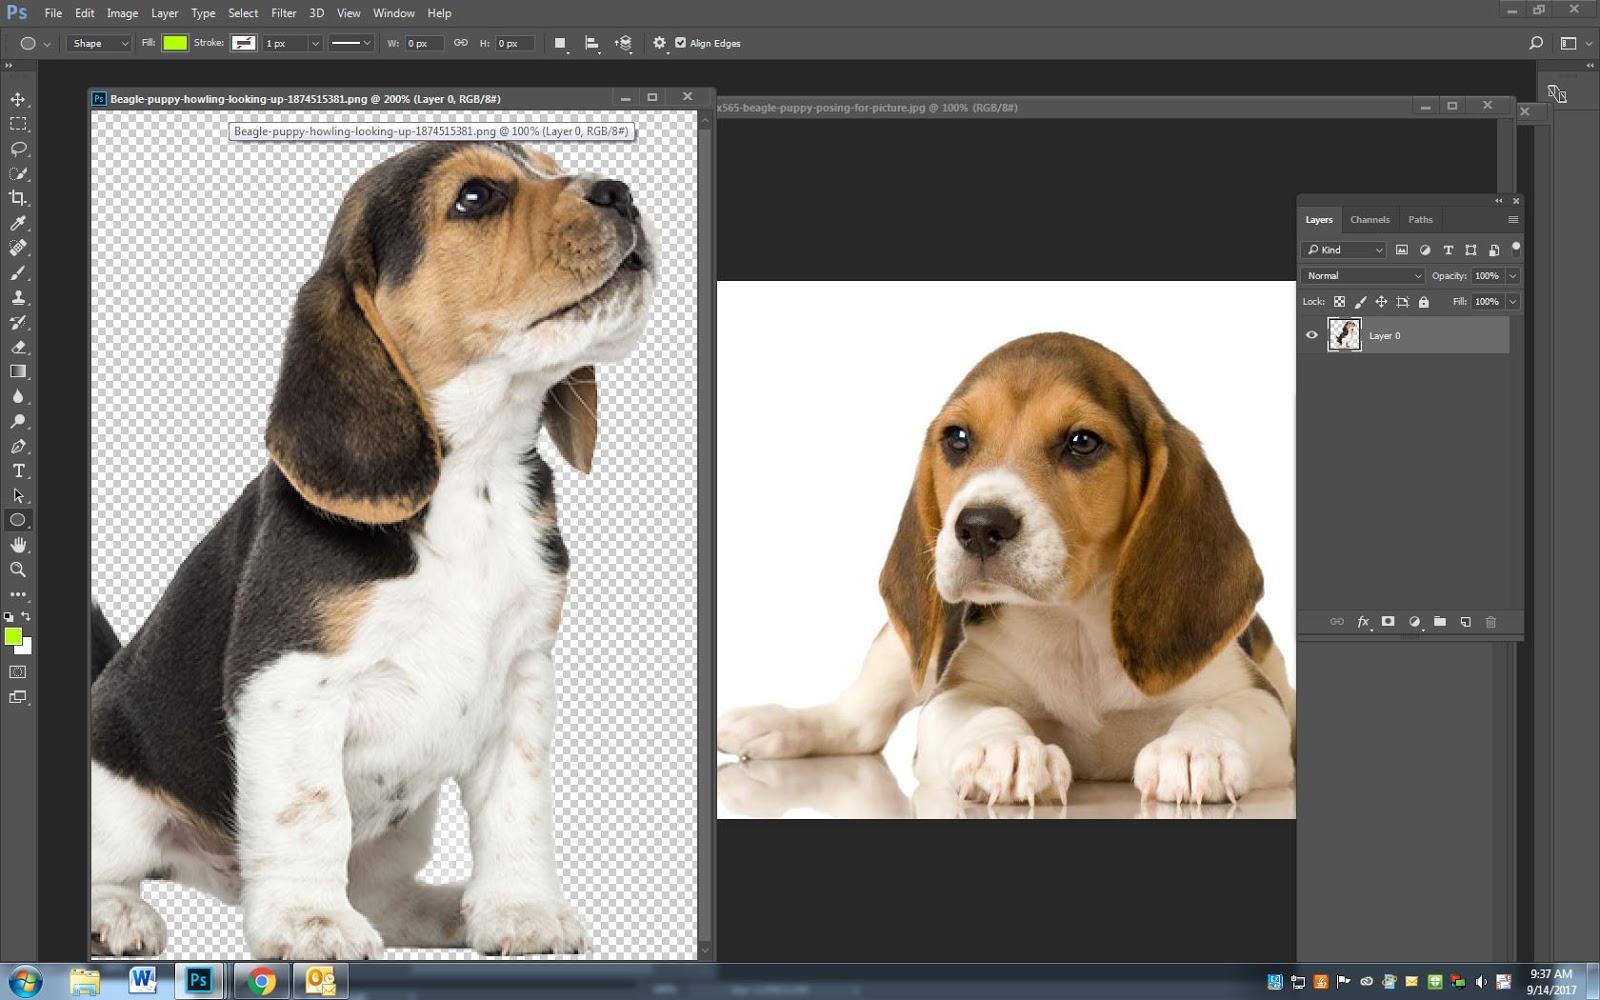
Step 1
- Open your main image
- Open yourPNG file
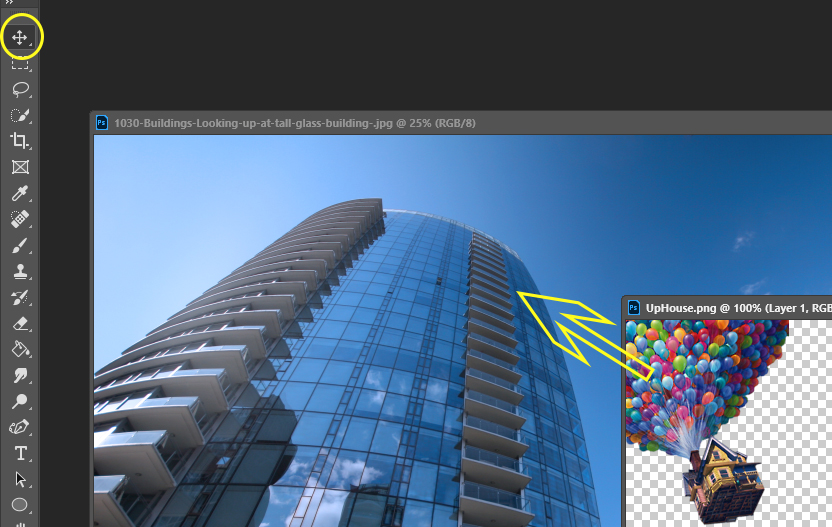
- Using the Move tool, drag the PNG file onto the main photo
Step 2
- To Zoom in on the photo
- CTRL +
- To zoom out click
- CTRL –
Step 3
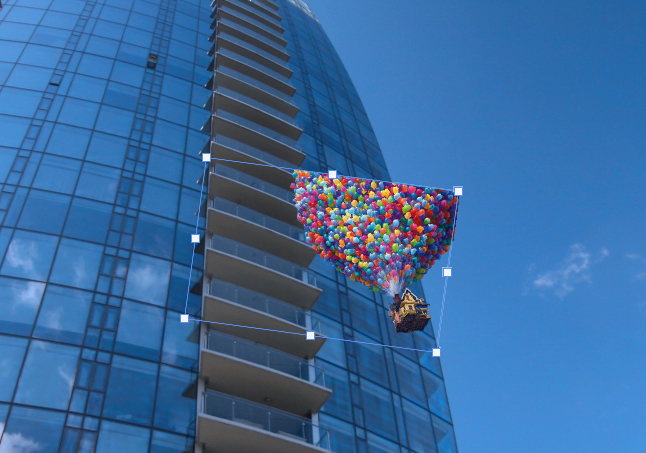
- If the png file is to big/small or needs to be rotating
- Click CTRL-T
- This will put a box around it so that you can adjust the size and rotation
- Click CTRL-T
- Click Enter when you are done
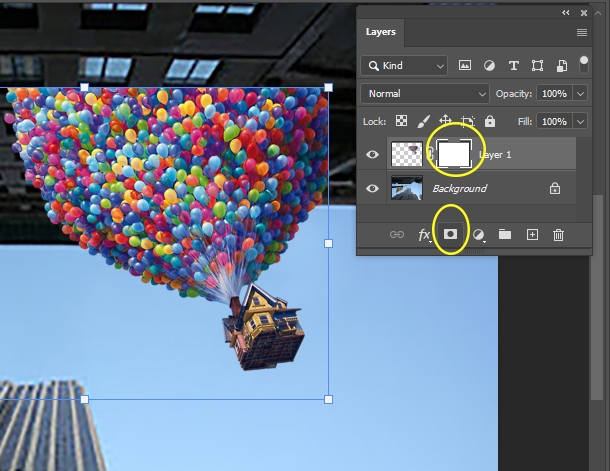
Step 4:
- Click on the PNG Layer
- Bottom of the layers pallet
- Click the box that looks like a camera
- This will add a mask
- A white box will appear next to the png layer
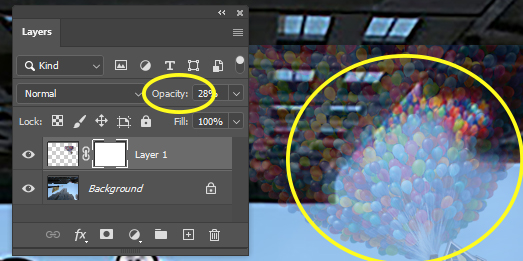
Step 5:
- Make sure you are on the PNG Layer
- Click on Opacity
- Lower opacity until you can see through the image
- This will help you see where you need to paint areas off
- Lower opacity until you can see through the image
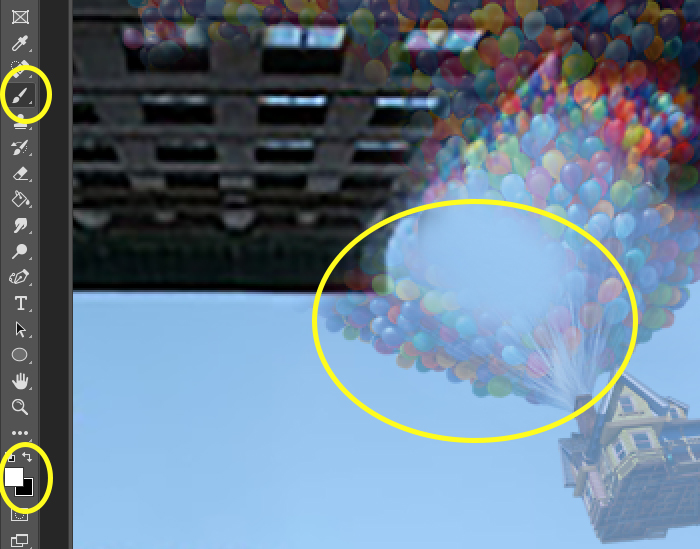
Step 6:
- Click on the white Mask box
- Click on the Paint Brush Tool
- Make sure the colored boxes at the bottom of the tool bar are
- BLACK ontop and White underneath

Step 7:
- With the brush tool
- Paint out the area you want removed

Step 8:
- If you paint to much off you can paint it back in by
- Switching the brush color to white
- Paint back in what you took off
- Switching the brush color to white
Step 9:
- When you are finished pull the opacity back to 100%

____________________________________________________________________________
PNG Your Own photos:
1. Open the file you want to put over the photo. We will be using birds for this example.
2. Using the move tool, drag the birds onto the photo
3. If they are to big or small, click Control T to change the size

4.
- You will see birds over the person.
- Do not worry because we are going to be removing some.
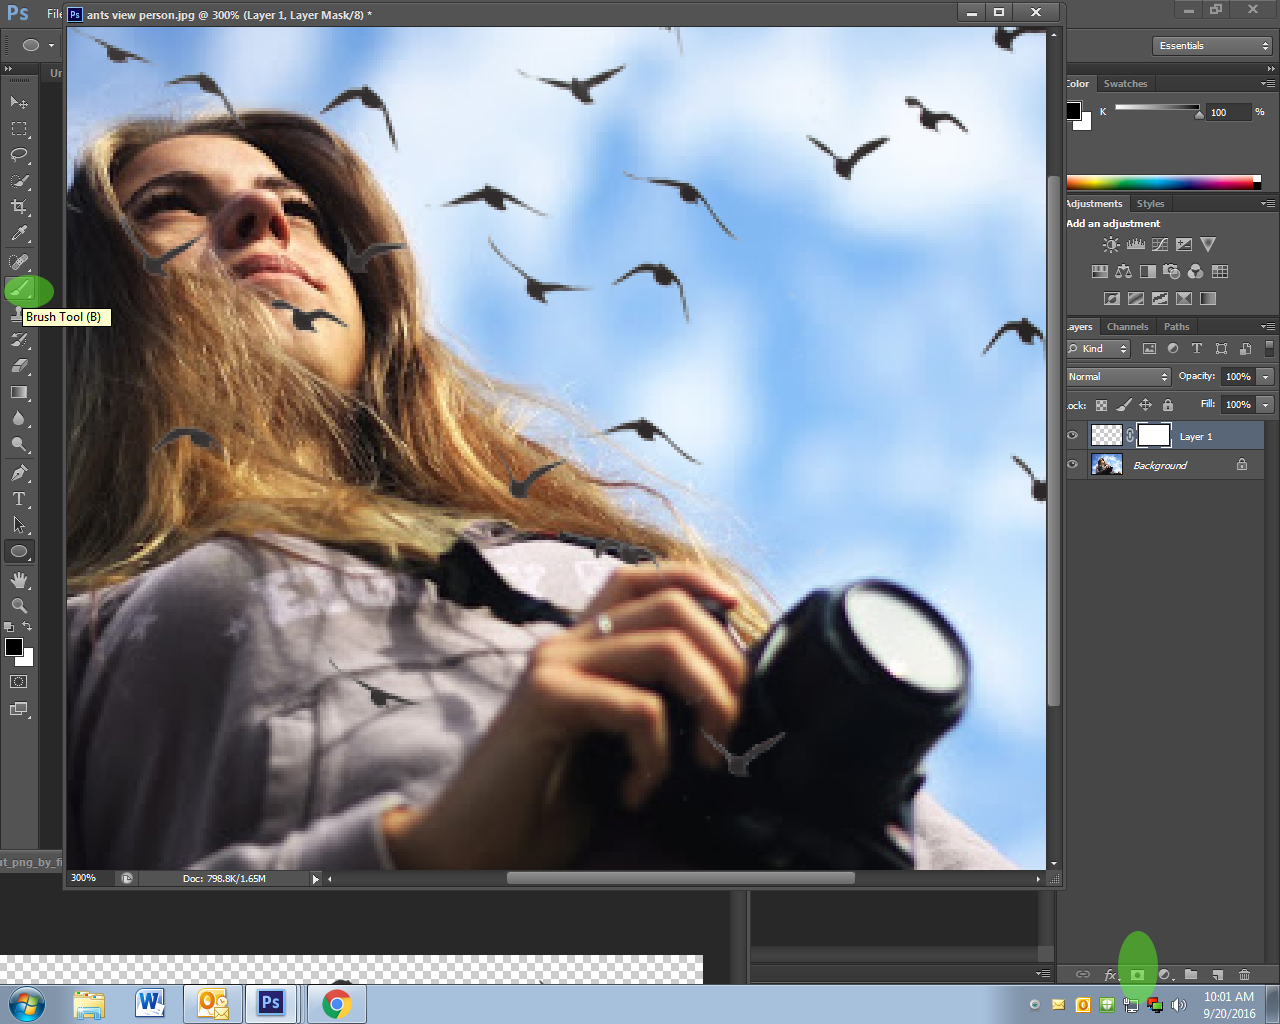
5. To remove bird:
- Click on the layer mask at the bottom of the layers pallet (it looks like a camera)
- Click on the brush tool and pick a black brush
- Paint out the birds

6.
- Finish by editing in ACR
- Add Logo
