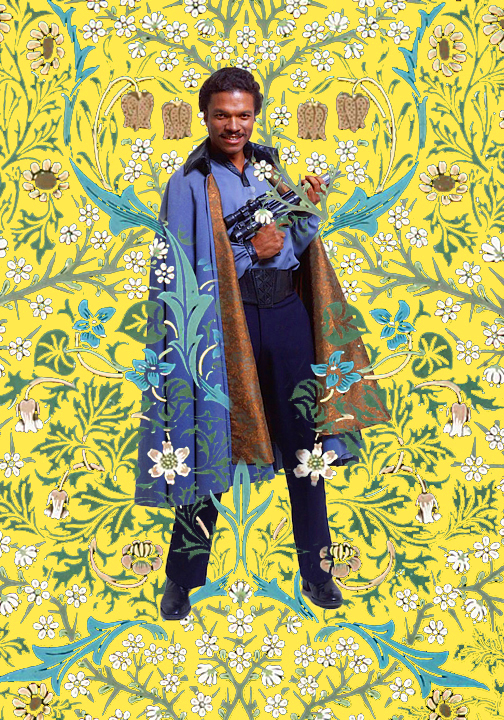
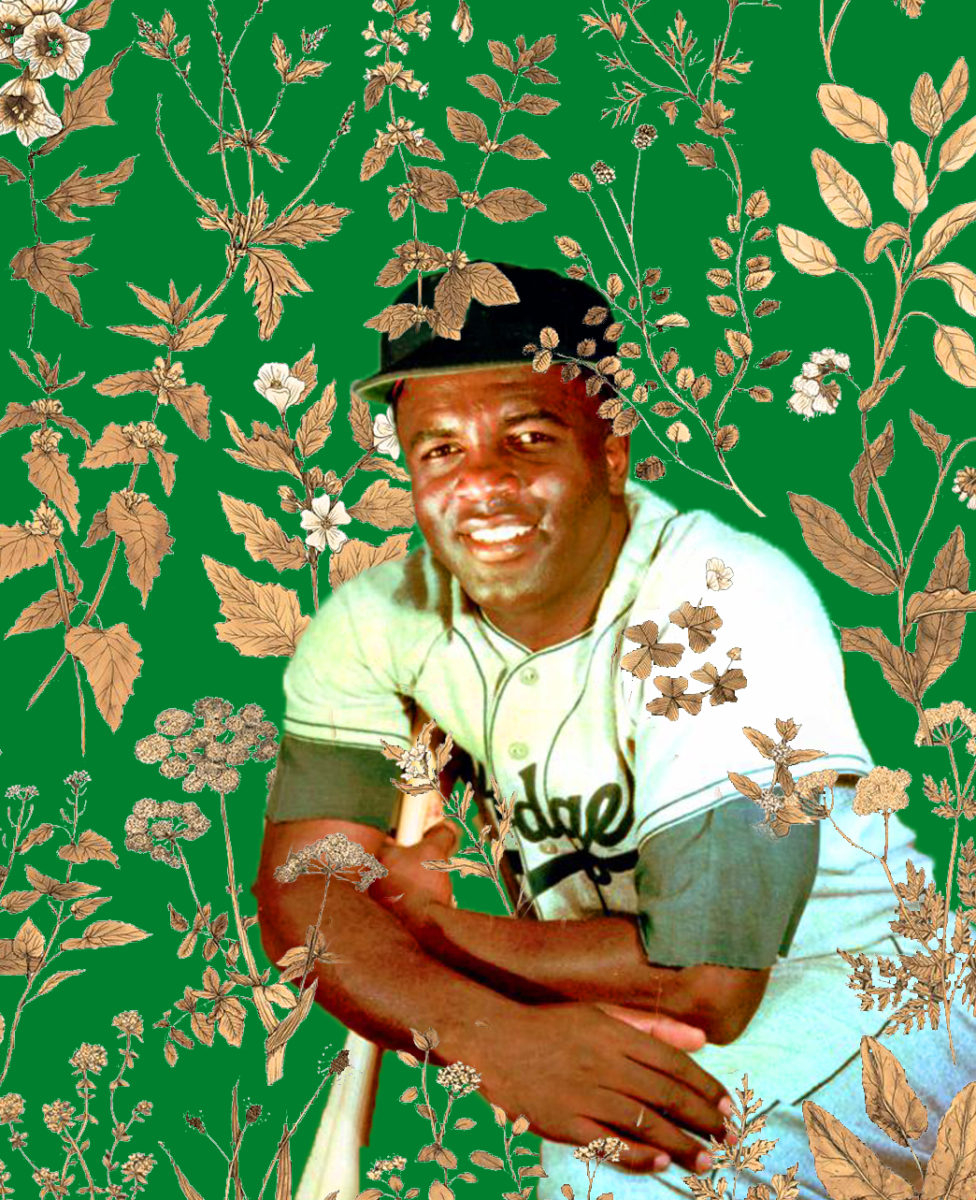
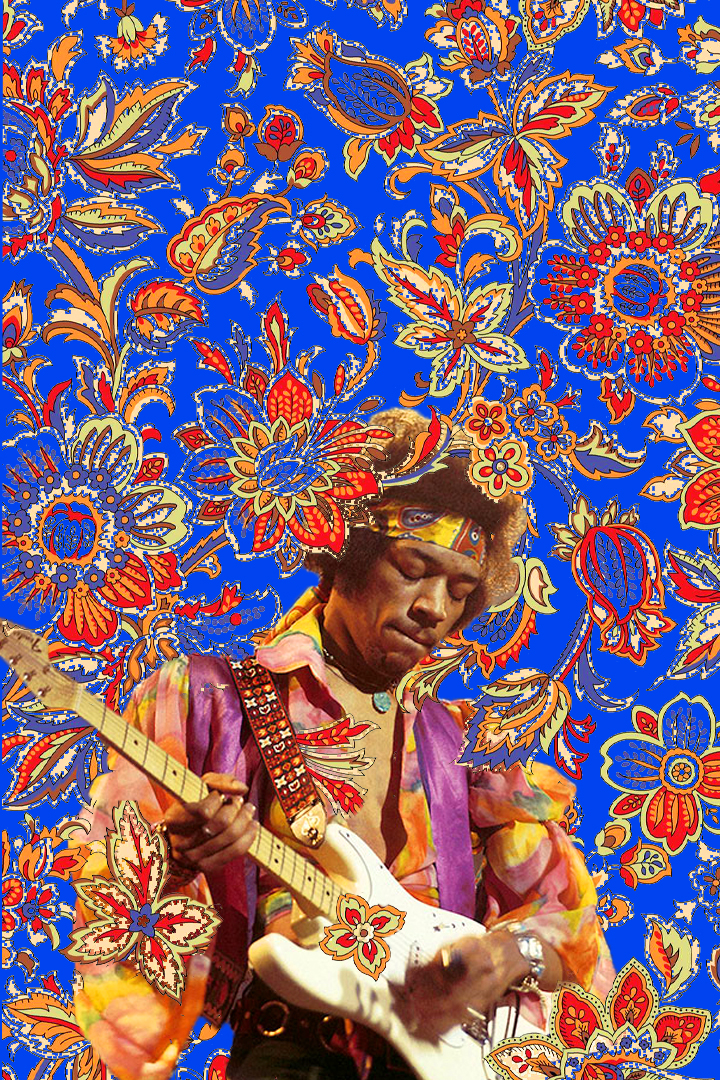
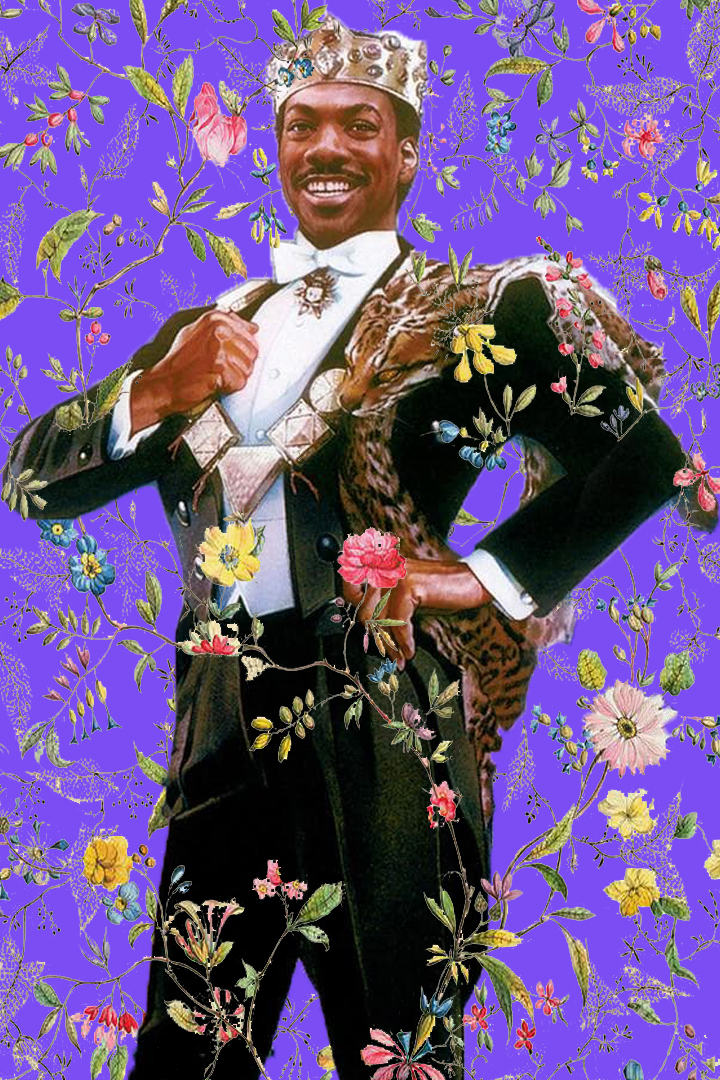
Kehinde Wiley Inspired Photoshop Challenge


Step 1:
Pick two High resolution images (1000 pixels and higher)
1. Historical Black individual who made a change in the world:
-
-
- Ex: Jessi Owens, Rosa Parks, Jackie Robinson, Martin Luther King Jr
- Color Photographs work best with this project if you can find one.
- If not, black and white is fine to use
- The links below have lists of people to pick from
-

and
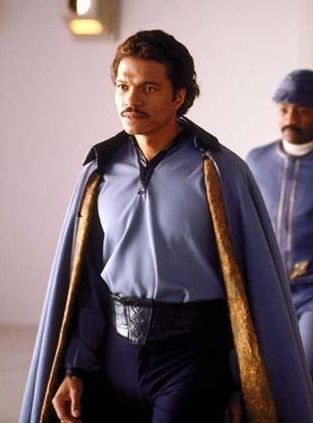
2. Black Celebrity/Athlet/Fictional Character Actor
- Celebrity
- Actor
- Musician
- sports figure
- fictional character (ex Black Panther)
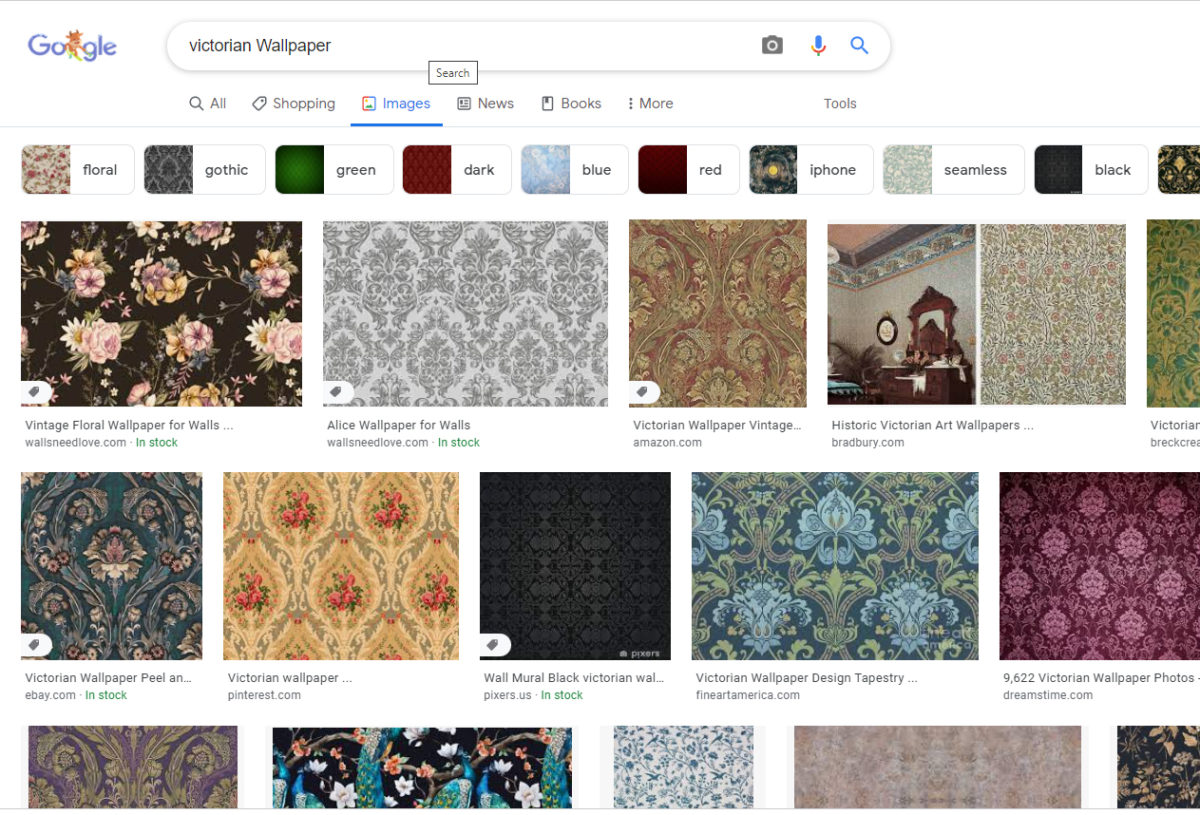
Wallpaper
- I have saved wallpapers on Canvas in Files to pick from
- Download and Save it on the computer
Step 2:
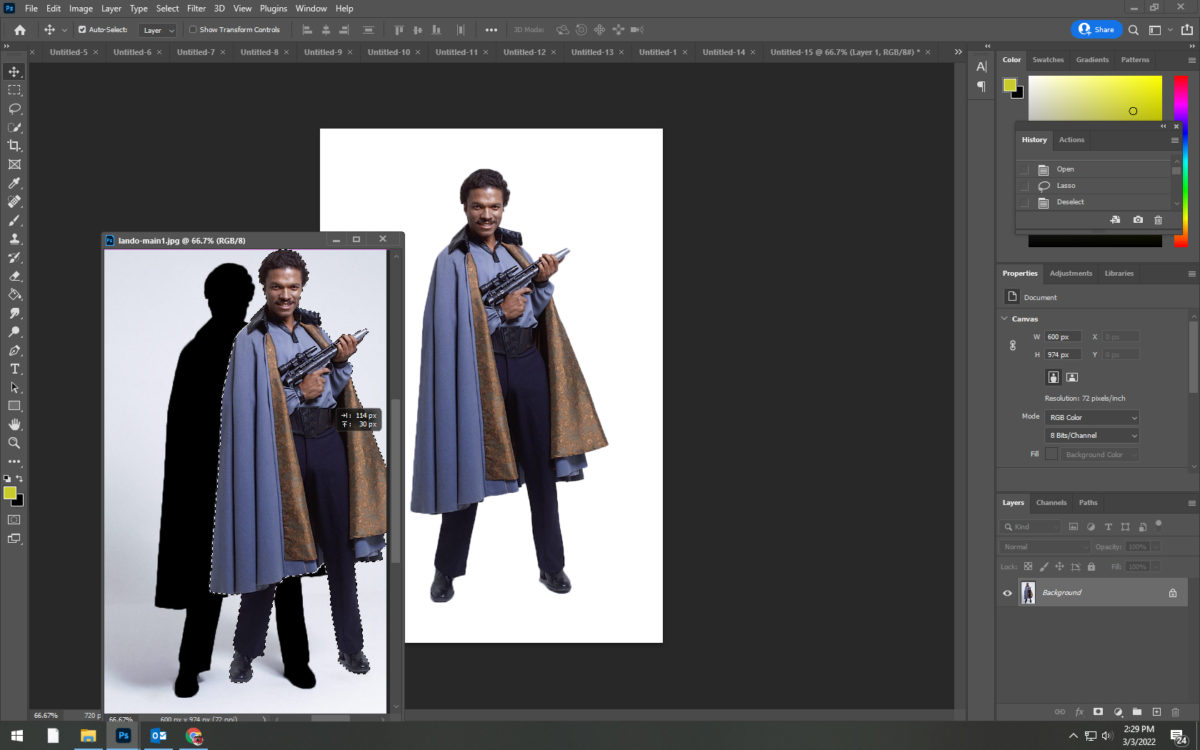
- Open the person you selected
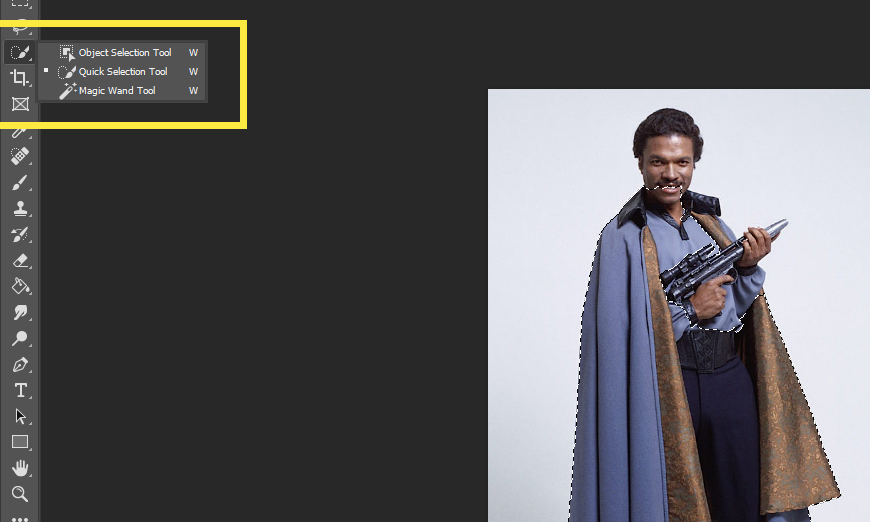
- Use the Quick Selection Tool to cut them out
- While on the Quick Select tool
- Click Select and Mask at the top of photoshop
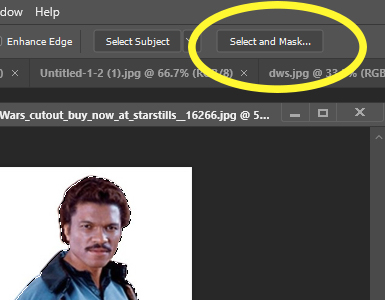
- Move the Smooth and Feather sliders to the right about 1/2 to soften the edges.

Step 3:
- You will be creating a blank canvas to move the person onto
- Go to File- New
- Width 10 inches
- Height 15 inches
- Resolution 72
- Background White
- Go to File- New

Step 4:
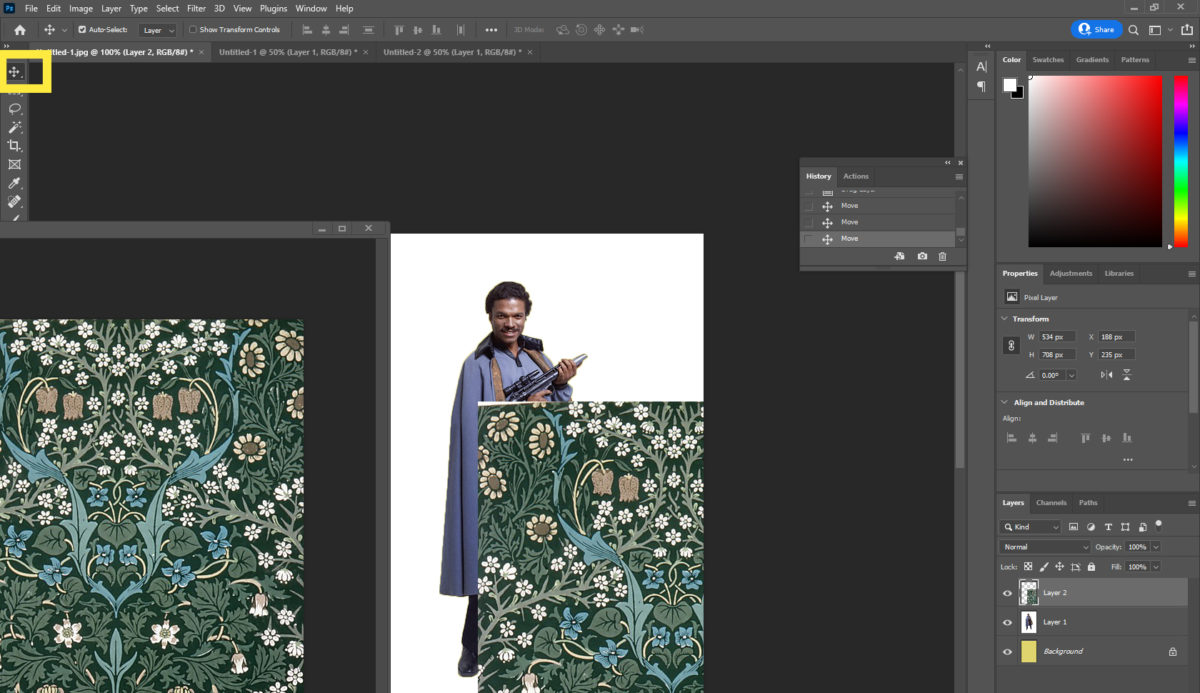
- Move your selected person onto the white canvas
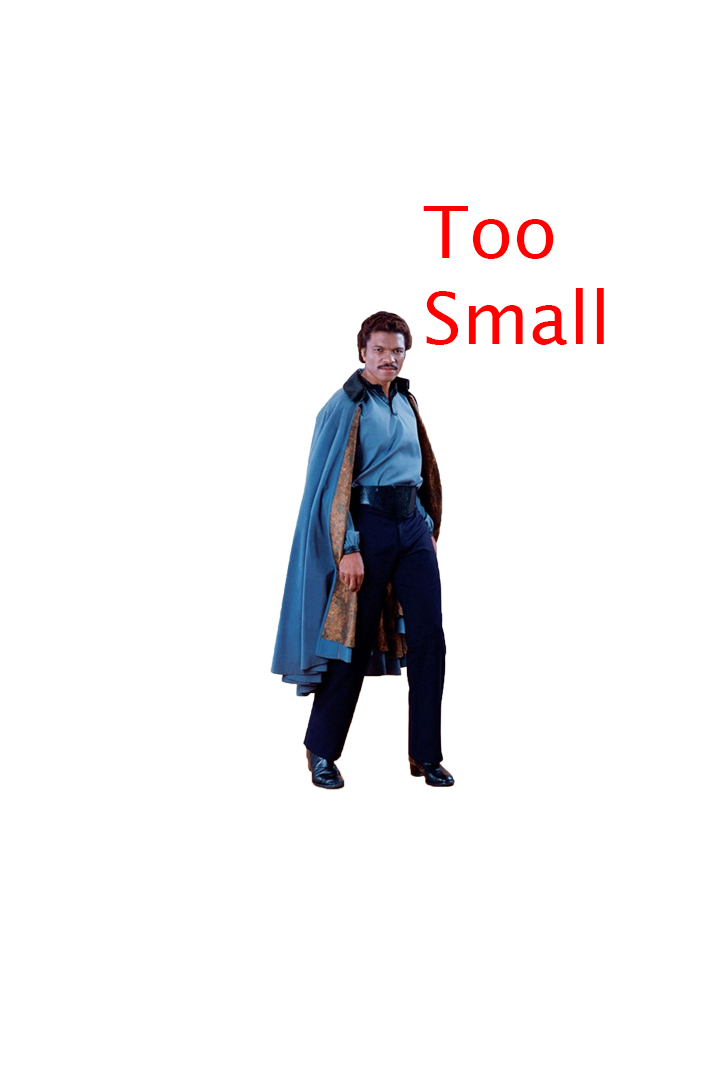
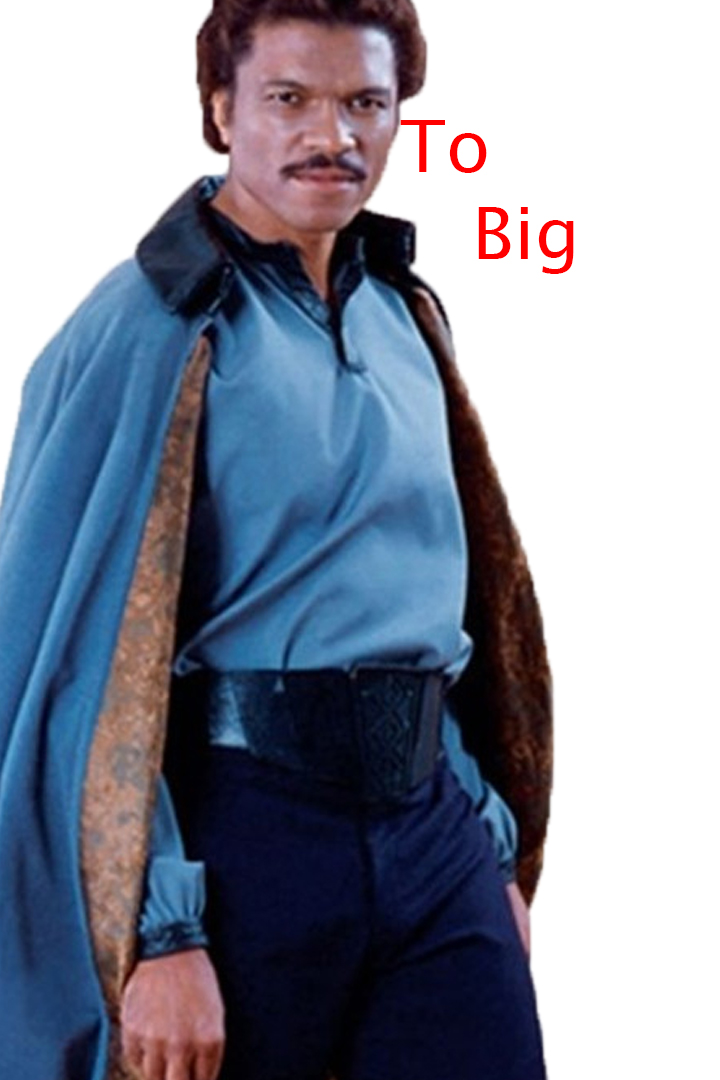
- They need to fill up almost HALF of the white canvas area.
- Do NOT make them to big or to small on the canvas
Step 5:
- You must OPEN your wall paper onto Photoshop. DO NOT DRAG the image in!!!!! It will not work!!!!!!
- Pick the Move Tool and drag the Victorian Wall Paper ontop of your person
- Use Control T and Hold down the Shift Key as you drag the wallpaper to make it fit perfectly over the whole canvas.
Step 6:
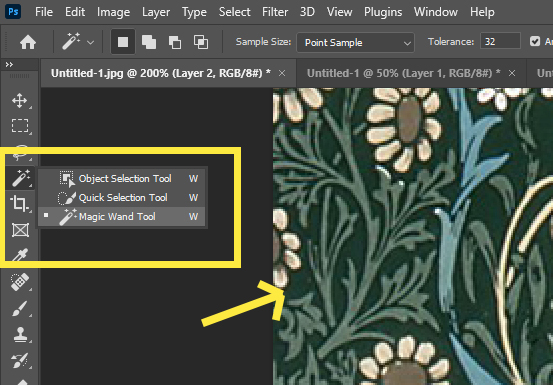
- Right click on the Quick Selection Tool
- Pick the Magic Wand Tool
- Uncheck the Contigous and Sample All Layers boxes at the top of photoshop

Step 7:
- Zoom in super close
- Using the Magic Want Tool Click anywhere in the BACKGROUND area of the Wallpaper
- DO NOT click on any of the objects. Just the background
- This will select the whole background color and have flashing marching ants.
Step 8:
- Click the Delete Key (the background color will disapper)

Step 9:
- Click Select (top of photoshop)
- Click Deselect
- The marching ants will disappear

Step 10:
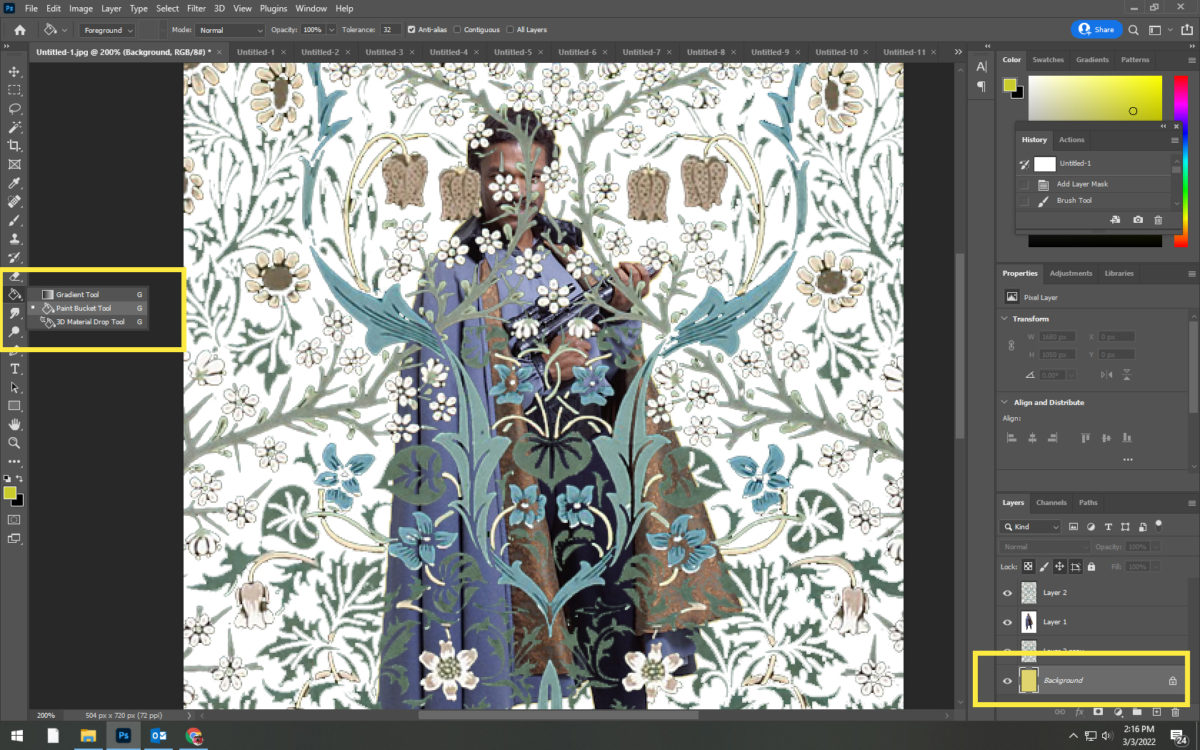
- We will now be changing the background color. Do NOT leave your background white!!!!!!!
- Click on your Background Layer
- Click on the Paint Bucket Tool
Step 11:
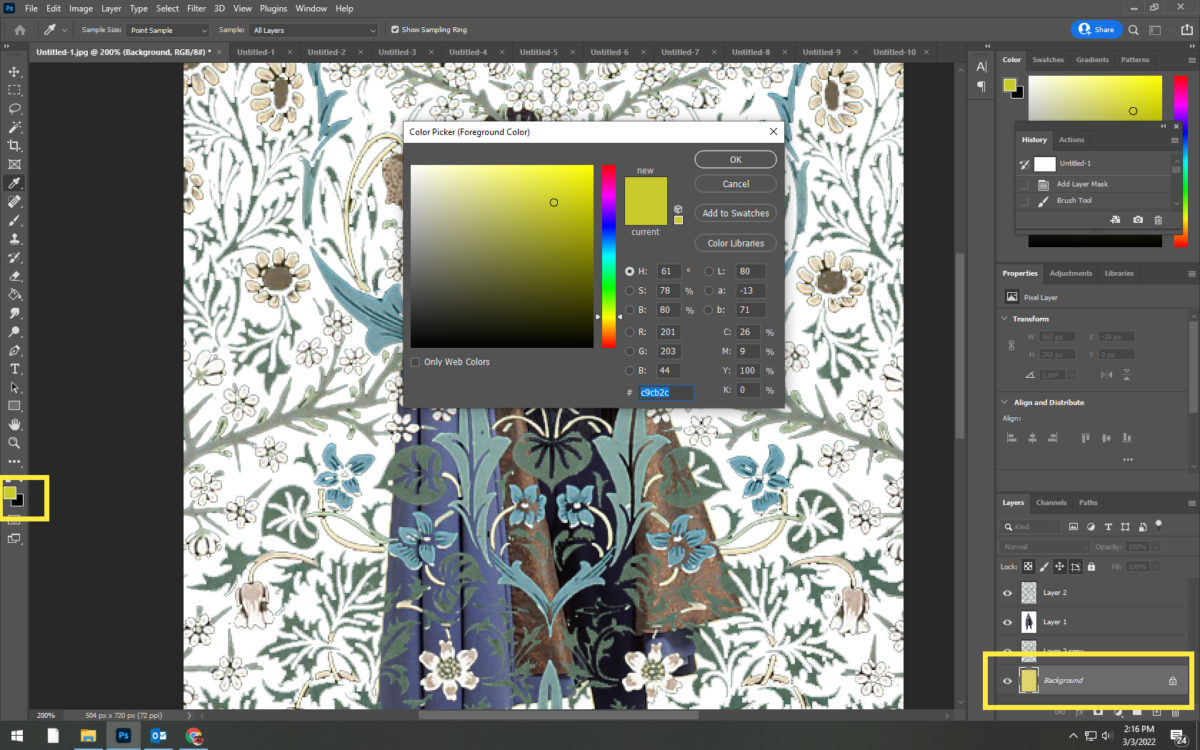
- Pick a color that is the Opposite of the flower/design colors.
- You want the background color to POP out against the flowers/design
- The bottom of the tool bar is where you click to change the colors
- Click the Paint bucket tool
- Click on the white empty area of your canvas.
- Your background will now become the color.
- If you do not like the color you can select a new color. Just a different color and use the paint bucket tool again.
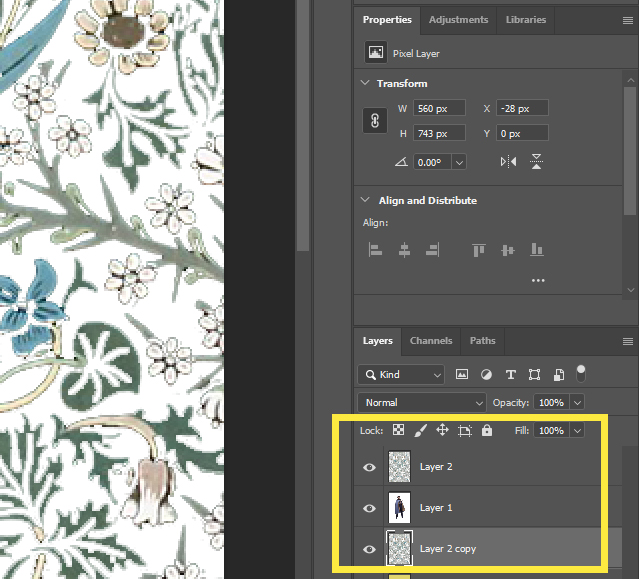
Step 12:
Click on the Wallpaper layer ( Not the person layer)
- Click Control-J (this will duplicate the layer) and you will now have two wallpaper layers.

Step 13:
- Click and Drag your Person Layer so that it is between the two wallpaper layers
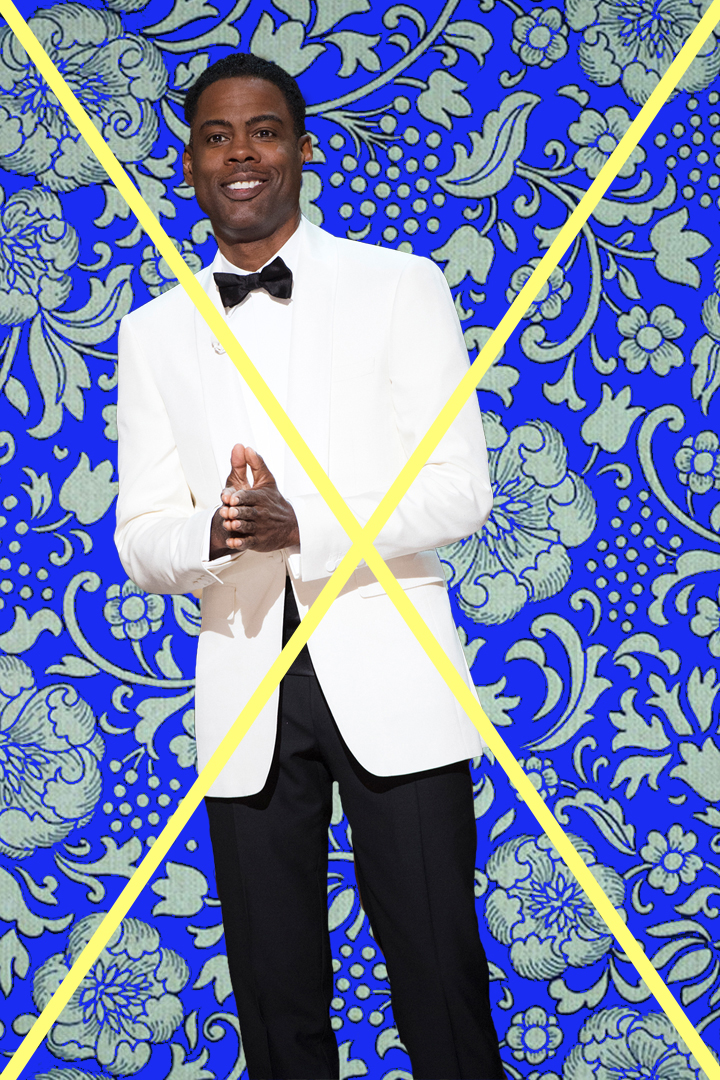
What NOT TO DO!!!!!
- You will now be painting off sections of the flower/plants
- Before you start painting……….
- Image that your person has been standing still for a year and that vines/ flowers have grown over them.
- Do not take off to much or to little of the plants.
- You want it to look natural and organic and not like you mowed a lawn in a straight line
DO NOT do like below examples!!!!!

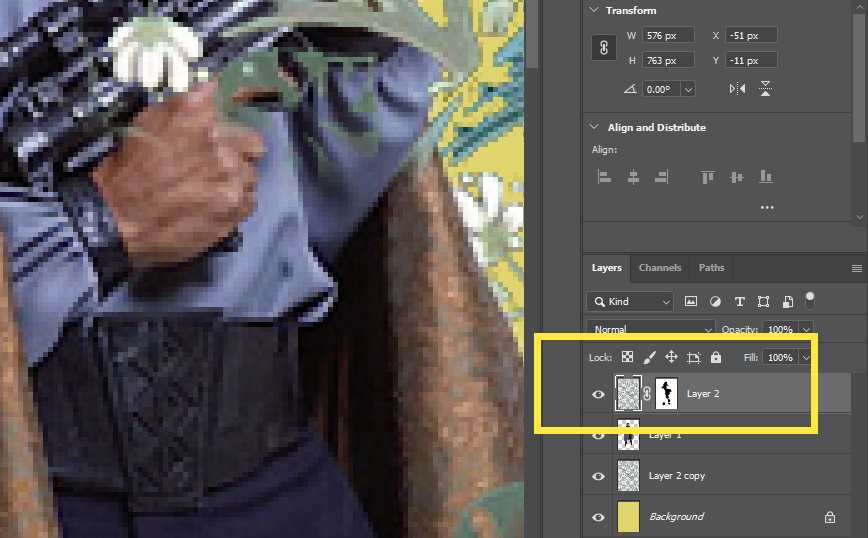
Step 14:
- Add a Layer Mask on the Duplicated Wallpaper layer
- Layer mask is the box with a circle in it at the bottom of the layers pallet
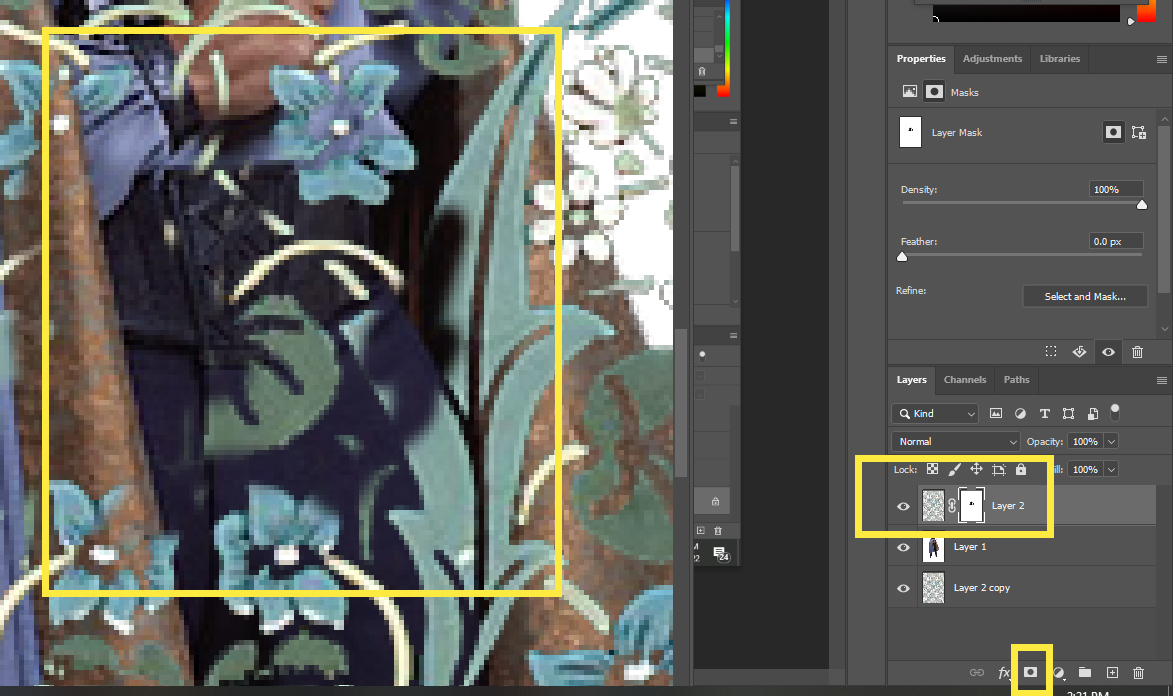
Step 15:
- Select the paint brush and make sure it is black.
- Make sure you are clicked on the white layer box and not the wallpaper box.
- Paint off sections of the design covering person.
- If you want to put back on some of the plants that you took off
- change the brush to white and paint it back on.
- If you want to put back on some of the plants that you took off
Step 16:
- When you are done taking off the plants on your person
- flatten image
- Fnishing by adjusting the saturation of project
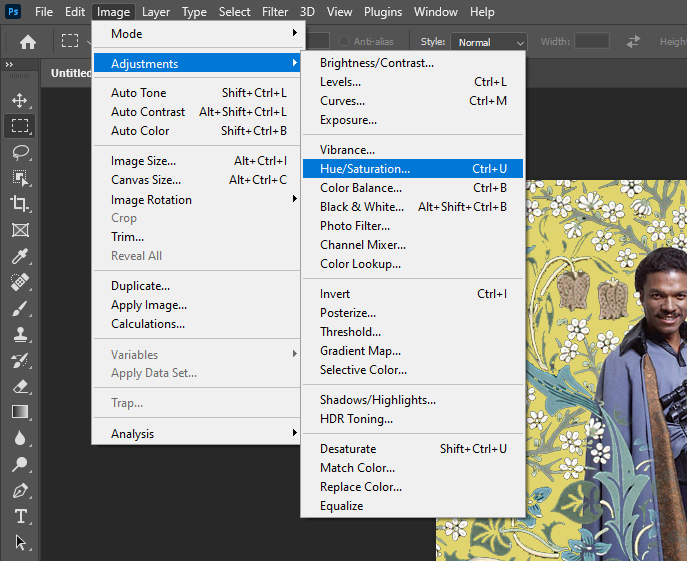
Step 17:
- Go to Image- Adjustments- Hue Saturation
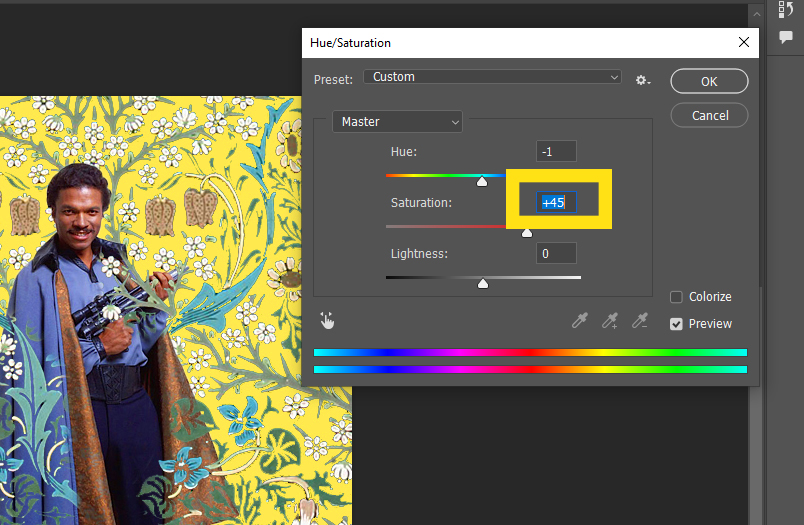
Step 18:
- Move the Saturation layer to the right
- Move the slider between +30 to +50 depending on your photo
Before and After Saturation adjustment.
