

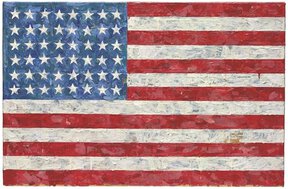
Jasper Johns and Robert Rauschenberg
Combined Inspired Photoshop Collage
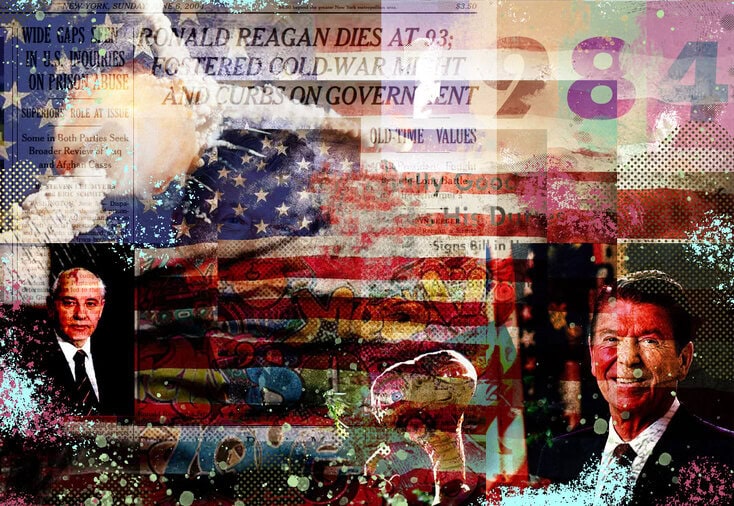
We will be using two works of art from Rauschenberg and Johns to create an Original Photoshop Project
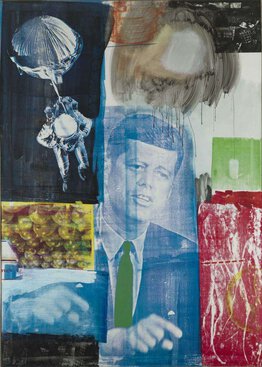
Robert Rauschenberg
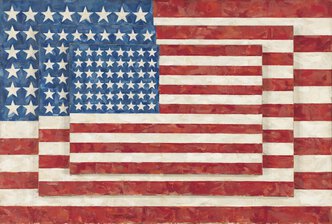
Jasper Johns
Section 1
Images like Robert Rauschenberg
Step 1:
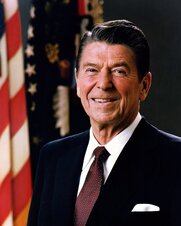
- Pick an American President
- Save the professional photograph of them found on wikipedia
- Find the year he was elected or the year something momumental happened.
- Save the professional photograph of them found on wikipedia
Step 2:
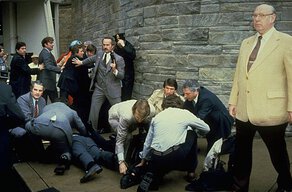
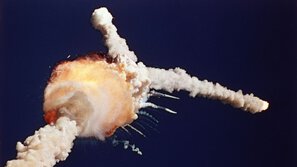
- Pick 5-6 photos of
- historical events
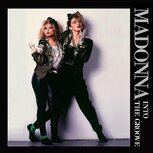
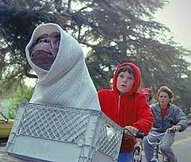
- Top movies
- Popular toys
- Popular music
- culture events stand out as part of their presidency
I did Ronald Regan so I used the photos below that represent the major events in his presidency and time period of the 80’s.


Step 3:
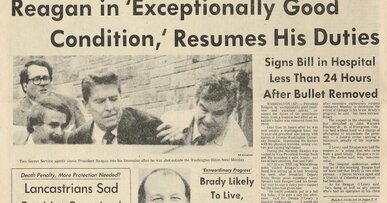
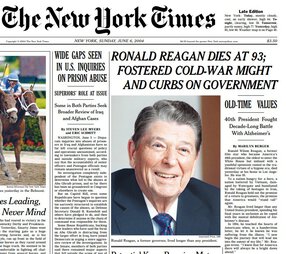
- Save 2 newspaper headline or article about the president
- In google type in the presidents name + newspaper headlines
- Look under images
- In google type in the presidents name + newspaper headlines
Step 4:
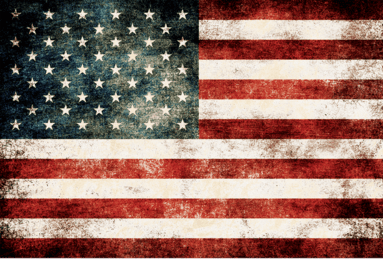
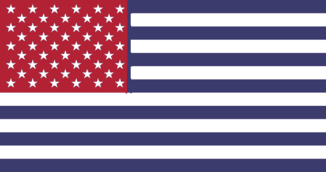
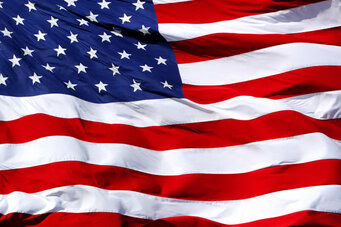
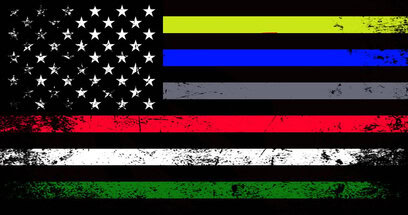
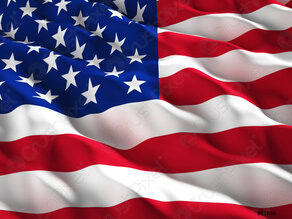
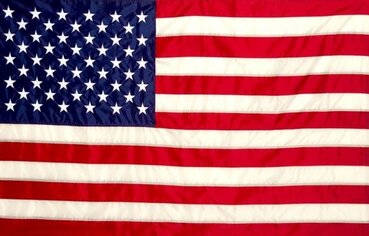
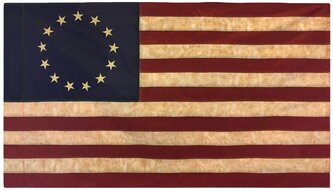
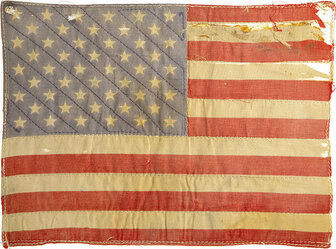
- Save one of the American Flag photographs from below or you may find your own


Section 2
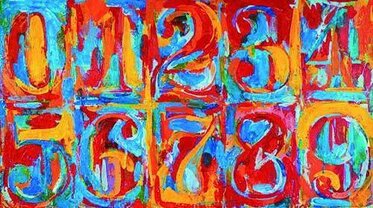
Creating Jasper Johns Numbers
Step 1:
- Go to File-New
- Be sure you are using Inches and not pixels
- Width 16 inches
- Height 6 inches
- Resolution 72
- Background White
Step 2:
- Go to View
- Guides
- New Guides Layout

Step 2:
- Columns should be the only box with a checkmark
- Uncheck any other box that is checked
- Columns
- Number 4
- Gutter 0 in
- Color Light Blue
- Click OK

Step 3:
- Select the Rectangle Shape Tool
- Go to Fill at the top
- Pick any color that you would like
- Stroke has a white box with red line through it

Step 4:
- Draw a rectangle that fits into column 1

Step 5:
- Click Ctrl + J to duplicate the layer
- Use the move tool and move the duplicated rectangle to the right until the two rectangles are by each other.

Step 6:
- Repeat duplicating the layer two more times until you have four layers (Ctrl + J)
- Using the move tool, move the rectangles next to each other

Step 6:
- You will be changing the color of 3 of the rectangles
- Click on layer Rectangle 1 Copy
- Pick a new color (bottom of the tool bar)
- Click on the paint bucket tool (it may be behind the Gradient Tool)
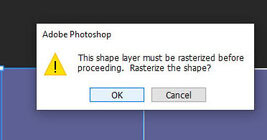
- With the paint bucket tool, click anywhere on the second rectangle
- A warning will pop up. Click OK
- You can now use the paint bucket to change the rectangle color

Step 7:
- Continue step 6 for each rectangle layer
- You must have 4 different colored rectangles

Step 8:
When you are done, right click on the background layer and Flatten Image

Step 9: Find the year of the president or historical figure which yo saved photos of. You will be using this date for the next steps
- Click the Text box tool and drag the box over the first rectangle
- Pick Eras Bold ITC font
- Pick font size 68pt
- Type in the first number of the date

Step 10:
- Click Ctrl + T to change the number size
- Make it similar to the example below
- You can change the color of the number or leave it as is

Step 11:
- Click Ctrl + J to duplicate the first number
- Use the Move Tool to move the number to the next colored box
- Highlight the number
- change the number
- change the color of the number

Step 12:
- Click Ctrl + J to duplicate the second number
- Use the Move Tool to move the number to the next colored box
- Highlight the number
- change the number
- change the color of the number

Step 13:
- Click Ctrl + J to duplicate the second number
- Use the Move Tool to move the number to the next colored box
- Highlight the number
- change the number
- change the color of the number

Step 14:
Right click on the layers pallet and Flatten your image

Step 15:
- Select the Brush Tool
- Click on the Arrow by the brush size
- Pick Kyle- Screen Tones 38
- If you can not find this brush, pick another one of the Kyle brushes
- Pick the color white

Step 16:
- Begin to start paint small areas on the boxes
- This should look like splatter paint
- Don’t paint to much because you will be using other paint brushes and colors

Step 17:
- You will continue using a variety of brushes and colors.
- This is the time for you to be creative!!!!!!!
- Use a combination of the following brushes
- Change the color of the brush each time you use a new brush style
- Suggested Brushs
- Kyle- Scratch Blend 175
- Kyle- Impressionist Blender 1
- Kyle- Supreme Splatter and Texture
- Kyle- Bonus Chunky Charcoal
- When you are done, yours should look similar to mine
- Flatten your image before saving

Section 3
Rauschenberg Collage & Johns Flags Photoshop
Step 1:
- Open your American Flag
- Go to Image- Image Size
- Change the Width to 15 Inches
- The Height does not matter
- Resolution 72

Step 2:
- Click Ctrl + J to duplicate your flag
- Click Ctrl + T
- Drag the duplicated flag so that it is smaller than the first flag.

Step 3:
- Click Ctrl + J
- Duplicate your second flag
- Click Ctrl + T
- Drag the duplicated flag and make it smaller than the second flag
- You should now have 3 flags
- Flatten image

Step 4:
- Open the president photo and move it onto the flags
- Ctrl + T to make it bigger or smaller
- Place the president anywhere you like

Step 5:
- Go to the top of the Layers Pallet
- Click where it says Normal
- Change the overlays until you find one that you like
- McElfish loves Hard Light for this section
- Change the overlays until you find one that you like
- Click where it says Normal

Step 6:
- Open the Date/numbers image you made in photoshop
- Move it onto the flags
- Ctrl + T to make it bigger or smaller
- Place the numbers anywhere on the canvas
- Go to the top of the Layers Pallet
- Click where it says Normal
- Change the overlays until you find one that you like
- Click where it says Normal

Step 7:
- Open the next historical photo
- Move it onto the flags
- Ctrl + T to make it bigger or smaller
- Place the image anywhere
- Go to the Layers Pallet
- Where it says normal at the top of it, you will be changing it.
- Play around with the different overlays until you find one that you like

Step 9:
- Continue adding photos and newspaper headlines following the upove steps
- Make sure you have all of the following include
- President/historical figure
- Newspaper headlines
- Date/numbers
- 3 or more photos from the time period
- When you have finished adding all your images
- FLATTEN ALL of the LAYERS
Step 10:
- Click the + sign at the bottom of the layers pallet
- Name your new layer Paint

Step 11:
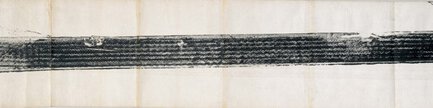
- We will be making a tire tread like John’s art piece
- Go to the Brush Tool
- Click on the down arrow
- Pick Kyle- Screen Tones 35
- Change the Brush size to the thickness you would like

Step 12:
- Change the Color of the Paint
- This does not have to be black like a tire tread
- I made my example yellow
- This does not have to be black like a tire tread
- Paint a Straight Line anywhere on your project
- You can make it as long or as short as you would like

Step 13:
- If the paint color is to bold/bright
- Pull down the Opacity on the Paint Layer

Step 14:
- Continue to use different brushes and colors over your project
- You want it to look like paint was slattered and sprayed over it.
- The best brushes to use are
- Kyle- Scratch Blend 175
- Kyle- Screen Tones 38
- Kyle- Impressionist Blender 1
- Kyle- Supreme Splatter and Texture
- Kyle- Bonus Chunky Charcoal

Step 15:
- Flatten your image before turning it in.


