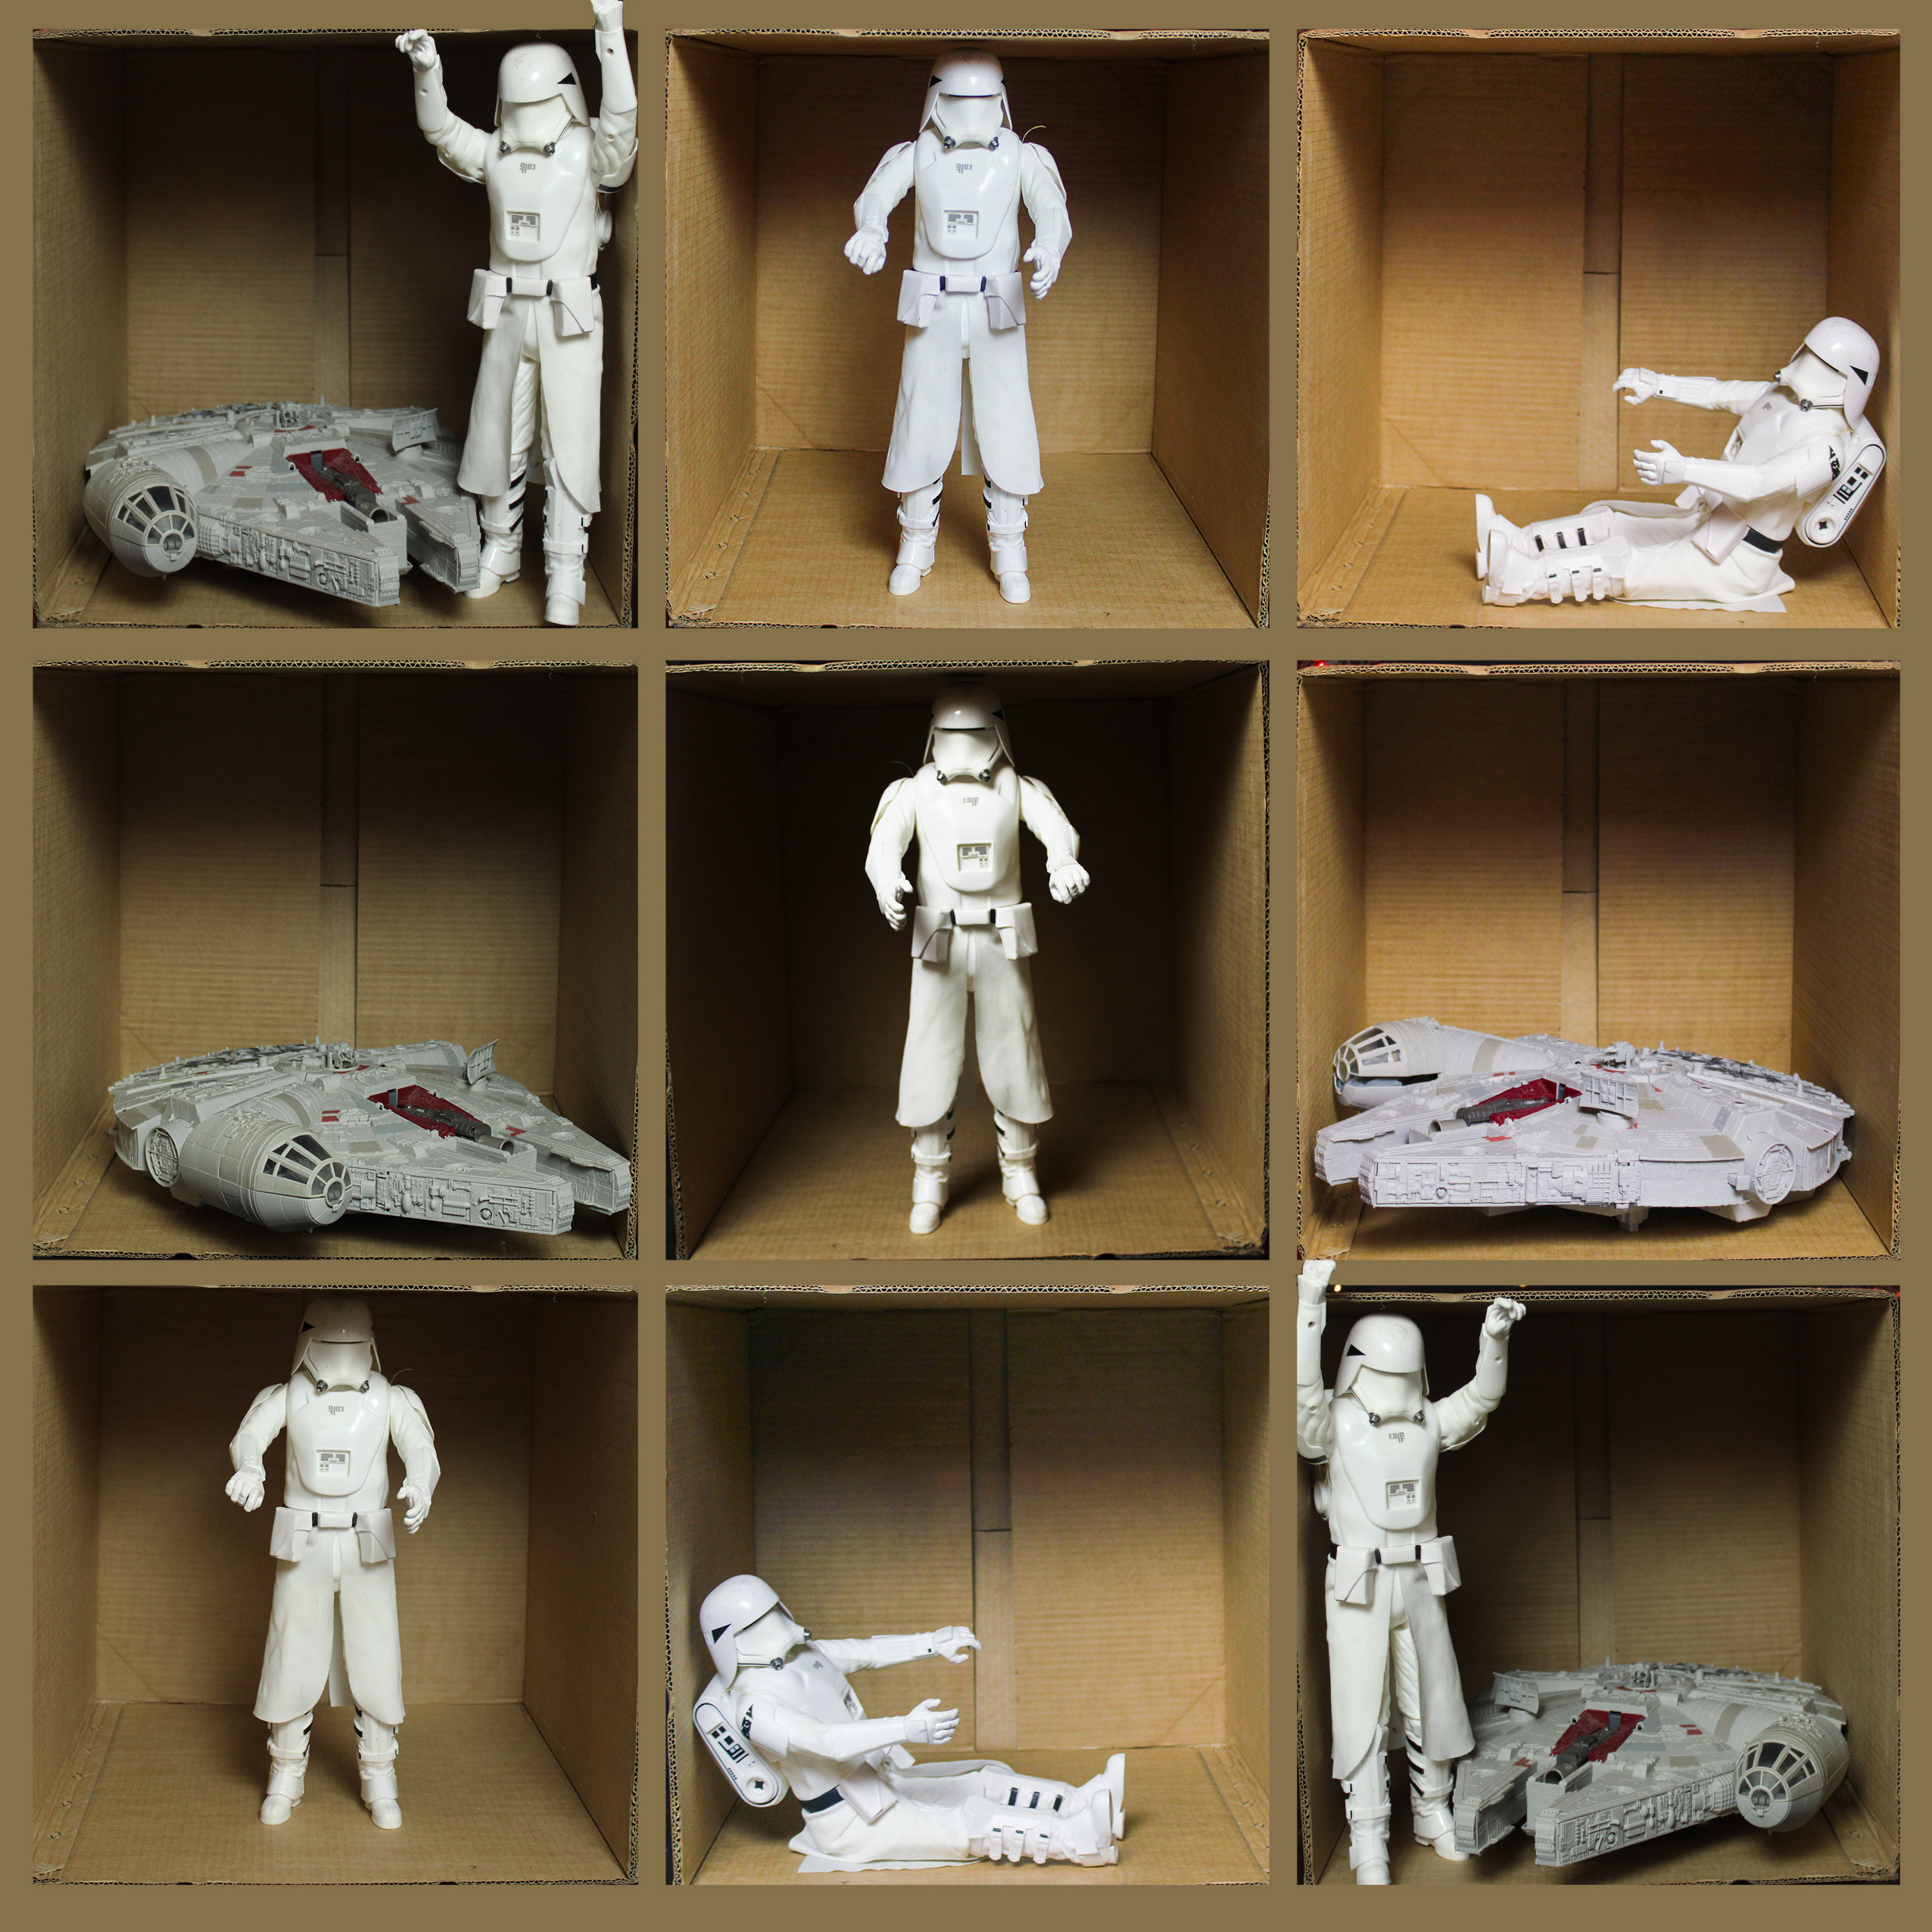
Step 1:
- Open the In the Box Template provided for you in class
- When you open the file you will have a lot of layers already there

Step 2:
- On Layers Pallet
- Click on the layer called Top Left

Step 3:
- Go to
- File
- Place Embedded
- File

Step 4:
- Find the folder with your box photos
- Select the photo you want to go into the Top Right of your project
- Click Place
- Select the photo you want to go into the Top Right of your project

Step 5:
- The photo will appear in the middle of your template
- The photo will be placed on the layers pallet above the top left box

Step 5:
- Move the photo to the top left corner
- It is ok that it is bigger than the black box in the corner.
- We will fix that in a couple steps
- It is ok that it is bigger than the black box in the corner.

Step 6:
- Make sure you are still on the layer of the image you just moved
- Right click on this layer
- Create Clipping Mask
- Right click on this layer

Step 7:
- Click Control T
- Hold the Shift Key
- Make the photo start to to fit into the box
- Hold the Shift Key

Step 8:
- Line up the edge of the box with the edge of the image
- Make sure that you can not see anything outside the box
- Click Enter when you have the image perfectly in the box
- Make sure that you can not see anything outside the box

Step 9:
- On Layers Pallet
- Click on the layer called Top Mid

Step 10:
- Go to
- File
- Place Embedded
- File

Step 11:
- Pick the next image you want to go into the template
- Click Place

Step 12:
- Move the photo to the middle top box
- Make sure you are still on the layer for this image
- Right click on the layer
- Create Clipping Mask
- Right click on the layer

Step 13:
- Click Control T
- Hold the Shift Key
- Make the photo fit into the box
- All the edges should line up
- Make the photo fit into the box
- Hold the Shift Key

Step 14:
- On Layers Pallet
- Click on the layer called Top Right

Step 15:
- Go to
- File
- Place Embedded
- Pick the next image you want to go into the template
- Click Place
- Pick the next image you want to go into the template
- Place Embedded
- File

Step 16:
- Move the photo to the top left box

Step 17:
- Make sure you are still on the layer for this image
- Right click on the layer
- Create Clipping Mask
- Right click on the layer

Step 18:
- Click Control T
- Hold the Shift Key
- Make the photo fit into the box
- All the edges should line up
- Click Enter when done
- All the edges should line up
- Make the photo fit into the box
- Hold the Shift Key

Step 19:
Continue steps 2-8 for the the 2nd and 3rd rows untile every box is filled

Step 20:
- On the Layers Pallet
- Click on the layer called Background Layer
- It has a brown box
- Click on the layer called Background Layer

Step 21:
- Select the Eye Dropper Tool
- Click anywhere on the inside of one of the boxes
- This will select the color of the box
- Click anywhere on the inside of one of the boxes

Step 22:
- Select the Paint Bucket Tool

Step 23:
- Zoom in closely so you can see the brown lines that are between the boxes
- Make sure you are still on the brown Background Layer
- Click the Paint Bucket Tool directly on the brown lines
- They will now have turned the new color that matches the box you sampled
- Click the Paint Bucket Tool directly on the brown lines


