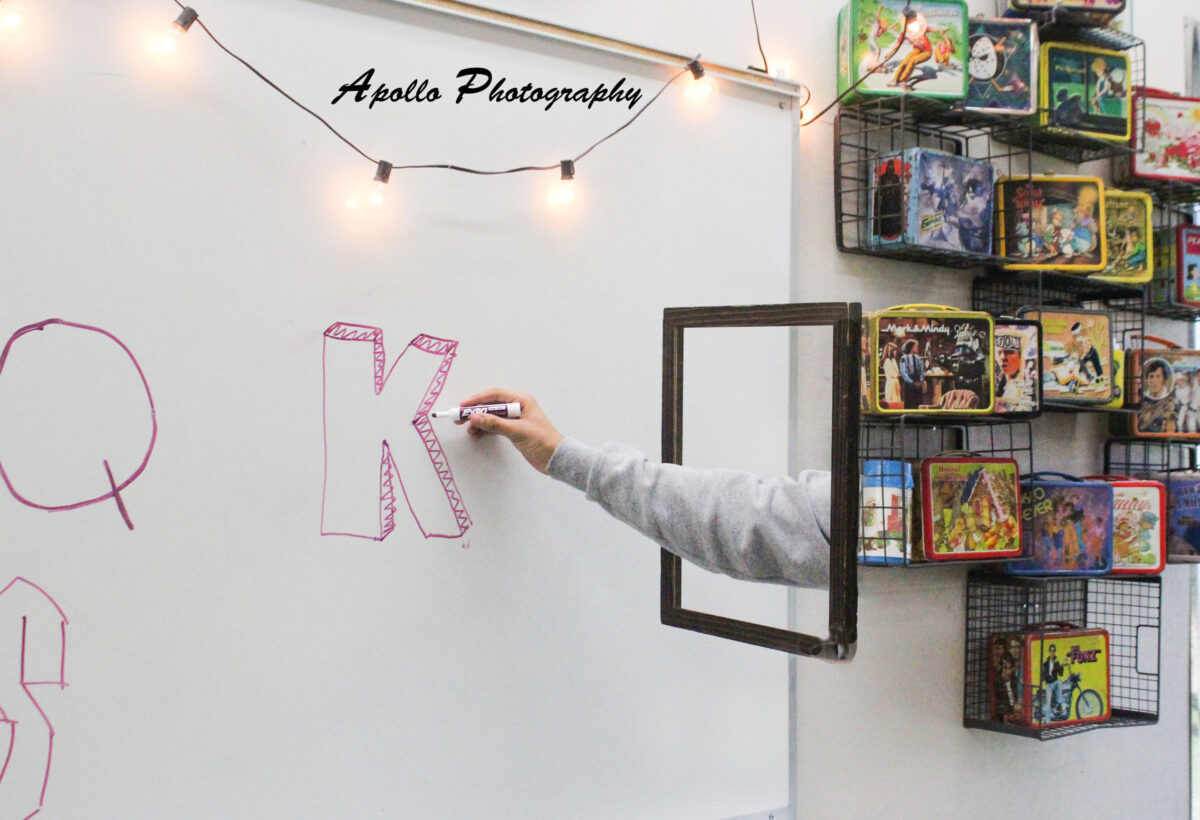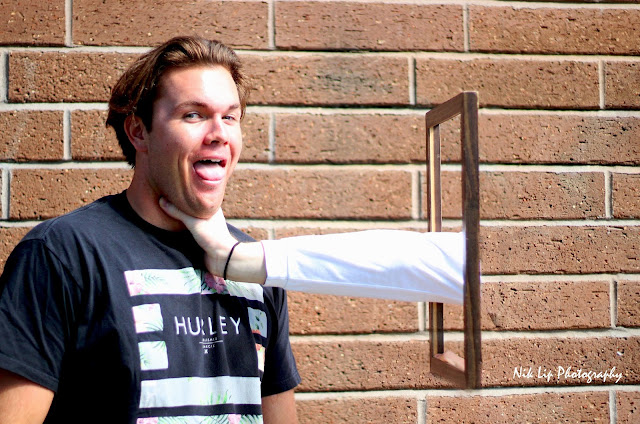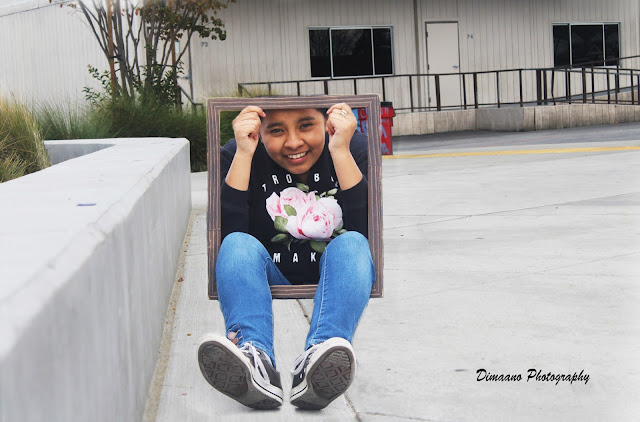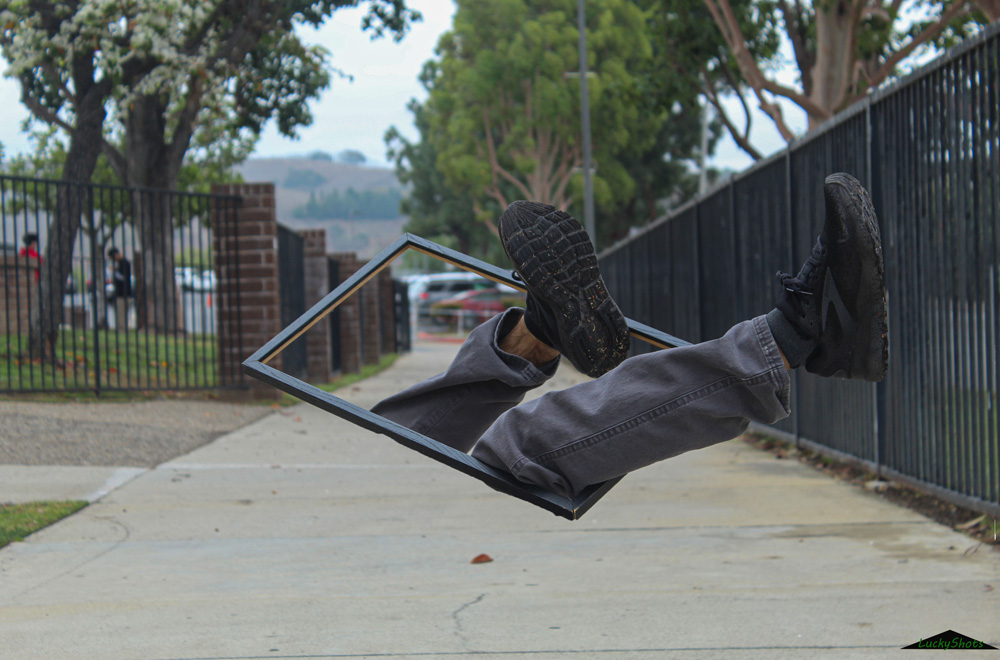


Photograph Section
1. Set your camera to Aperture
2. Set your Aperture to about f/8
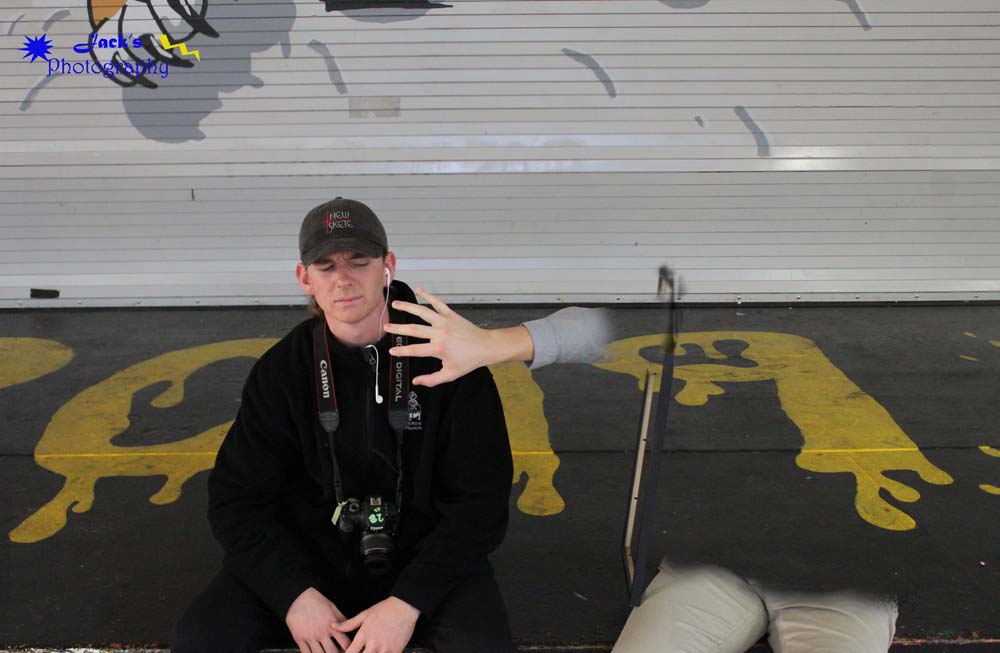
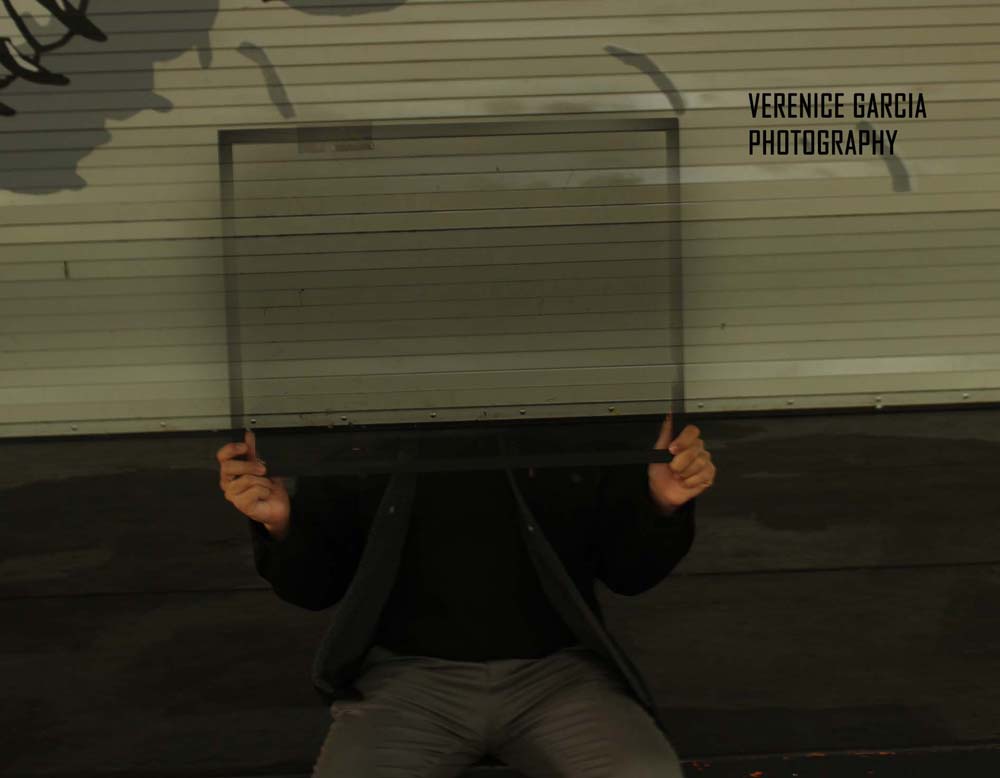
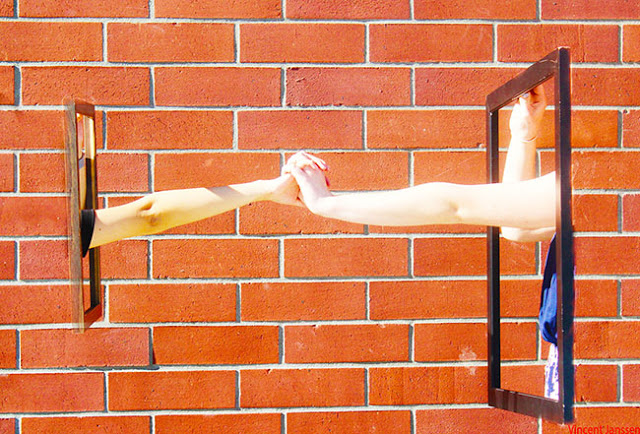
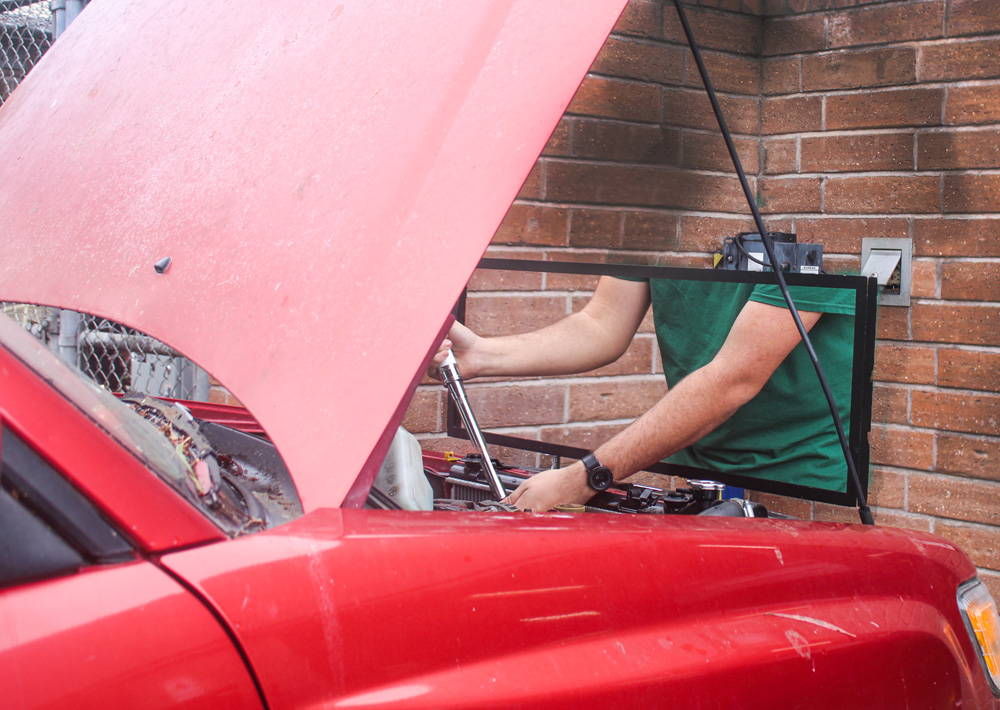
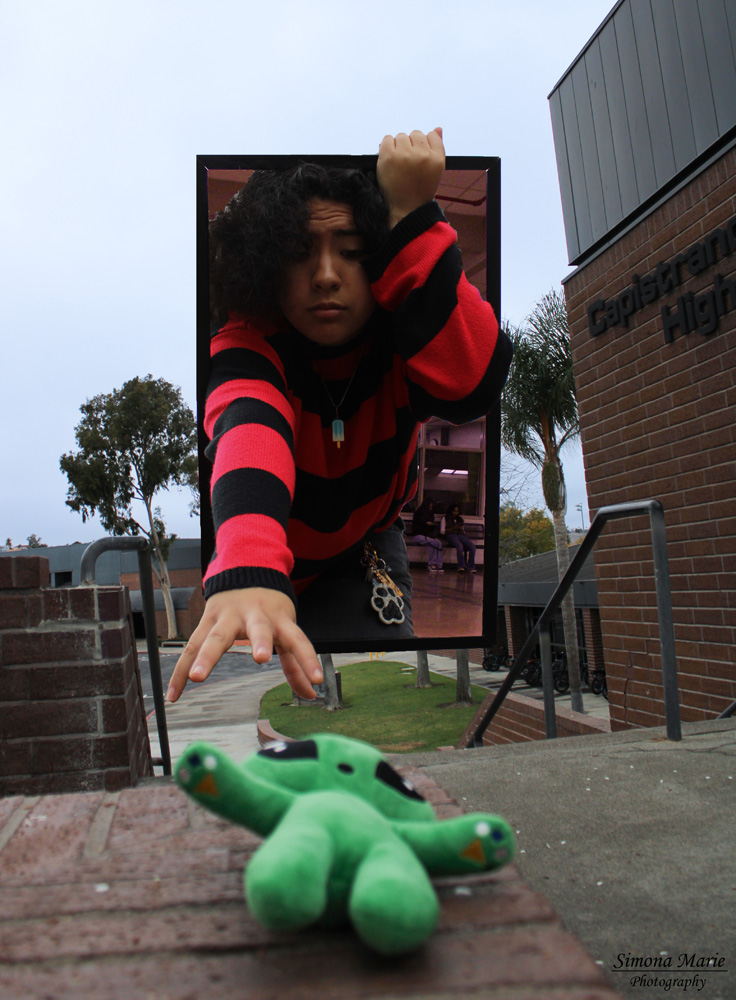
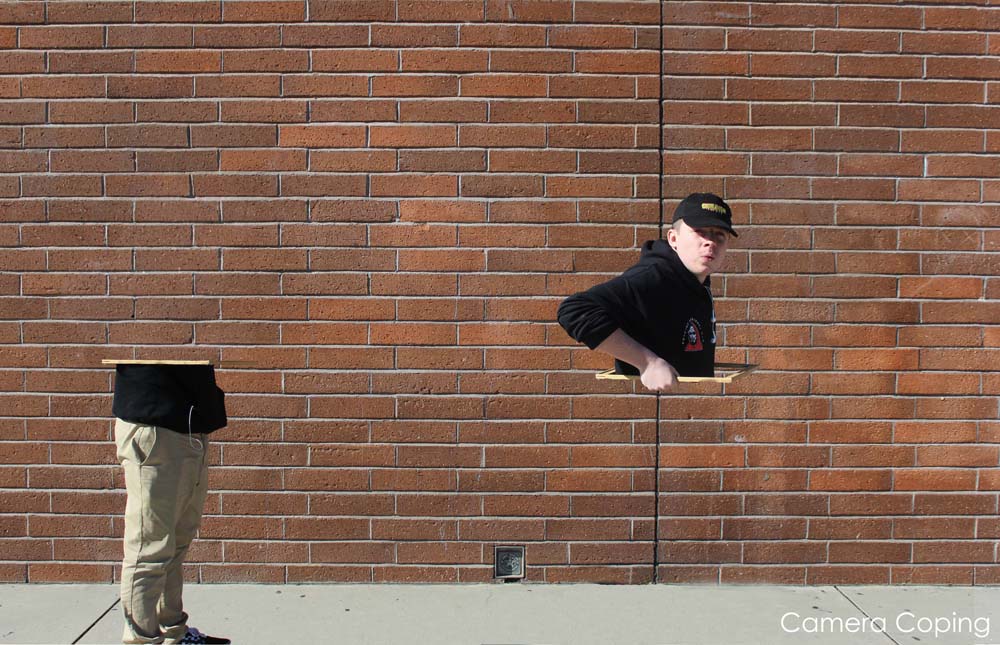
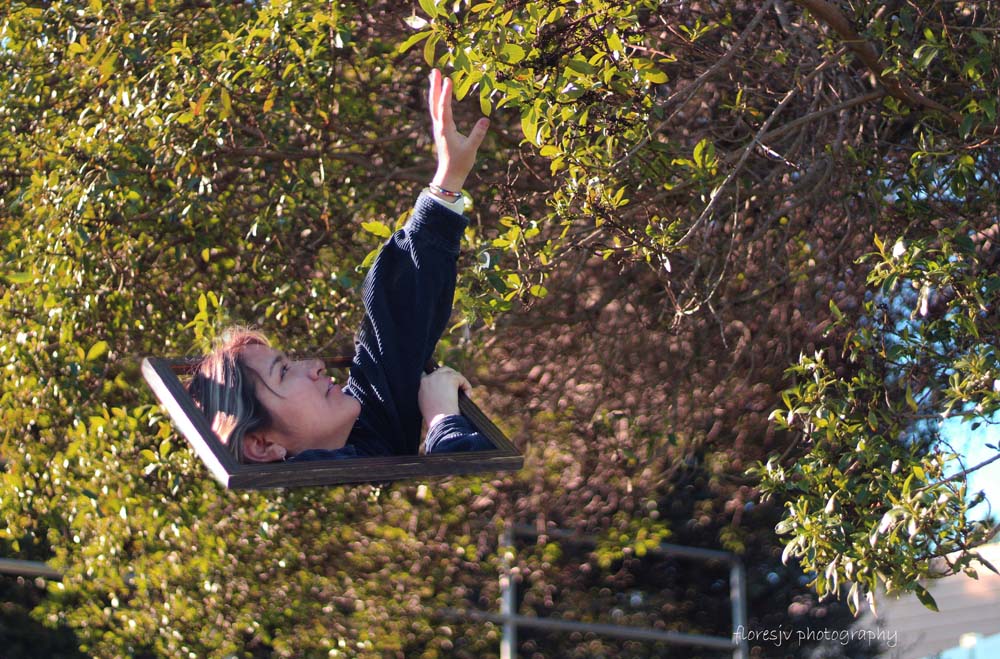
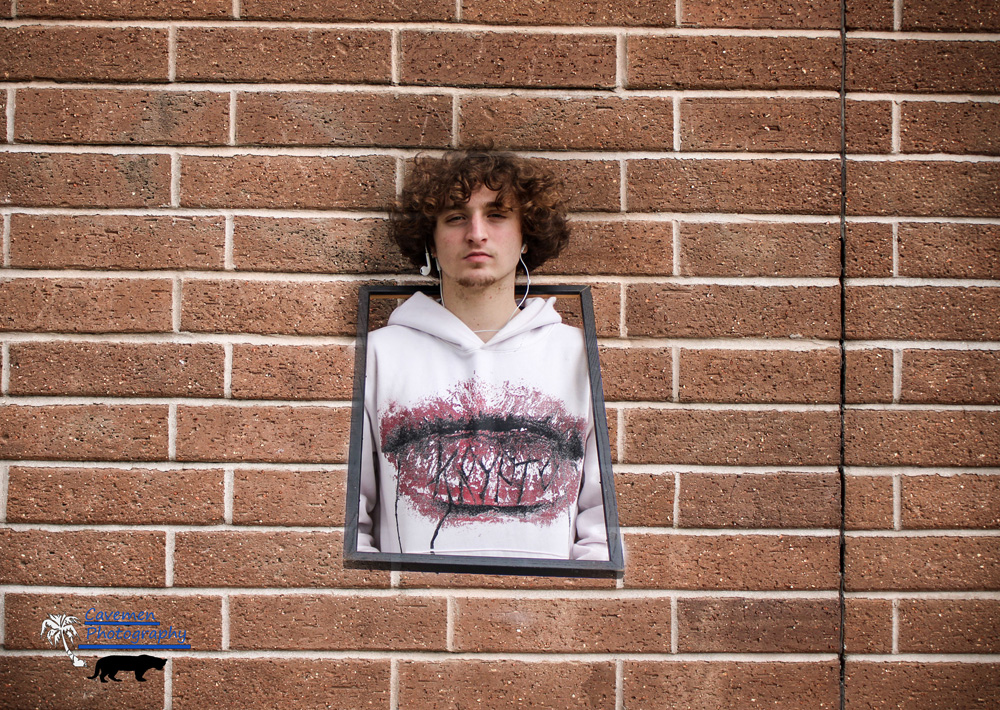
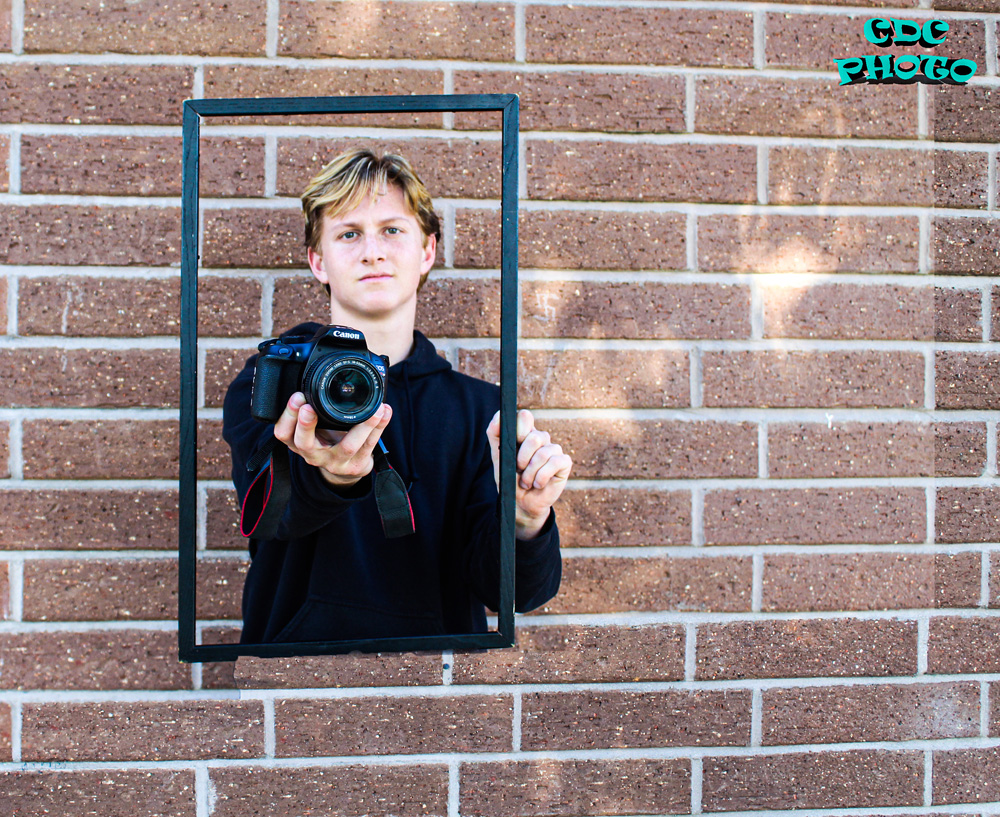
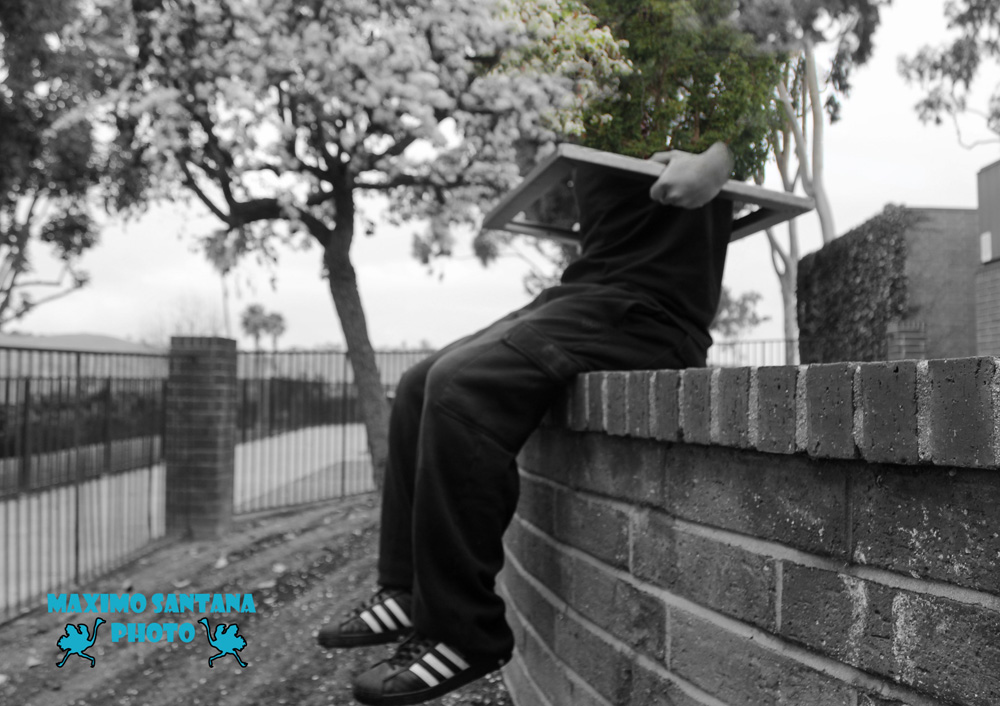
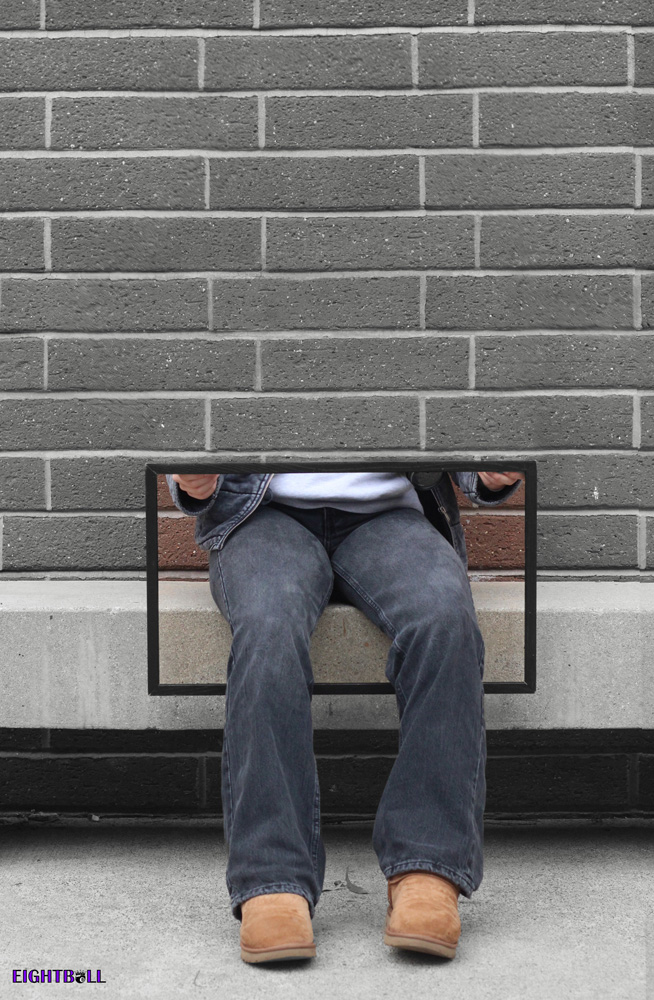
3. Take a photograph of a person holding the frame over a section of their body.
4. Make sure they are griping the frame over the top so you can see hands.
5. Don’t move
6. Tell person to run out of the photograph
7. When they are out take another photo.
8. Be sure that you do not move
Photoshop Section
Step 1:
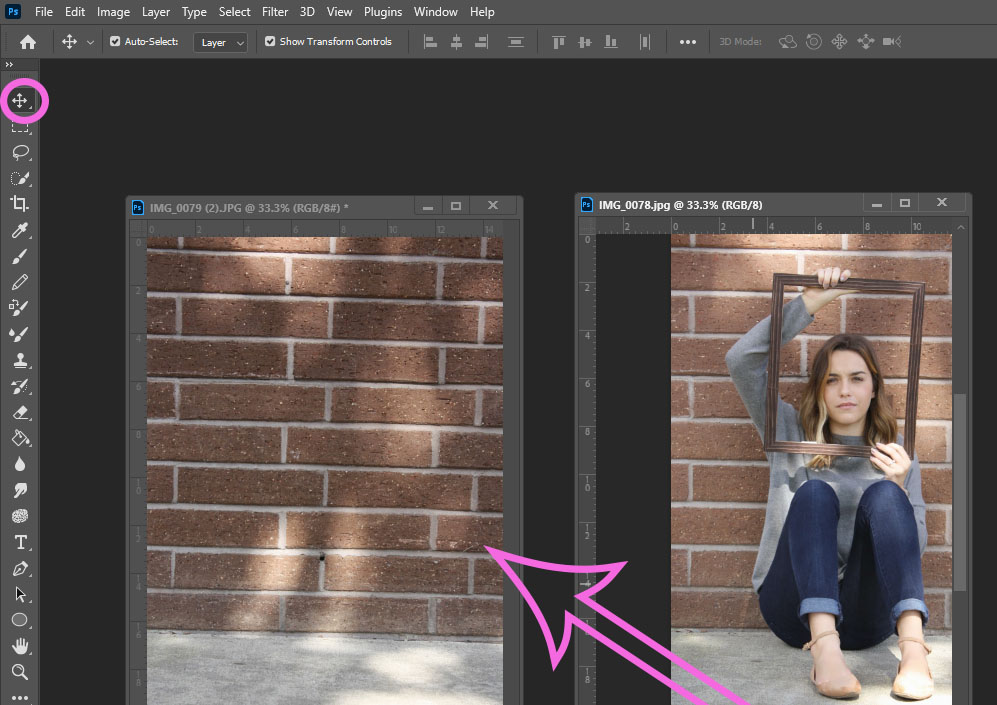
- Open both files in photoshop
- Using the move tool
- Move the image with the person ontop of the photo without anyone in it
Step 2:
- Highlight BOTH layers on the layers pallet by holding the SHIFT key and clicking on the layers
- They both have to be highlighted in order for the next step to work

Step 3:
- Go to Edit- Auto Align
- Click ok
- The two photos will be aligned

Step 4:
- Select the Crop tool
- Crop out the extra areas that are left

Step 5:
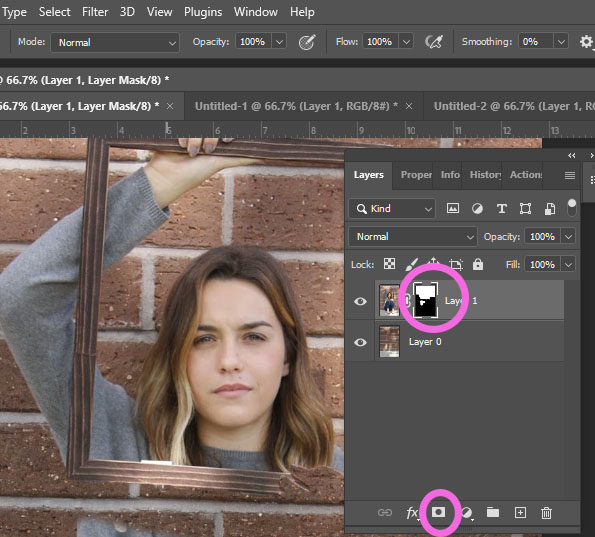
- Click on the second layer (one with person)
- Add a mask from the bottom of layers pallet
Step 6:
- Choose the Quick Selection Tool
- Select all the area around the person you want to be REMOVED
- I am going to be removing her lower body so I selected that area
- Do not just select the person. Select the area around them also
- I am going to be removing her lower body so I selected that area


Step 7:
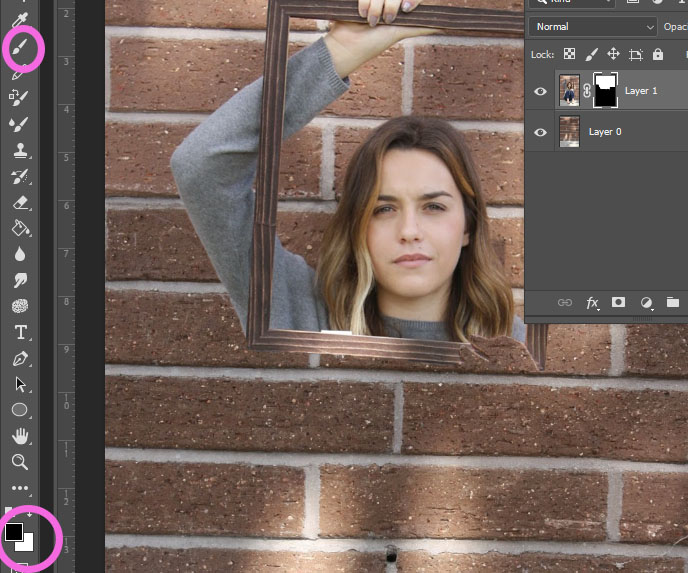
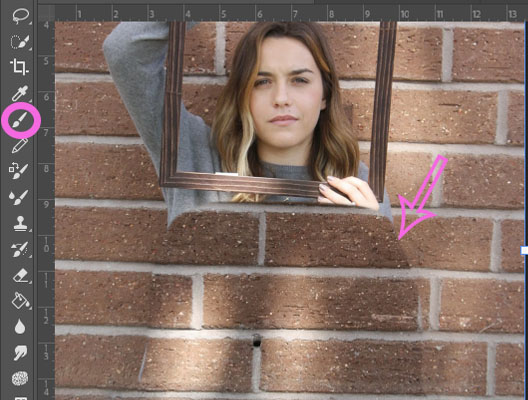
- Choose the Brush Tool
- Paint away the parts you want removed
Step 8:
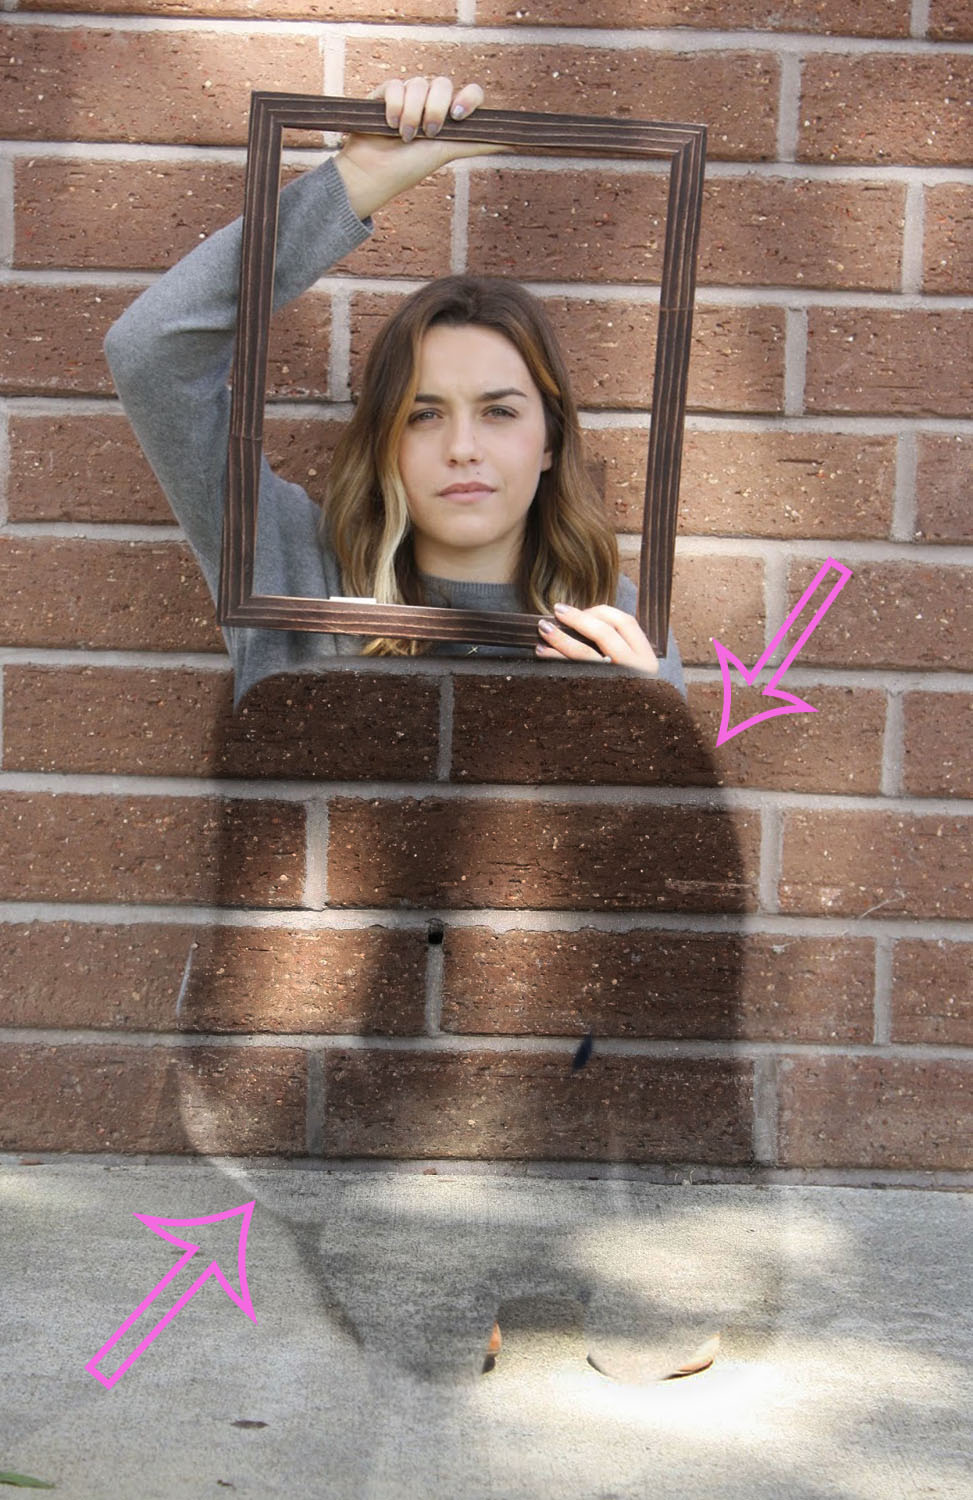
- If there is a darker or lighter area around your person
- Change your brush to White
- Paint out that area so that it matches the whole background
- Change your brush to White
Step 9:
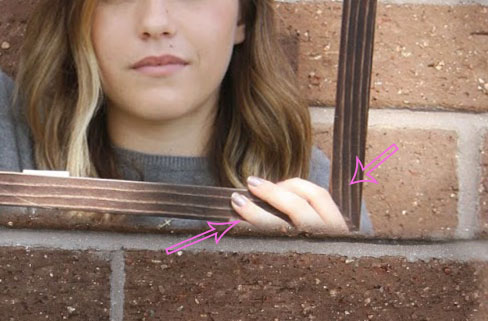
- This step is not for everyone………
- If you have missing areas you may need to clone stamp them back in
Step 10:
- You MUST EDIT your photograph in camera raw
- You may edit by your choice
- Add logo

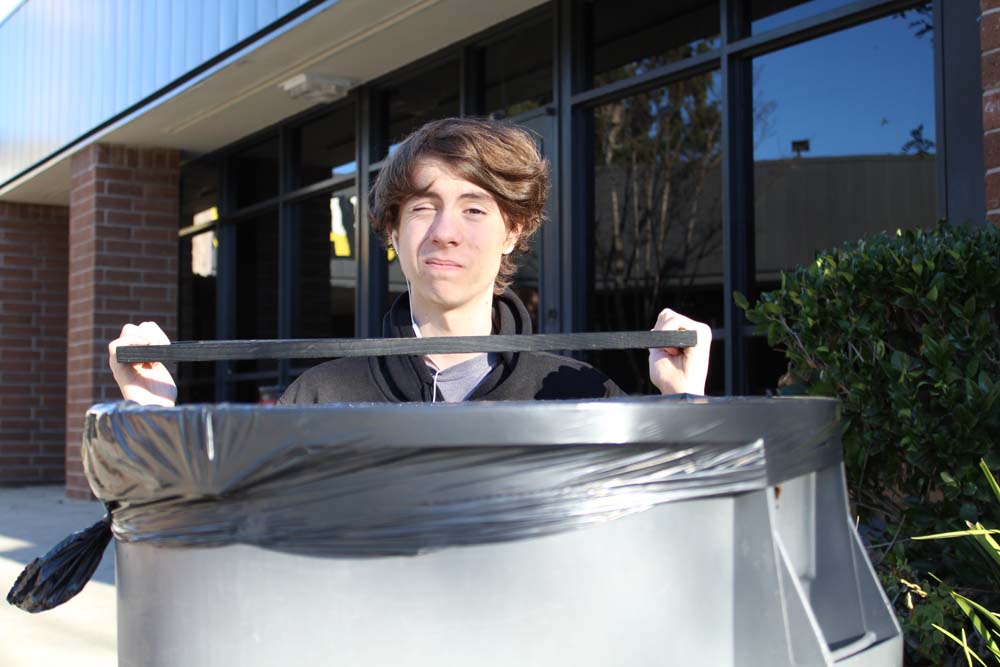
Done Wrong
