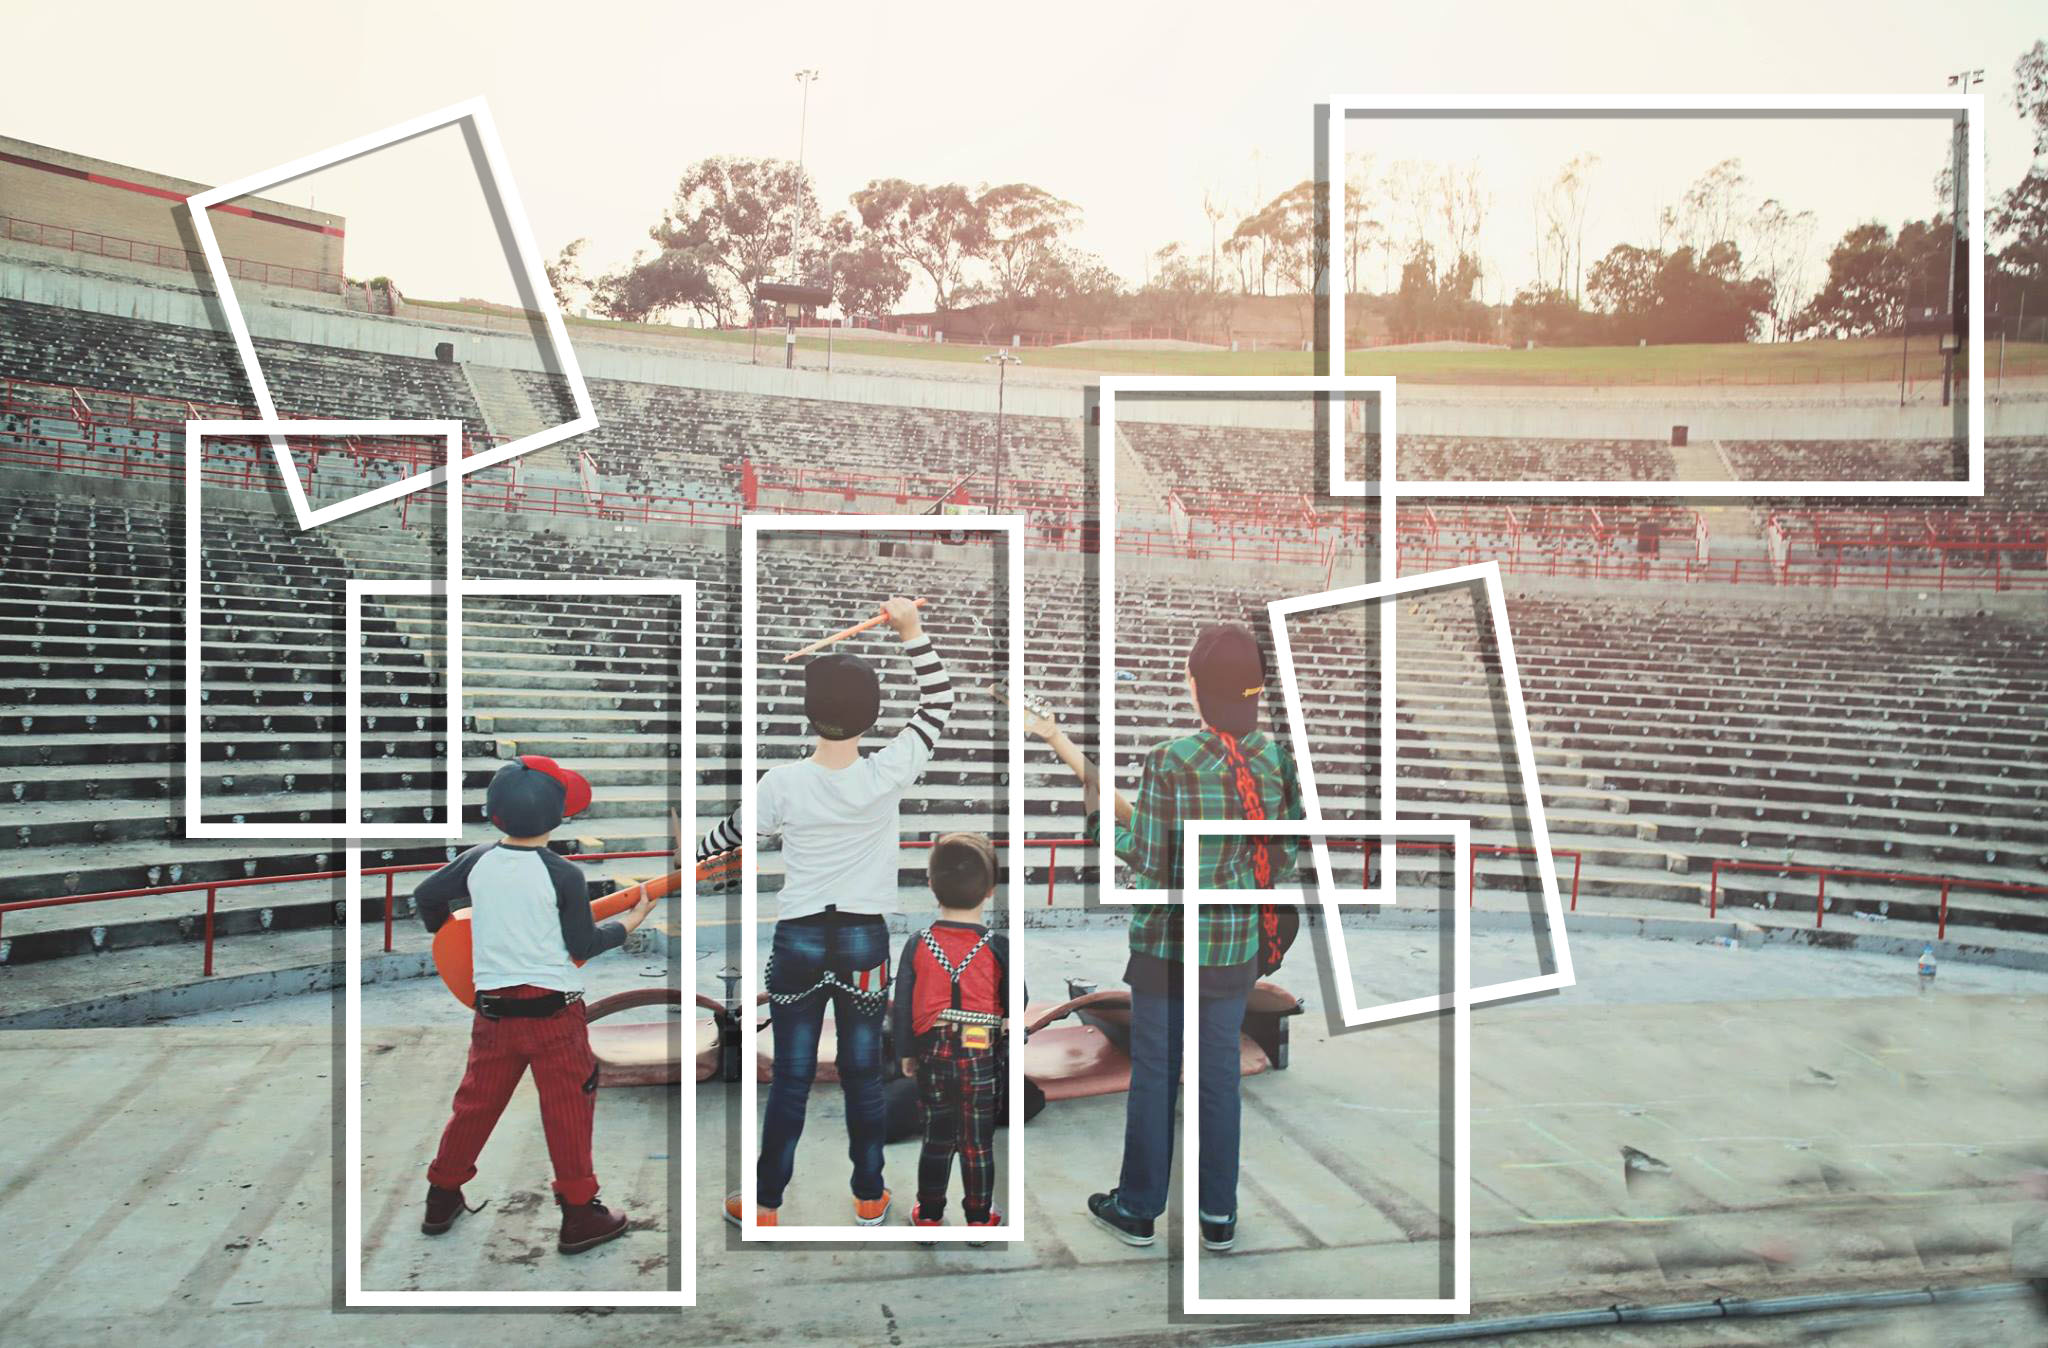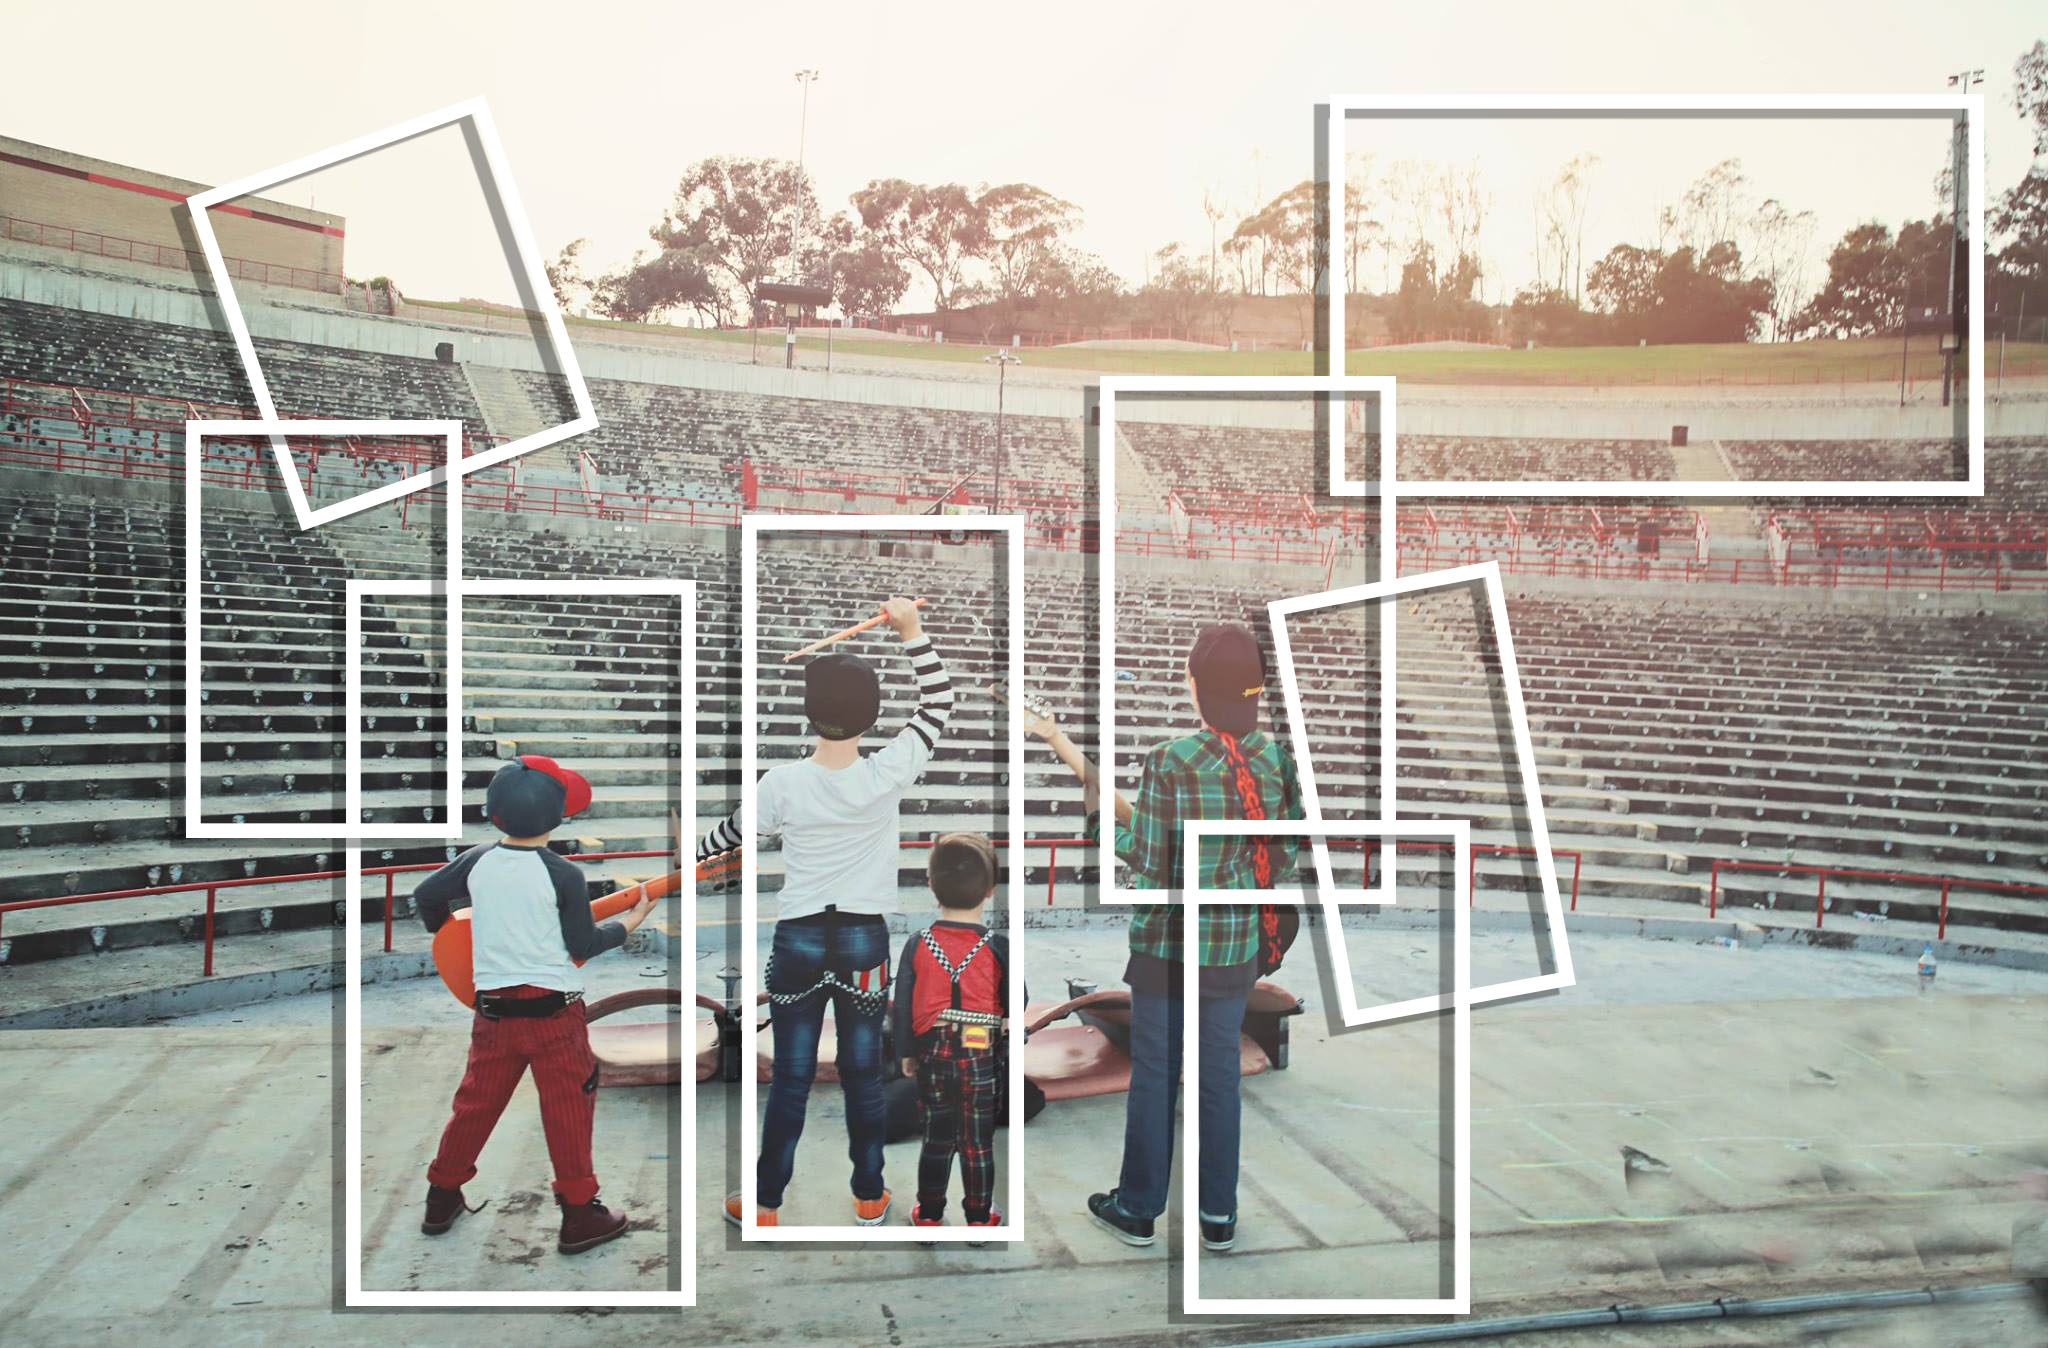
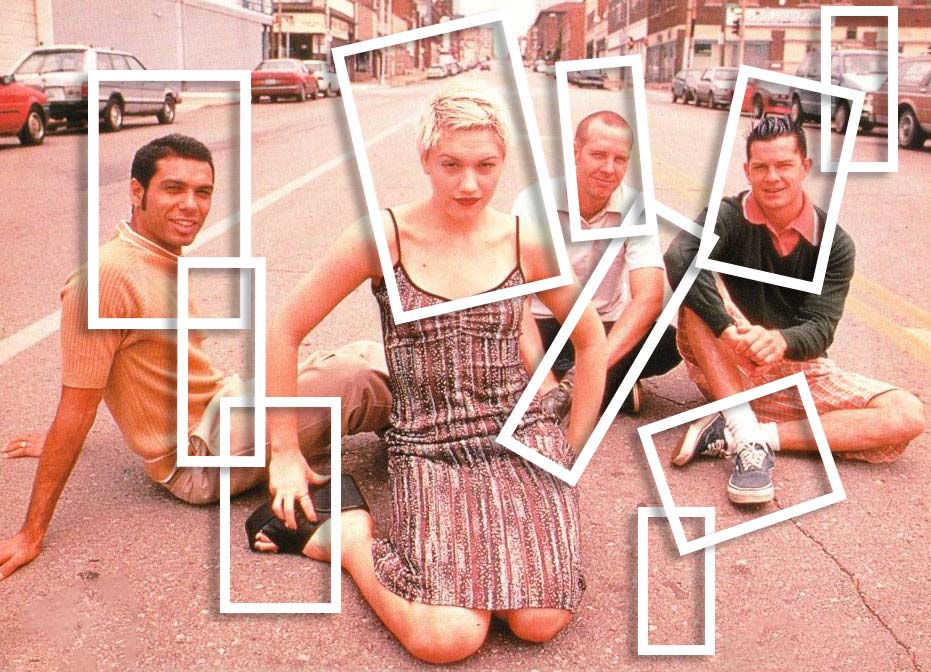
Step 1:
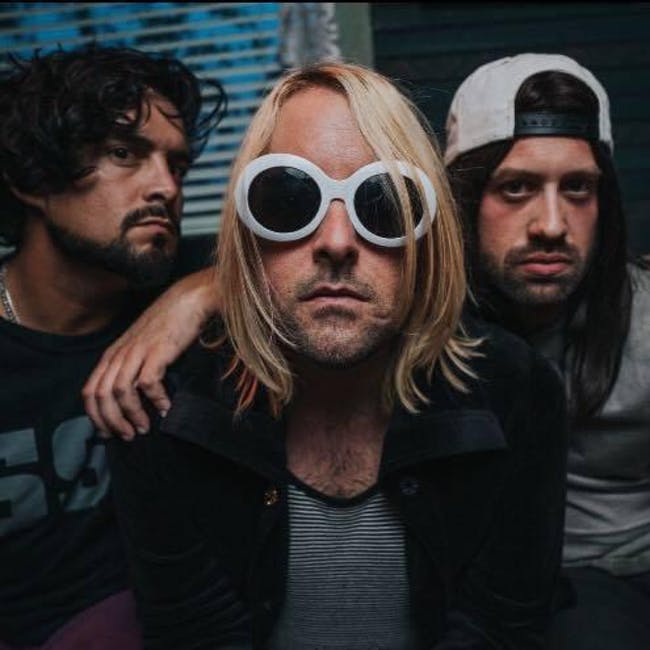
- Choose one of your own photos or
- Select a scene from one of your favorite movie, musical artist or sporting even.
- Look for high resolution images. They must be over 1000 px
- If they are to small it will not work!


Step 2:
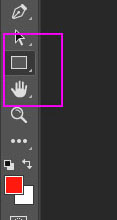
Select the Shape Box and make sure it’s a Square
Step 3:
At the top of Photoshop Select:
- Shape
- Fill: White with red line through it
- Stroke: White
- Number: 15px

Step 4: 1. First Frame: Draw a Rectangle around a section of your photo. Do not make it to big or to small.
Second Frame: Draw a Rectangle around another section of your photo. It looks best if you overlap it a bit. Continue creating frames around your photo.
You must have between 5-9 Frames
- They can be any size or shape

Step 5:
- To add interest to your frames you may want to tilt some of them. This is not a required step
- Click Control-T and Tilt your frame.

Step 6:
We are going to add shadow around each frame
- Click on your Second Layer (where you made your first rectangle)
- Click on the fx at the BOTTOM of the Layers pallet
- Click on Drop Shadow

Step 7:
Move the Distance Slider to 20. Leave everything else alone

Step 8:
Click on the next layer. Repeat the steps from Step 7

Step 9:
Continue creating a drop shadow on every layer that has a frame

