Double Exposure
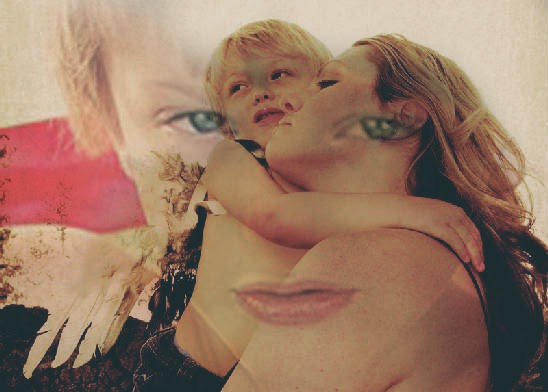
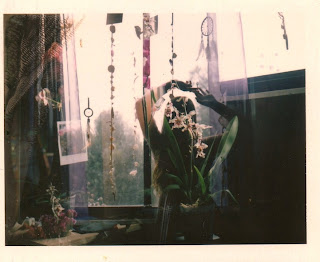
Combining of two or more exposures (photographs) to create a single image
Photograph 1: Person and Nature
Step 1
-
Open both photos in photoshop
- Drag one of your photos on top of the other photo.
-
You do not have to use the entire photo, but can pick a section.
-
Clicking Control T will also you to change the size of your photo.
-
Step 2
-
By the layers pallet, click on the button that says normal
-
A list will appear.
-
I suggest you use Multiple, but you can experiment with other overlays.
Step 3
- Your 2 photos will be combined into 1 photo (see below)
- Go to Layers-Create Clipping Mask
- Make sure your color pallet has white on the top
Step 5
- Select the brush tool. Make sure it is a soft brush
- Lower the flow to about 15%
- Paint in the are you want to remove from the top photo
- If you make a mistake you can switch the color pallet to black on top and paint the image back in.
- If the flow is too light, up it to a higher %
Step 6
- Edit as desired, but you MUST EDIT!!!!!!!!!!!!!!!!
- Watermark
Below are a number of double exposure examples


