

Life is in the Details!
The Story is in the Details!
A photographer doesn’t just look at the whole picture.
They also look to capture the details.
The details tell a story.
They make it more real and personal. The size, shape, color…..these are the details to capture.
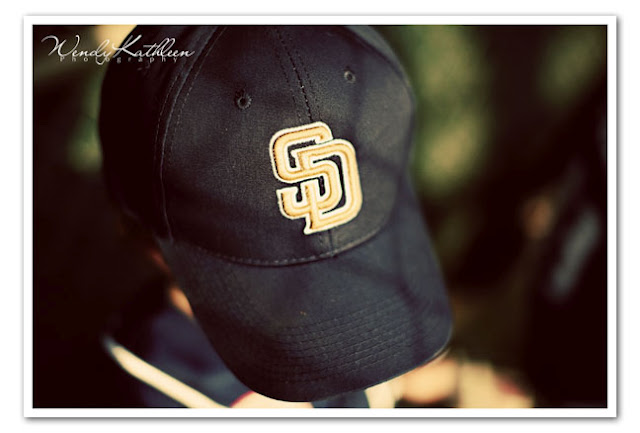
Example: This is my son playing baseball like many other 5 year olds in Little League. It’s a documentation of a time/place/ect. What we don’t have is the details that make this a story.

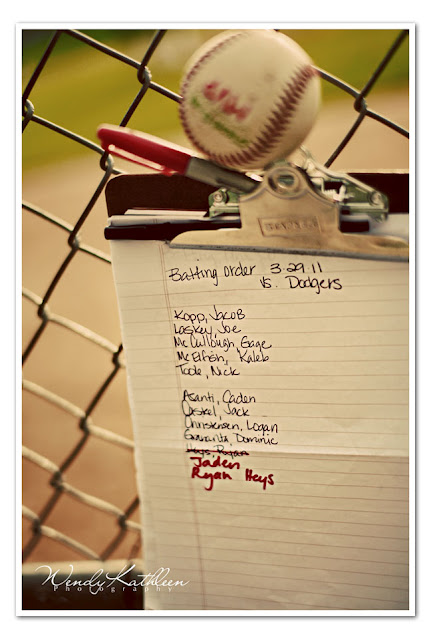
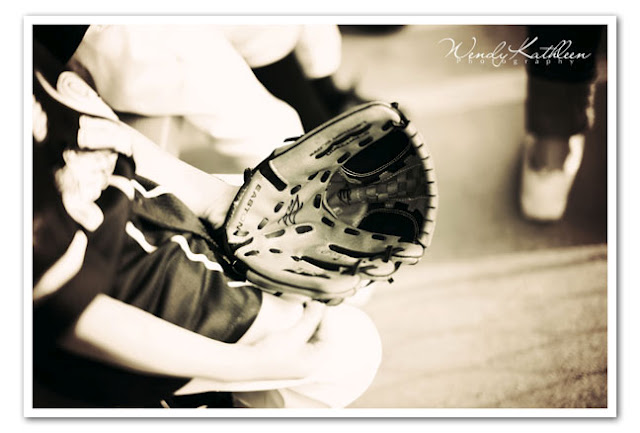
Below is the detail that make it come alive!


_____________________________________________________________________________
Converse Shoes as a Whole
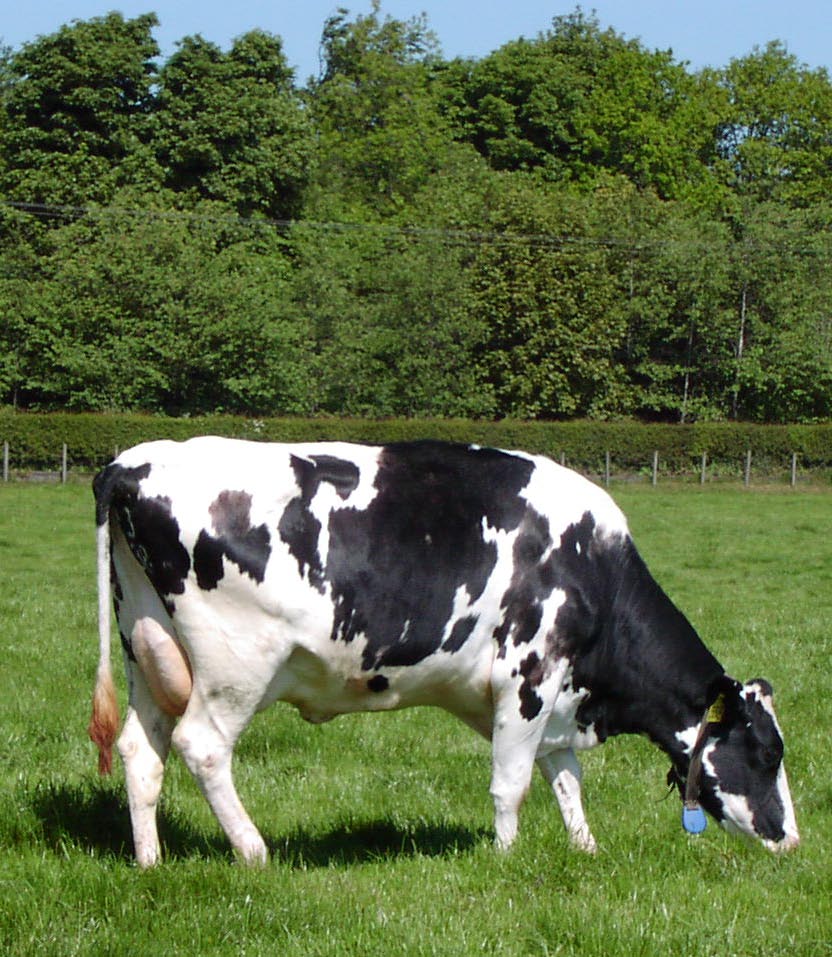
A Cow is a Cow is a Cow


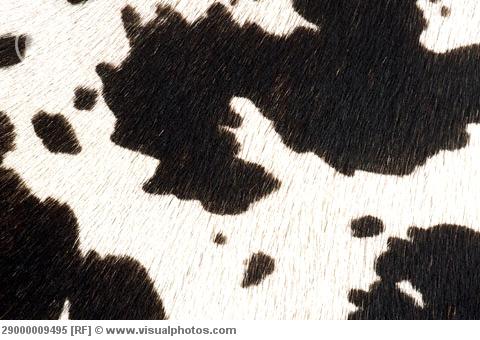
The details make him real and personal
Photographing the Project
- You will take one photo of an object in its WHOLE.
- You will taken 8-12 detailed photos of your object. The more you shoot the more you will have to pick from.
- All photos must be in focus and exposed correct
Photoshop Editing Section
- Pick your 8 best details and your 1 whole object photo and Edit them all the same.
- Edit as you choice (vintage, black and white, color or use an action)
- Save your finished 9 images to a separate file
- Shrink all of your photos to 600 pixels x 600 pixels using the shrinking technique used in the ABC photos project. If you forgot:
- -File
- -Scrips
- -Image Processor
- -Select the Folder where you have all your images
- – Select for the save images (second select folder) the same folder you picked for the first one. (Your shrunk images will be in a folder called jpeg in the folder where you have all your ABC photos)
- -Check the box Save as JPEG and RESIZE to Fit
- -Change your W and H to 600 px each
- -Click Run
- -You will wait while Photoshop runs through all your files and shrinks them.
Putting them all Together in Photoshop
- Create a new file that is 2000 pixels x 2000pixels. Make sure the background is white.
- Go to Layer at the top of photoshop and pick new layer
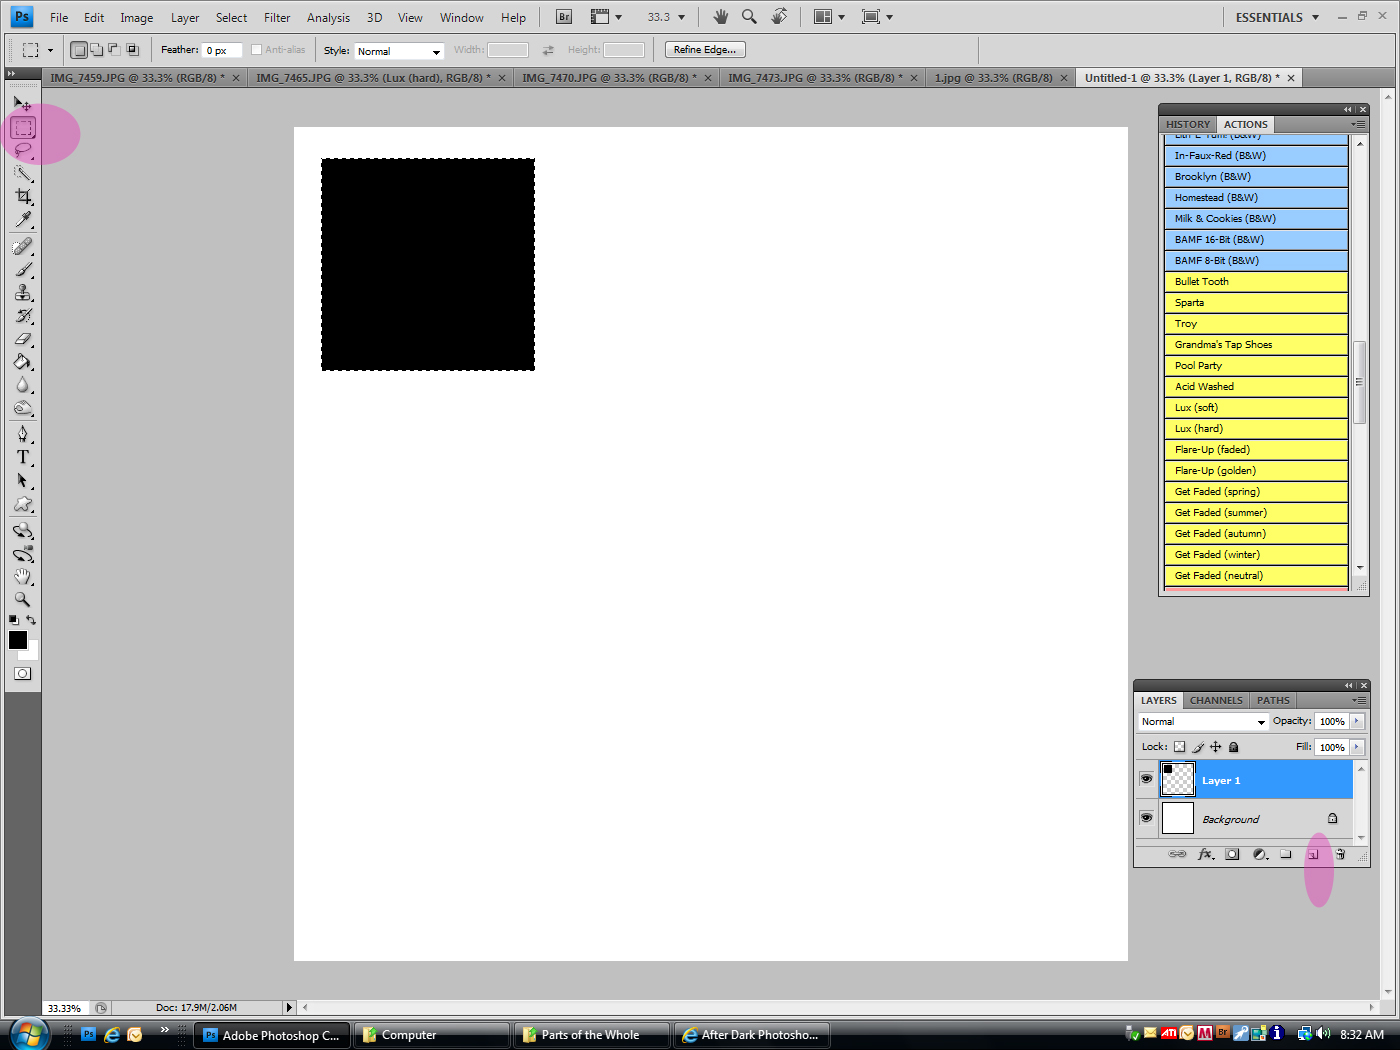
- Click on the Rectangular Marquee Tool (found second from the top on the tool bar).
- Click the shift key and hold it as you draw a box.
- Click D to set your color to black
- Click Alt-Backspace (mac Option-delete) to fill your box with black. Do not deselect
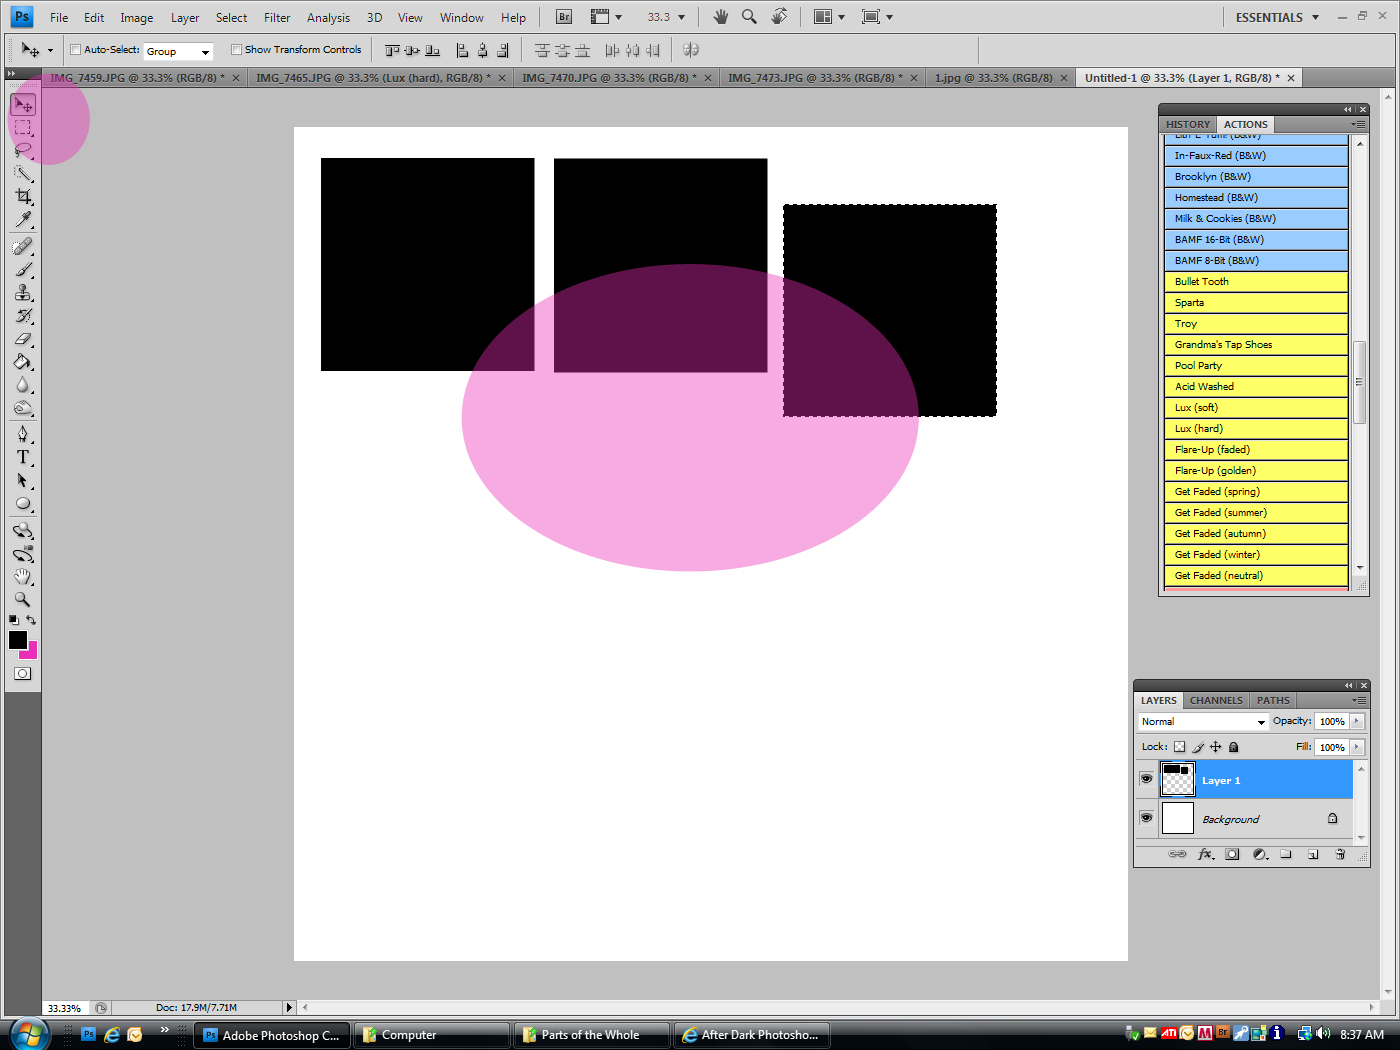
- Click on the move tool (top tools pallet)
- Press and hold Alt-Shirt (mac Option-shift) and drag a copy of the black square to the right.
- Do this 7 more times until you have 9 black boxes.
- When you finish your last box go to select-deselect.
- Click on your background layer on the layers pallet
- Hold the Shift key and click on the layer with the 9 boxes so both are highlighted
- Click on the move tool
- Click on the Align Horizontal Centers along the top
- Click on the Align Vertical Centers along the top
- This allows your boxes to be directly centered.

- Go to File- Place- Pick one of your parts of the whole photos that you saved
- Drag it over one of the black boxes.
- Make sure it is just slightly larger than the black box.
- Click enter to lock in your image
- Press CTRL-ALT-G (mac Command-Option-G). This will cause your photo to be placed behind.
- Use the move tool to place it correctly.
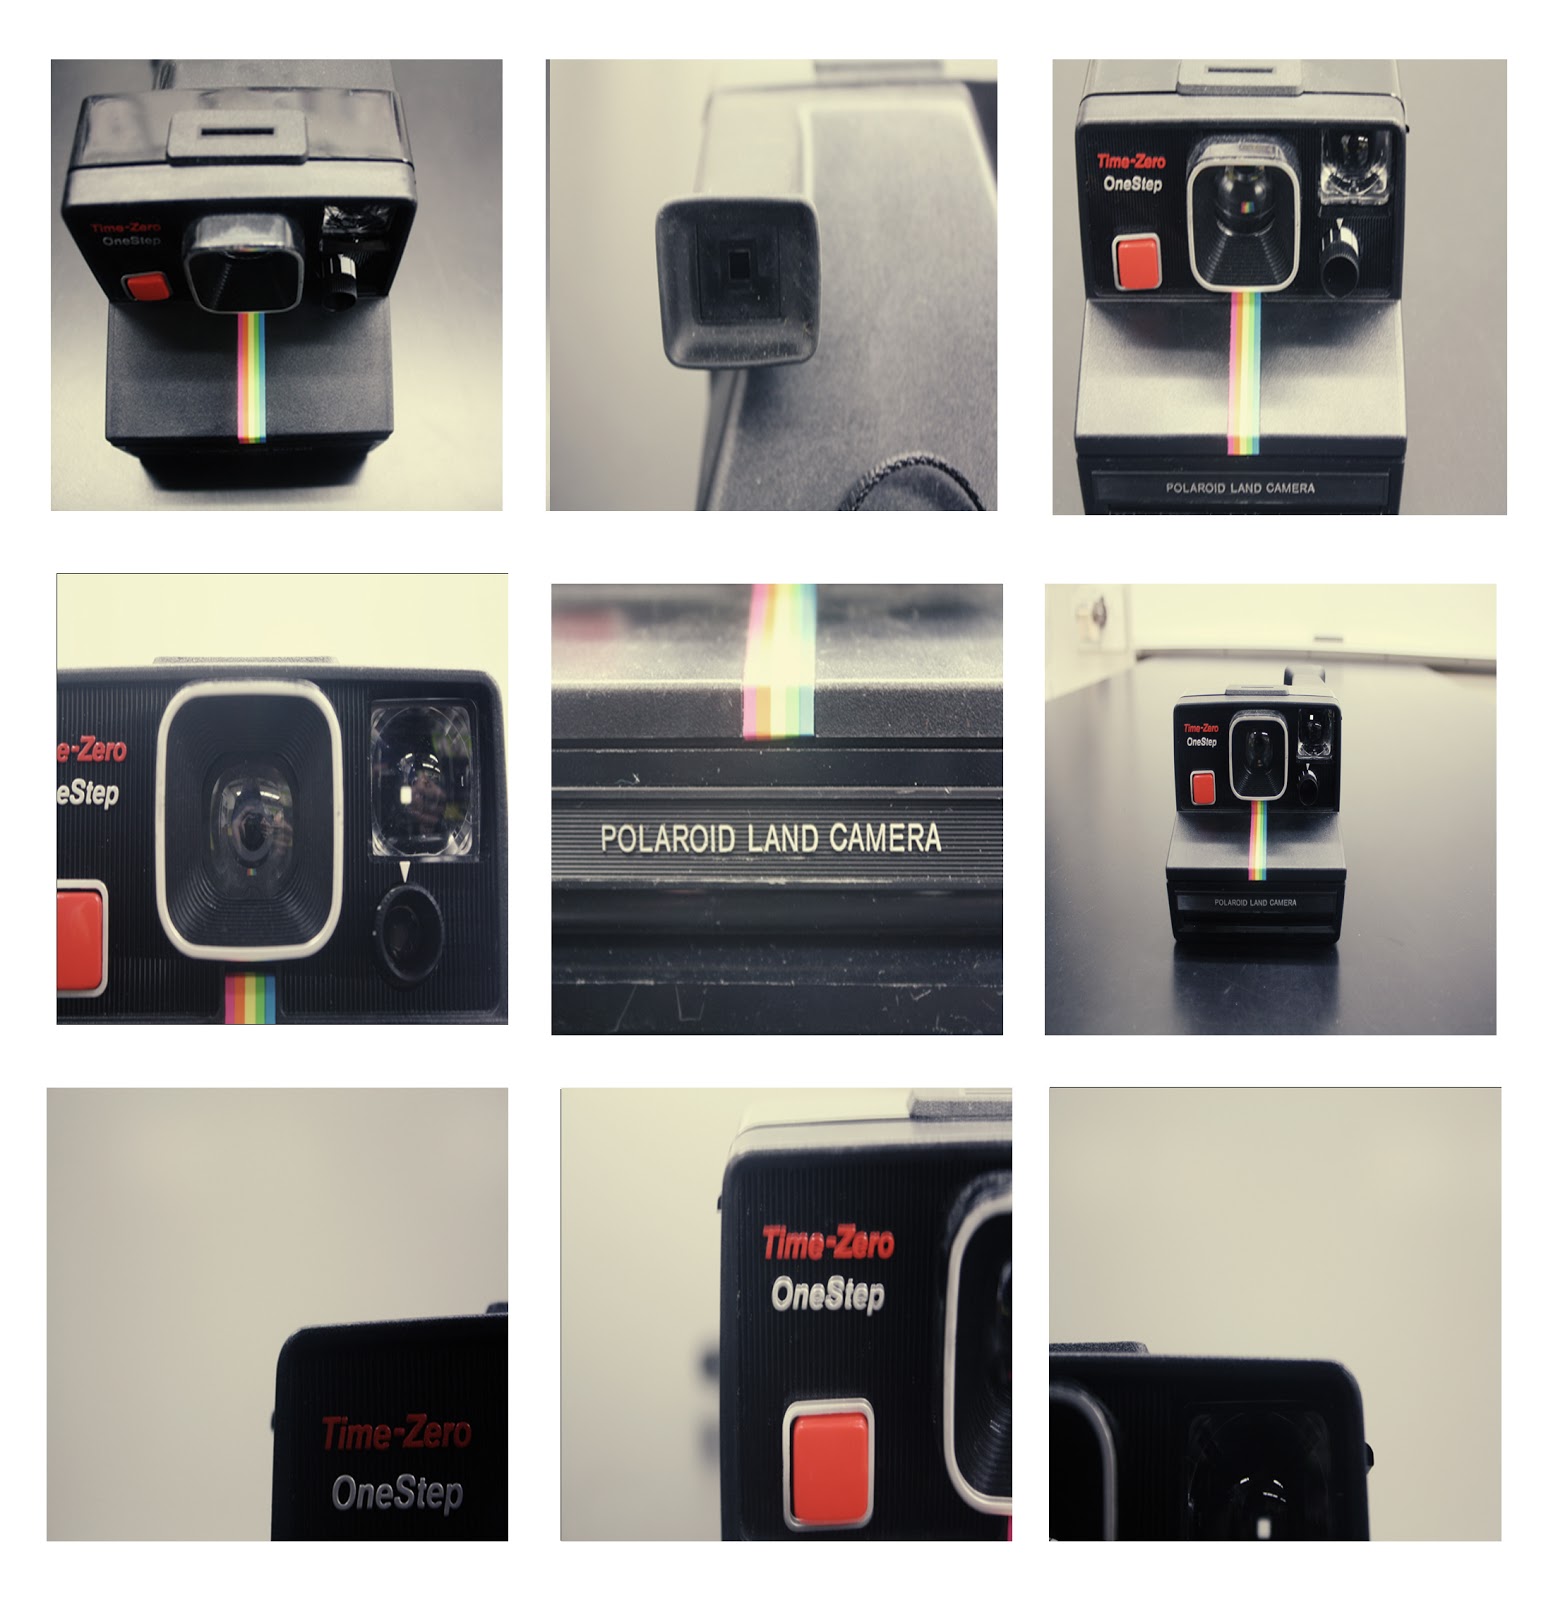
- Repeat this step until you have filled in all 9 boxes
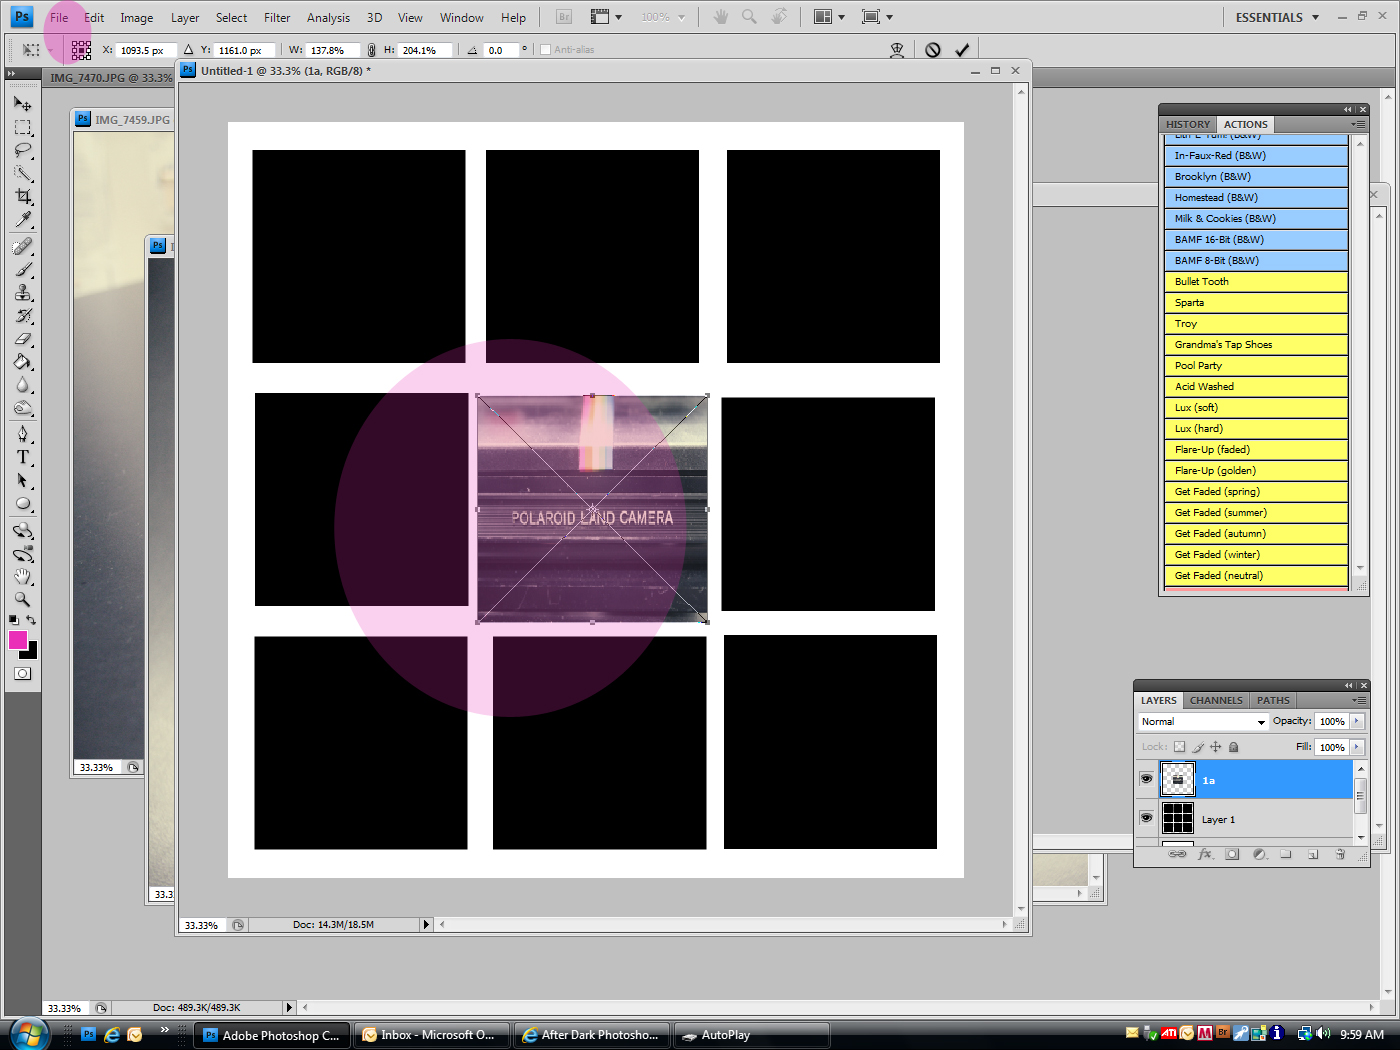
Your final image will look like this:
