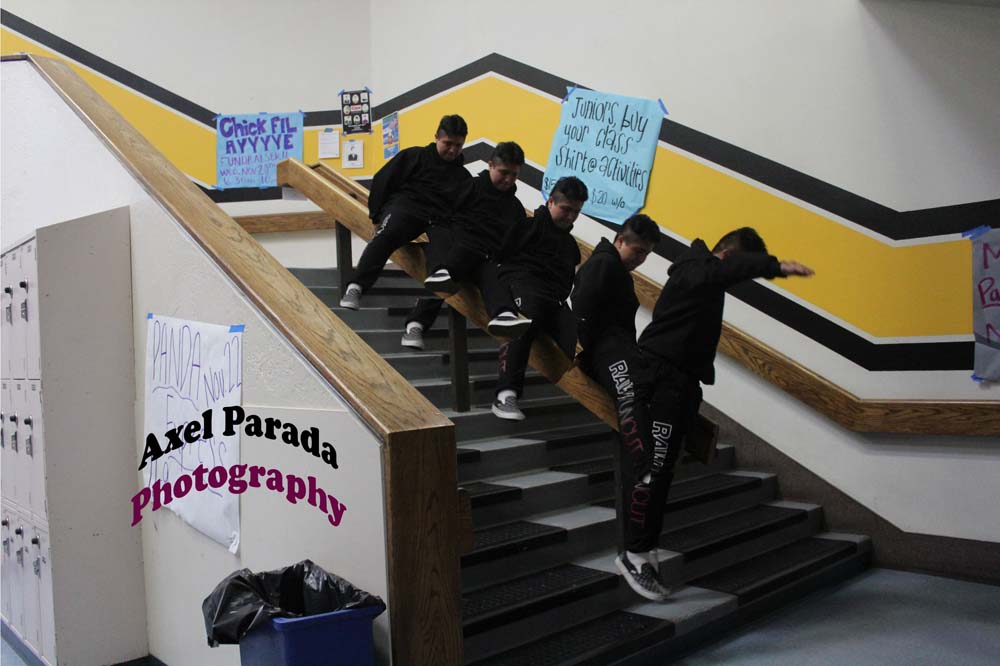
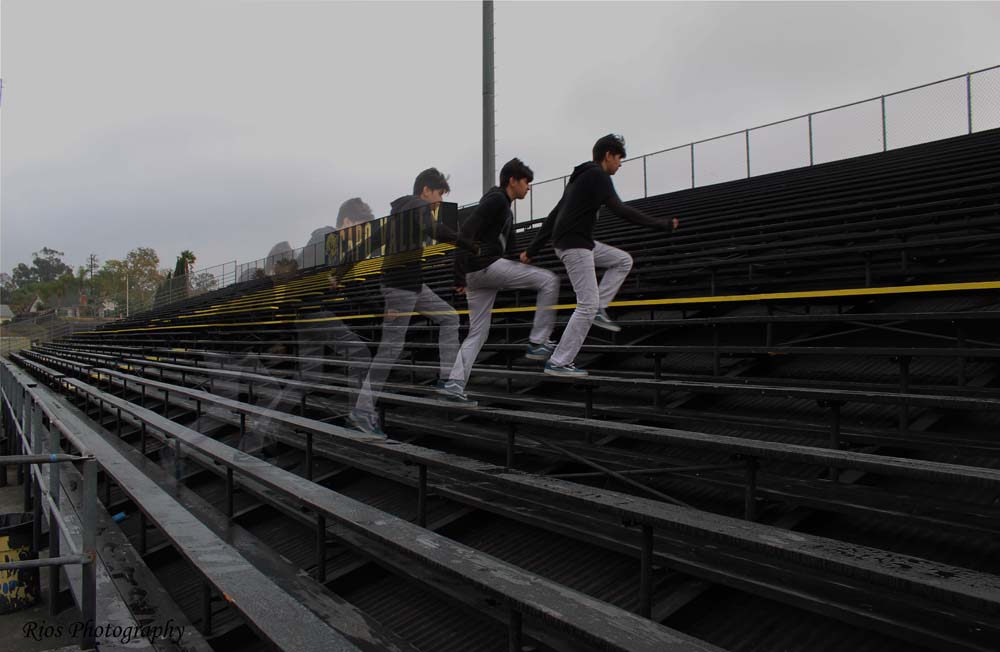
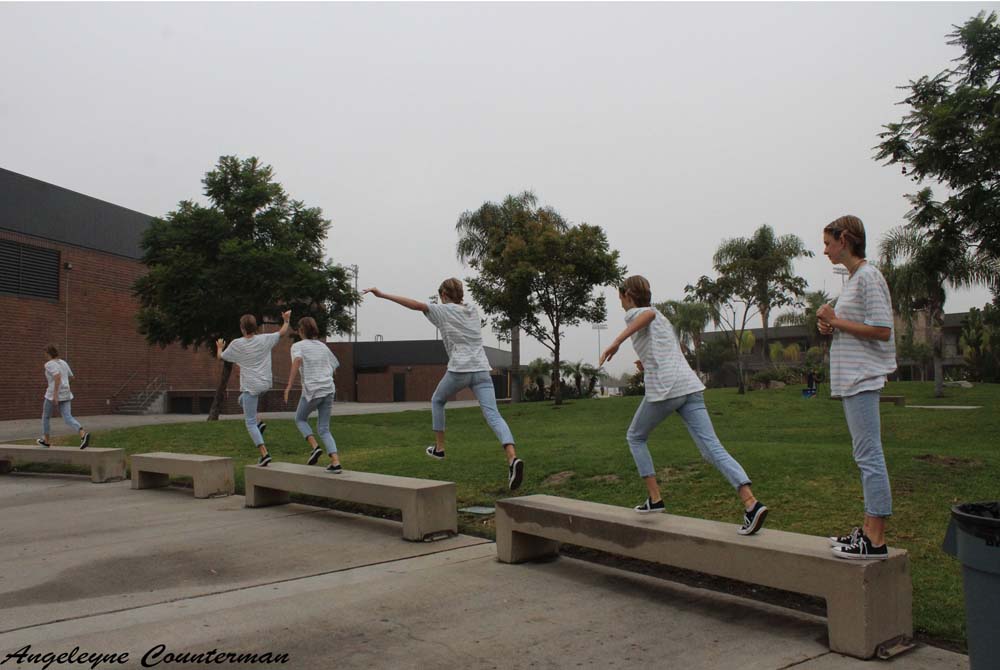
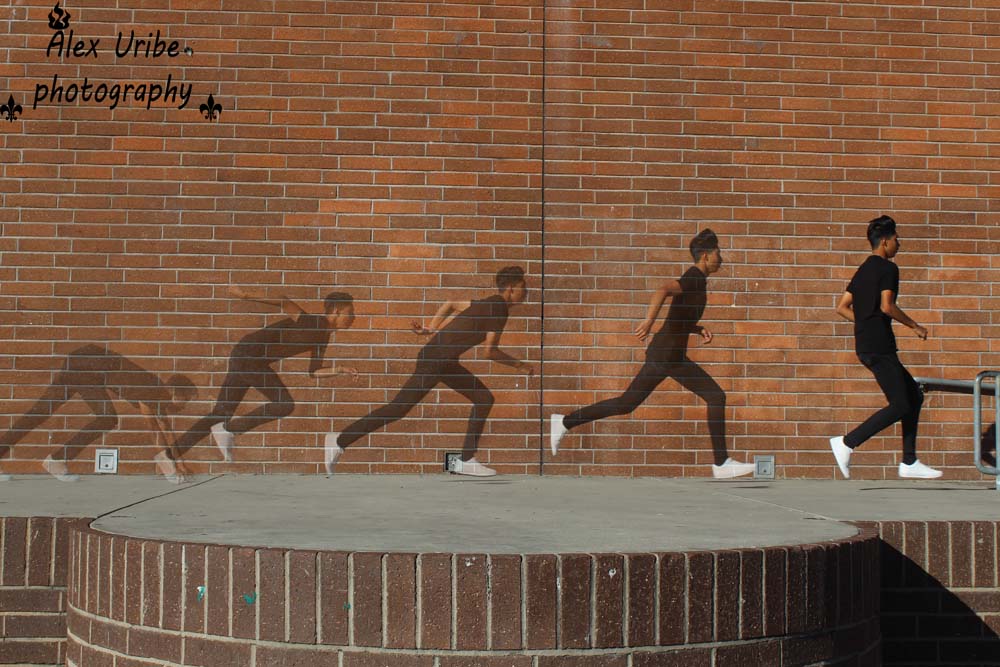
Photography Section
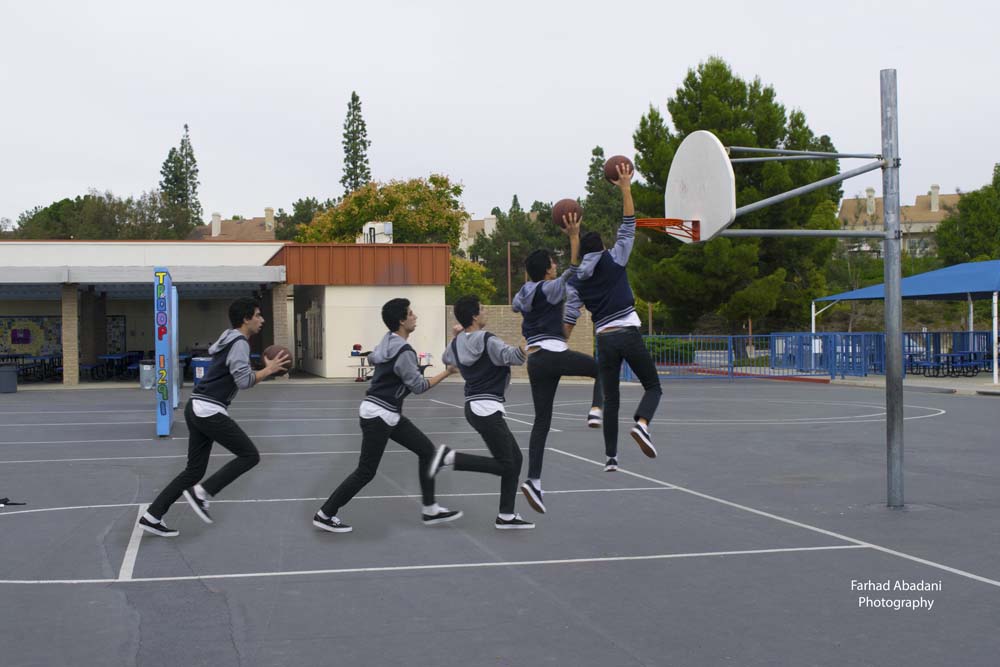
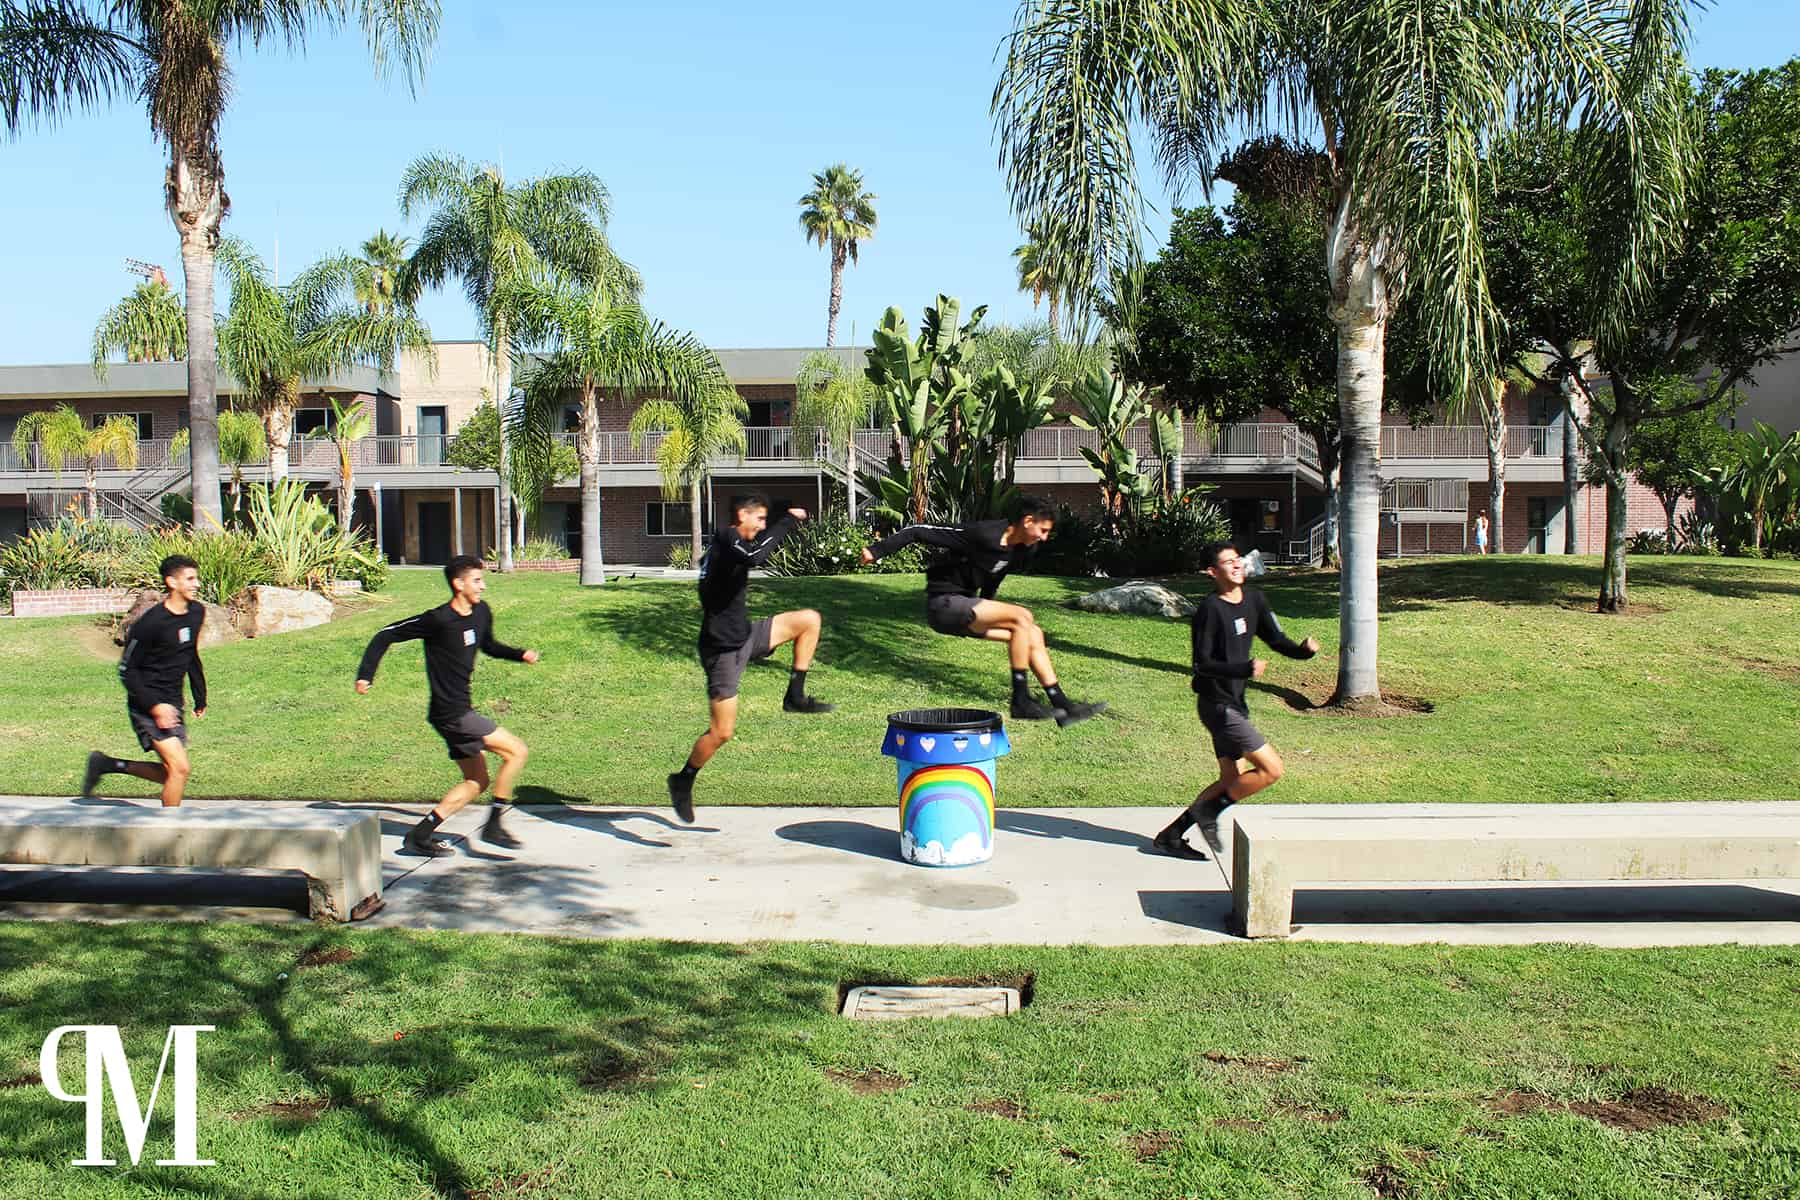
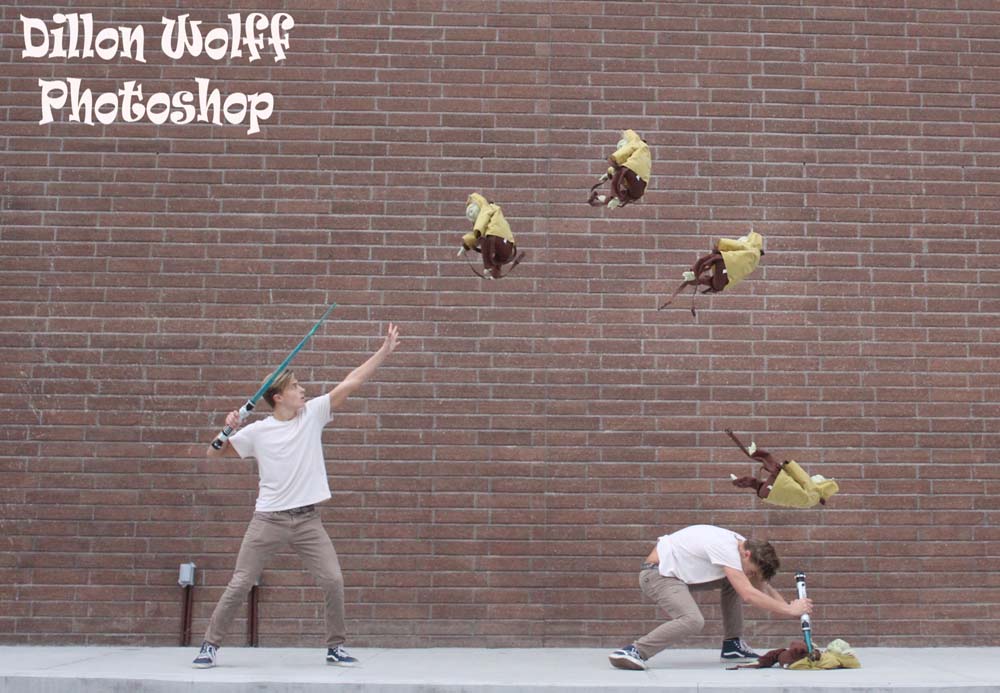
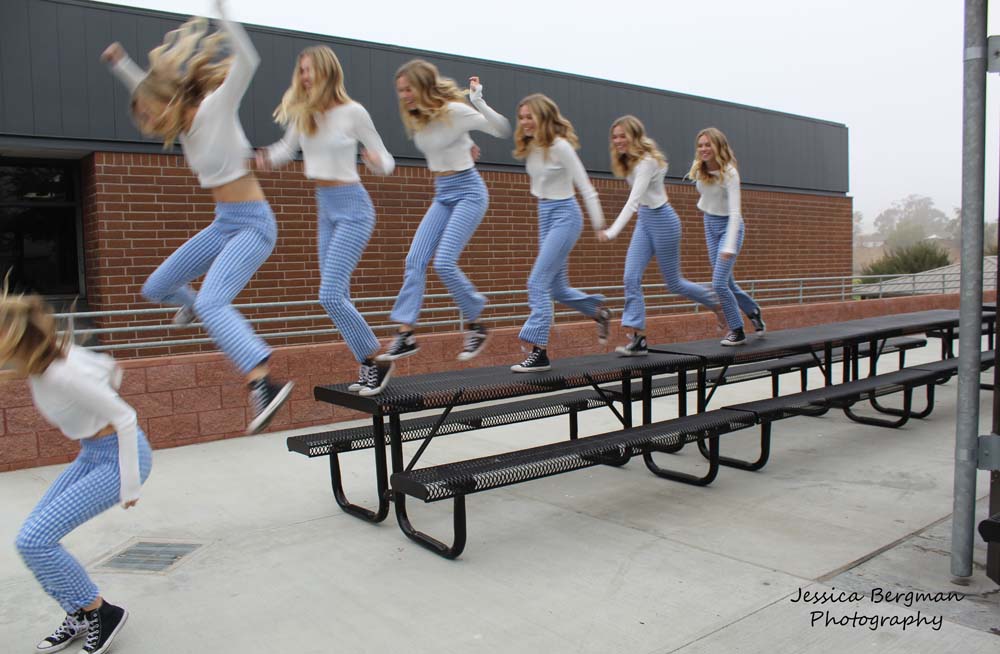
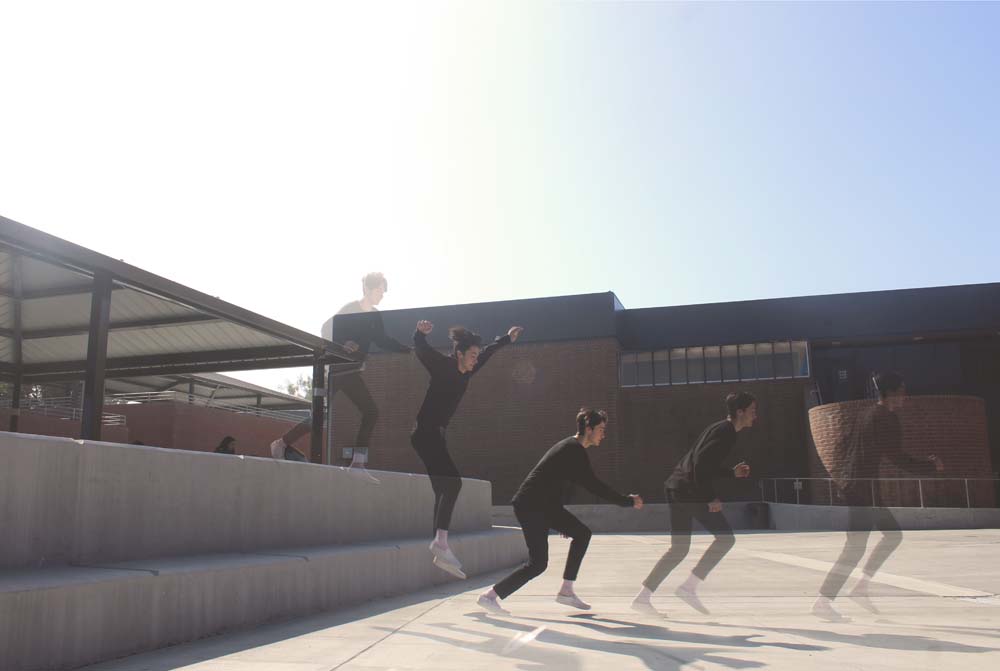
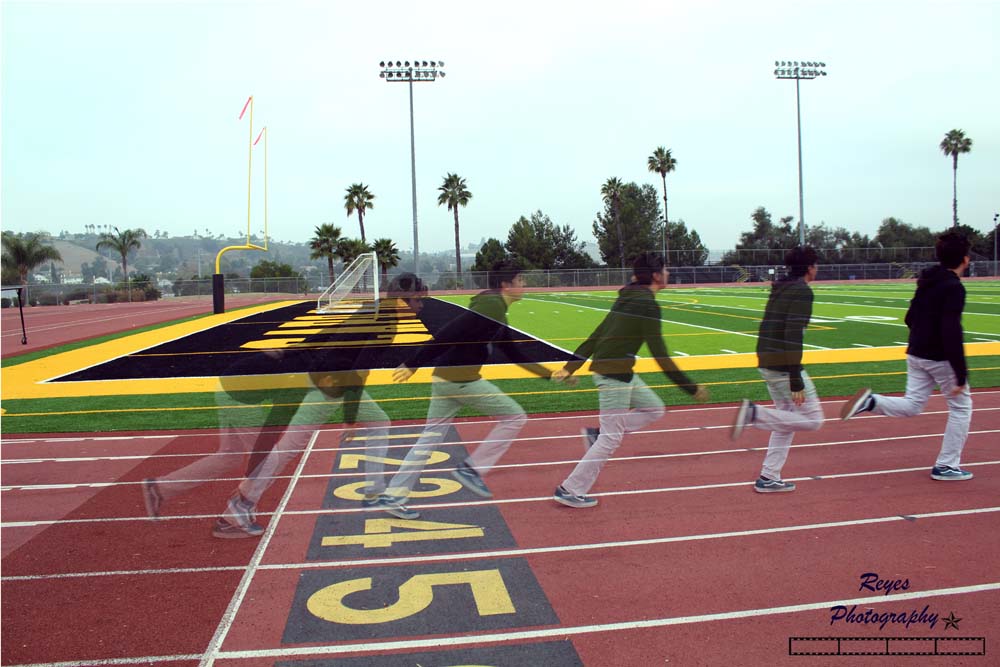
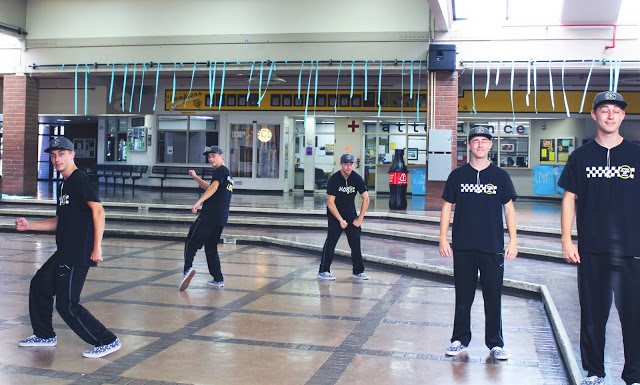
- Take 5 photos of the person
- They must MOVE to another spot in every photo
- They need to be 6-8 feet apart for each photo
Step 1
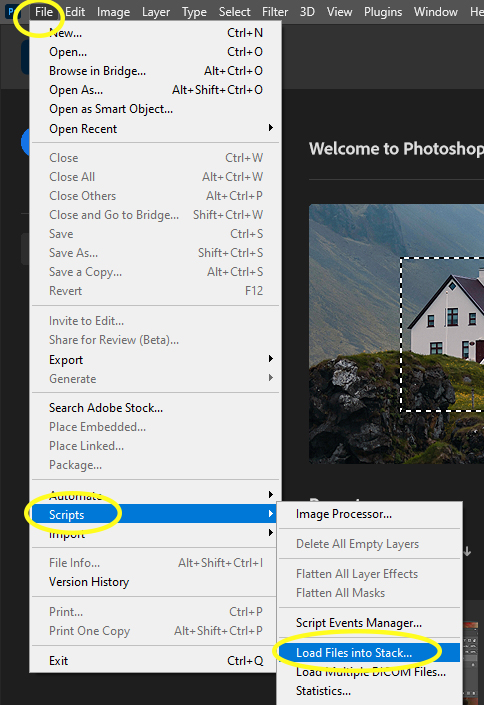
- Go to File
- Scripts
- Load Files into Stack
- Scripts
Step 2
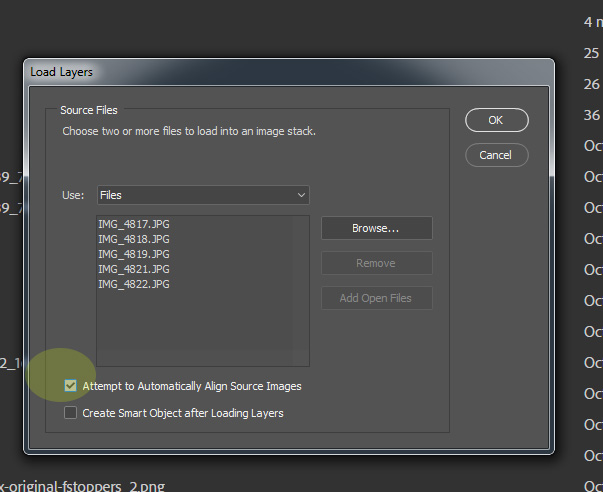
- Click Browse
- Select 5 photos you will use
- Check the box
- Attempt to Automatically Align Source Images
- Click OK
Step 3
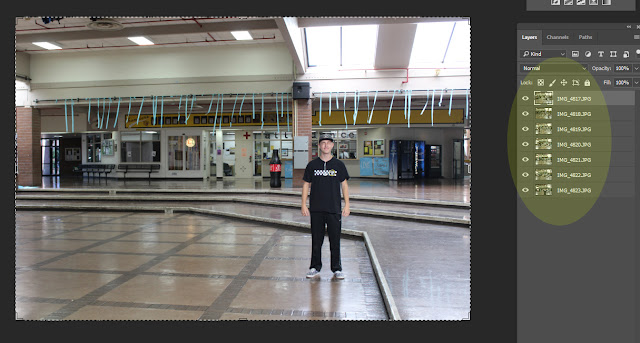
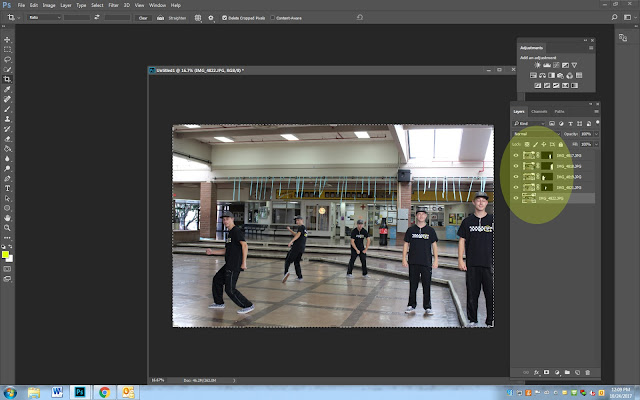
- Photoshop will stack all of your photos into one image
- It will have 5 Layers
- Each layer is one of the photos you took
- It will have 5 Layers
Step 4
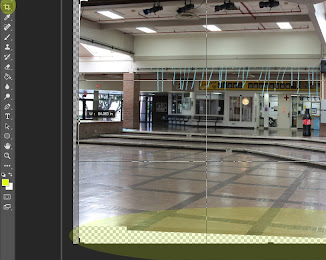
- Select the Crop tool to cut out the extra area
Step 5
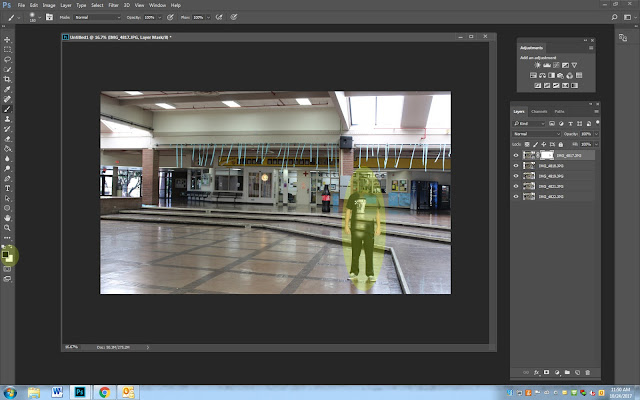
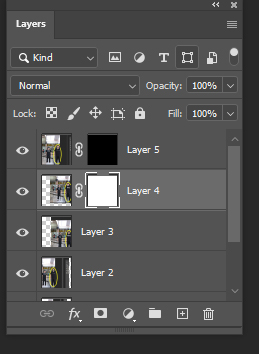
- Click on the top layer
- Add a White mask (Box at the bottom)
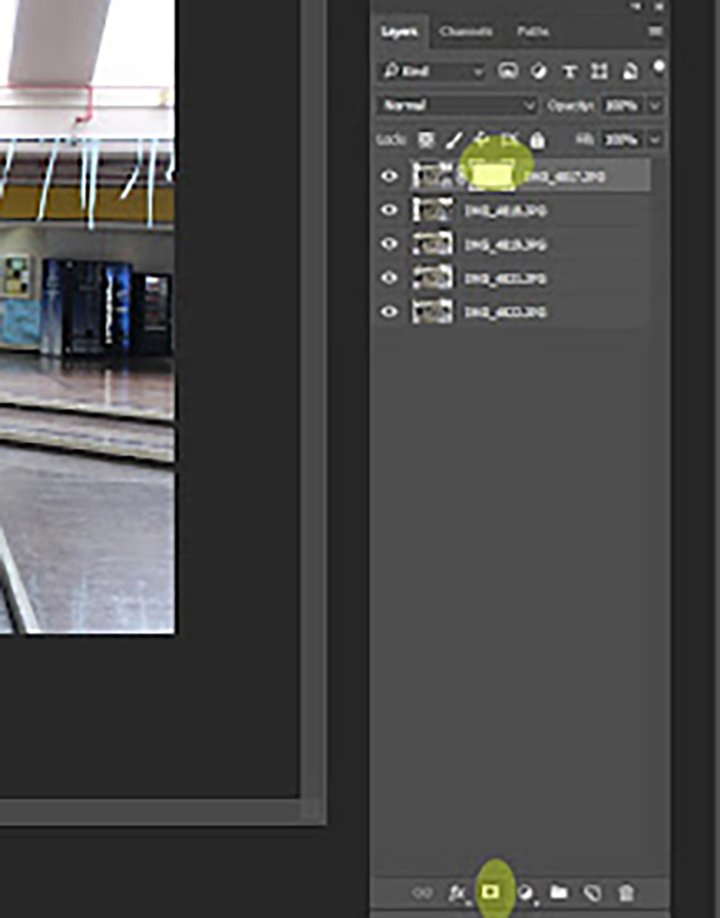
Step 6
- Pick the Paint Brush
- Make sure the black color is on top and white under
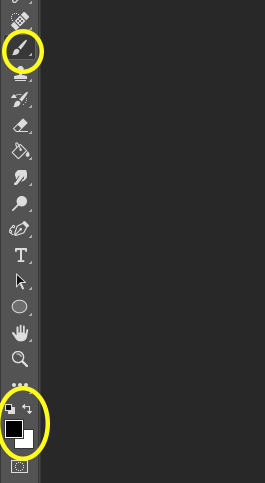
Step 7
- Zoom in (Ctrl +) so you are seeing the person close up
- With a black brush
- Paint out the person
- Do not take off to much around the person
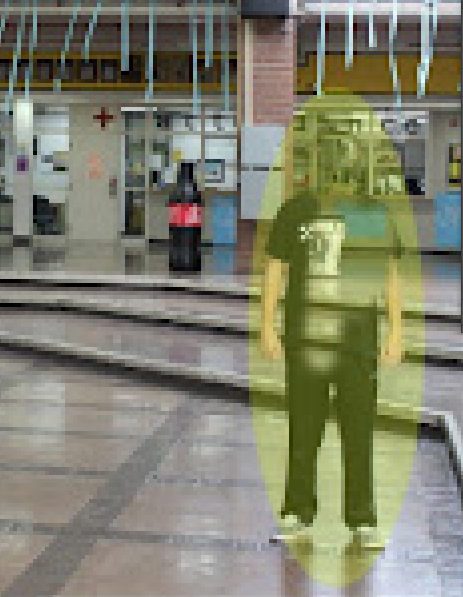
Step 8
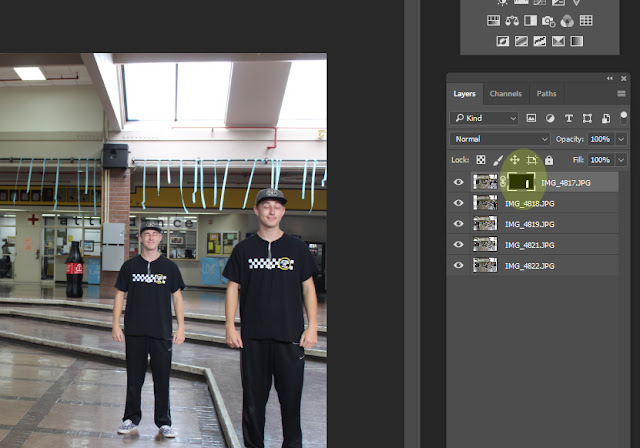
- When you are done painting out the person
- Click on the white mask

Step 9
- Click CTRL and i
- This will change your white mask to a black mask
- The next Person will show up
- This will change your white mask to a black mask
Step 10
- Click on Layer 4
- Add a Mask (Box at the bottom)
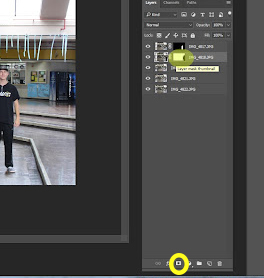
Step 11
- Zoom in (Ctrl +) on the second person
- With a black brush
- Paint out the second person
- Do not take off to much around the person
- Paint out the second person

Step 12
- When you are done removing the person
- Click on the white mask
Step 13
- While you are on the white mask
- Hold CTRL and i
- The White mask will become black
- 3rd Person now appears
Step 14
- Repeat Steps 5-9 for the rest of the layers/person
Step 15
- Edit in ACR (adobe camera raw)
- Add Logo
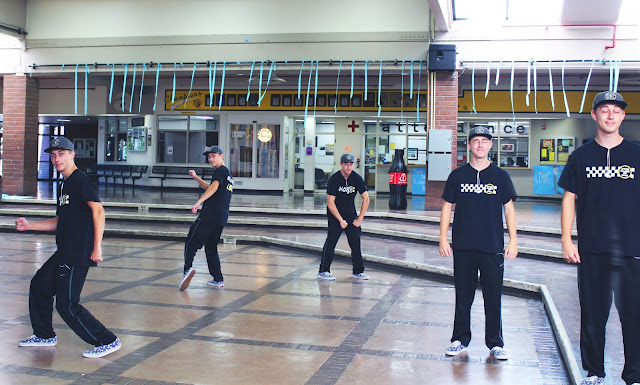
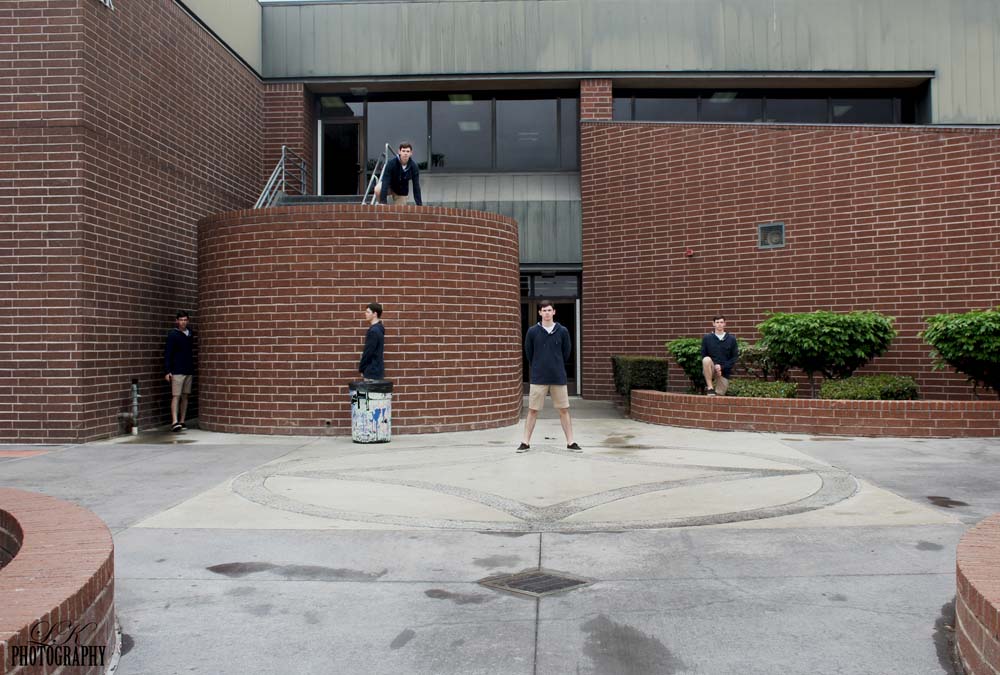
Best Of Person in 5 Spots
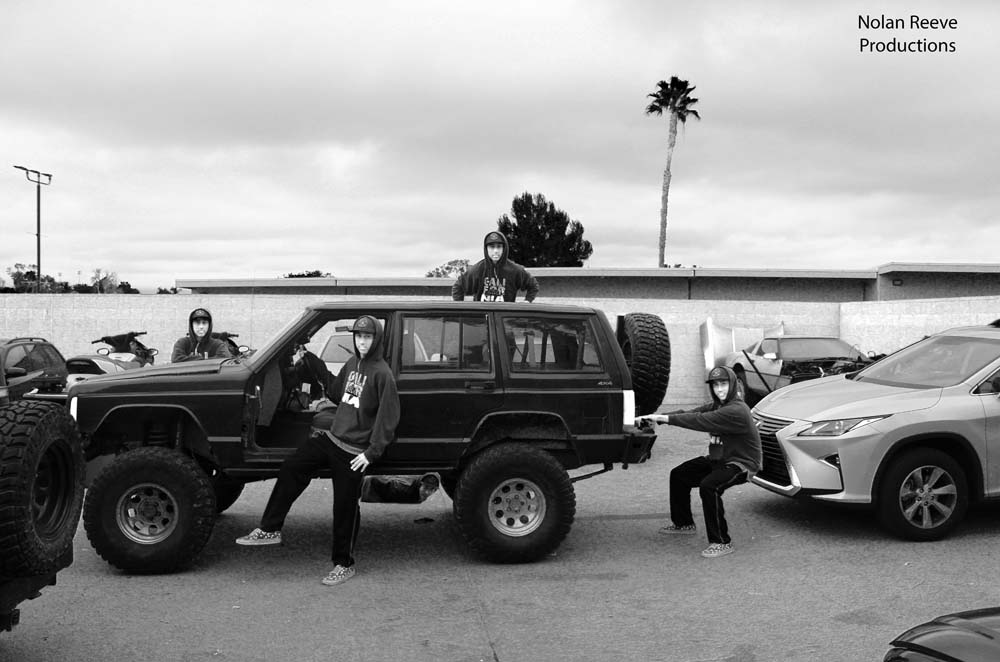
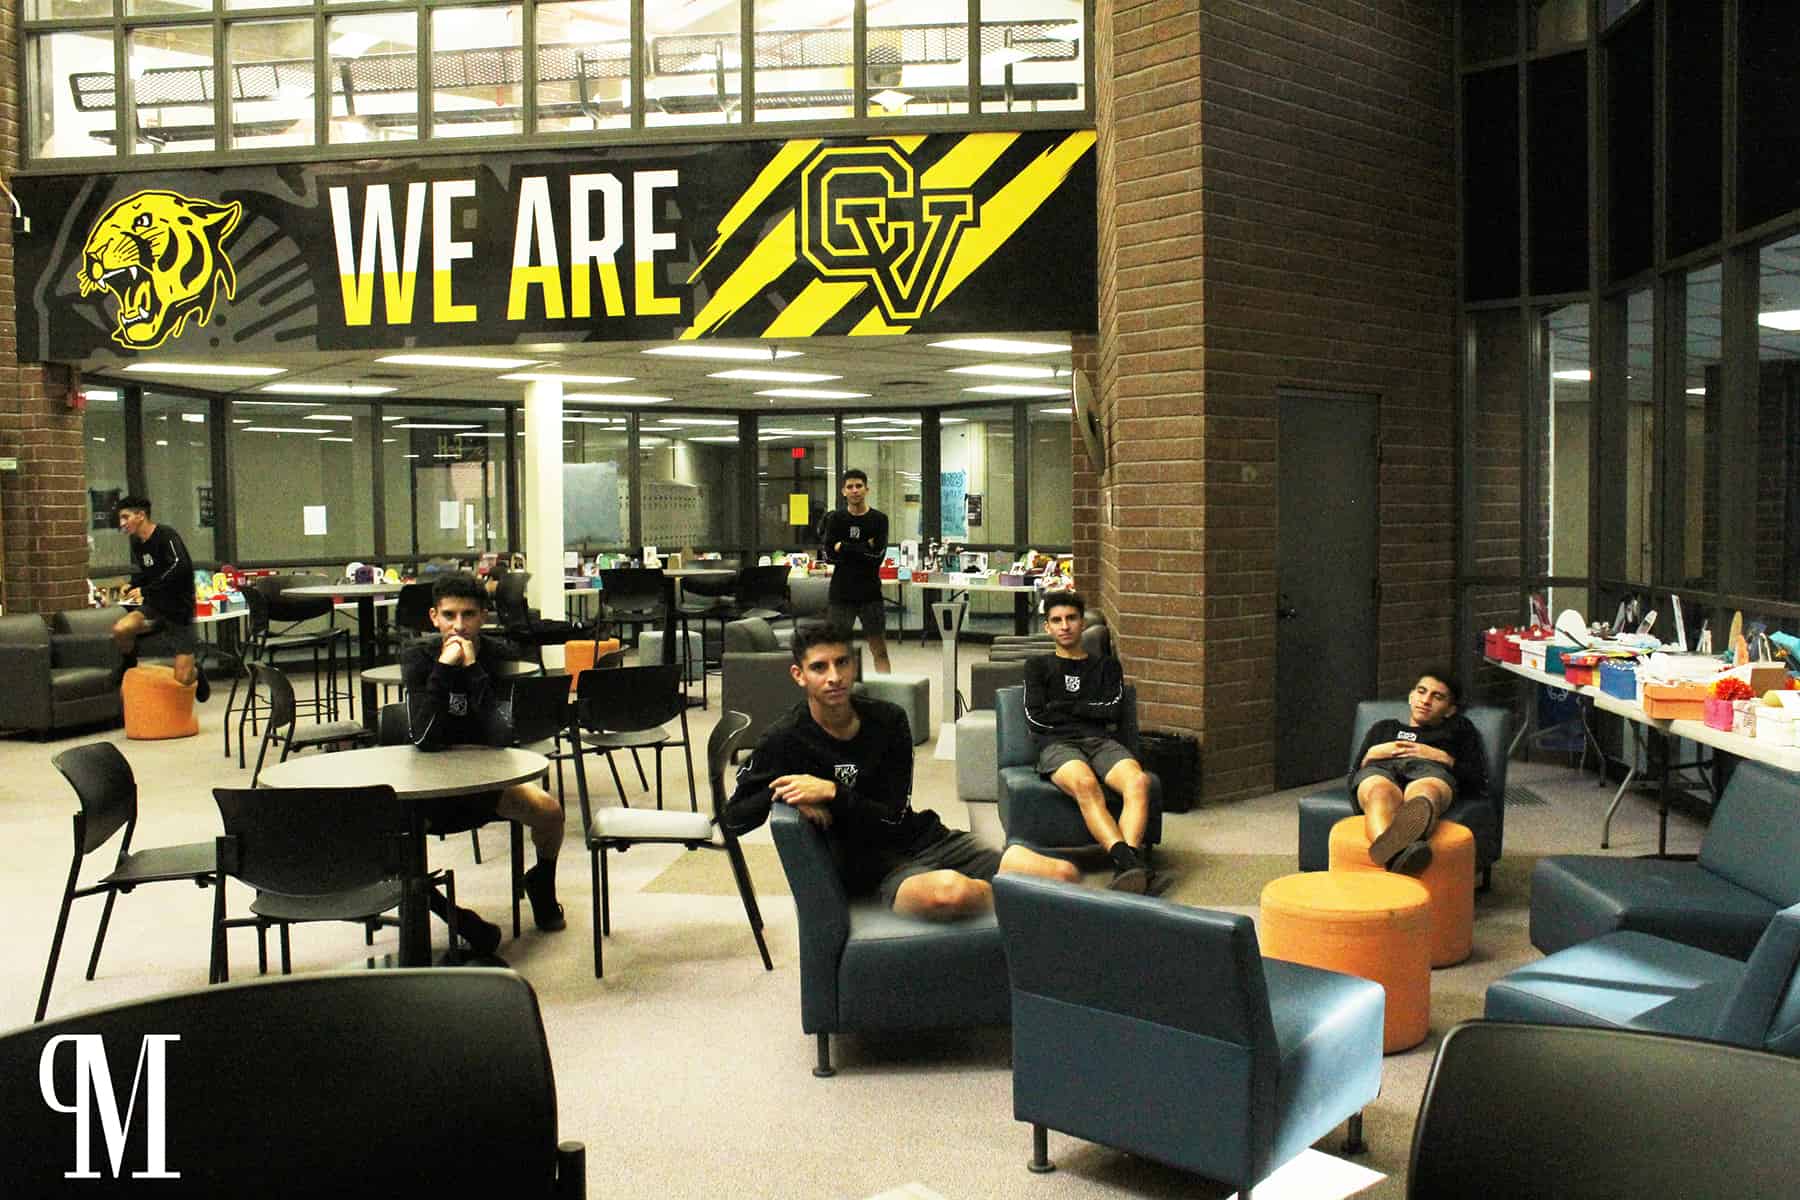
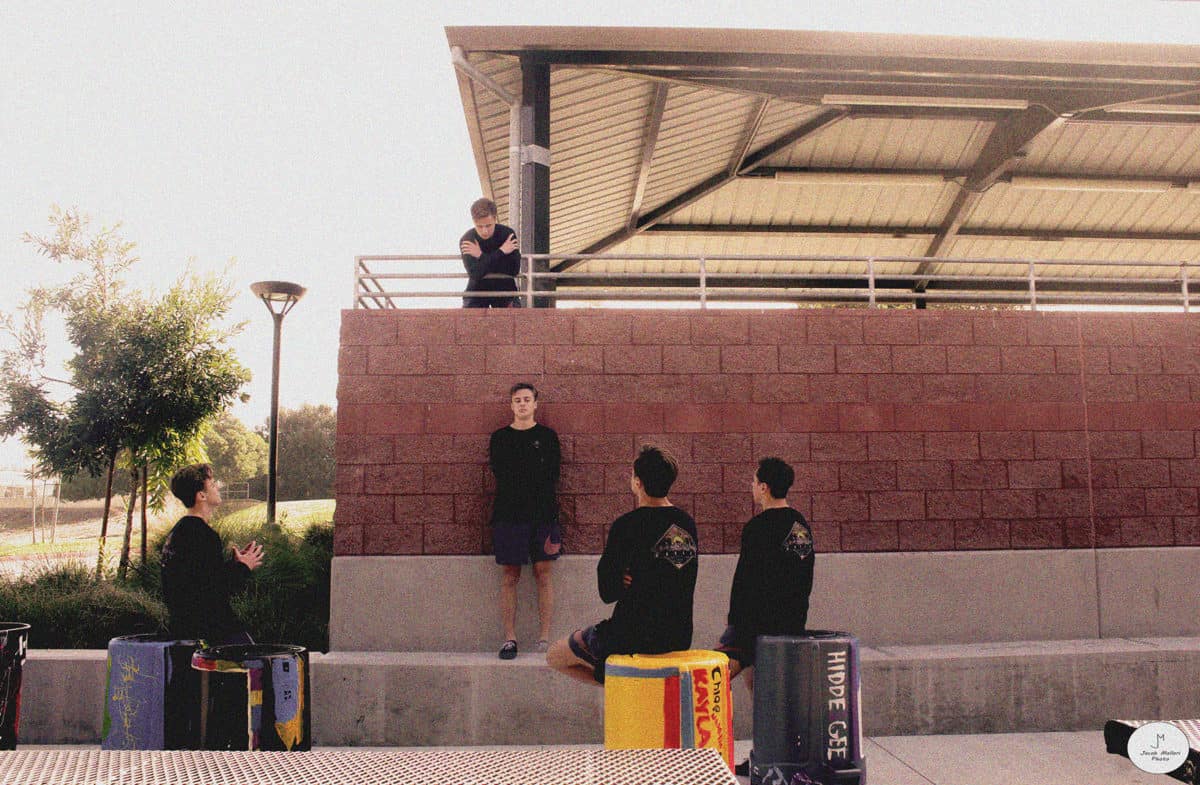
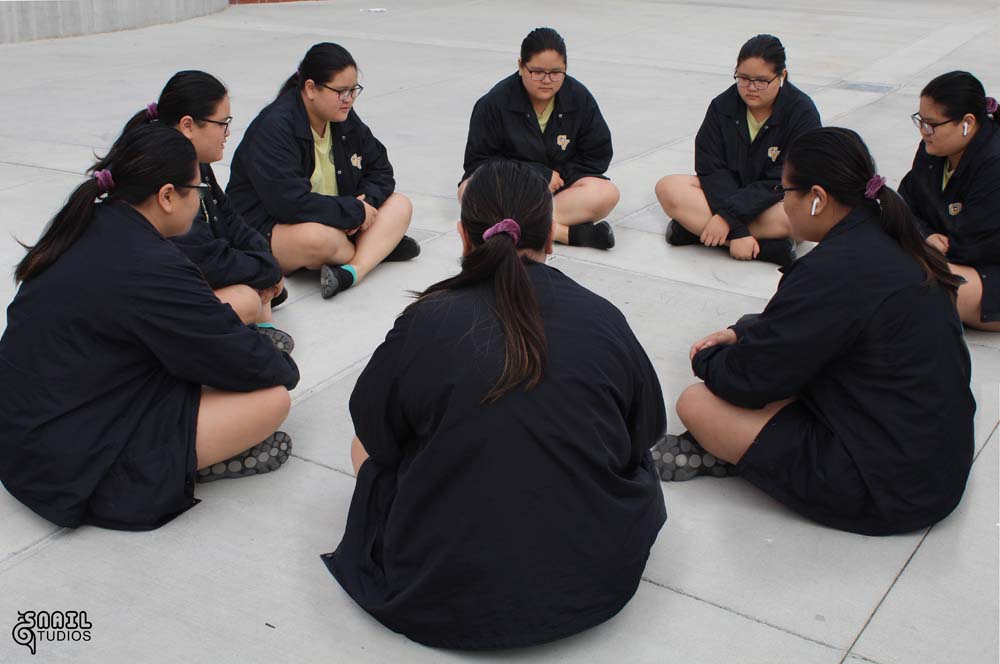
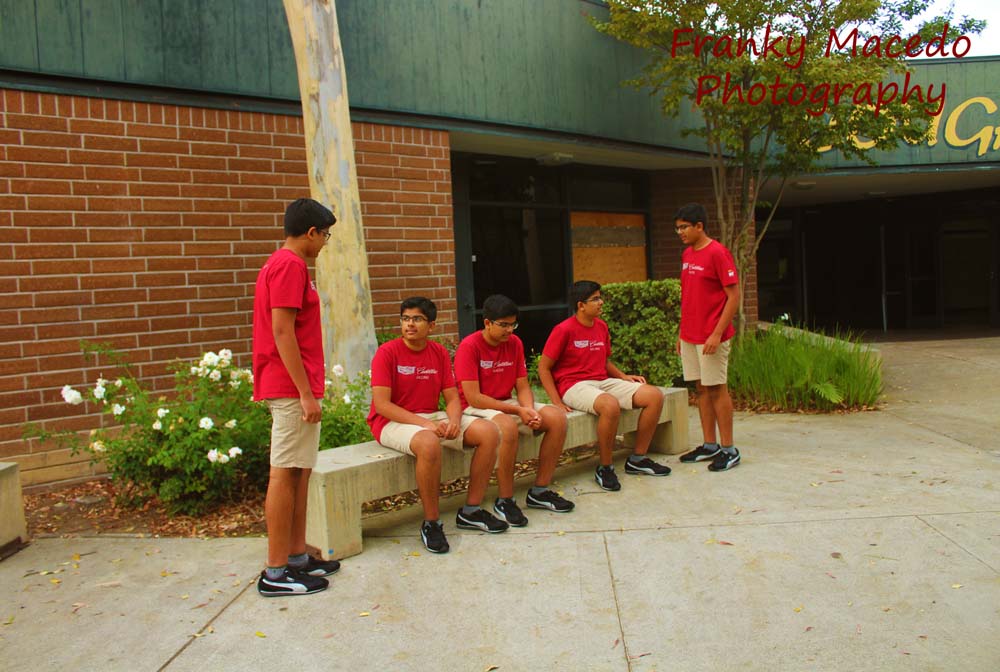
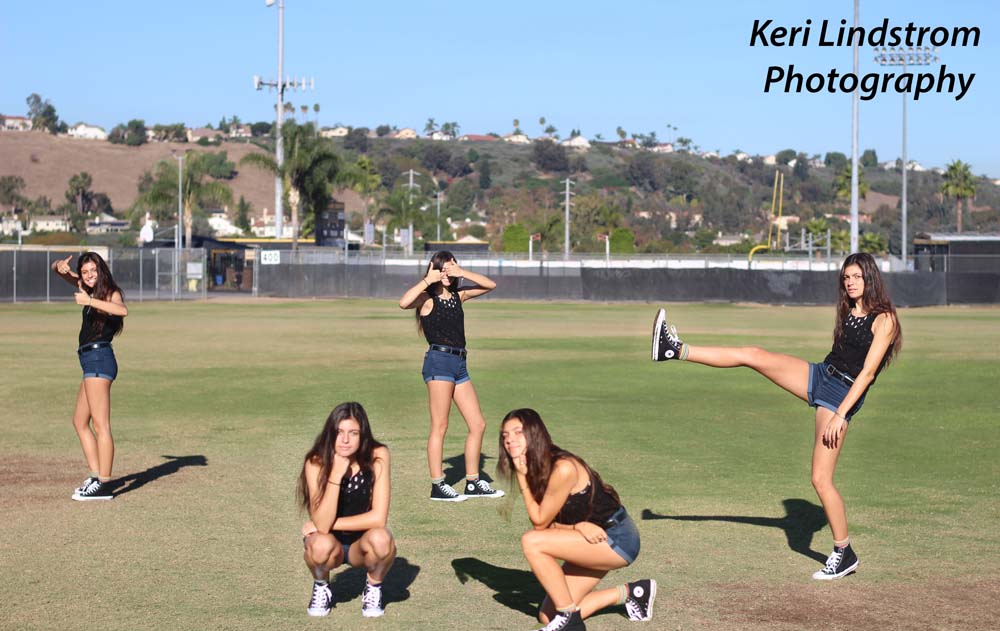
Action shots
