
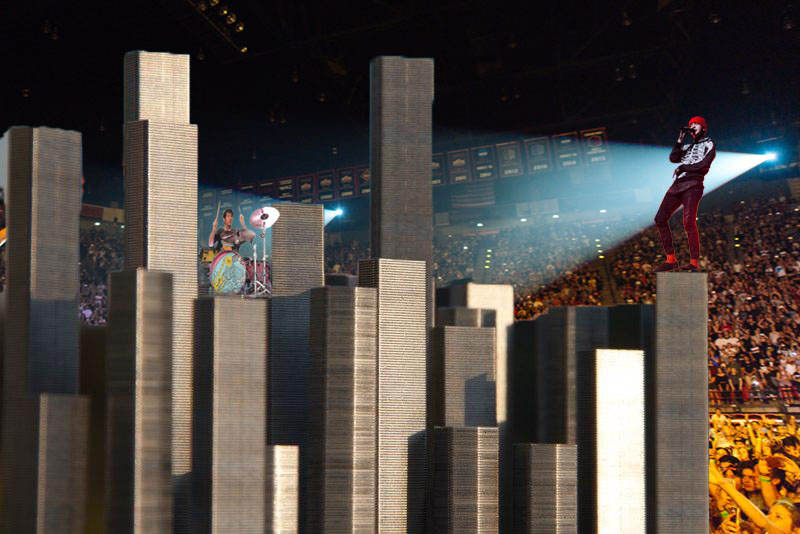
Part 1: Choosing Theme and Files
Step 1
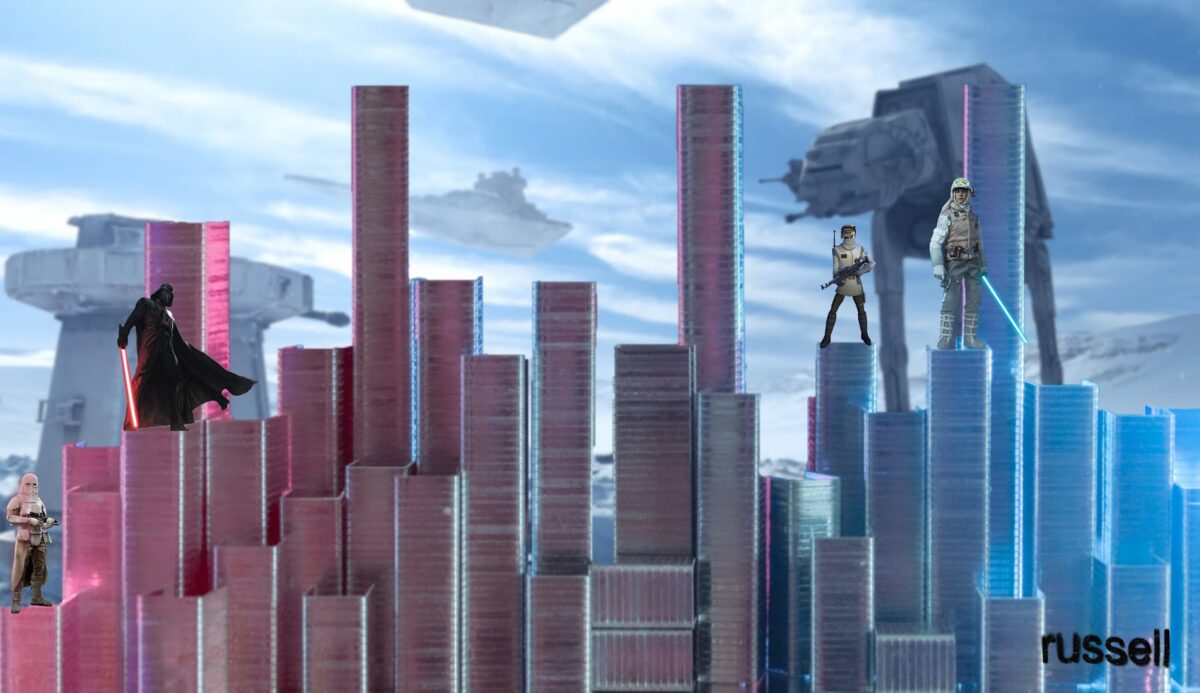
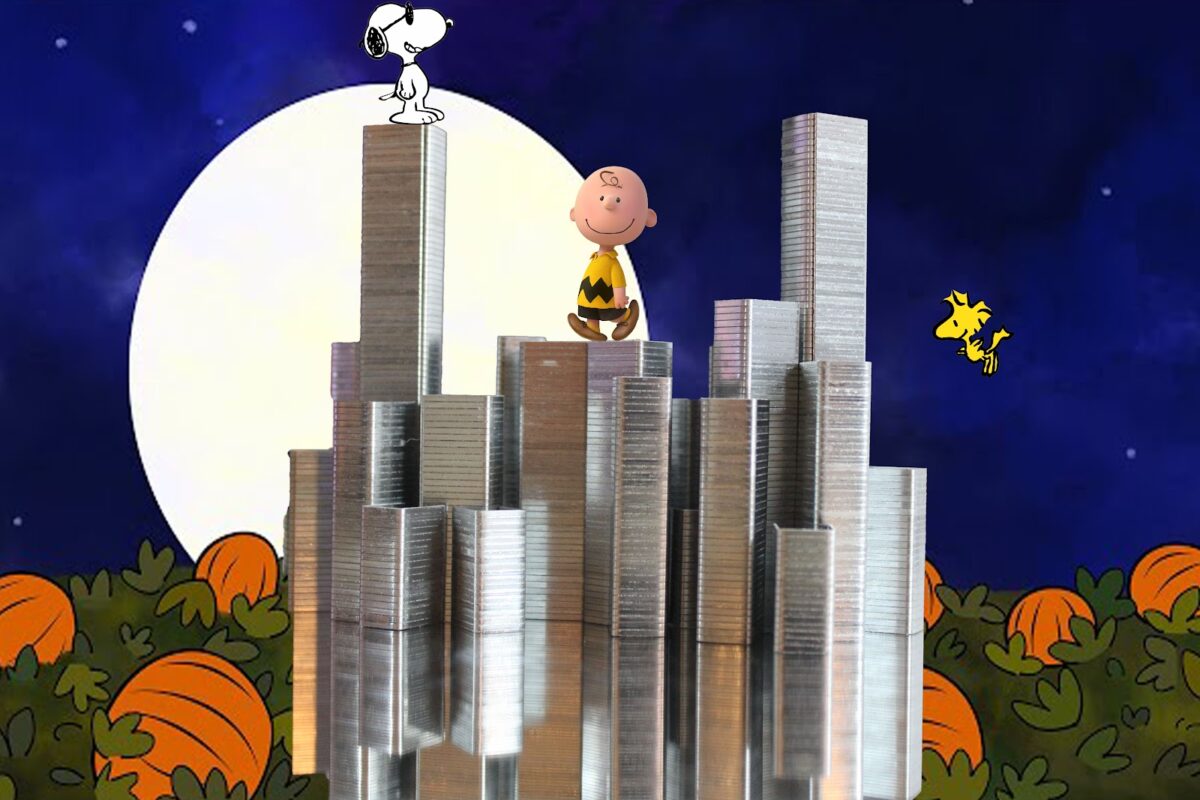
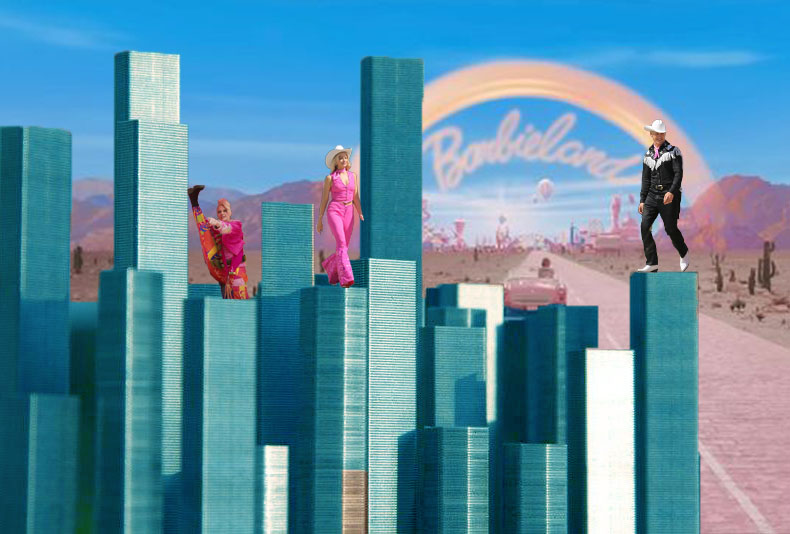
- Pick the theme for your city.
- Your theme can be anything as long as it’s school appropriate
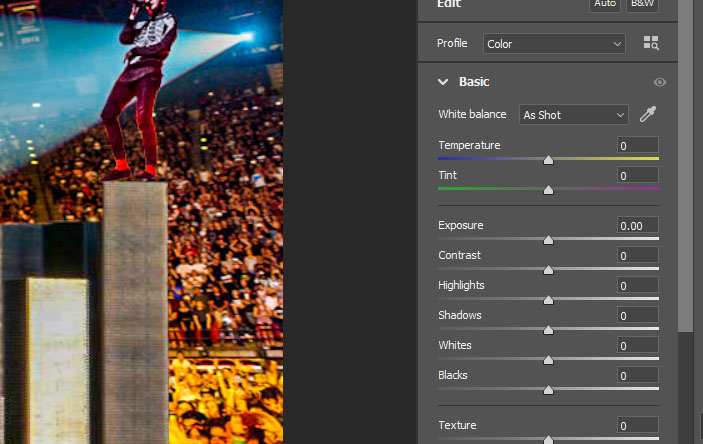
- My example below is of a concert for Twenty One Piolets
- Your theme can be anything as long as it’s school appropriate
Step 2
- Find and save a photo online that will become the background behind your Staple City
- I picked a concert for my background
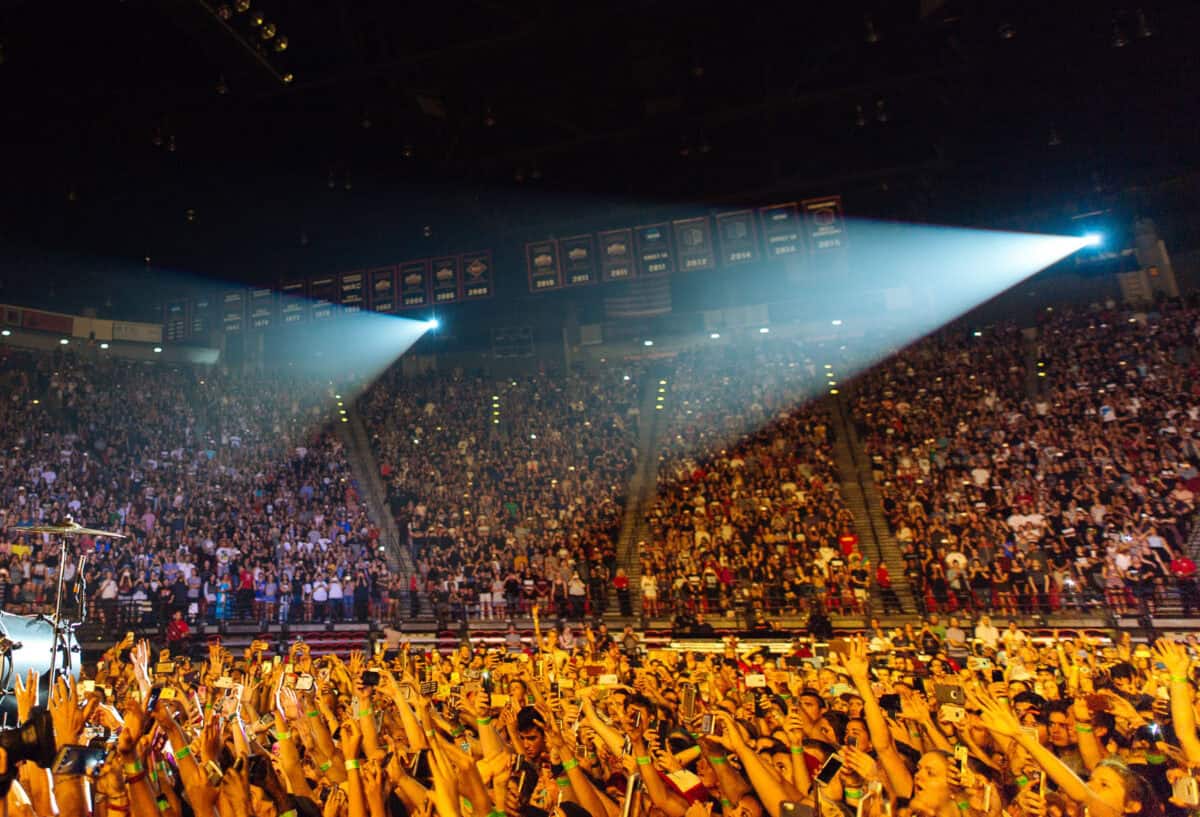
Step 3
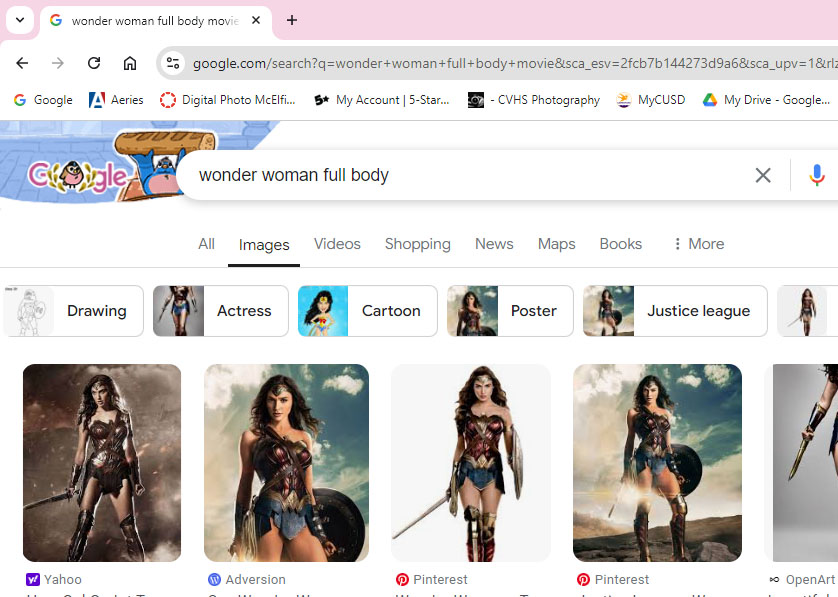
- Find and save 3 characters that match the theme of your background
- You may do mor than 2 characters if you like
- To find the best photos:
- Google the characters name, along with full body so that the image is not cut off
Part 2: Adding the Background
Step 1
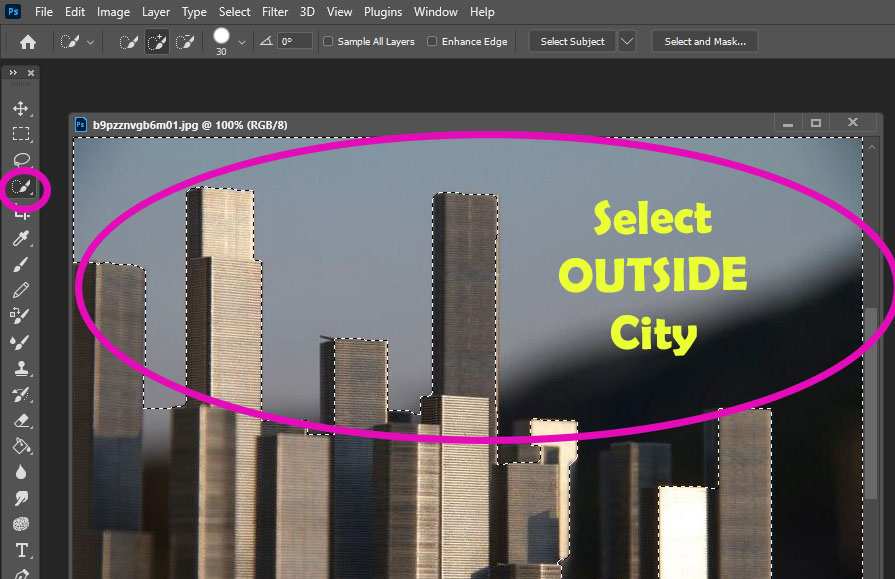
- Open Staple City Photo
- Pick the Quick Select Tool
- Select OUTSIDE of staples
Step 2
- Go to the Layers
- Select the Mask (box at bottom of layers pallet)
- This will make the staples disappear
- Select the Mask (box at bottom of layers pallet)

Step 3
- Click
- Control i
- The background will now disappear
- Control i

Step 4
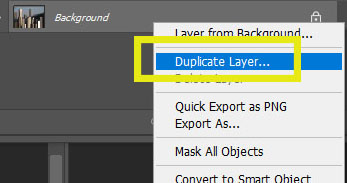
- Right Click on the Layer 0
- pick Duplicate Layer
- You will now have 2 layers
- pick Duplicate Layer

Step 5
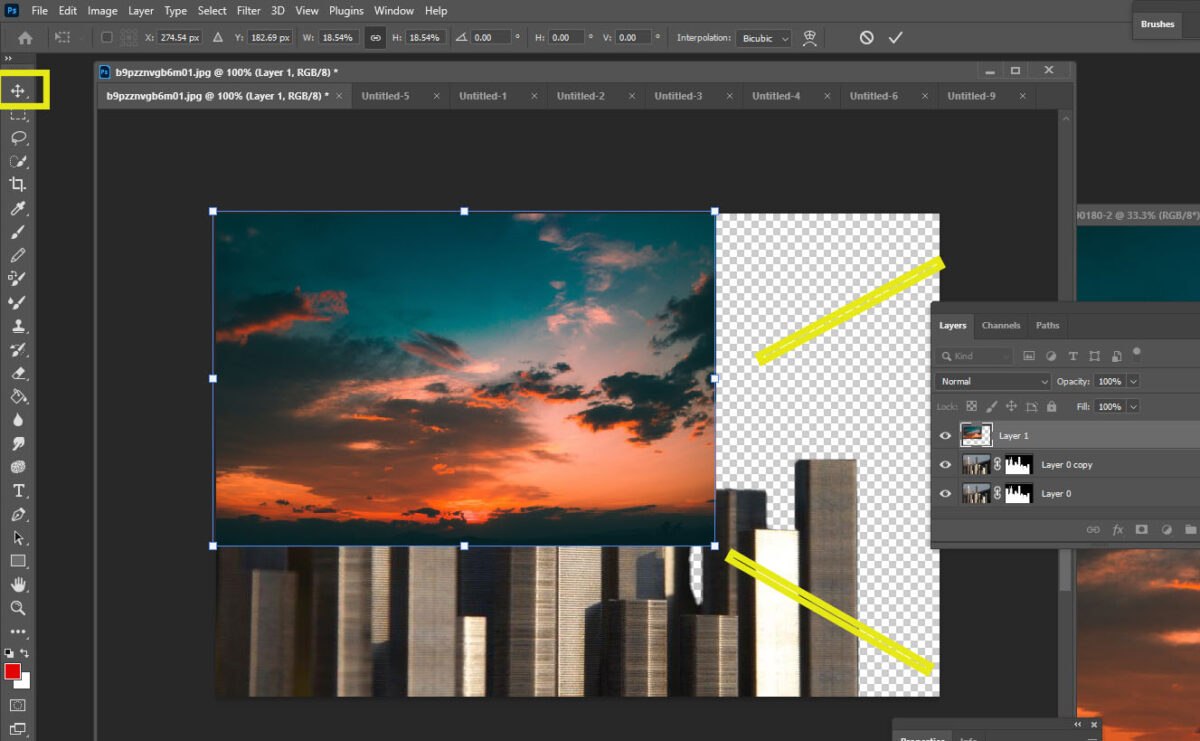
- Open the background file you have choosen
- Select the Move Tool
- Move and Drag the background file so it covers Staple City
Step 5a
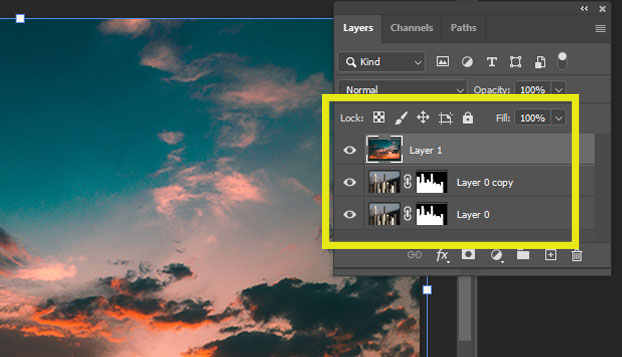
- You will now have 3 Layers
Step 6
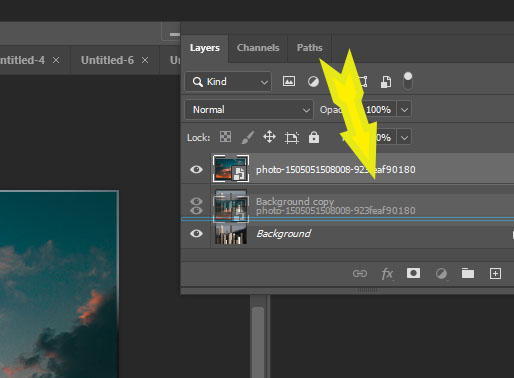
- Click and Hold on the Top Layer
- Drag this Layer down so that it Between the two Staple City Layers
- The background photo will now be behind Staple City
- Drag this Layer down so that it Between the two Staple City Layers

Step 7
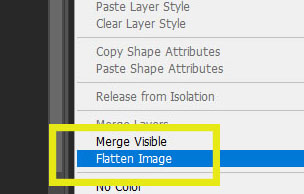
- Flatten your image

Part 3: Adding the People
Step 1
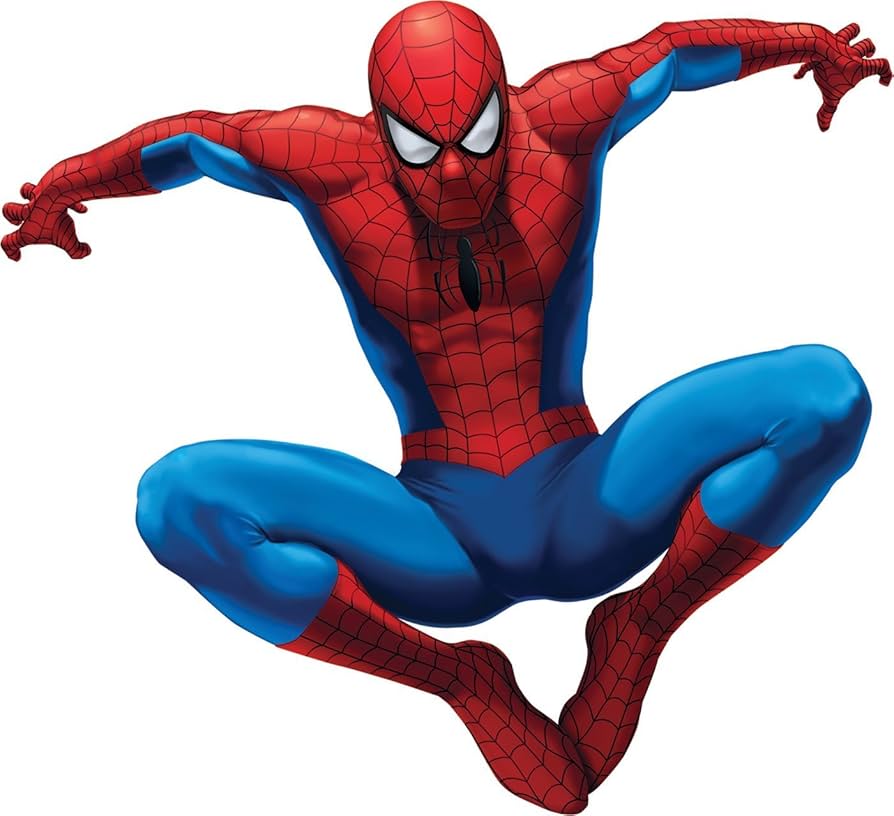
- Open the Characters you saved from Part 1
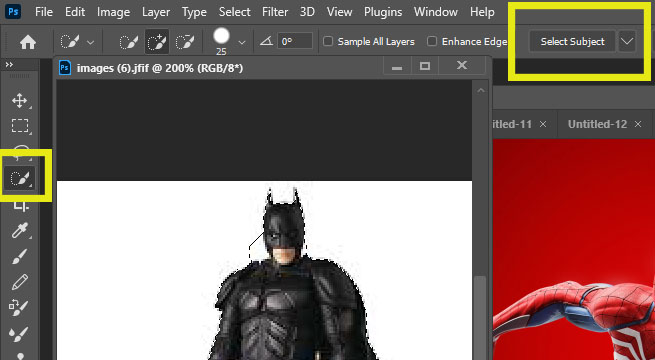
- Choose the Quick Select Tool
- Choose Select Subject
- If it doesn’t select the whole character, use the plus anad minus to select and deselect the image
- Choose Select Subject
Step 3
- Select the Move Tool
- Drag the character onto Stpale City

Step 4
- Control T to make image smaller or bigger

Step 5
- Follow Steps 1-4 and to add more characters

Step 6
- Flatten Image
Step 7
- Open in Camera Raw
- Edit so the characters colors and exposure blend into the scence
