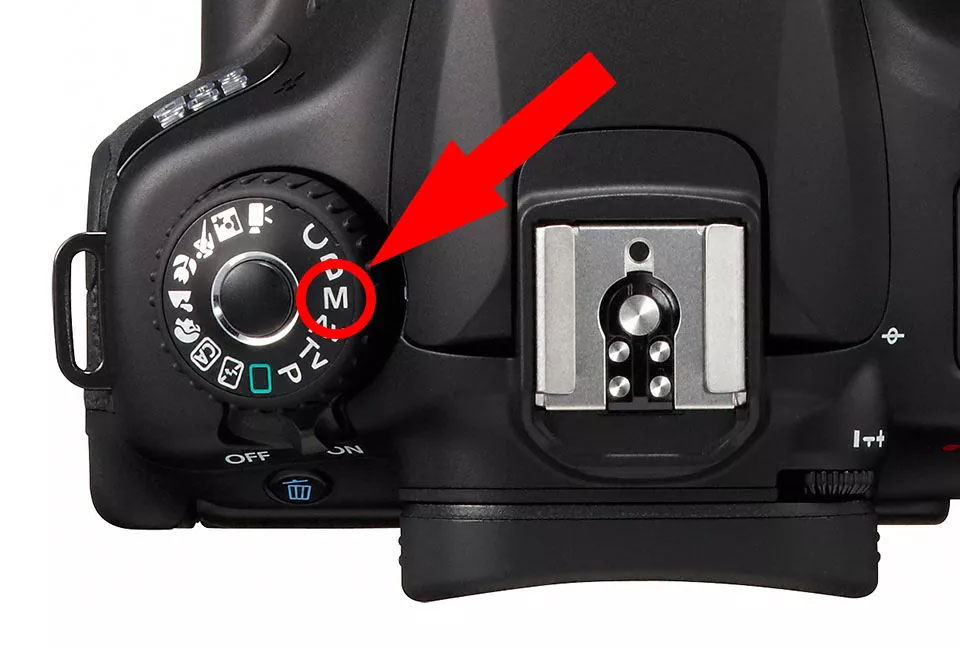
- Turn the dial of the camera to M

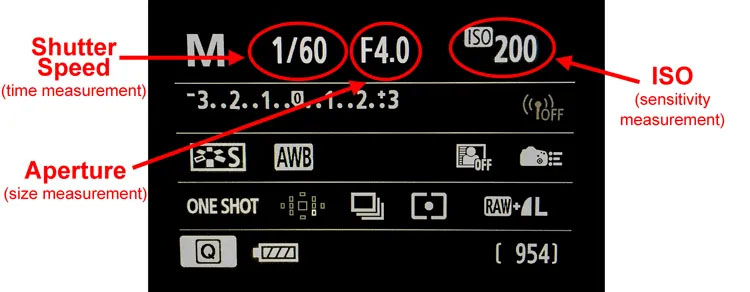
You will now be able to control 3 parts of the camera
- Aperture
- Shutter Speed
- ISO
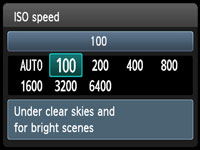
Part 1: SET ISO
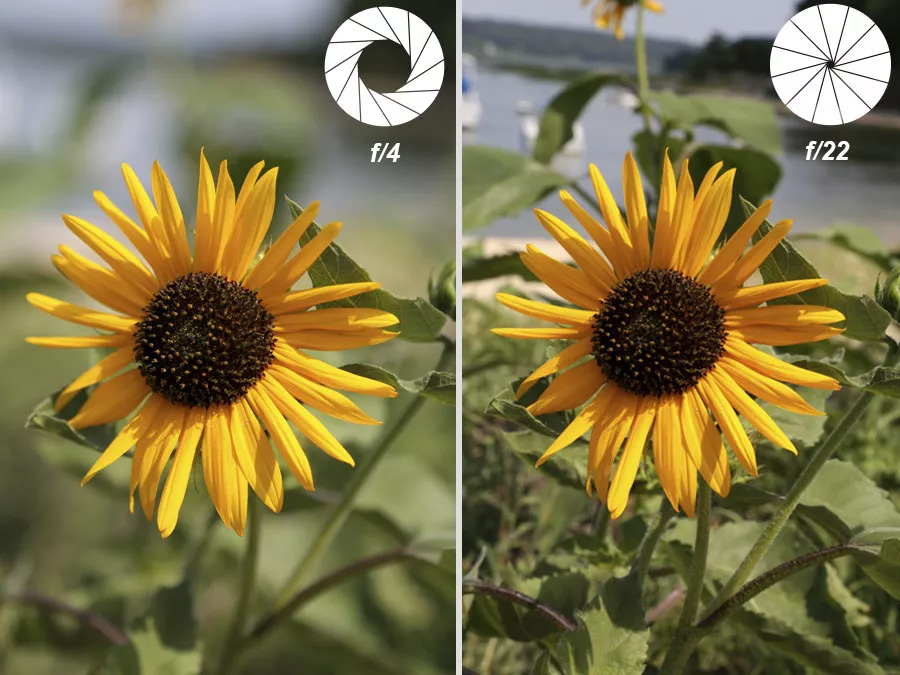
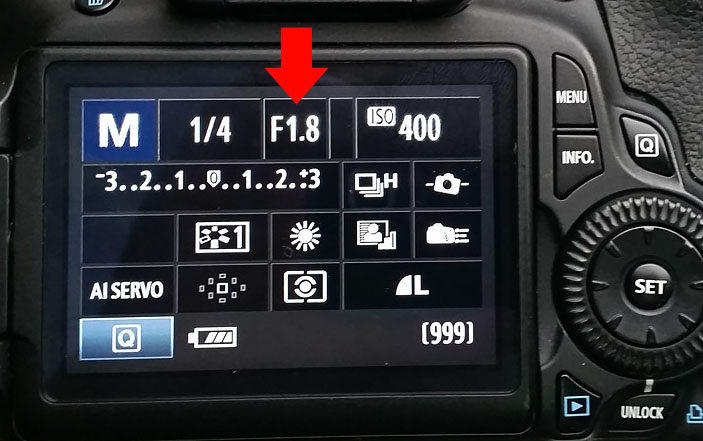
Part 2: Set APERTURE
Step 1: Choose a low or high aperture (F/Stop) depending on your subject/environment
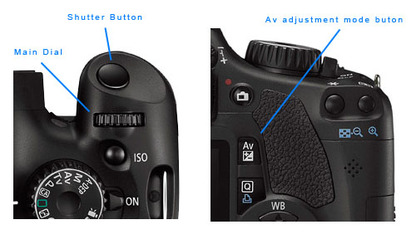
Step 2: Changing Aperture in manual mode
-
- Click the “Av” button on the back of your camera
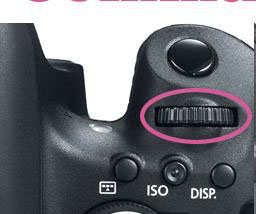
- Rotate the dial ontop of the camera simultaneously
- You will see the F/ change numbers on the back of your camera
Part 3: Changing Shutter Speed
Step 1:
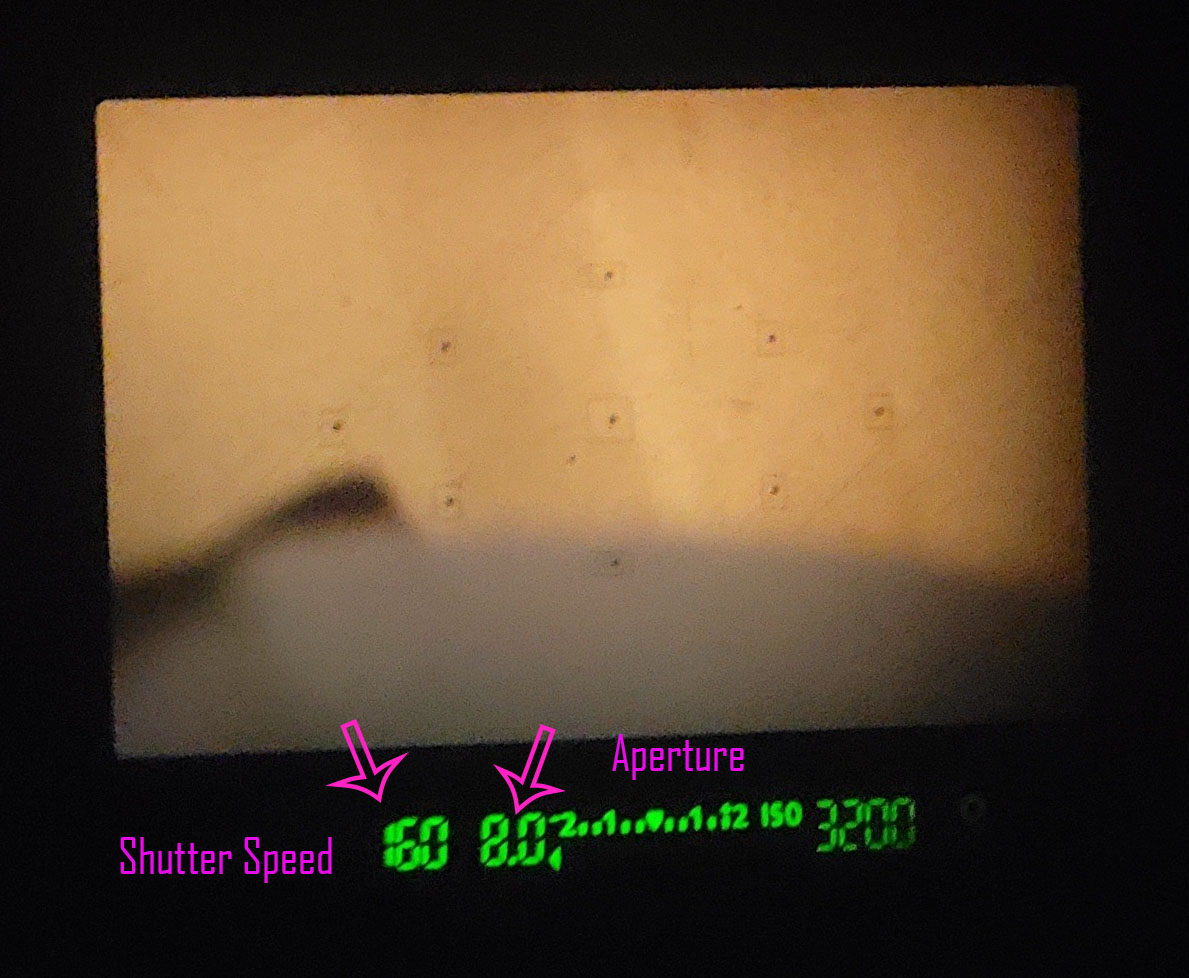
- Look in the view finder
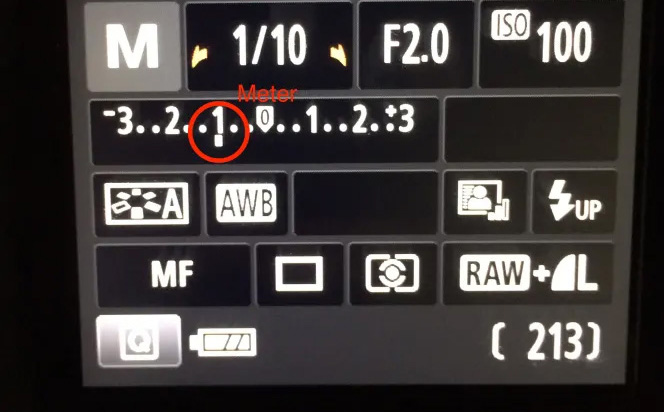
- Their will be a green graph at the bottom of the viewing area in the view finder
- It will tell you what your shutter speed is set at and your aperture

Step 2:
- Press your shutter half way down
- This will allow the camera to take a “light reading”
- The flashing vertical line or “ticker” underneath the graph will move according to the light reading
- This is where you will be adjusting the shutter speed/exposure
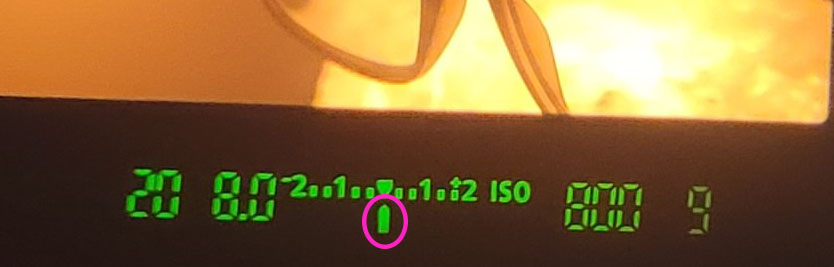

Step 3: Change the Shutter Speed:
- Move the Dial at the top of the camera to the left or right
- The “ticker” on the graph will move as you change the dial
- This will be changing the shutter speed
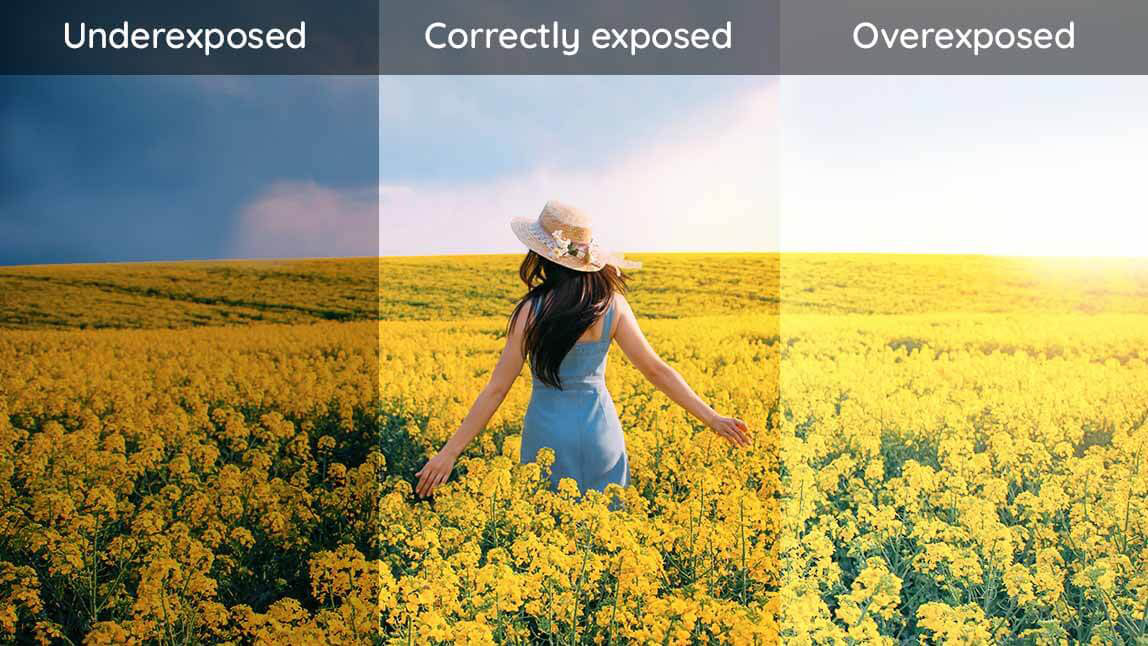
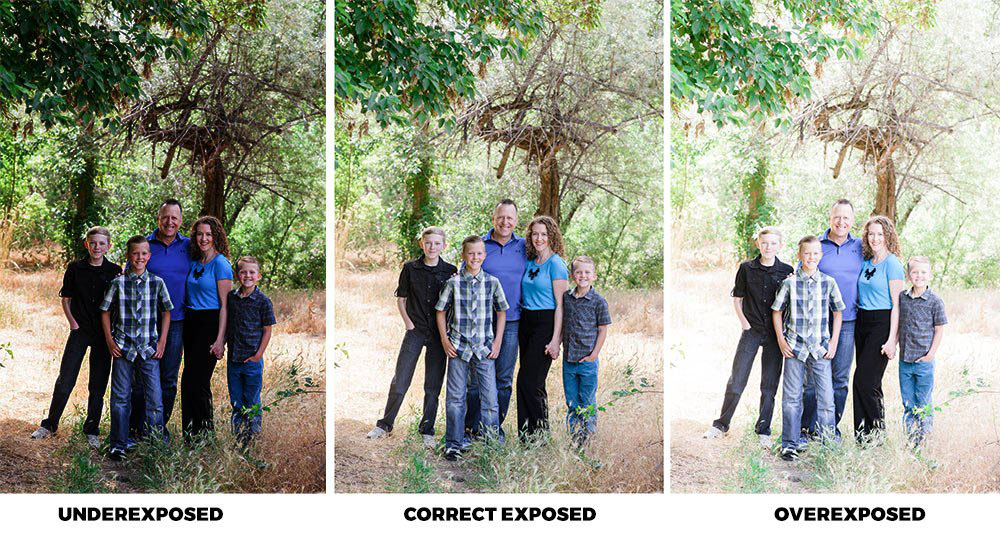
- Right OVEREXPOSED (to much light)
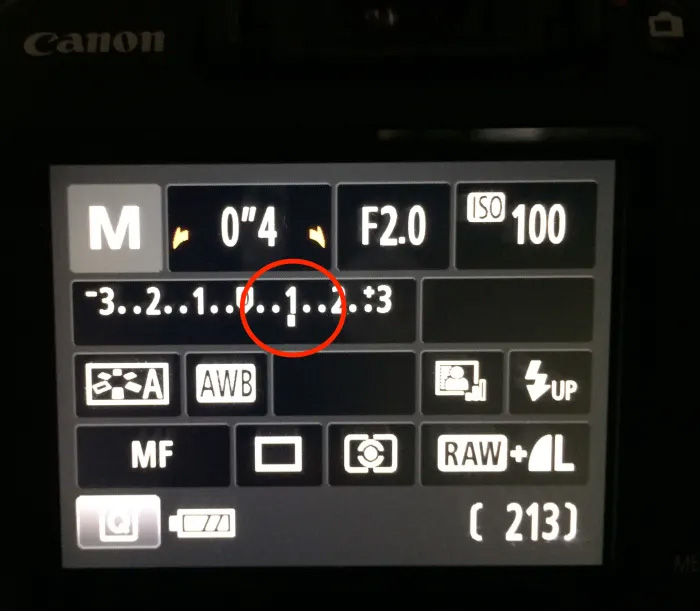
- Left UNDEREXPOSED (not enough light)