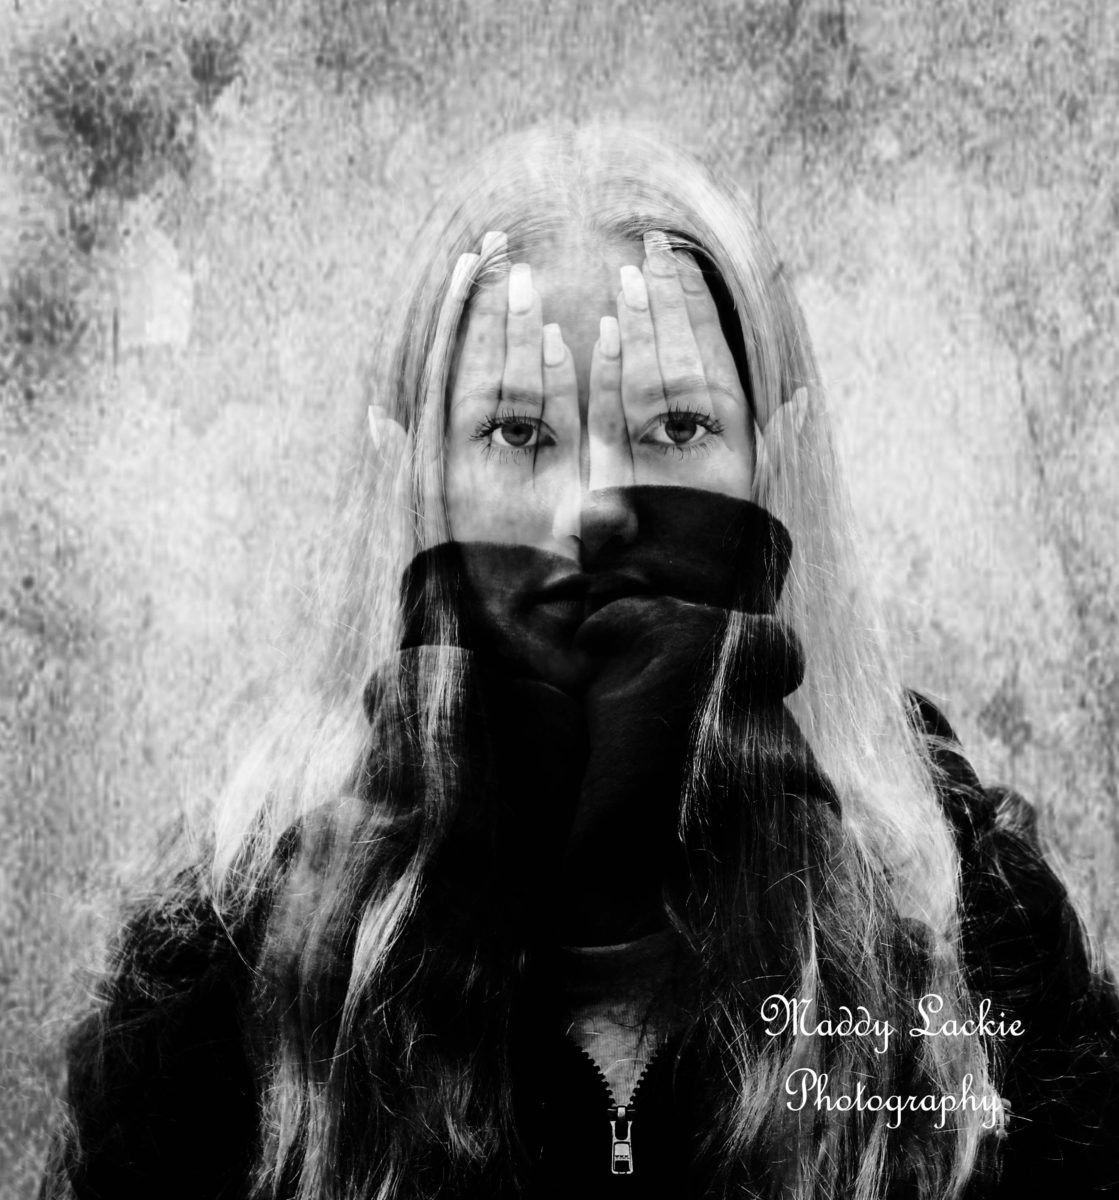
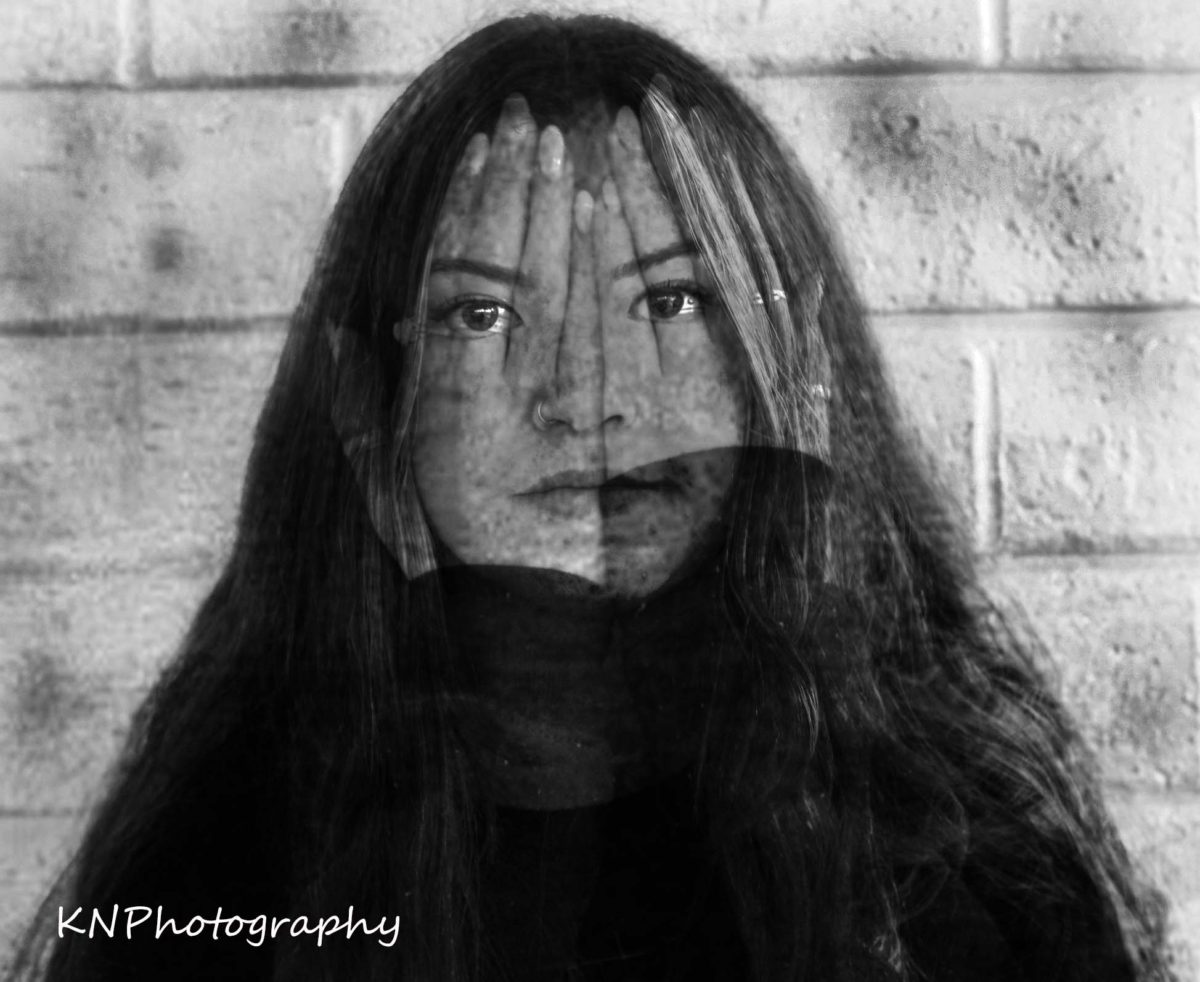
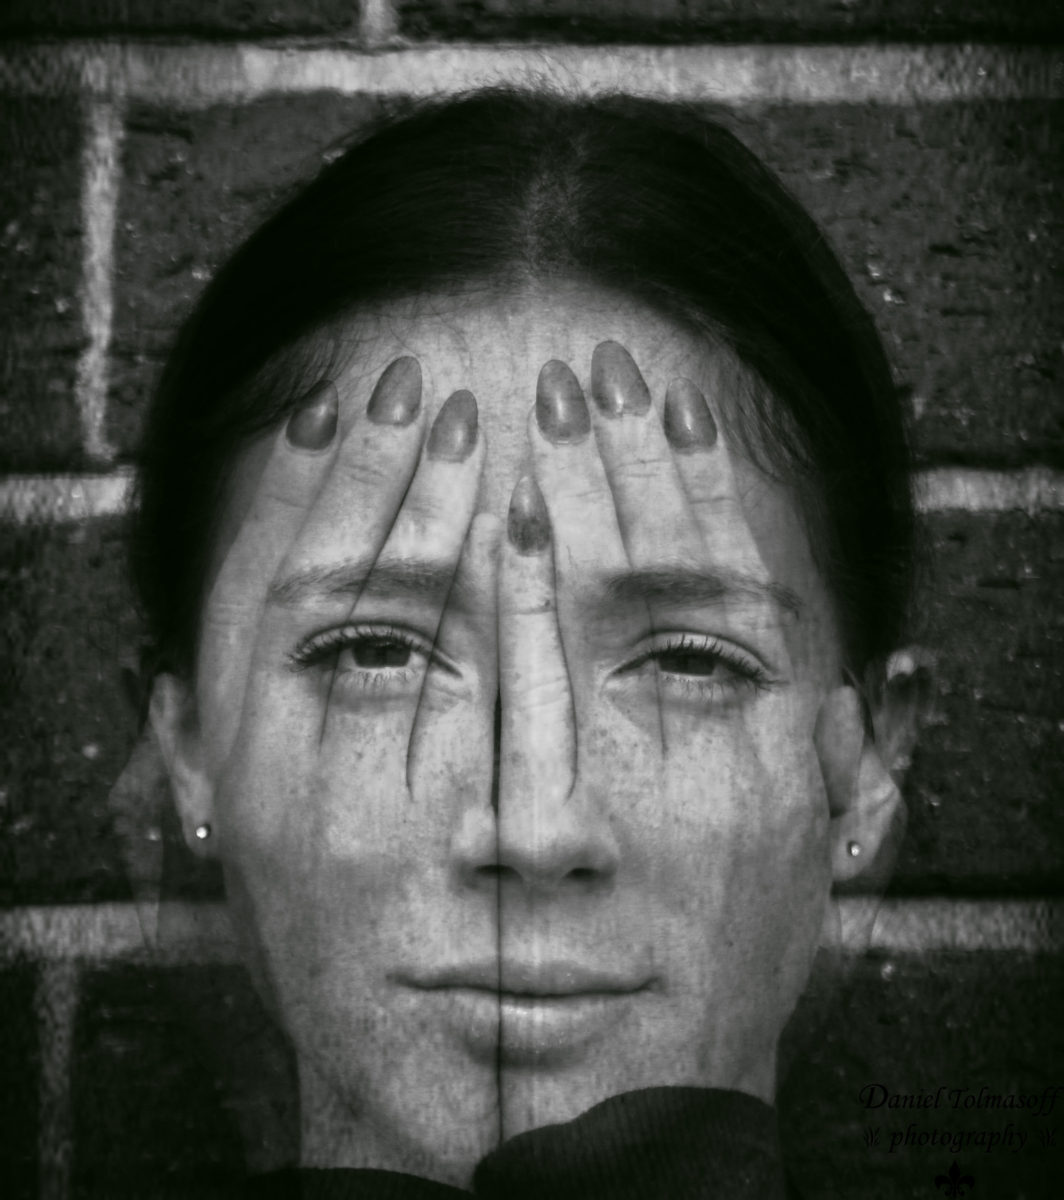
- Have your person sit with a plane and empty background
- Set your camera to Manuel
- Set your ISO
- Set your Aperture to f/1.8 – f/5.0
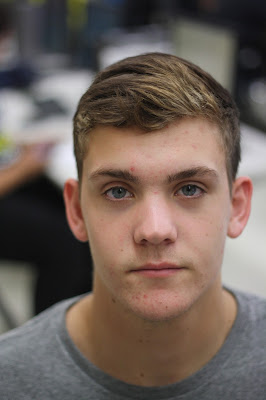
- Focus on the eyes so they are sharp
- Take photo
- DO NOT let the person move at ALL
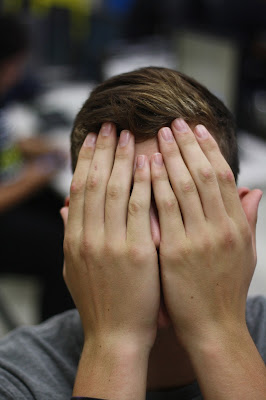
- Have the person cover their face with their hands without moving.
- Make sure the hands are even against their nose
- Take photo
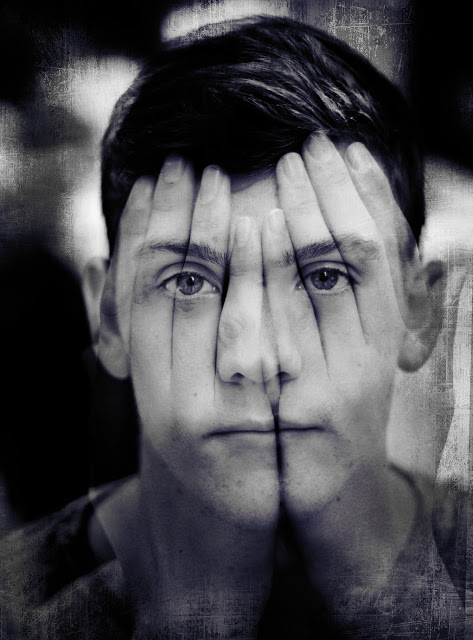
2. Drag the hands photo ONTOP of the face photo

3.Click the shift key and hold it as you highlight both layers
4.Go to Edit- Auto Aline Layers
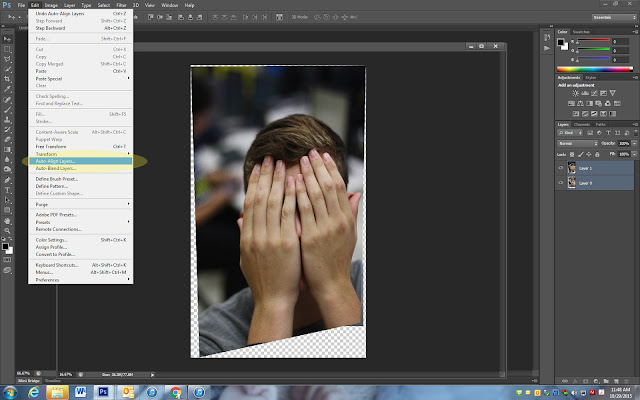
5. Crop out the extra and pull it in close

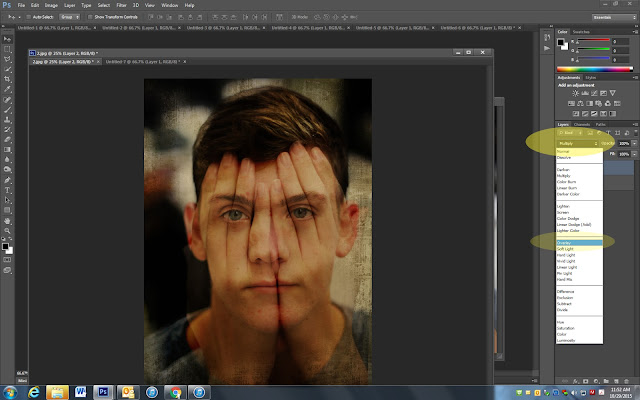
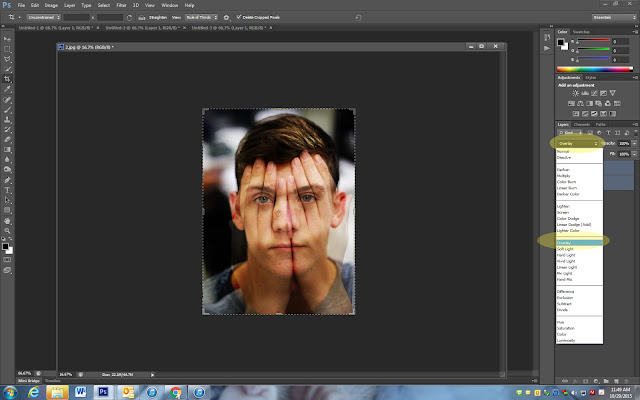
6. At the top left of the layers pallet go to Normal- Overlay
7. Merge your layers
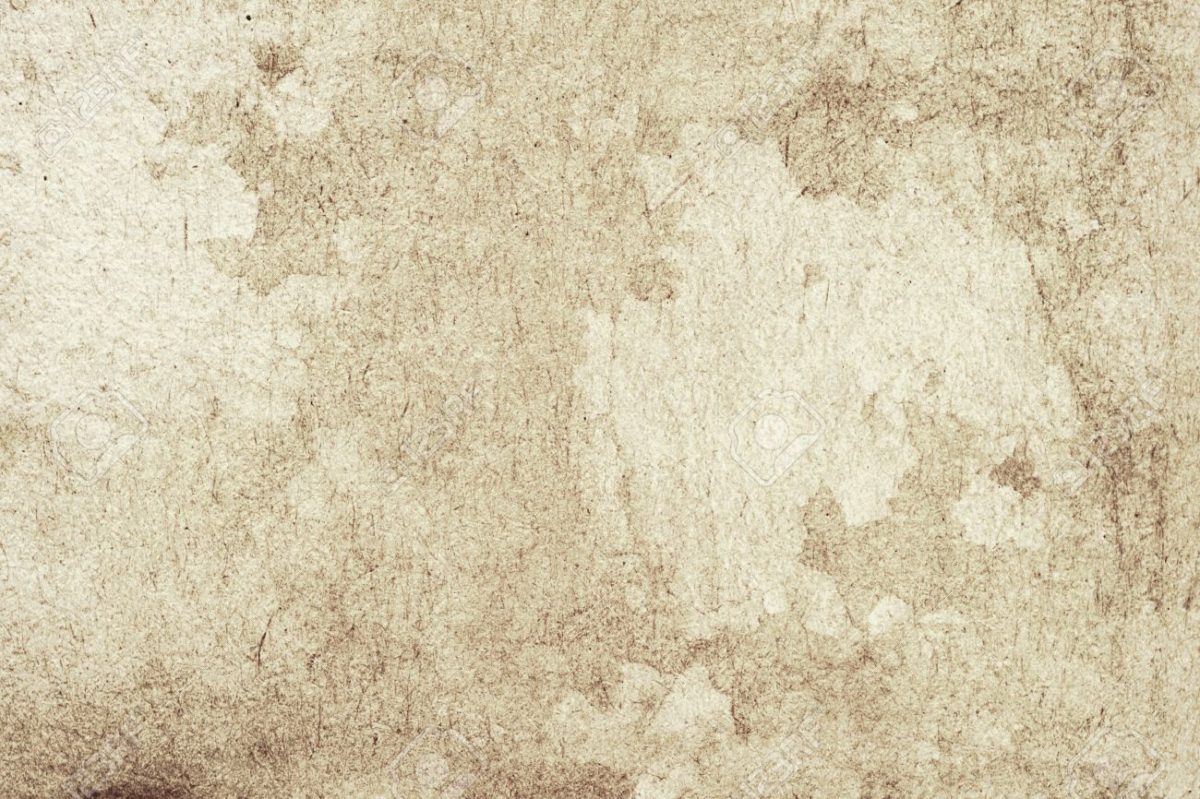
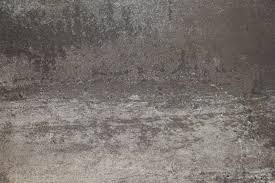
 8. Google to find a texture, or save one of the following textures to your computer.
9. Drag it on top of the portrait
10. Click Control + T and drag the texture until it fits

13. Click on the Black and White Adjustment
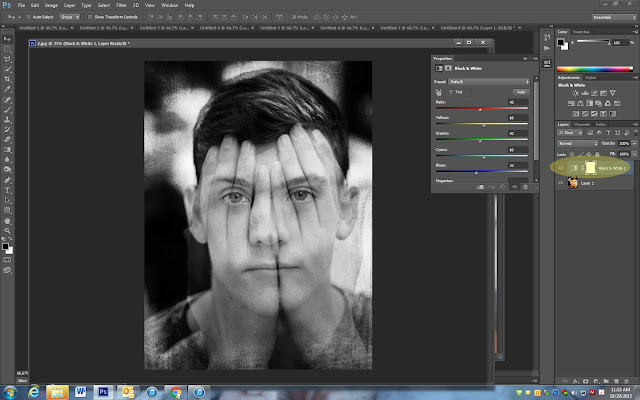
14. Click on Selective Color Adjustment
15. Change the color box to Black
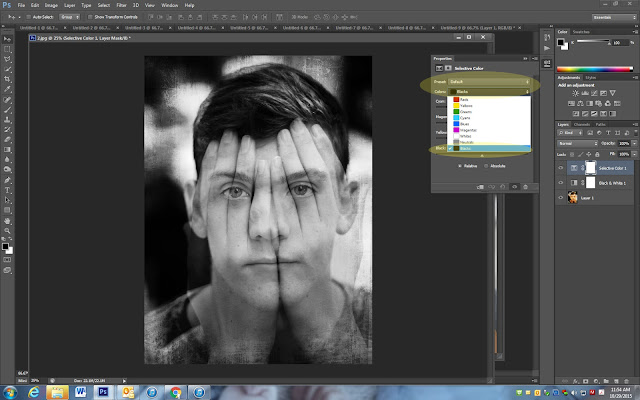
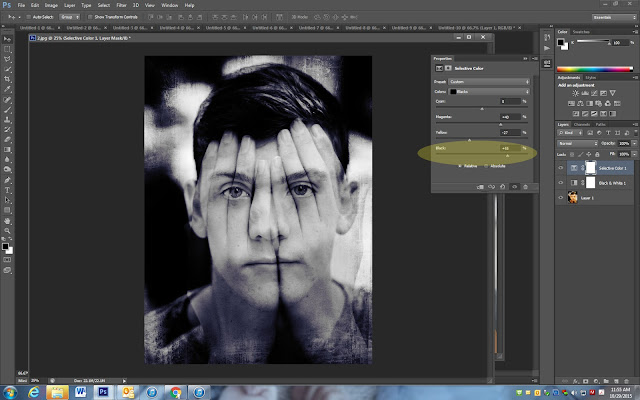
16. Move the black slider toward the right until it looks good
17. You may also move the other sliders a little to the left to add a slight color to the photo. I made mine look a little blue
18. Merge Visible
19. Duplicate your layer
20. Click on the Burn tool and darken around the edges and any where else it may need to be darkened in the photo


