

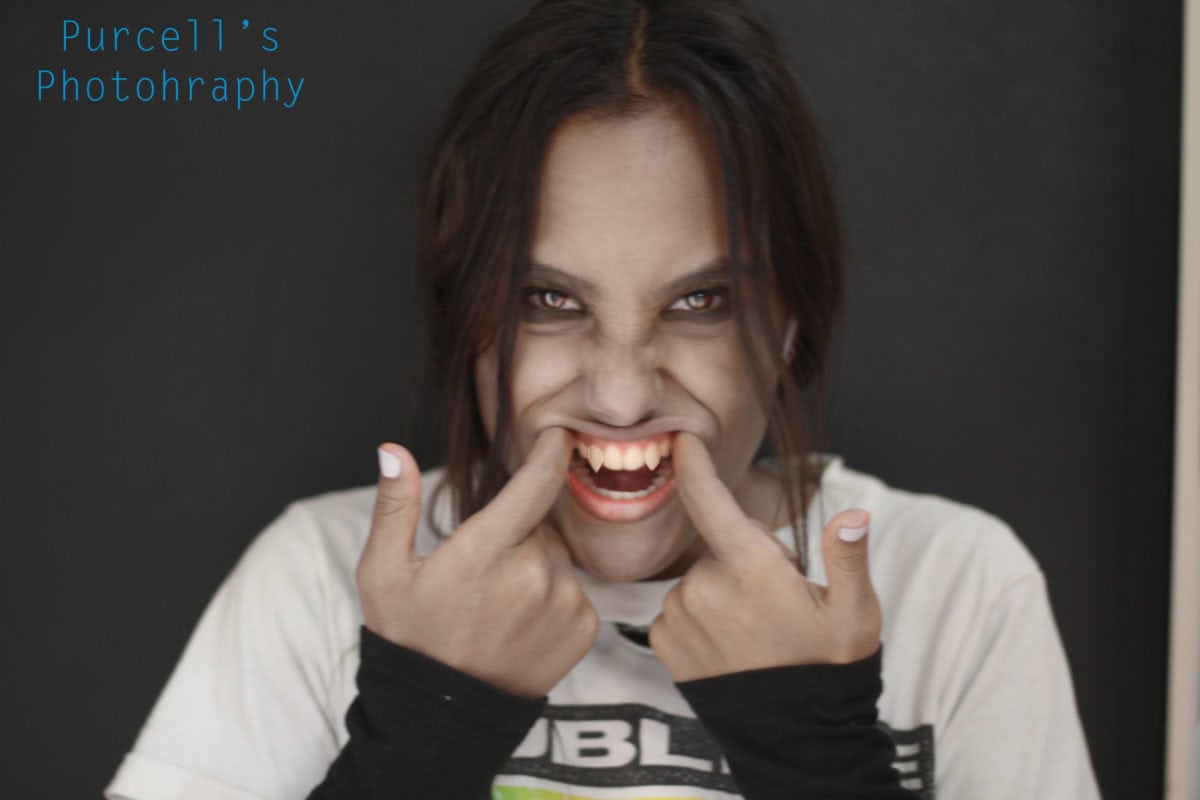

Photo for Vampire
- Take the photo in the shade or inside. Vampires don’t go in the sun!
- Must be very close up
- Low aperture
- Eyes in focus
- Mouth open with teeth showing

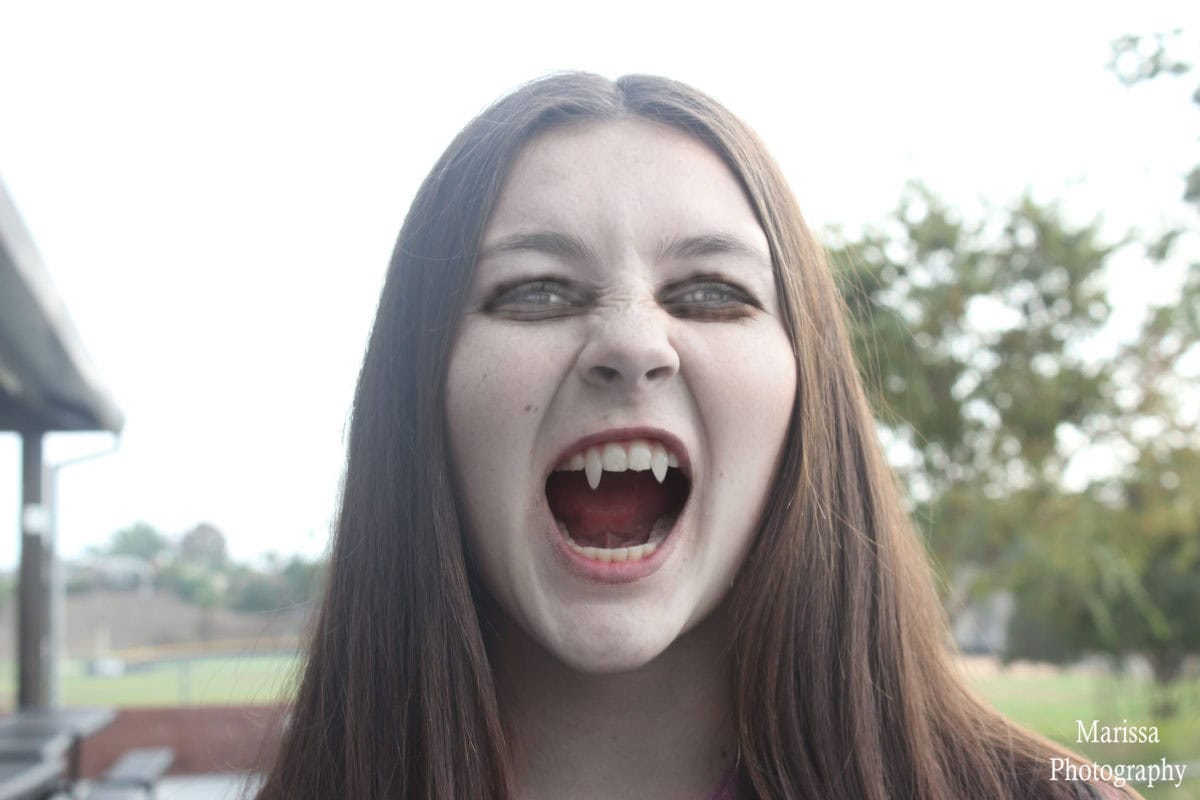
****Examples of photos that would not work with this project****
No Teeth or too little teeth


Not enough teeth
Vampire Teeth
Step 1:
- Zoom in close until you are only looking at the mouth
- Right Click Lasso Tool (3 down from the top)
- Choose the Polygonal Tool

Step 2:
- Slowly click around the tooth tracing it as close as you can.
- Once you have traced all the way around, double click your mouse to lock it in.
- You will now see marching ants around the tooth

Step 3:
- Go to
- SELECT– MODIFY– FEATHER
- Change the number to 1

Step 4:
- Go to
- Layer- NEW- Layer Via Copy
- This will create a new layer on your layers pallet

Step 5:
- Go to
- EDIT– TRANSFORM– WARP

Step 6:
- You will now see a box with a graph around the tooth
- Pull the tooth down to make a pointed vampire tooth
- Flatten your image when you are done with the tooth

Step 7:
- Repeat steps 1-5 for the second tooth
- Flatten your Image when done before the next section
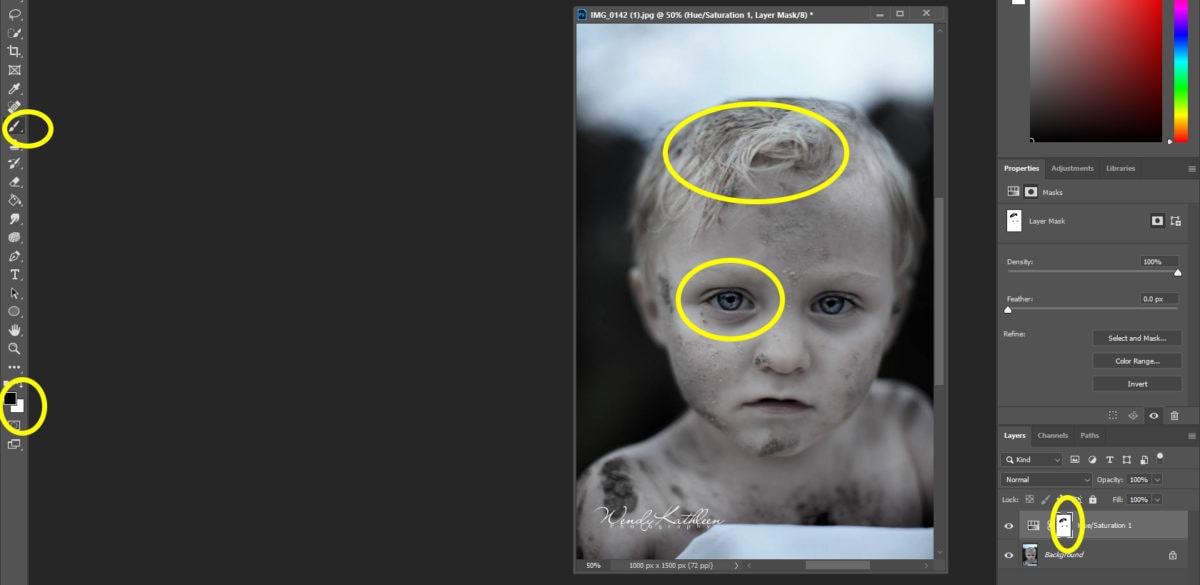
Vampire Skin
Step 1:
- Pick the Hue/Saturation on your adjustments
- Move the Saturation down between -50 to -30 (use your judgement on how it looks)
- You want the skin to look sickly


Step 2 : You will now be bringing back the color of the eyes and hair
- On the hue/saturation layer, you will see a mask (white box)
- Select a black paint brush
- Paint back in the color of
- Eyes (Iris and whites of eyes)
- Hair
- The clothing
- Parts of the background
- Flatten the image
Vampire Lips
Step 1:
- Zoom in super close to see the lips
- Click on the adjustment at the bottom of the layers pallet
- Choose Brightness/Contrast
- Move the Contrast toward the right
- Move the Brightness a little to the left
- You want the lips to be a deep red
- Do not worry that the skin is changing color also. We will fix this

Step 2:
- Click on the Black box next to the Brightness/Contrast Layer
- Click on the brush tool
- Make sure the top color box is black
- Zoom in even closer so that you only see the lips
- Paint back in the red of the lips
- Flatten the image

- If you mess up and paint to much off around the lips
- Change the brush color to white
- Paint back in the area.

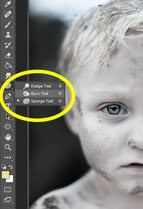
Vampire Eyes
Step 1:
- Duplicate your background layer
- Zoom in close to the eyes

Step 2:
- Click on the Burn Tool (looks like a white glove)

- With a small brush paint around the eye to make it look like they have dark circles/black makeup
- Do not use to much of the burn tool. You want it to look natural

Step 3:
- Right click on the Burn tool
- Pick the Dodge tool
Step 4:
- Slowly click ONLY on the coloredpart of the eye
- Not not click on the whites of the eyes
- Do not over edit this part

Step 4:
- Go to Layer- New Layer

Step 5:
- Where it says Normal at the top of the layers pallet, change it Color Overlay

Step 6:
- Click on the color pallet
- bottom at the tools bar.
- Pick an eye color
- orange or yellow work good but you can also pick another color
- Click on the brush tool
- paint in the colored section of the eye
- If it is to dark, pull down the opacity on the layers pallet


The Next Step is OPTIONAL
Vampire Blood
Step 1:
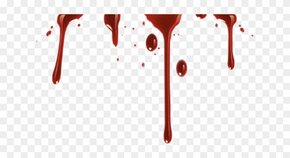
- Select a PNG blood drip file
- Drag onto lips
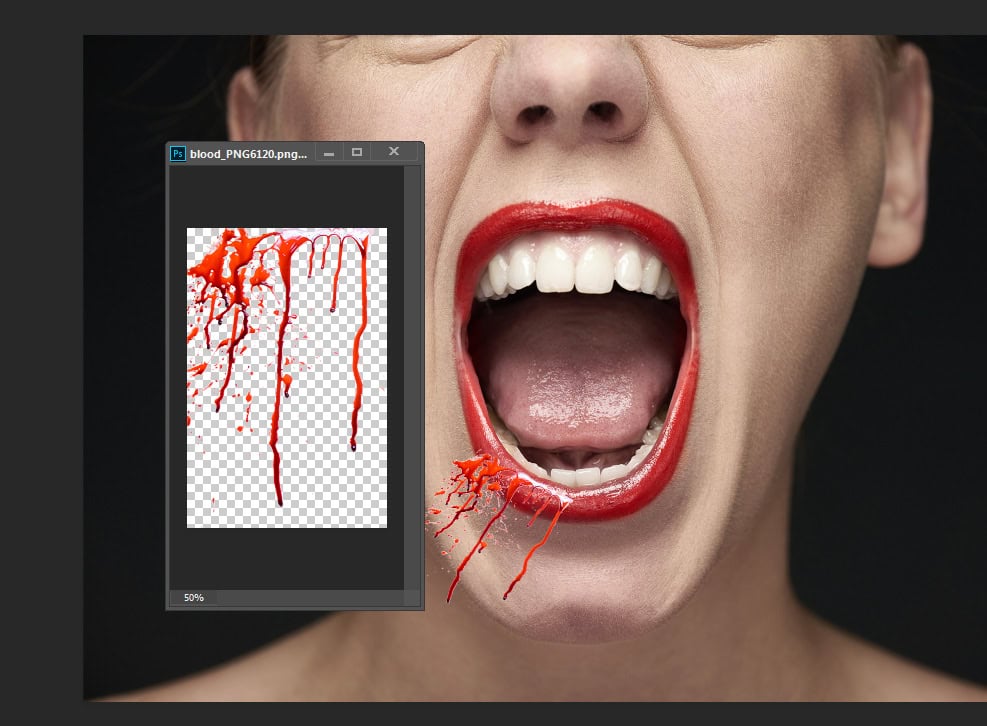
Step 2:
- Click Control T to make the file bigger or smaller
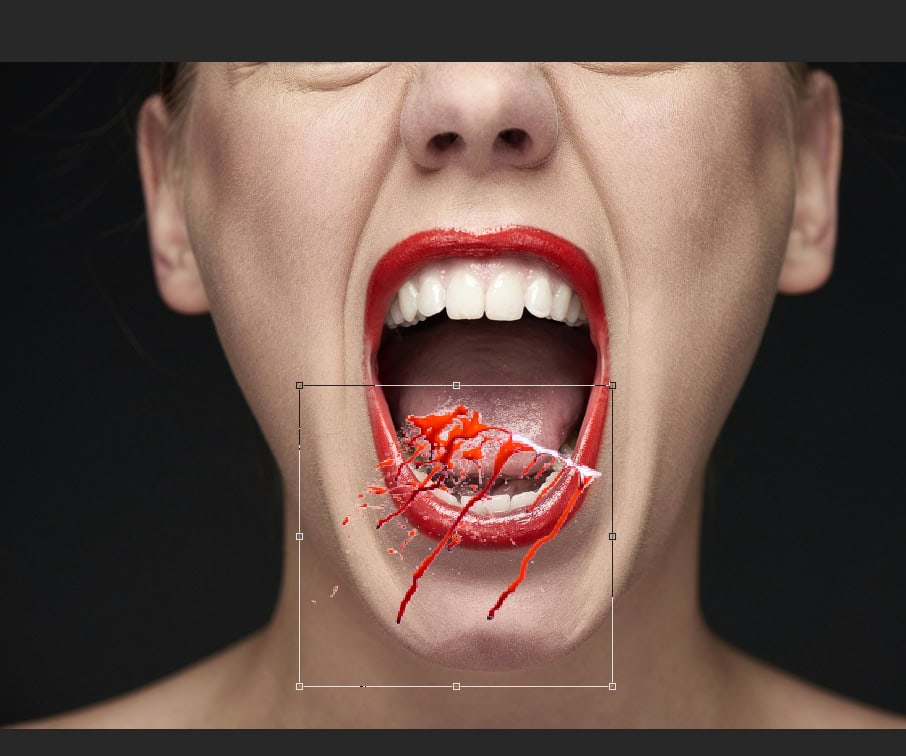
Step 3:
- Edit- Transform- Wrap

- Move the dots around until it looks like it fits onto the lips

Step 4:
- On your layers pallet change Normal to Multiple

Step 5:
- Add a Layer mask (camera looking box at bottom of layers)
- With a black brush paint out the blood that is on the teeth and what you don’t want

Step 6: Do this step the red color does not match or looks fake
- Image- Adjustments-Select Color
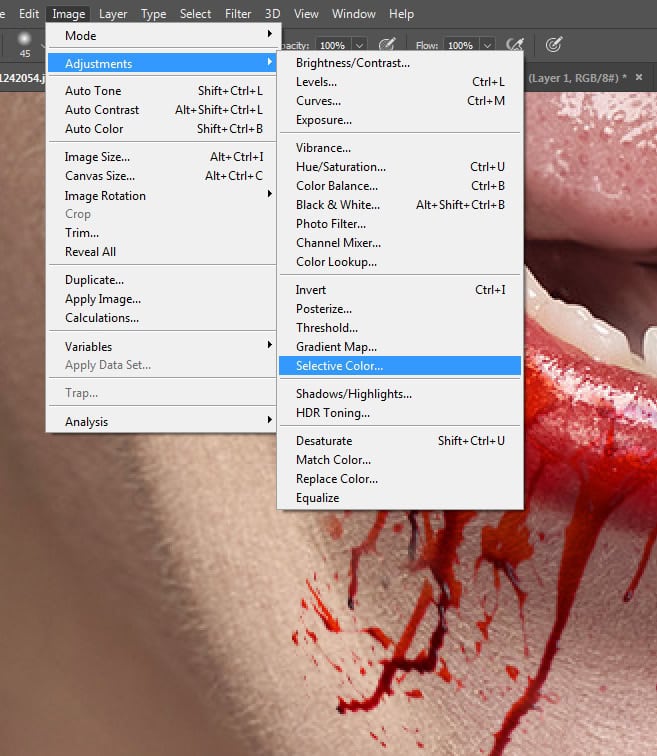
- Move the sliders until it looks real
