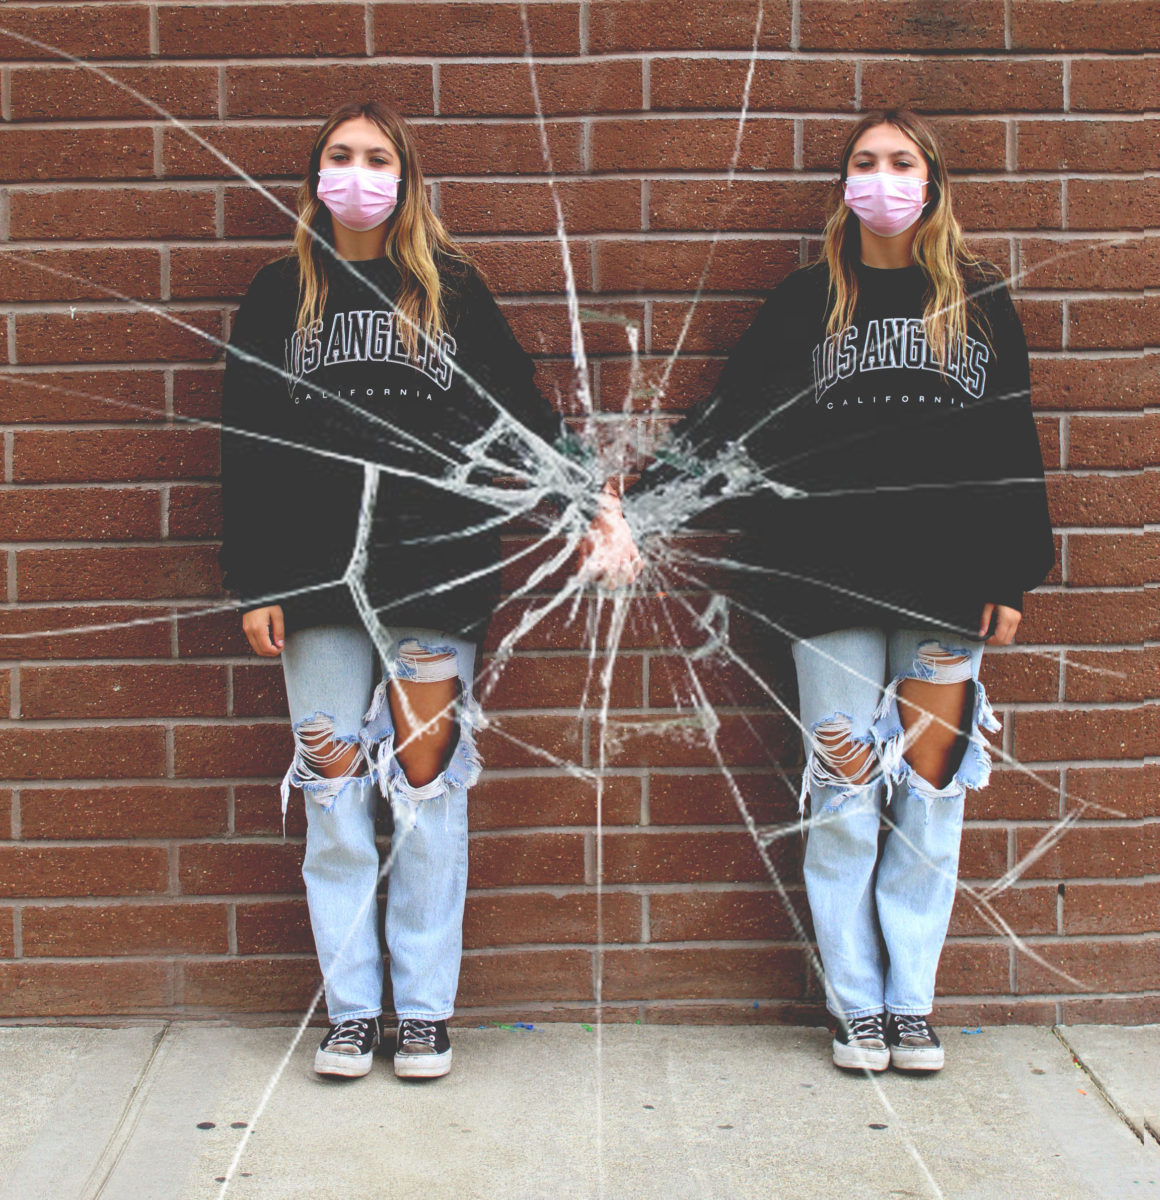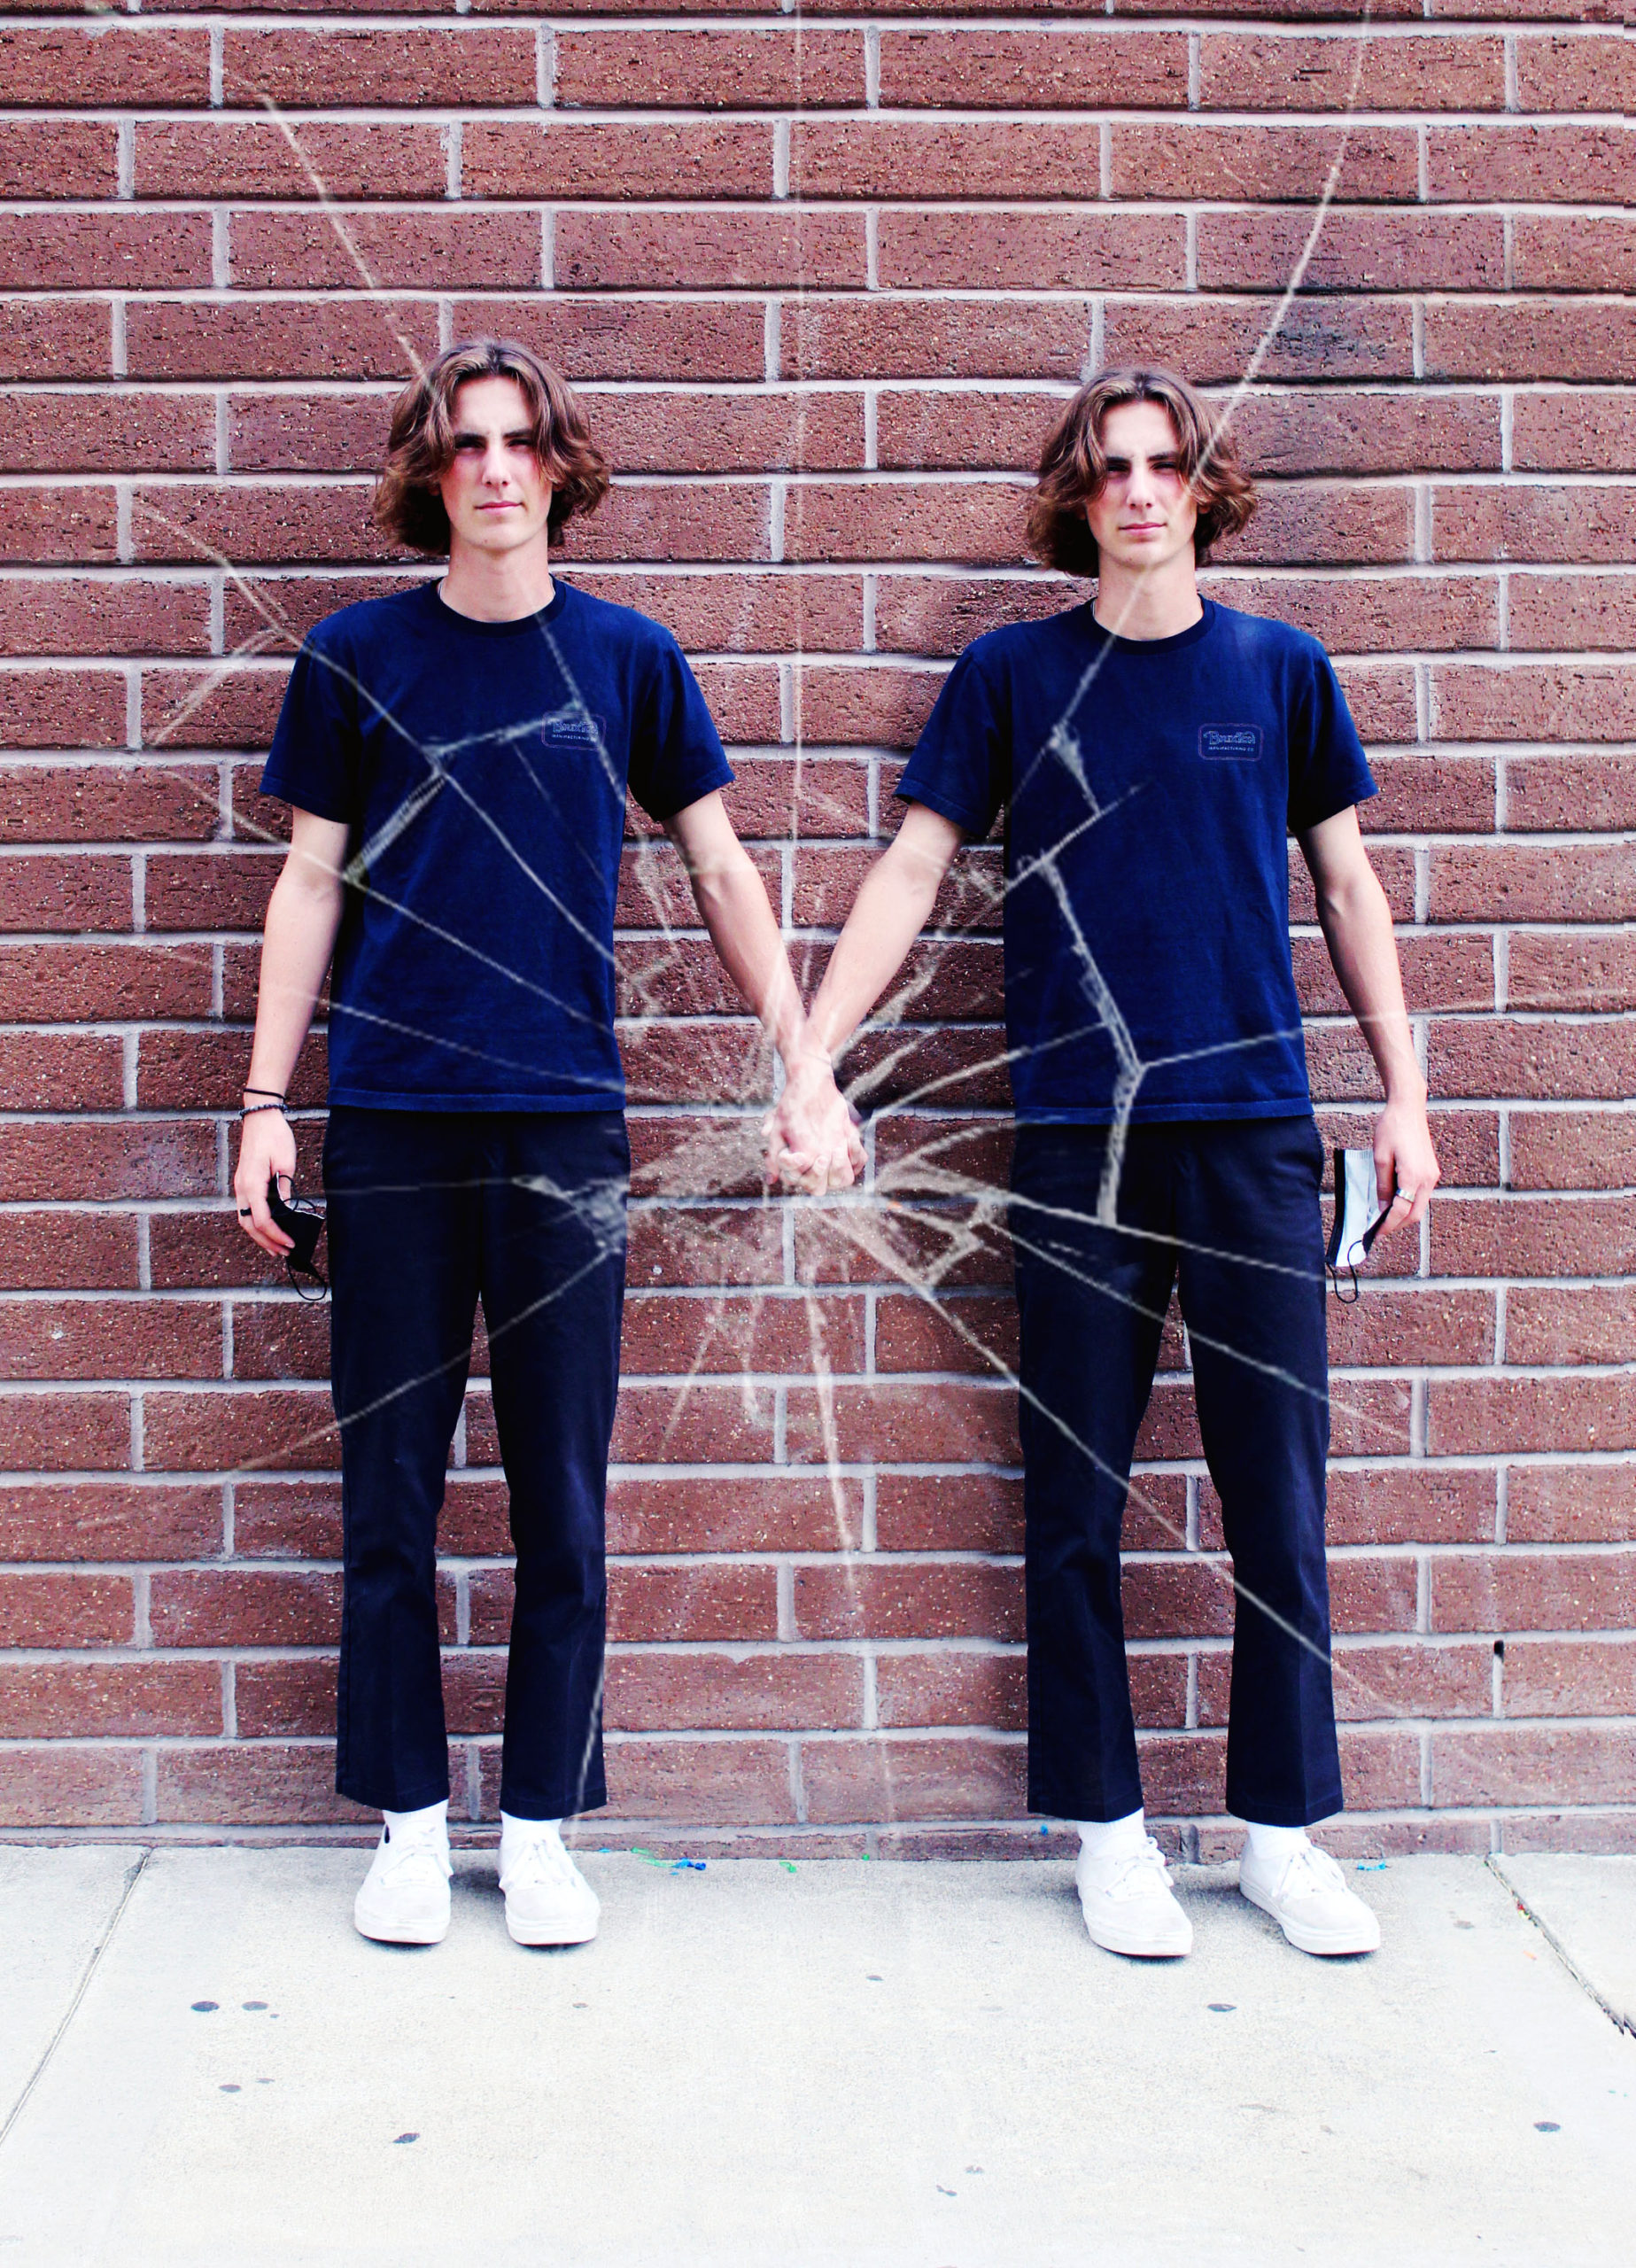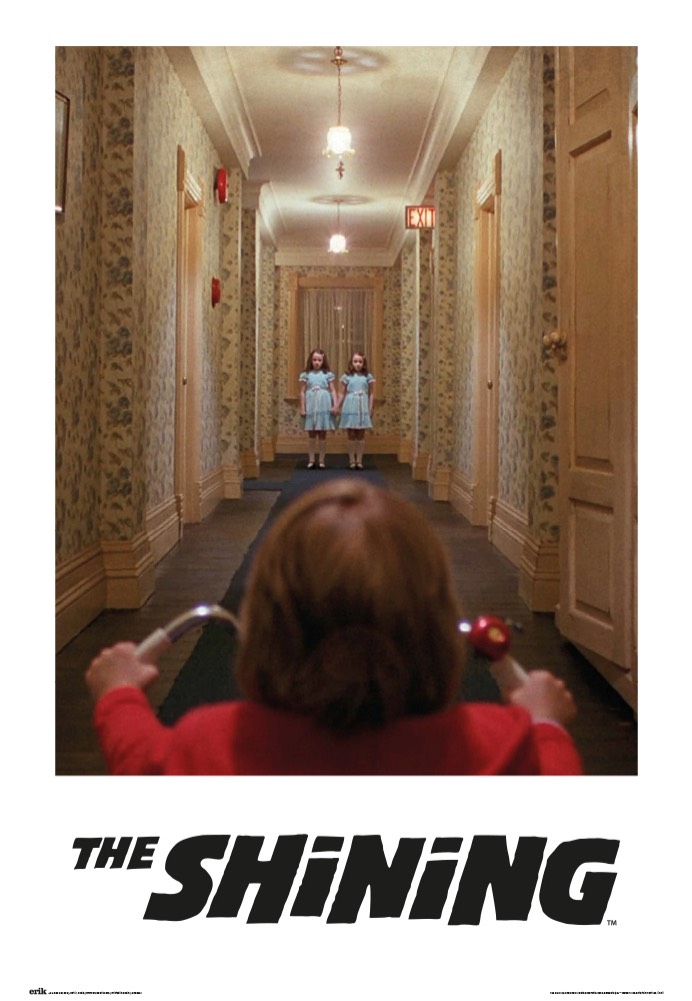
THE SHINING: The twin girls from the movie
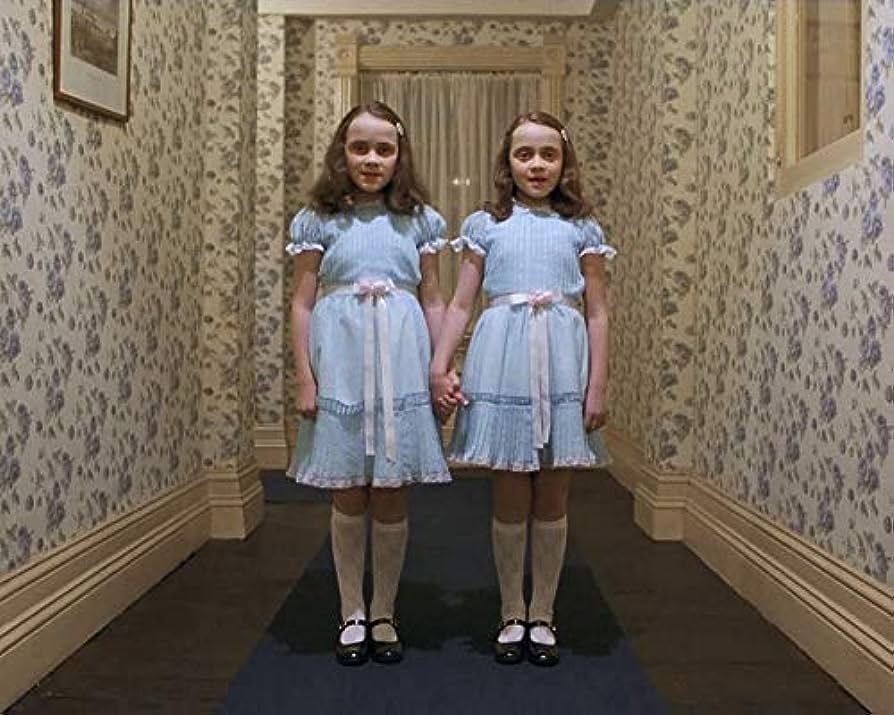
Part 1: Photography
Step 1:
- You will be taking 2 photos
- Set your camera to automatic
- Turn the flash on
- Set it on a tripod
Step 2:
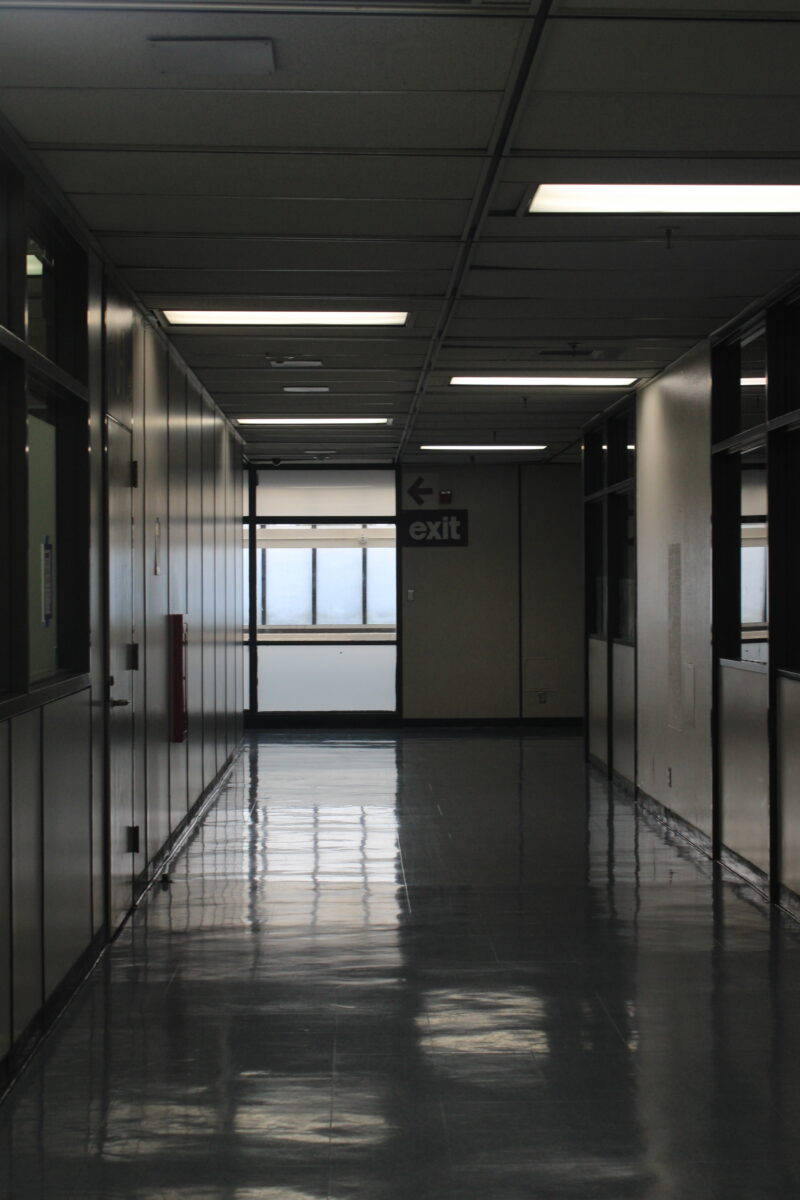
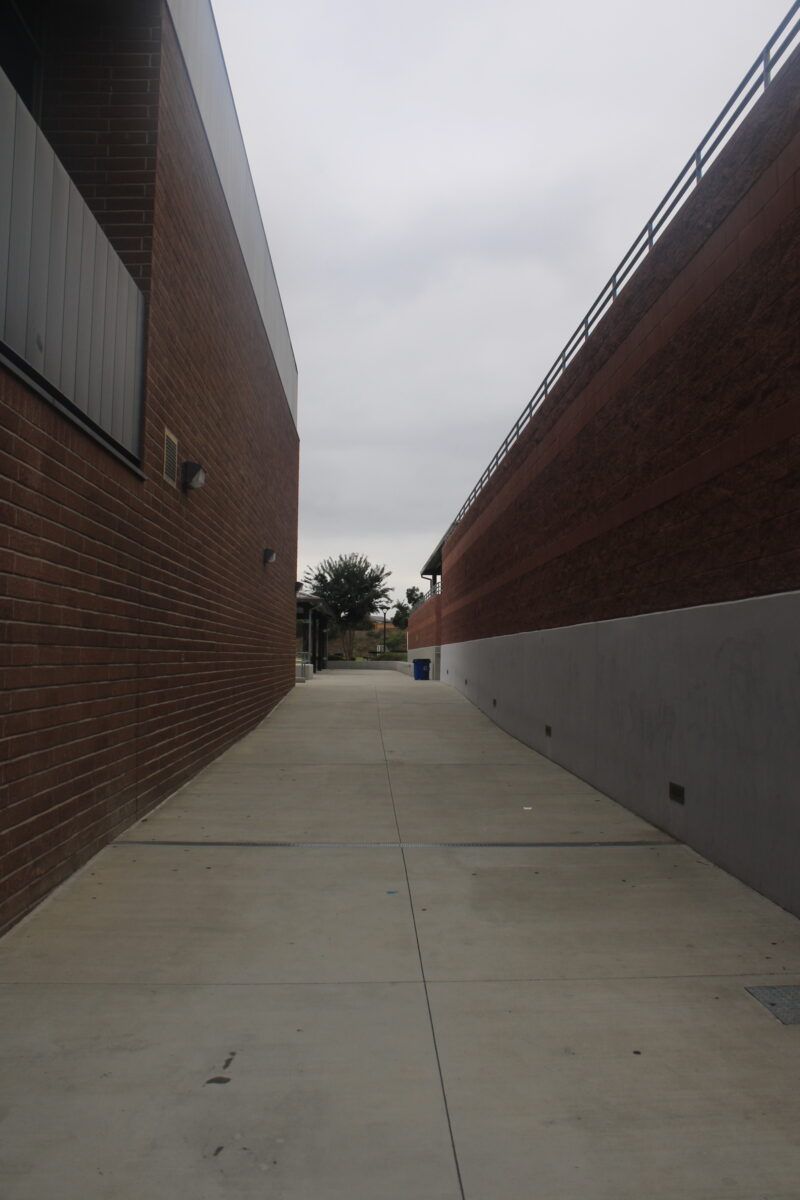
- Find a long hallway on campus either inside or outside
- Must be in Shade if outside
Step 3:
- Have the two people stand about halfway down the hallway
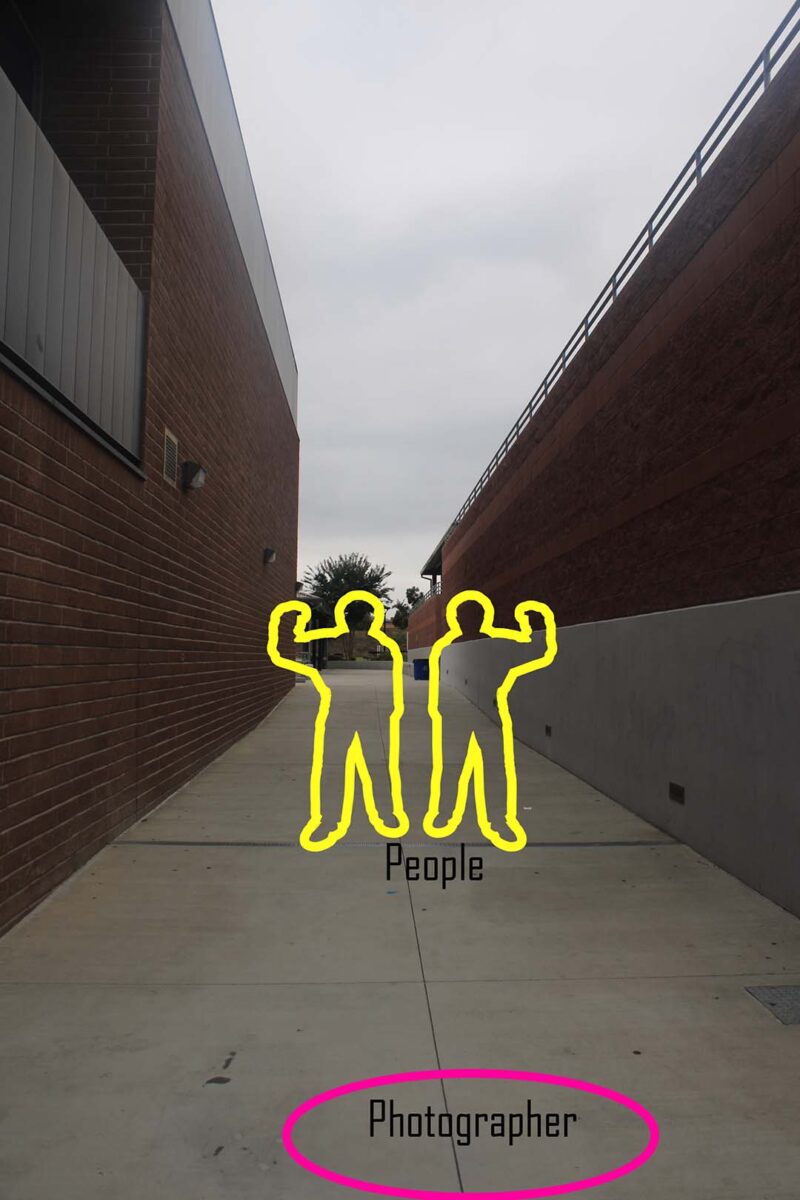
Step 4:
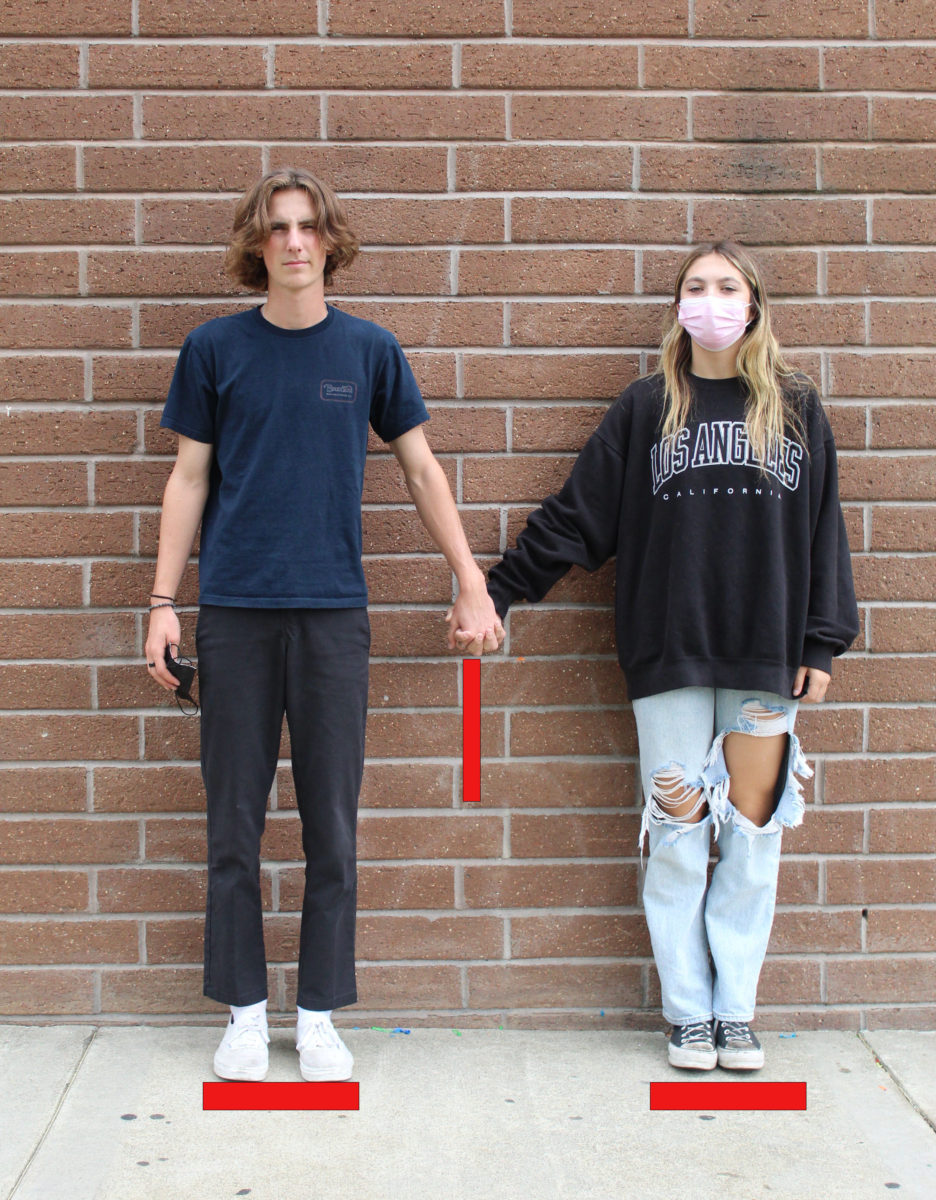
- Have the two people hold hands

- If you do not want them to hold hands you can have the people stand side by side
- But it will not look as good in the end

Step 5:
- Place a stick, rock, tape or other small object in front of their toes
- This will help you mark their place
- Take a photo
- Do NOT move or put your camera down
Step 6:
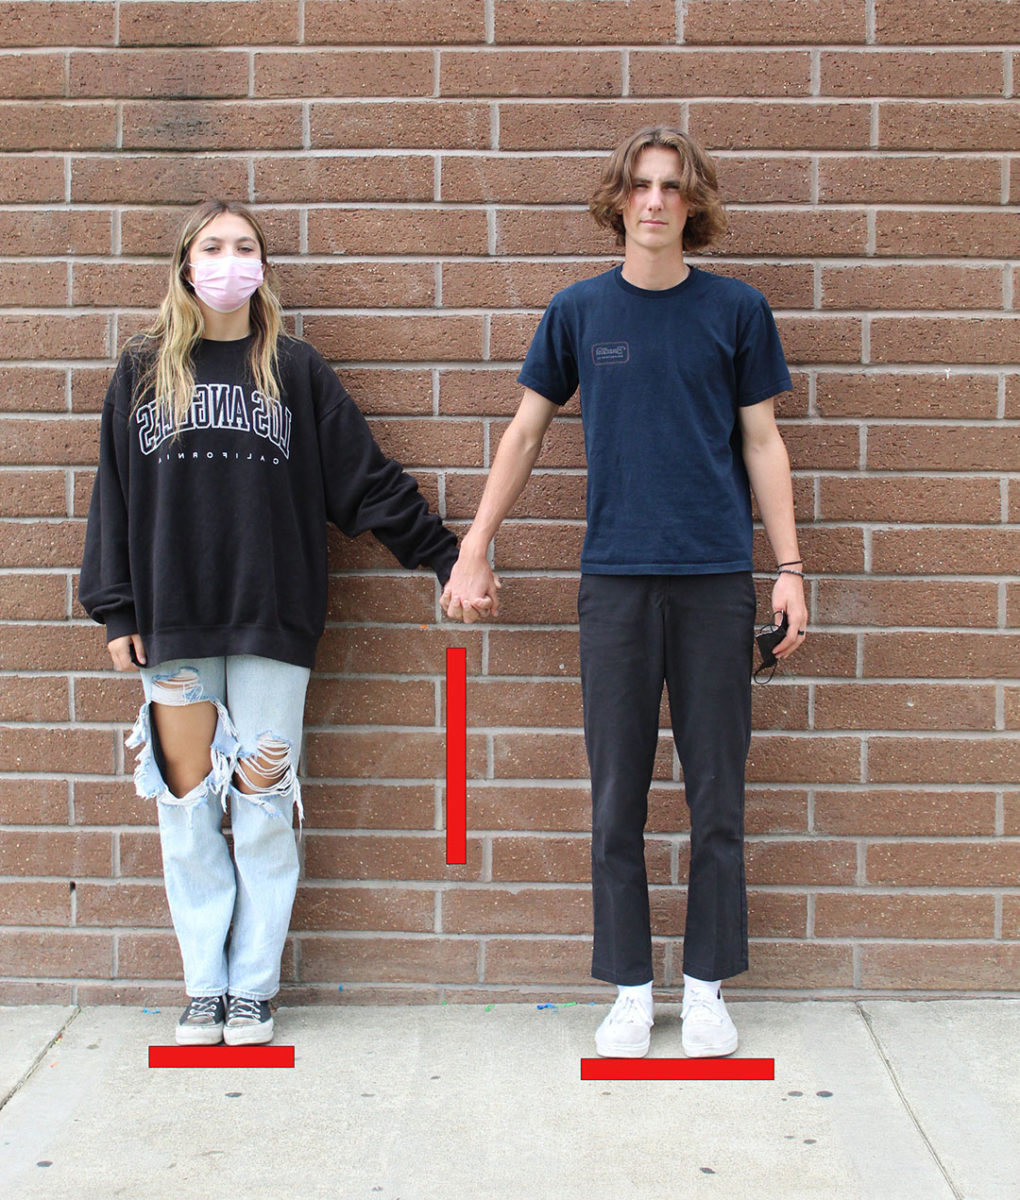
- Have the people switch sides
- Toes standing on the marks
- Holding hands
- Take another photo
Part 2: Photoshop
Step 1:
- Open both photos in Photoshop
- Using the MOVE tool,
- Move one of the photos onto the other photo

Step 2:
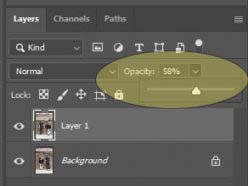
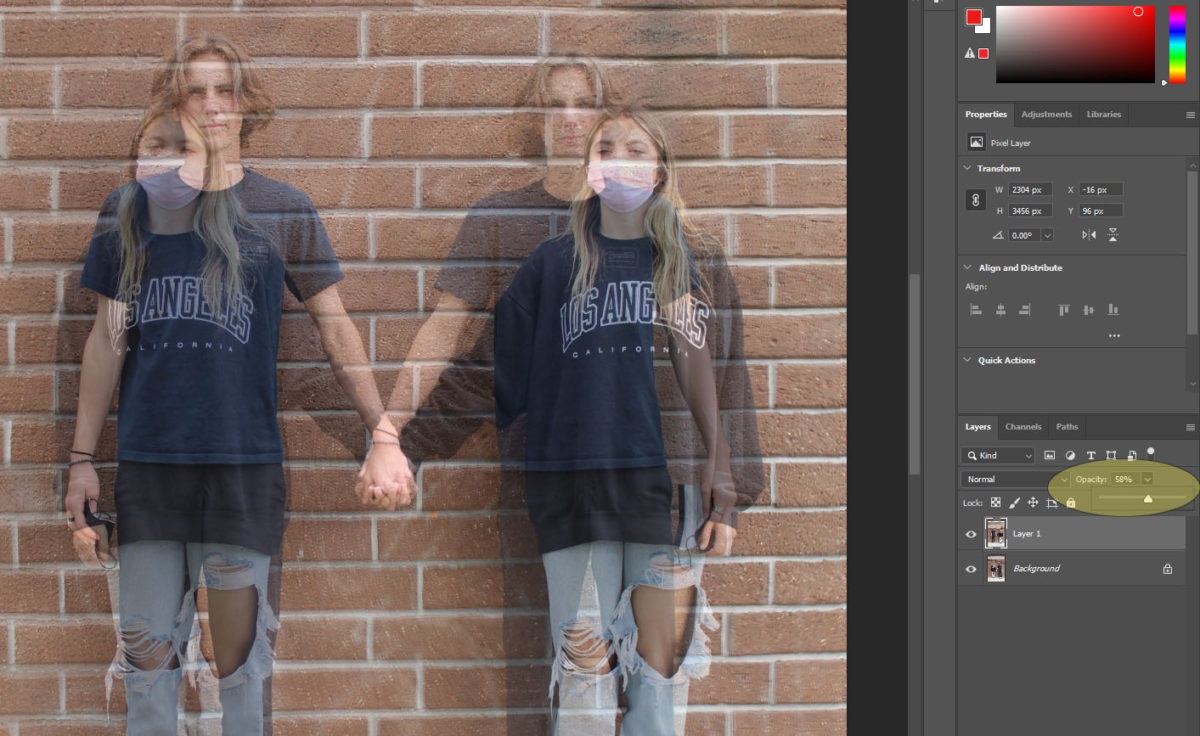
- Click on Layer 1
- Reduce the Opacity to 50%-60%.
Step 3:
- Move the file so that the Background areas lined up
- Line up the hands as best you can (they will not be perfect)
Step 4:
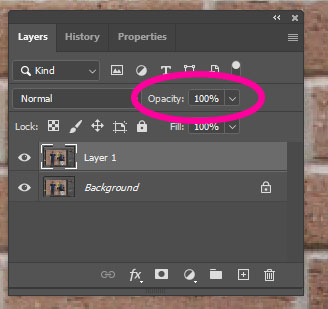
- Move the Opacity back up to 100%
Step 5:
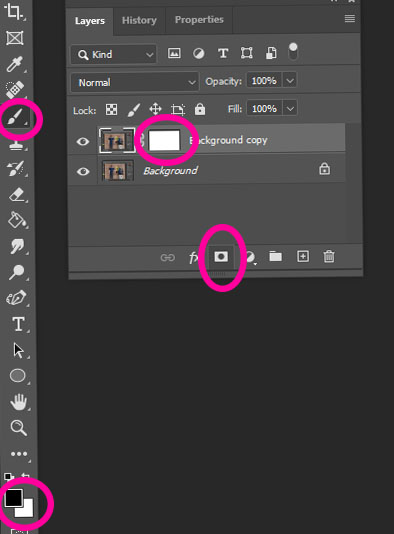
- Layer 1
- Add a Layer Mask
- Choose a paint brush
- Choose black
Step 6:
- Begin to Paint out the other person carefully
- Leave the HAND area to the end
- If you make a mistake and paint out to much
- Make brush white and paint back in
- If you make a mistake and paint out to much

Step 7:
- Be VERY careful around the hand area.
- It will not be perfect, so do not worry
- We will fix it
- Flatten your image when done

Step 8:
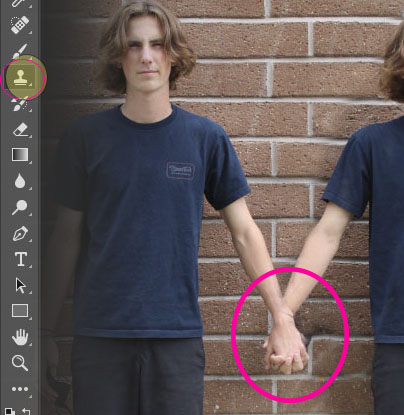
- Zoom in close to the hand area (Ctrl +)
- Select the Clone Stamp Tool
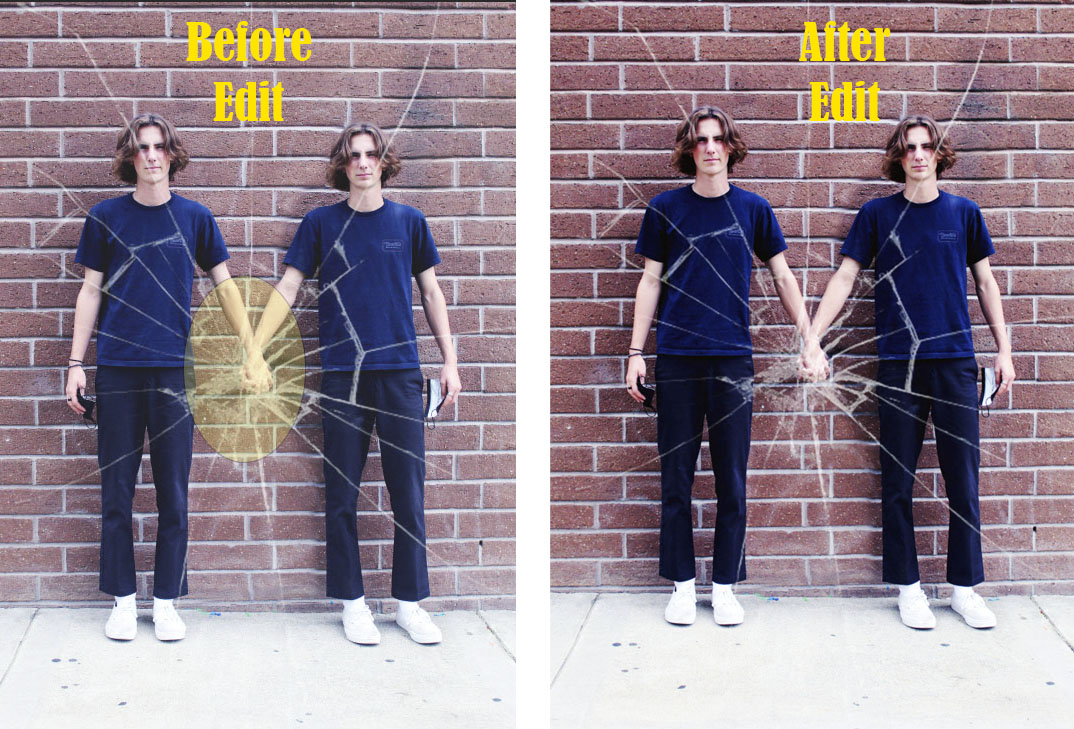
- Clone Stamp areas on the hand, arm and surrounding areas that do not match
- If it’s not perfect don’t worry. We will be covering part of it in the next steps
- Clone Stamp areas on the hand, arm and surrounding areas that do not match
Step 9:
- Save one of the Cracked Glass Files
- Open it in photoshop
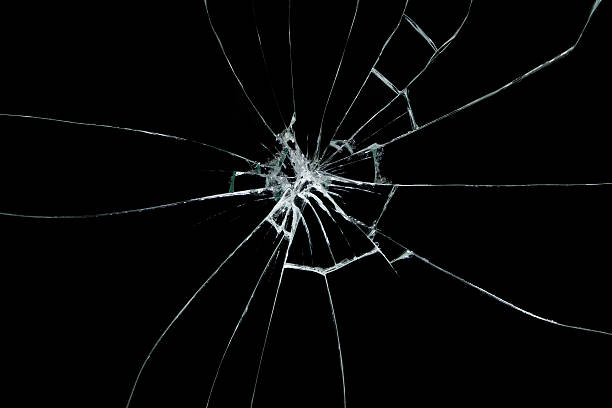

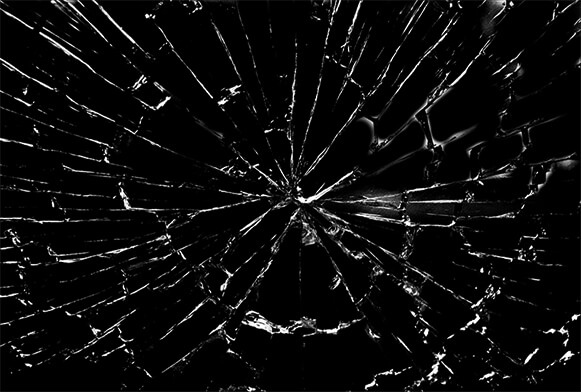
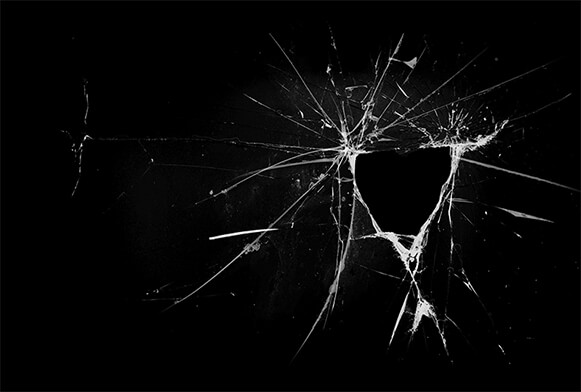
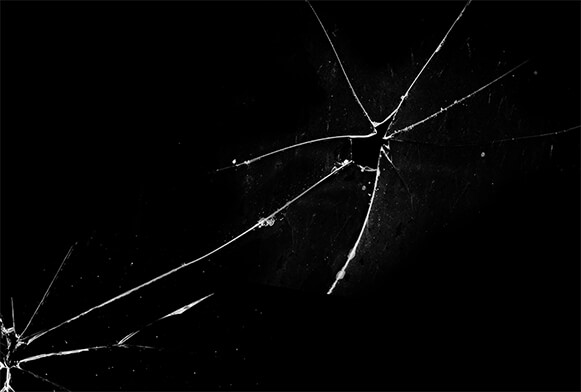

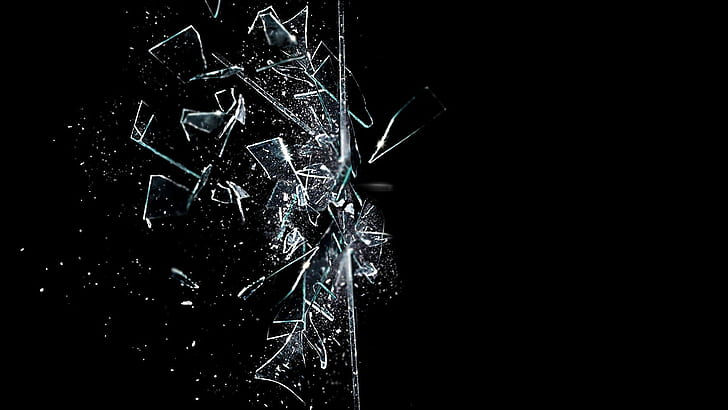
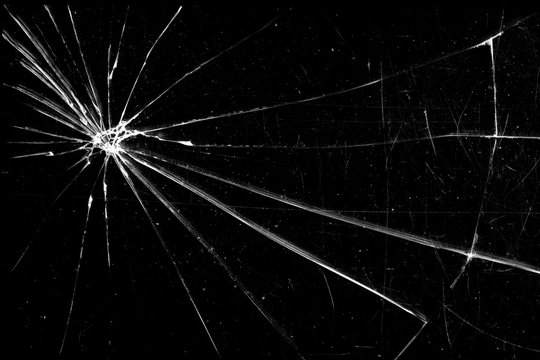
Step 10:
- Select the MOVE tool
- Move the Glass File on top of the twin photo
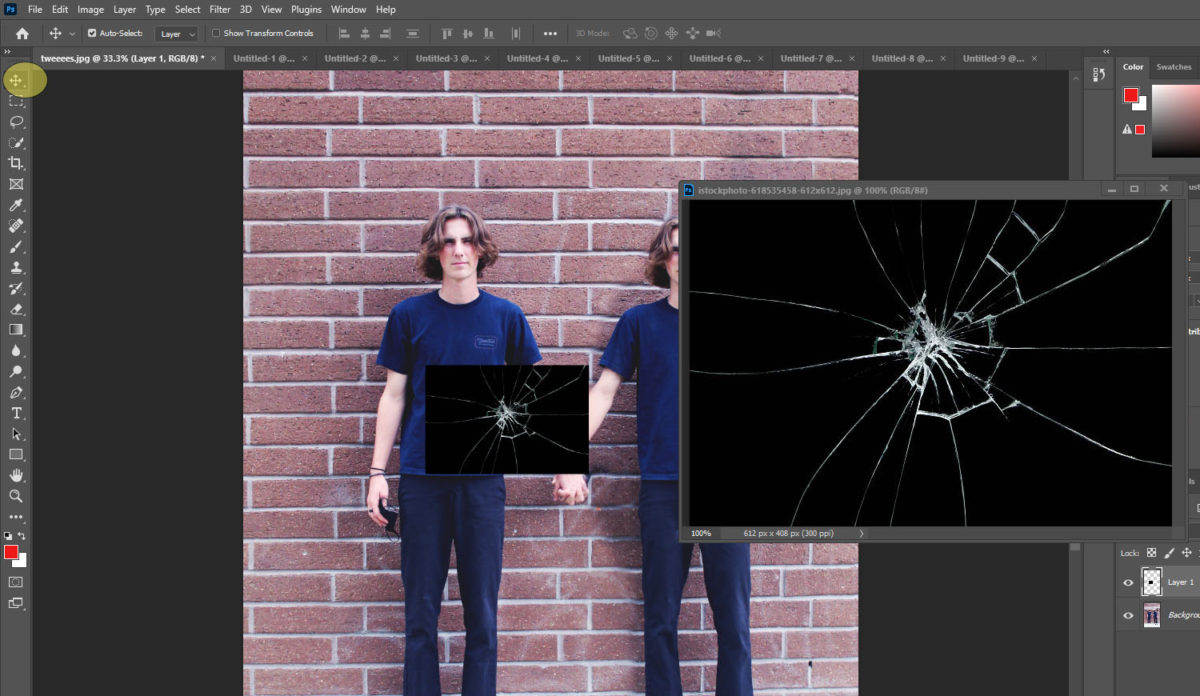
Step 11:
- Click CONTROL and T
- Make the glass file bigger so it goes to the edges of the twin photo
- Rotate it so that it fits over the hand area
- It does not matter what direction you move the cracked glass
- Click Enter when done
- Rotate it so that it fits over the hand area
- Make the glass file bigger so it goes to the edges of the twin photo
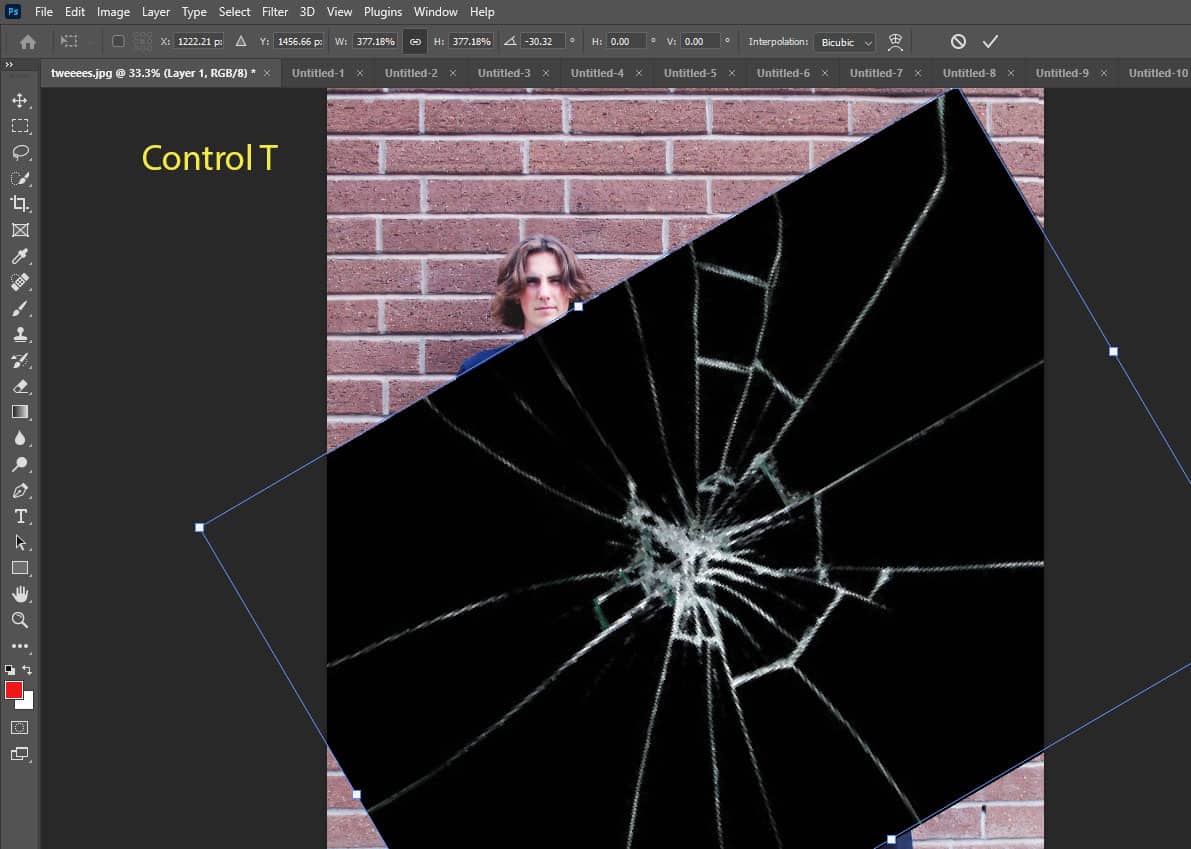
Step 12:
- Click on top left of LAYERS pallet where it saves NORMAL
- Change to SCREEN

Step 13:
- Select the MOVE TOOL
- Line up the largest crack over the hands
- This will hide any area that looks off
- Line up the largest crack over the hands
Step 14:
- You will be painting off some of the cracked glass
- Add a Layer Mask to the cracked glass file
- Pick a Black Paint Brush
- Paint out any areas with glass you do not want
- Flatten Image when finished

- Flatten Image

Step 14:
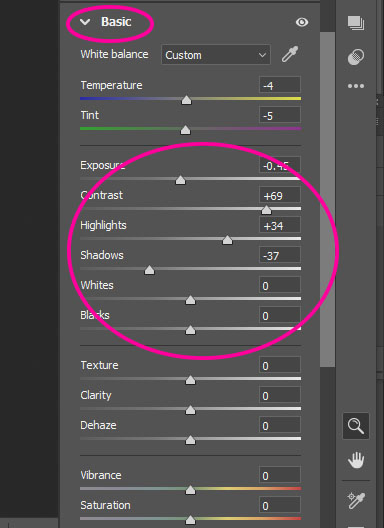
- Open image in ACR (Ctrl Shift A)
- Move the sliders so that your image is dark and bold
- Example
- Increase the Contrast
- Decrease Exposure
- Decrease Shadows
- Click Ok when done
- Add Logo
- Flatten Image
