
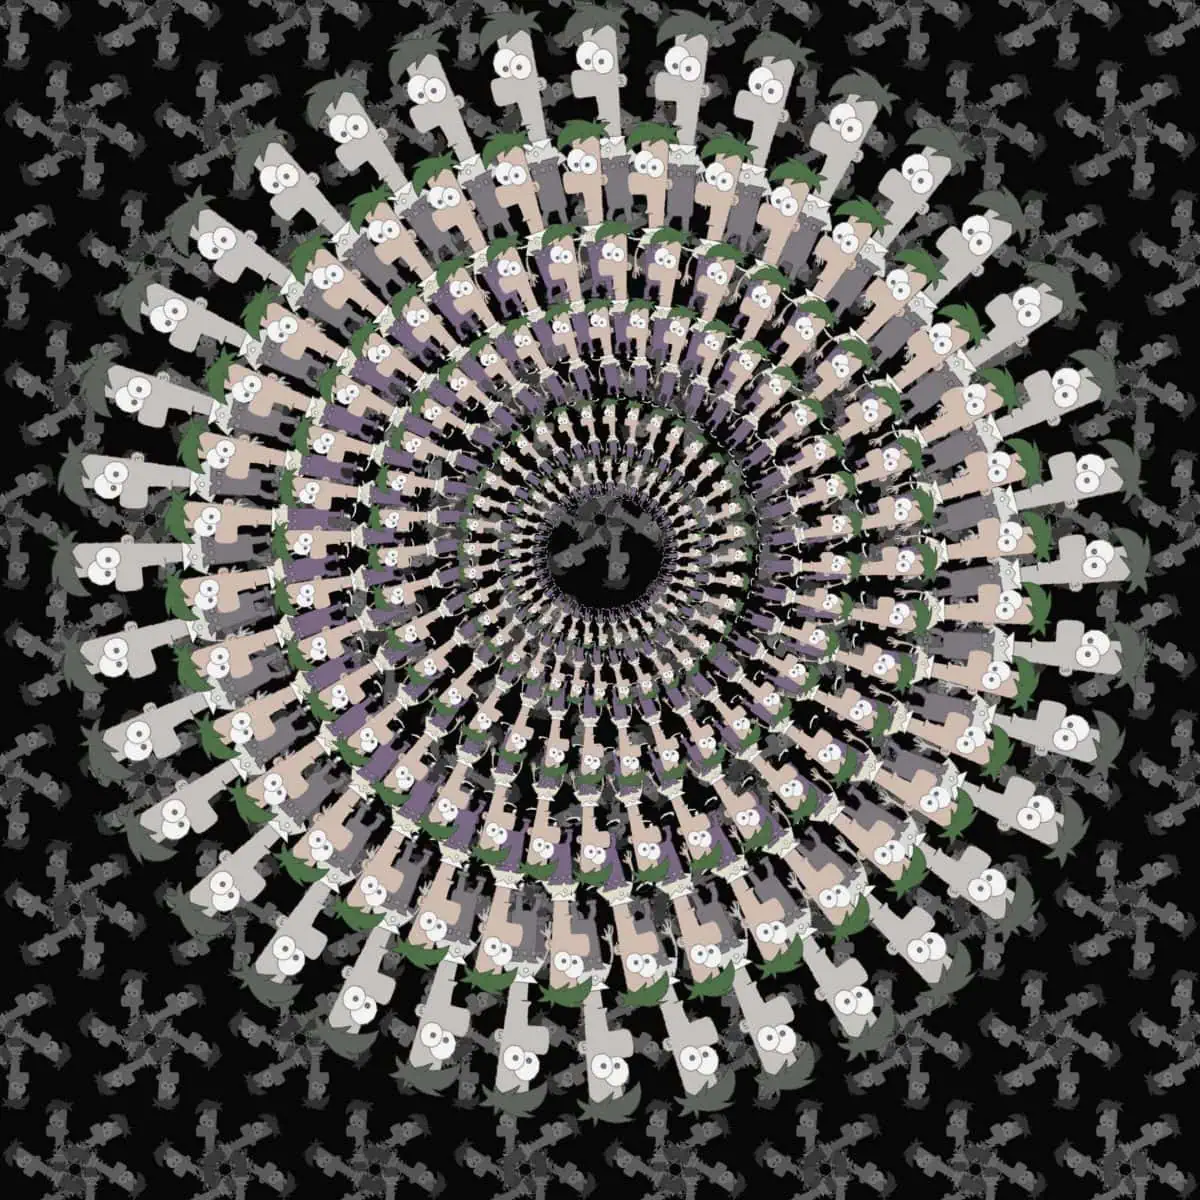
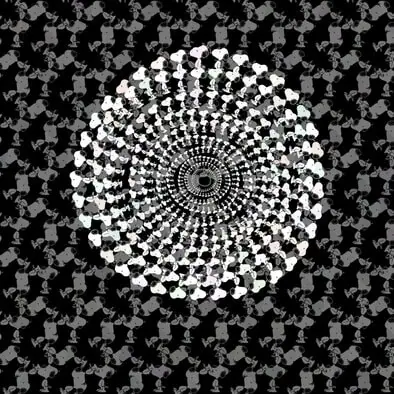
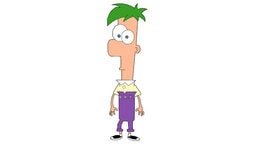
Tessellation M.C. Escher Inspired
Tessellation
Visual Mix Start at 51 seconds

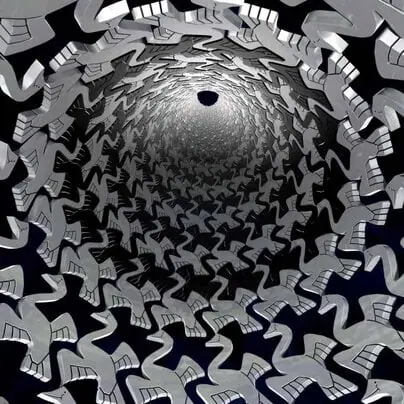

MC Escher Bio
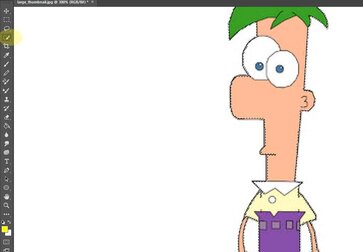
Step 2
Use the Quick Selection Tool to cut out your image
Be sure you don’t miss any sections of your image
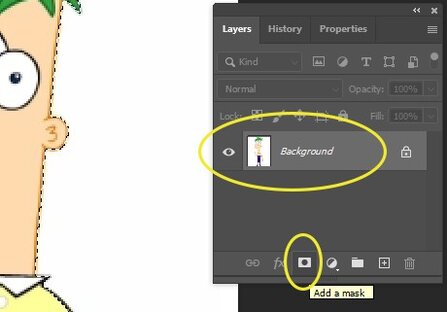
Step 3
- Click on the Background layer
- Click on the Mask
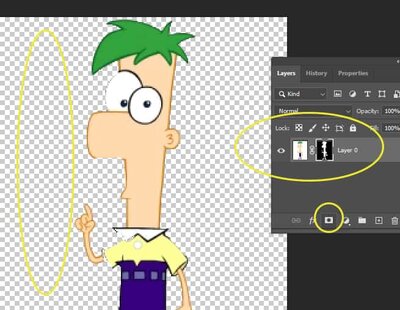
- You will now have
- A checkered background
- Black Box next to photo
- Layer now call Layer 0
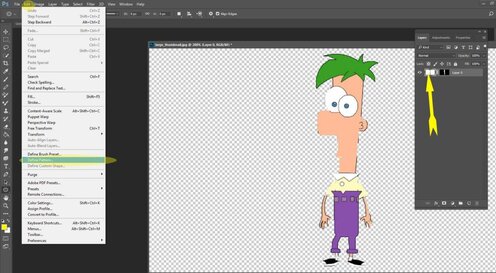
Step 4
- Click on the image in the layers pallet
- Do NOT click on the black box.
- Go to
- Edit
- Define Pattern.
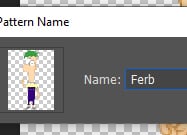
- Give the pattern a name (ex. Ferb)
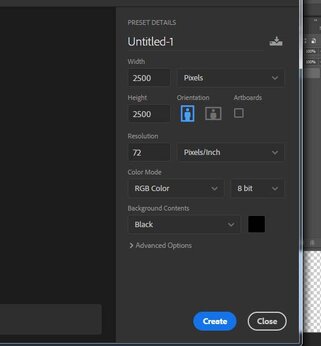
Step 5
Create a new canvas
- File- New
- Width and Height both to 2500 pixels
- 300 Resolution
- Set the Background Contents to
- Black or White or another color
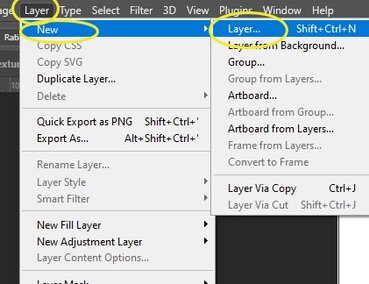
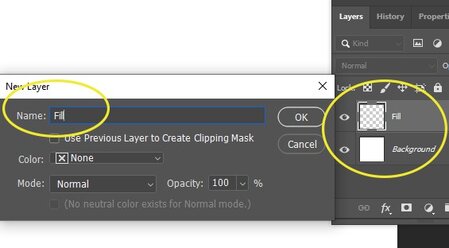
Step 6: Create a new layer
- Layer- New- Layer
- Name the new layer Fill
- You will now have 2 layers
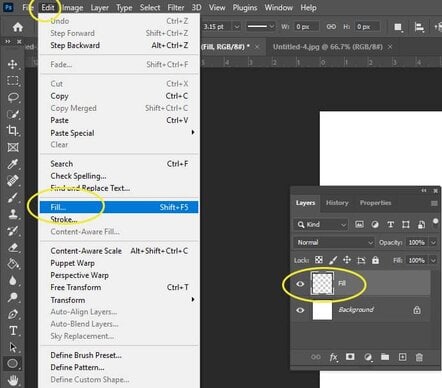
Step 7
- Click on the Fill Layer
- Go to Edit- Fill
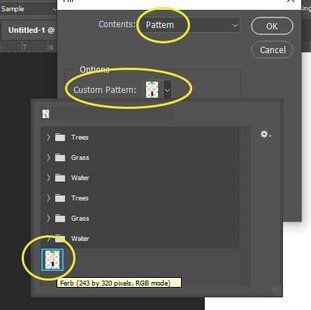
Step 8
- Change Contents to Pattern
- Click on Custom Pattern
- Find the image you used from Step 4 (mine is Ferb)
- Click on Custom Pattern
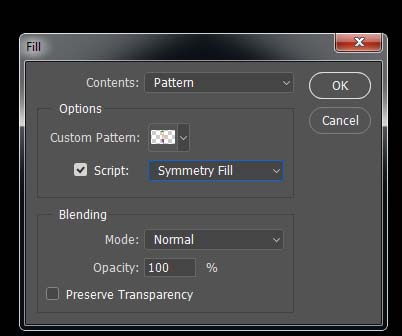
Step 9
- Check the Script option box
- Select Symmetry Fill
- Click OK
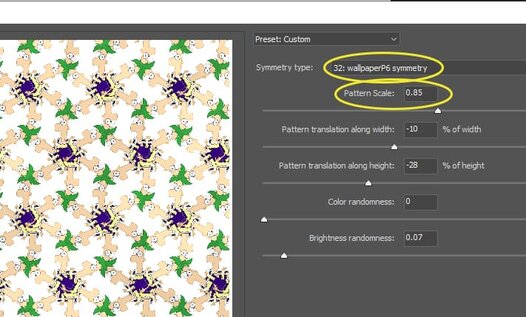
Step 10
- The Symmetry Fill box will show up
- Move the sliders around so that your images look similar to the example below
- Click OK

Step 11
- Stay on the Fill Layer
- Go to
- Image
- Adjustments
- Hue/Saturation

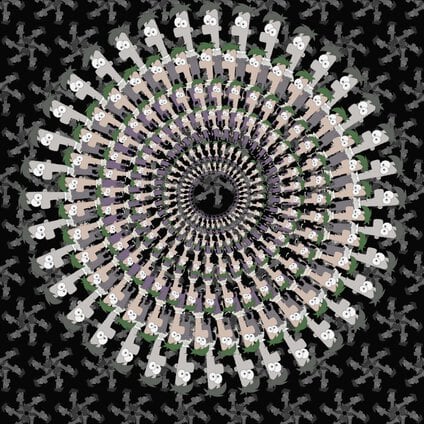
Step 12
- Change the settings to
- Hue: 0
- Saturation: -53
- Lightness: -53

Step 13
- Click on the Ellipse Marquee Tool
- This tool will allow you to draw a circle in the next step

Step 14
- Holding down the Shift key
- Draw a circle in the middle of the canvas.
- You will want to make the circle about 3/4 the size of the canvas.
- See Example below for correct size
- DO NOT make it to big or two small

Step 15
- Right click on the circle
- Choose Make Work Path
- Tolerance 2.0

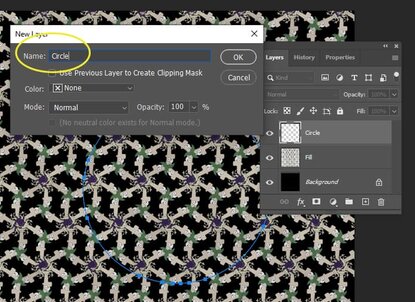
Step 16
- Make sure you are still on the Fill Layer
- Go to
- Layer
- New
- Layer
- Name it Circle
- You will now have 3 layers
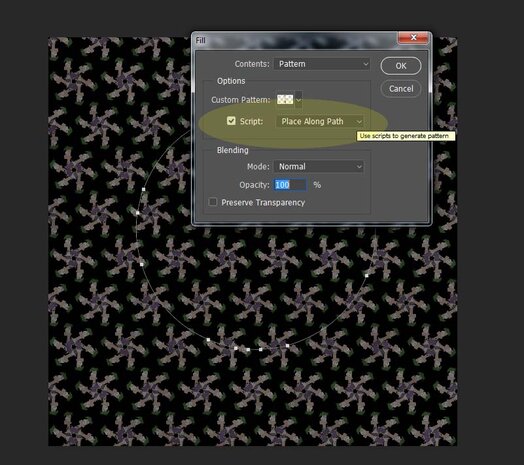
Step 17
- Go to
- Edit
- Fill
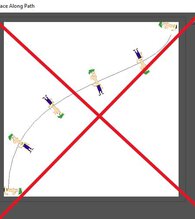
- Change Scripted to Place Along Path
- Click OK
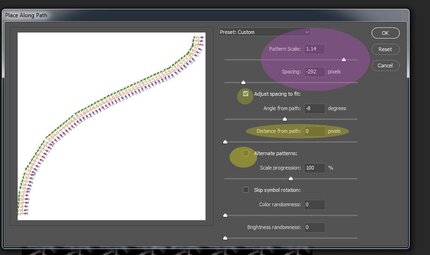
Step 18
- Click on Adjust Spacing to fit
- Make sure Alternate Patterns is NOT clicked on
- Distance from Path should be 0 pixels
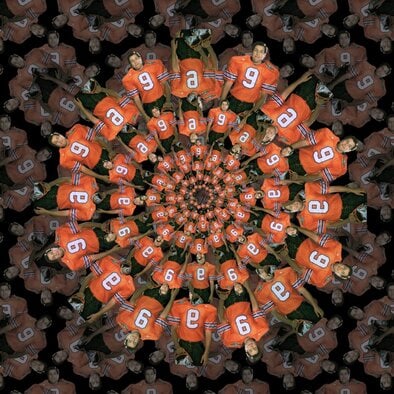
- Pattern Scale and Spacing will be different for everyone.
- Move the sliders until your line looks similar example
- Make sure it does Not look like the other two examples
- Distance from Path should be 0 pixels

Step 19
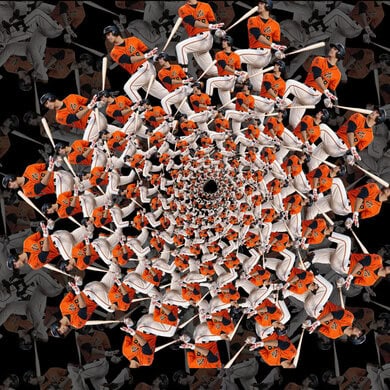
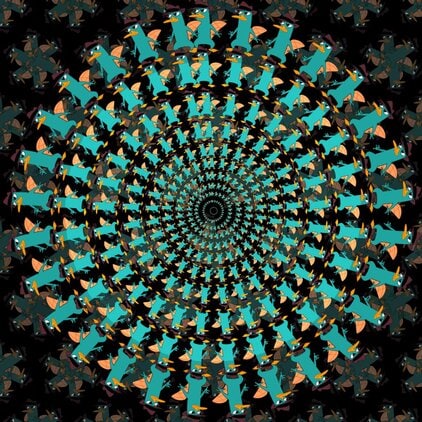
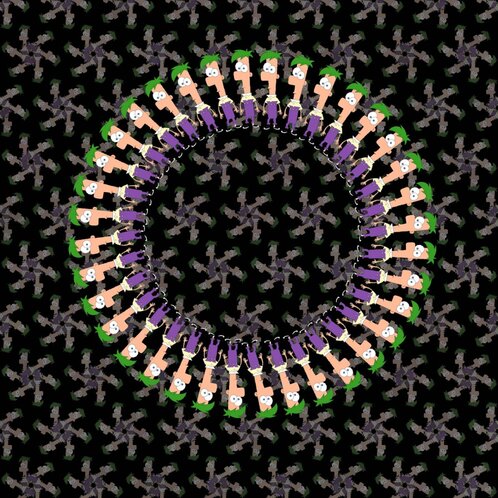
- Your images around the circle should look similar to my example.
- If they dont, return to step 18 and try moving the sliders to different places
Step 20
- Click on the Circle layer
- Right Click on this layer
- Duplicate Layer
- Name the Layer 2nd circle

Step 21
- Click the ALT key (do not hold down).
- Nothing will happen
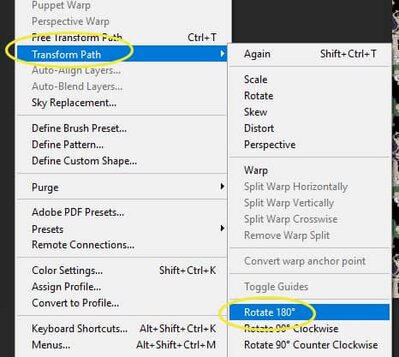
- Go to
- Edit
- Transform Path
- 180 degrees
- Transform Path
- Edit
Step 22
- Click on the Move tool (top of tools pallet)
- Make sure that the Show Transform Controls Box is checked
- You will now see a box appear around your image

Step 23
- Move your mouse outside the box until you see the arrow curved.
- Slightly Rotate your circle of images to the right
- Stop when one of the images is between the other image
- Slightly Rotate your circle of images to the right
- Click on the Top Left of the Image
- Hold the Shift Key
- Move your circle of images in to create a smaller circle.

Step 24
- Click 2nd Circle layer
- Right Click on this layer
- Duplicate Layer and name 3rd Circle
- Right Click on this layer
- You will now be repeating the steps 21-23
- The circle will be getting smaller each time
Step 25
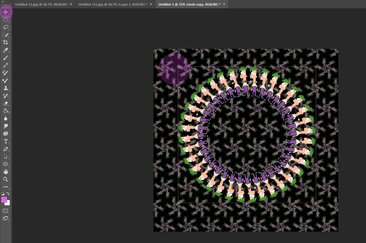
- Repeat all the steps above to create a 4th circle
- When complete, repeat again for a 5th circle
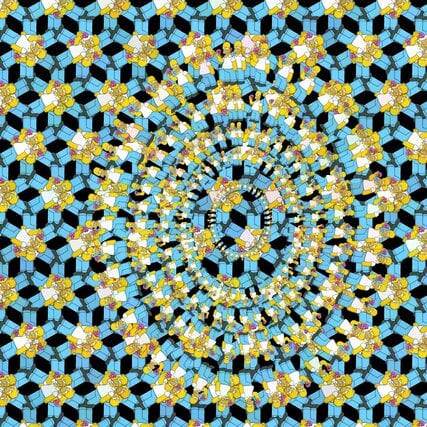
- Keep repeating until the hole in the middle is very very small
- The more you do the better the final image will be
