


You will be adding snow to a photograph!

Photo Section:
Photograph 1
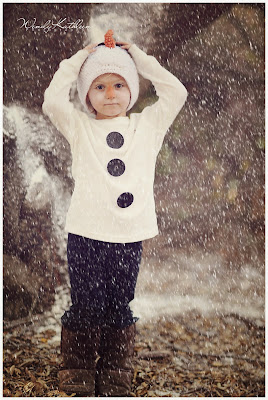
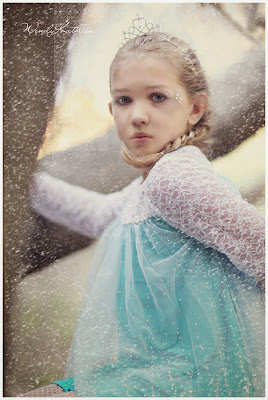
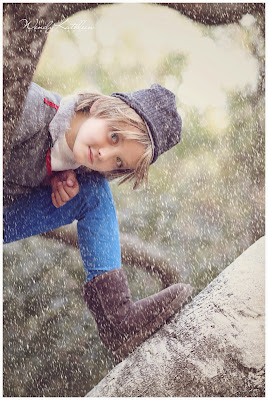
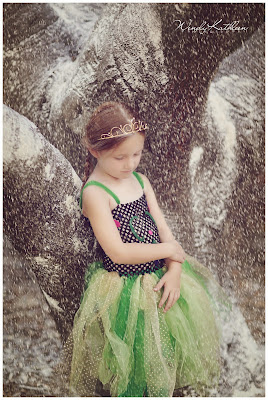
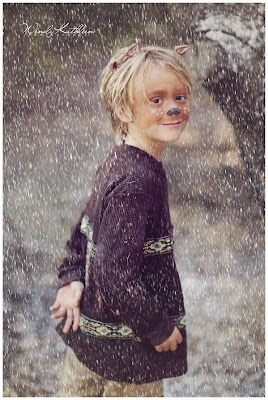
You will take a photo that which looks like the person was taken in very cold weather and adding a snow texture to it. Think of adding scarfs, hats, gloves.
- Must be taken OUTSIDE
- If it’s a sunny day you must take the photograph in lots of shade
- Do not take inside or in the sun
.jpg)
Projects done correctly

_www.wendykathleenphotography.com.jpg)
Projects not done correctly


Photoshop Section for Adding Snow:
Step 1
- Download the snow image from the locker on School Loop
- Open both your image and the snow image in photoshop

Step 2
- Using the move tool (top of the tools list) move your snow texture on top of your other photography
- The snow will not fit. Click Control T
- Drag the snow texture until it fits. Click Enter to lock it in.

Step 3
- Go to your layers
- Where it says normal on the top of the layers pallet,
- Click on the normal box and Change the normal to Screen mode
- Your image will now show through the snow

Step 4
- Click on the snow layer
- Add a Mask to the snow layer
- Make sure you have a white paint brush
- Change the Opacity of the paint brush to between 25-40%

- Carefully click over small sections of the photo. The more you click the more you will be taking off.
- If you take off to much flip your brush to black and put the snow back in.
- The snow removed should look natural.
- Merge your layers
Step 5
- Edit in Curves and other adjustments.
- Watermark

This shoot was taken on a 95 degree day in summer.
Snow overlay was used to create this effect.
_www.wendykathleenphotography.com.jpg)
_www.wendykathleenphotography.com.jpg)
__________________________________________________
Photograph 2
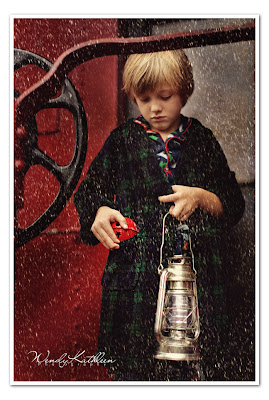
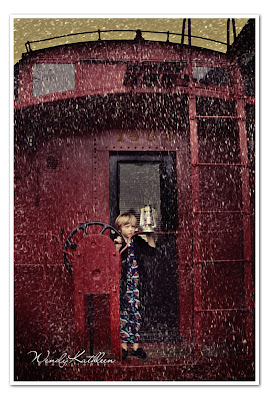
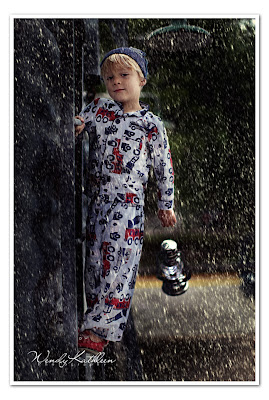
You will want the person to have a light source of some kind (candle, lantern, flashlight) that they are holding. You will take a photo that which looks like the person was taken in at night.


- Take a photograph with a person holding a light source (lantern, candle, flashlight, etc.)
- Take with a background that does not have open light in the background. You want the background to not have any light.


Good Photo (no light in back) Bad photo (light in back)
Photoshop section for looking like night:
Step 1
- Right click on your background layer
- Duplicate your layer

Step 2
- With your burn tool (white glove) begin to darken your background
- As you darken the photograph you want to think where the light source is and where the light would hit. Leave these areas not as dark.

Step 3
- Build up your dark areas SLOWLY
- Make them as smooth as possible
- Your image should start to look like the below example

Step 4
- Right click on the burn tool and select the dodge tool (lollipop)
- Begin to click on the areas were the light would hit.
- Build up the light areas slowly
- If you make it to light, switch back to the burn tool

Step 6
- Open the snow texture from school loop locker
- Drag it on top of your image

Step 6
- In the layers pallet, change normal to screen
- Add a mask and repeat the steps for adding snow from above


Final Image

McElfish Examples