Positive Negative Space using Clipping Mask
1. Symbol

2. Word(s) from a movie, band, sports team, business, ect.
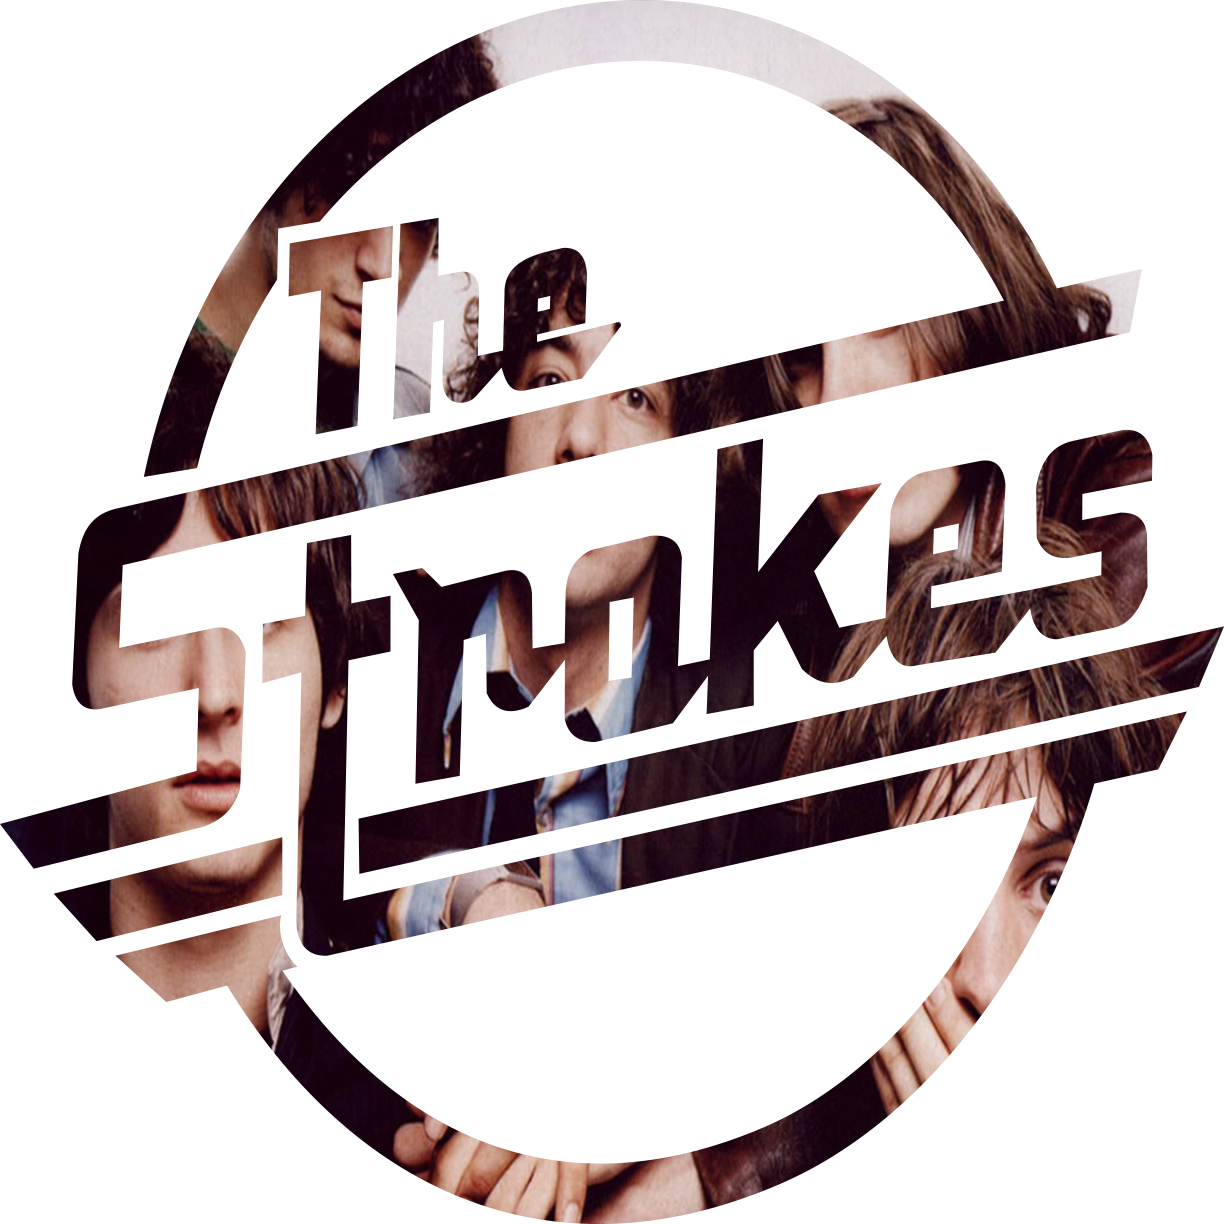
Project 1: SYMBOL
1. Pick a strong symbol from online.
-
You must make sure that your shape is a strong shape, not just a square of circle.
-
The more Negative Space in the symbol the better

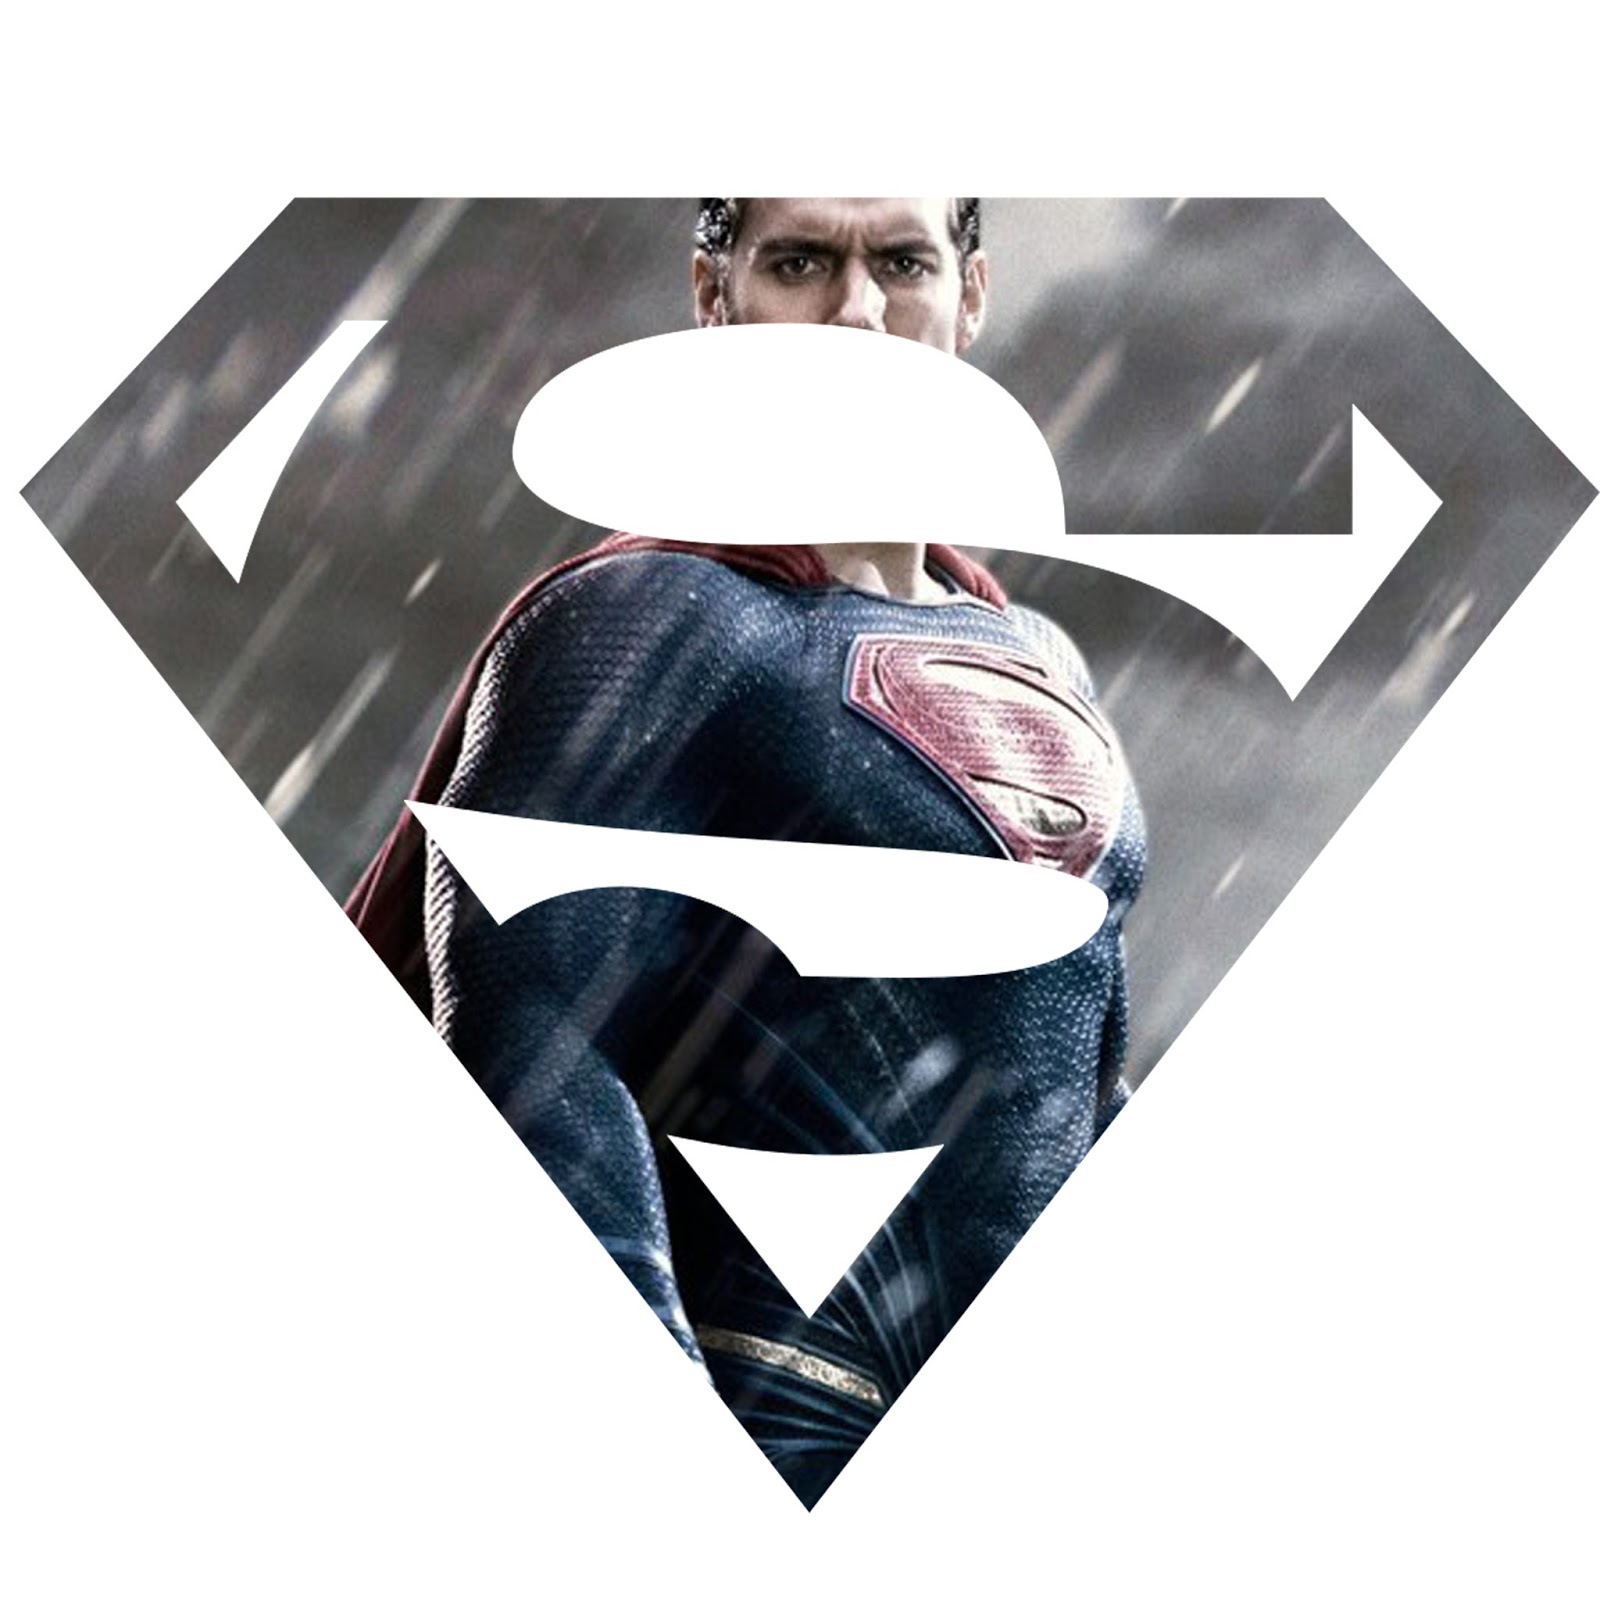
This is an example of a strong shape/symbol to use.

DO NOT use a simple shapes like below
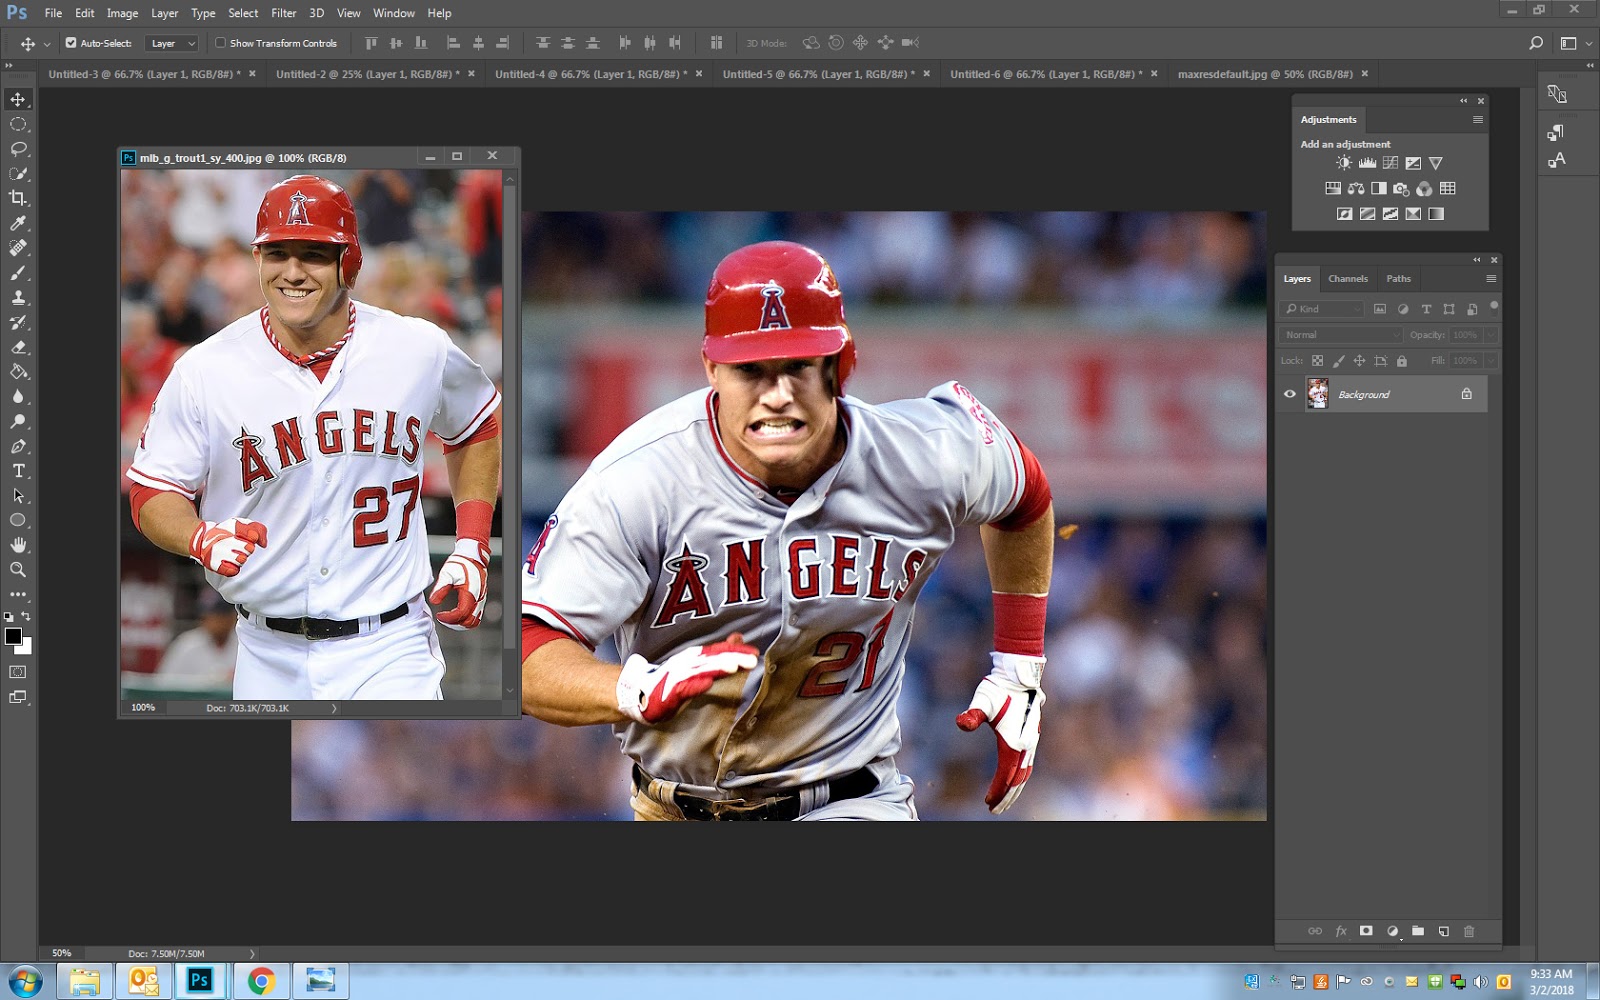
2. Pick an image from online that correlates with the symbol shape
- Make sure it is high resolution so that it will not be blurred
- If your symbol is Vertical then you will want to pick a vertical image
- If your symbol is horizontal then you will want to pick a horizontal image.
- Below are possible photos to use with the Angels symbol.
- Pick the Vertical photos because the Angels A is more vertical.
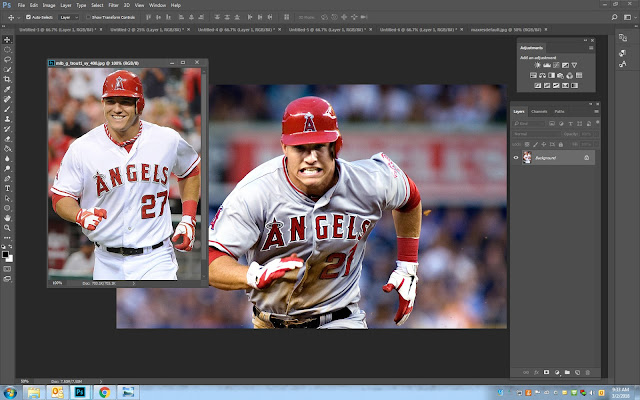

- Pick the Vertical photos because the Angels A is more vertical.
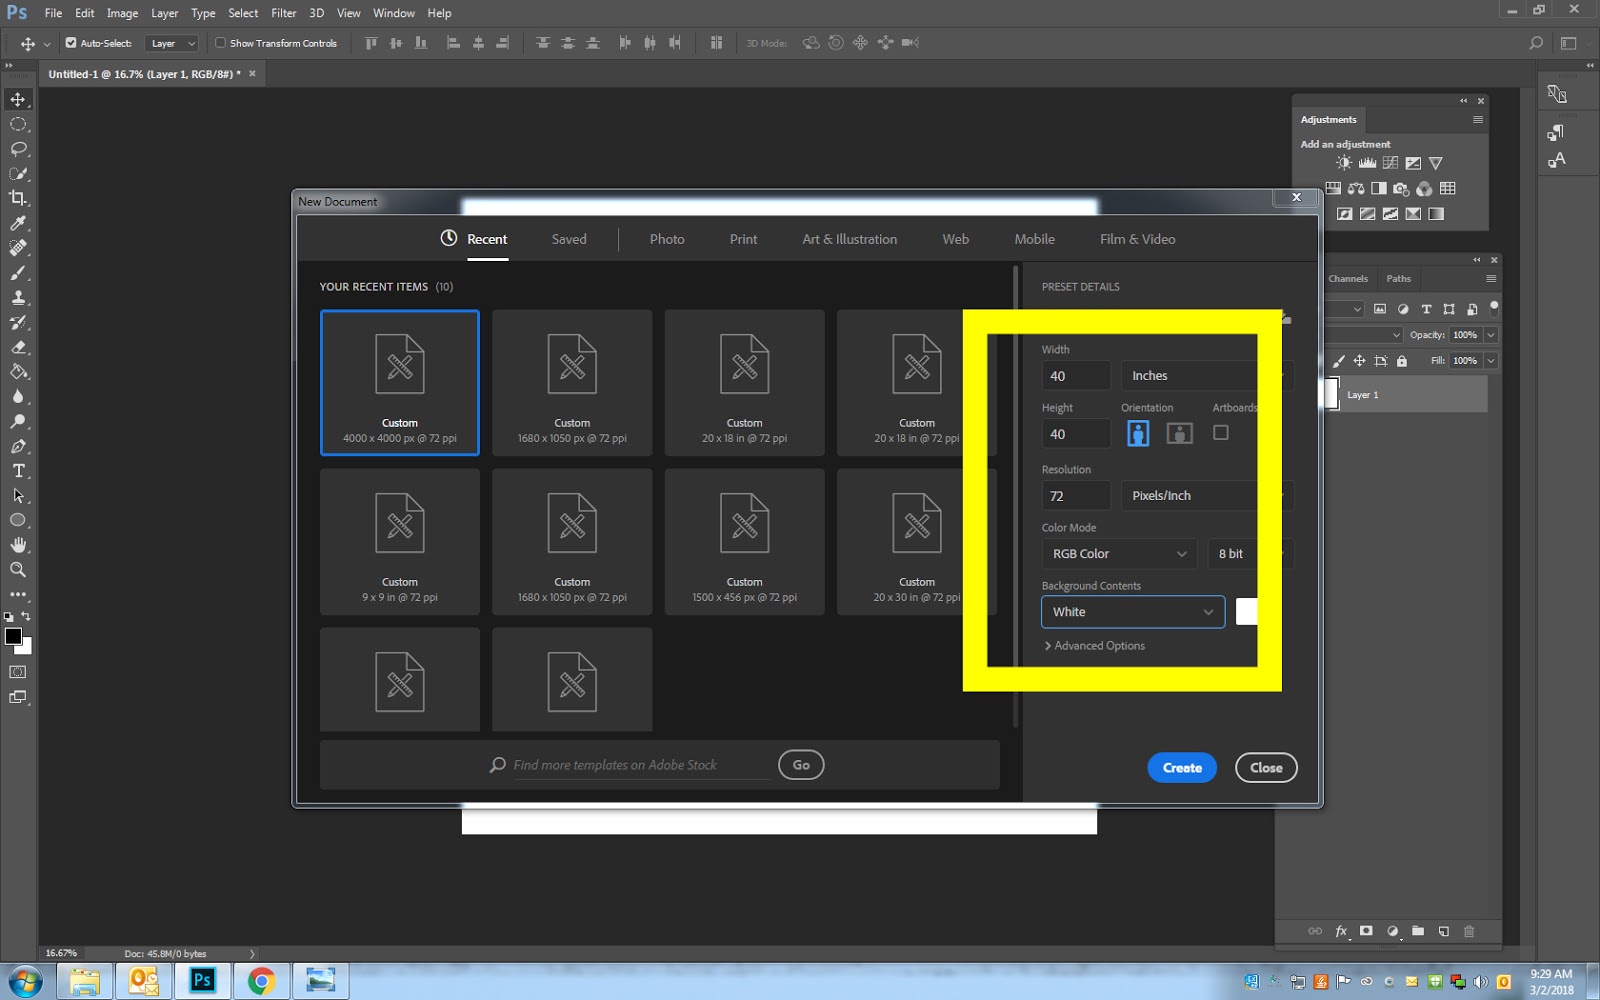
3. Go to File – New
- 15 Inches x 15 Inches
- Resolution 150
- Background Color White
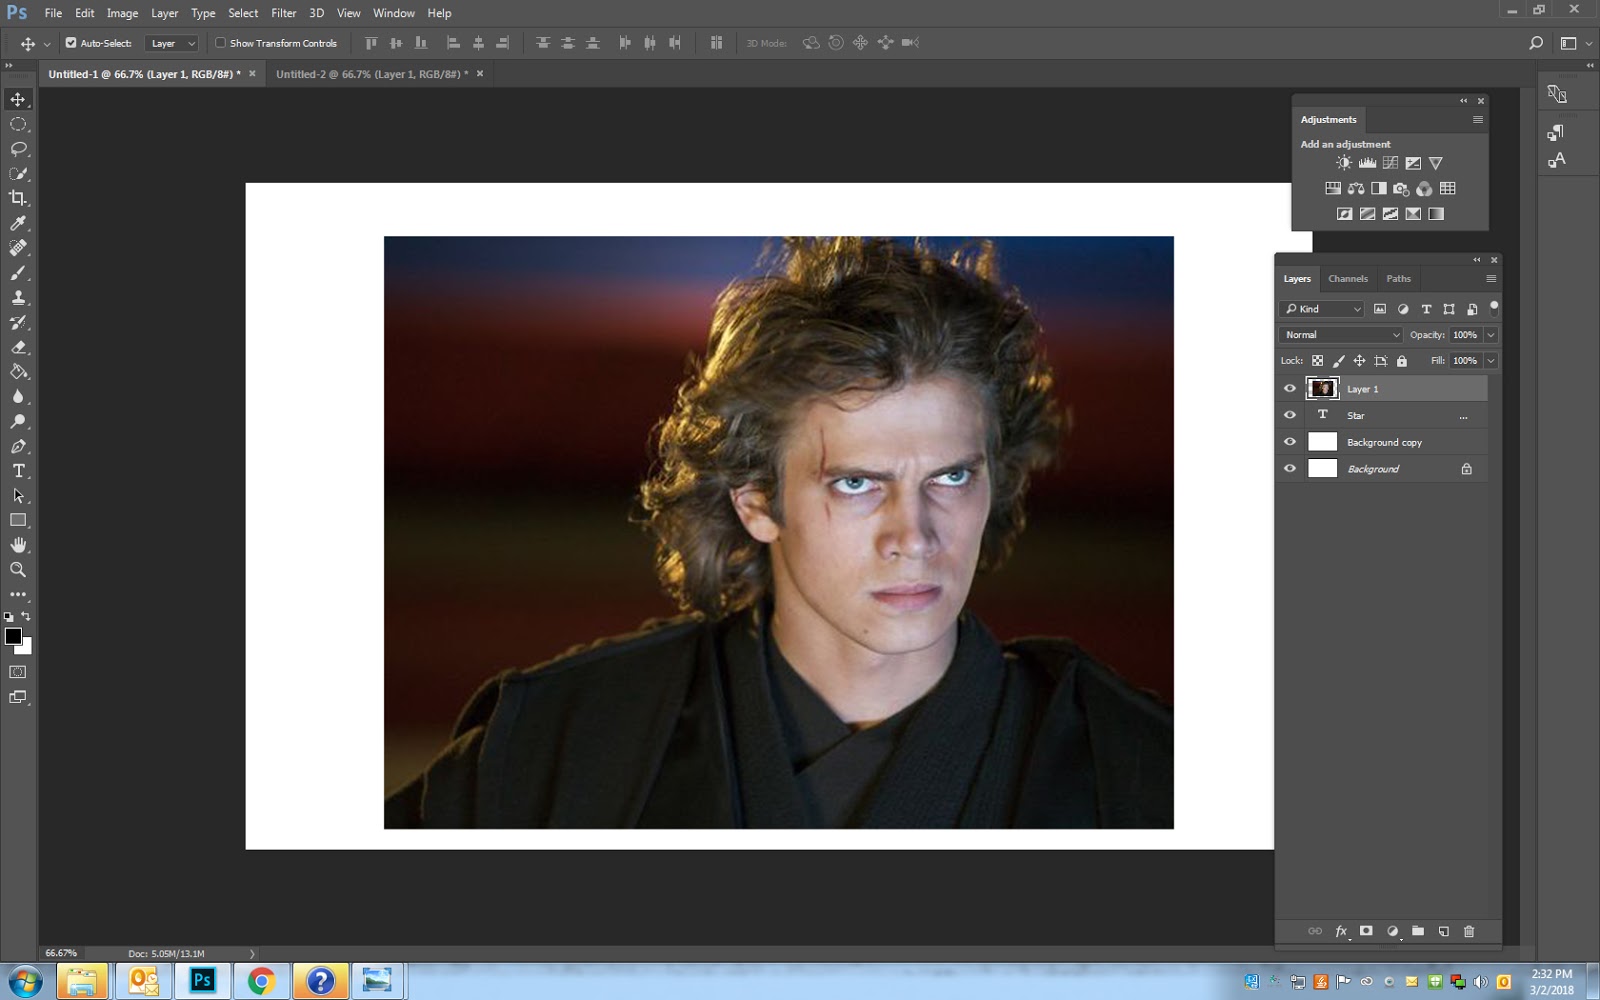
4. Cut out the symbol with the Quick Select Tool
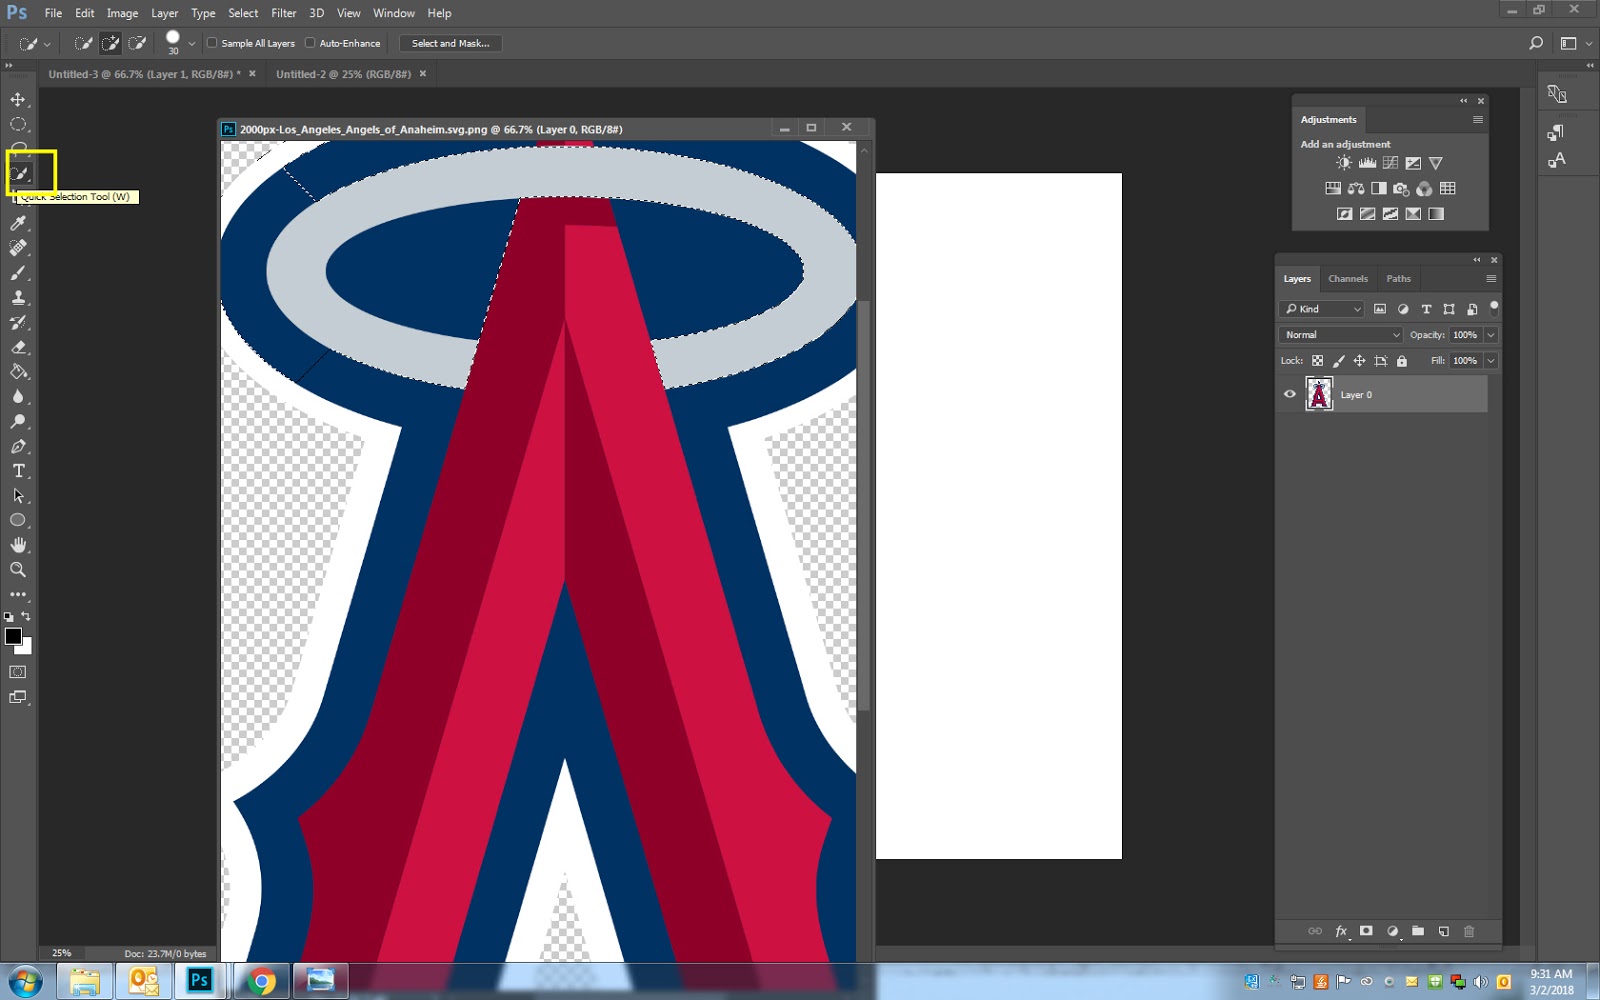
5. Move the symbol onto the white canvas with the MOVE Tool
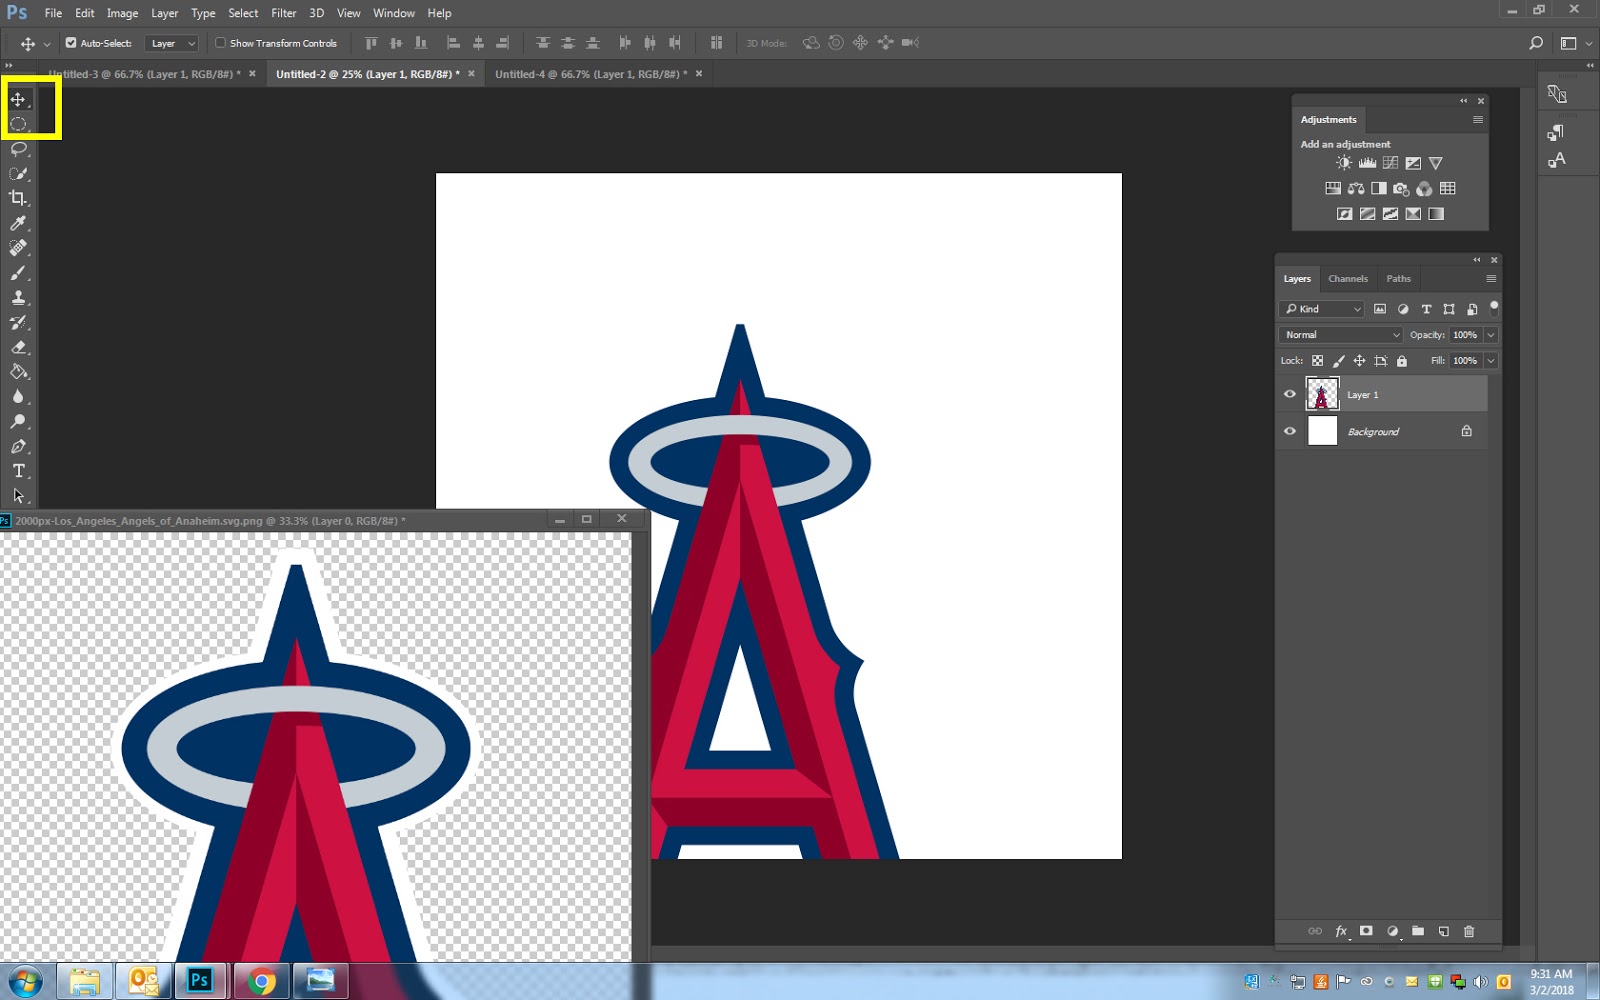
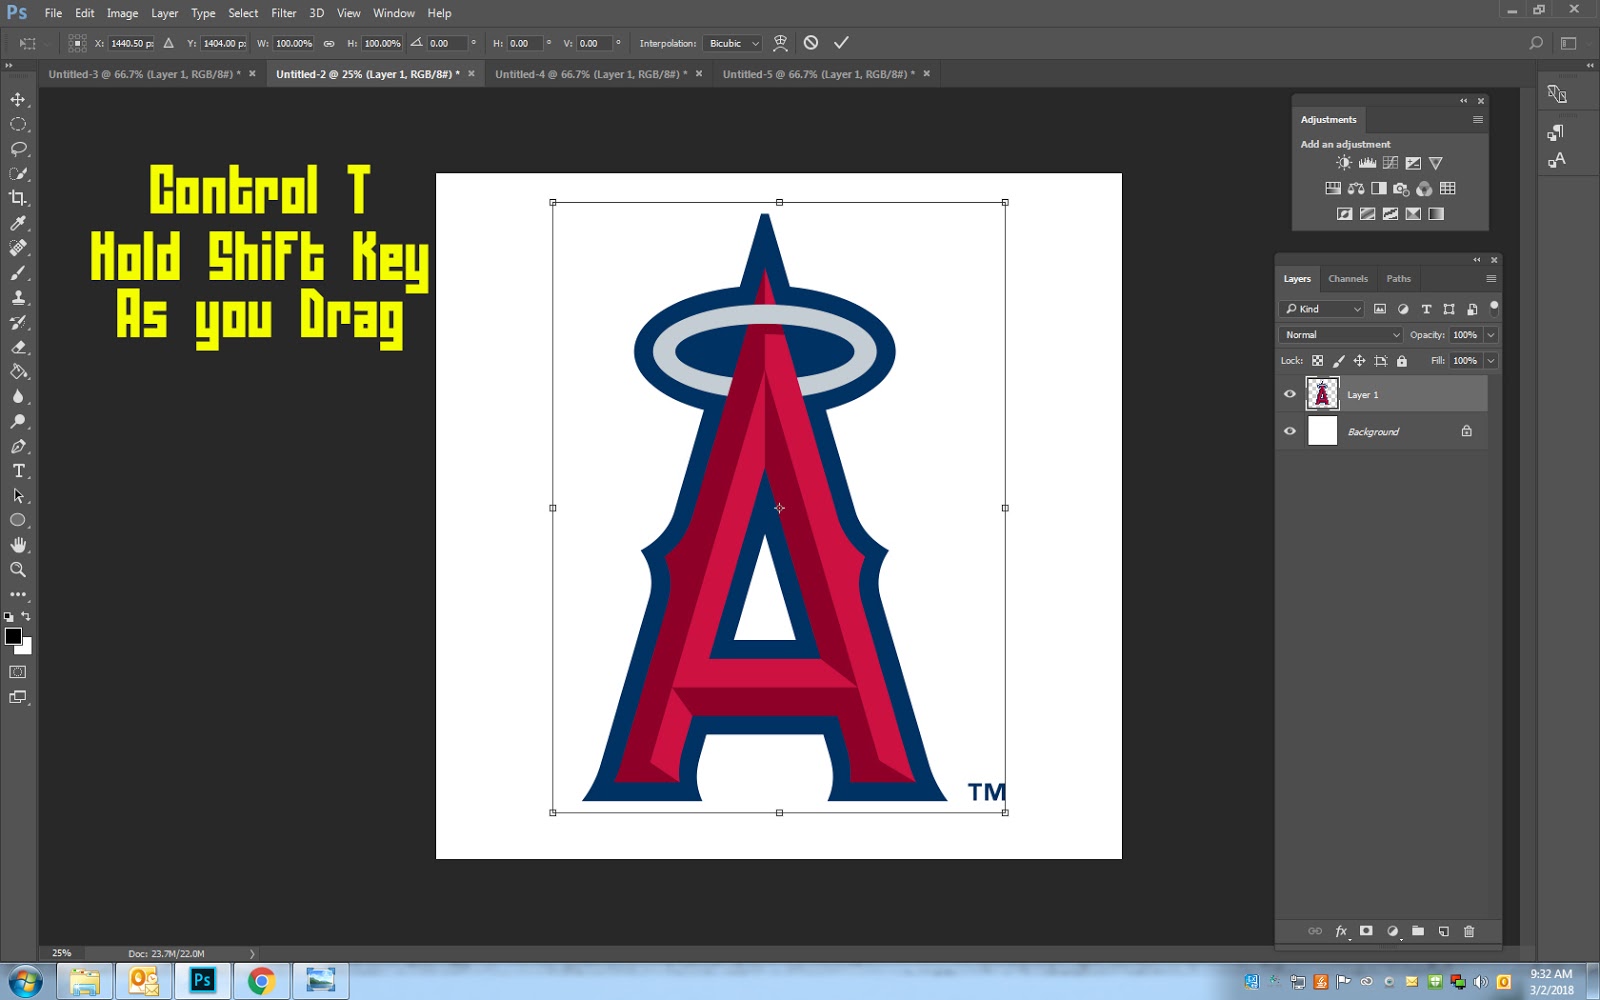
6. To make the symbol bigger or small click CONTROL T
- Hold the SHIFT key as you change the size. This will keep the image in proportion.
- The symbol should take up most of the canvas
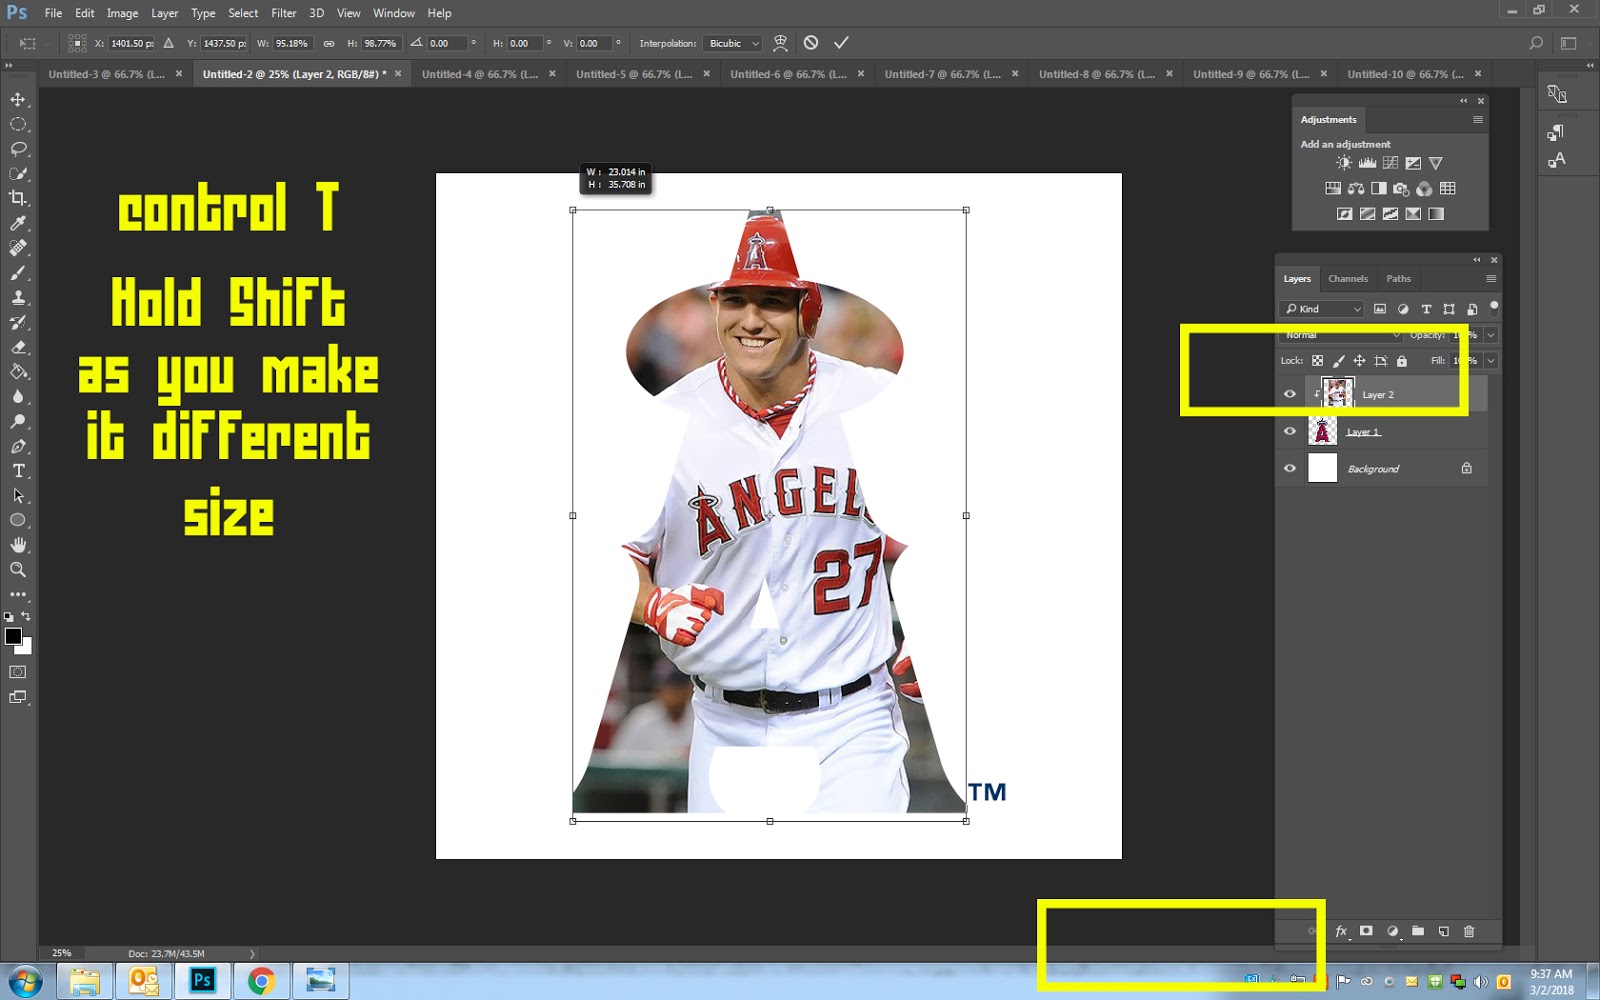
7. Drag your photo onto the symbol.

8. To make the Photo bigger or small click CONTROL T
- Hold the SHIFT key as you change the size. This will keep the image in proportion.
- The Photo should cover the Entire symbol

9. Make sure you are on the PHOTO layer (not the symbol or background)
- Layer- Create Clipping Mask
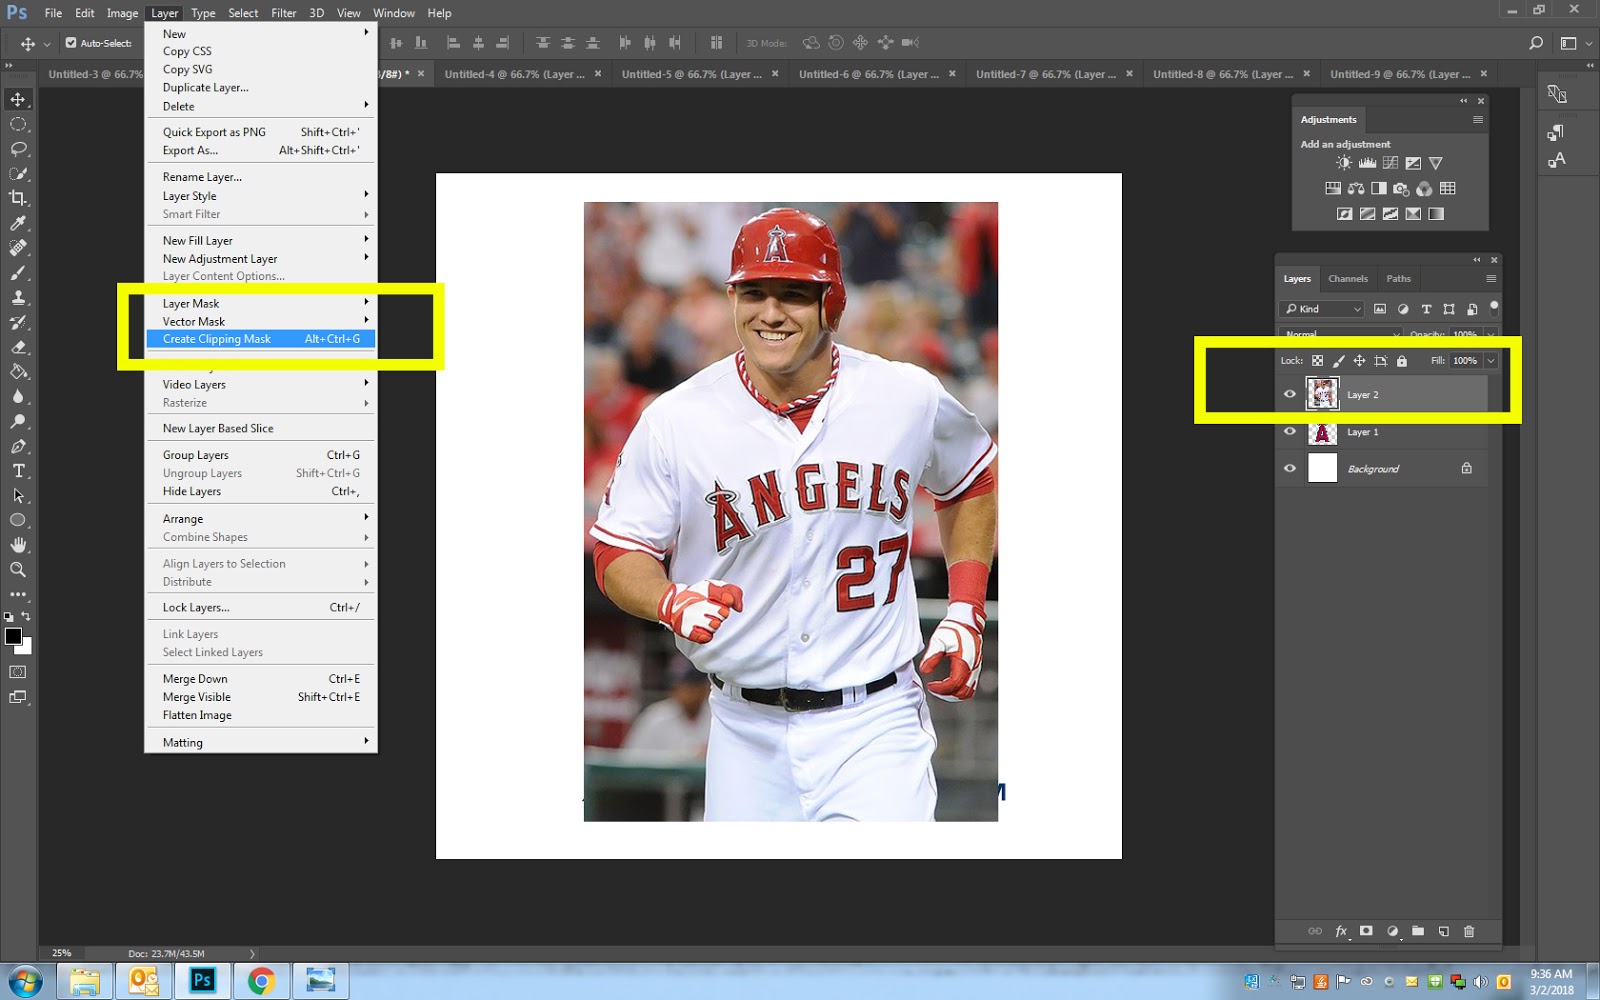
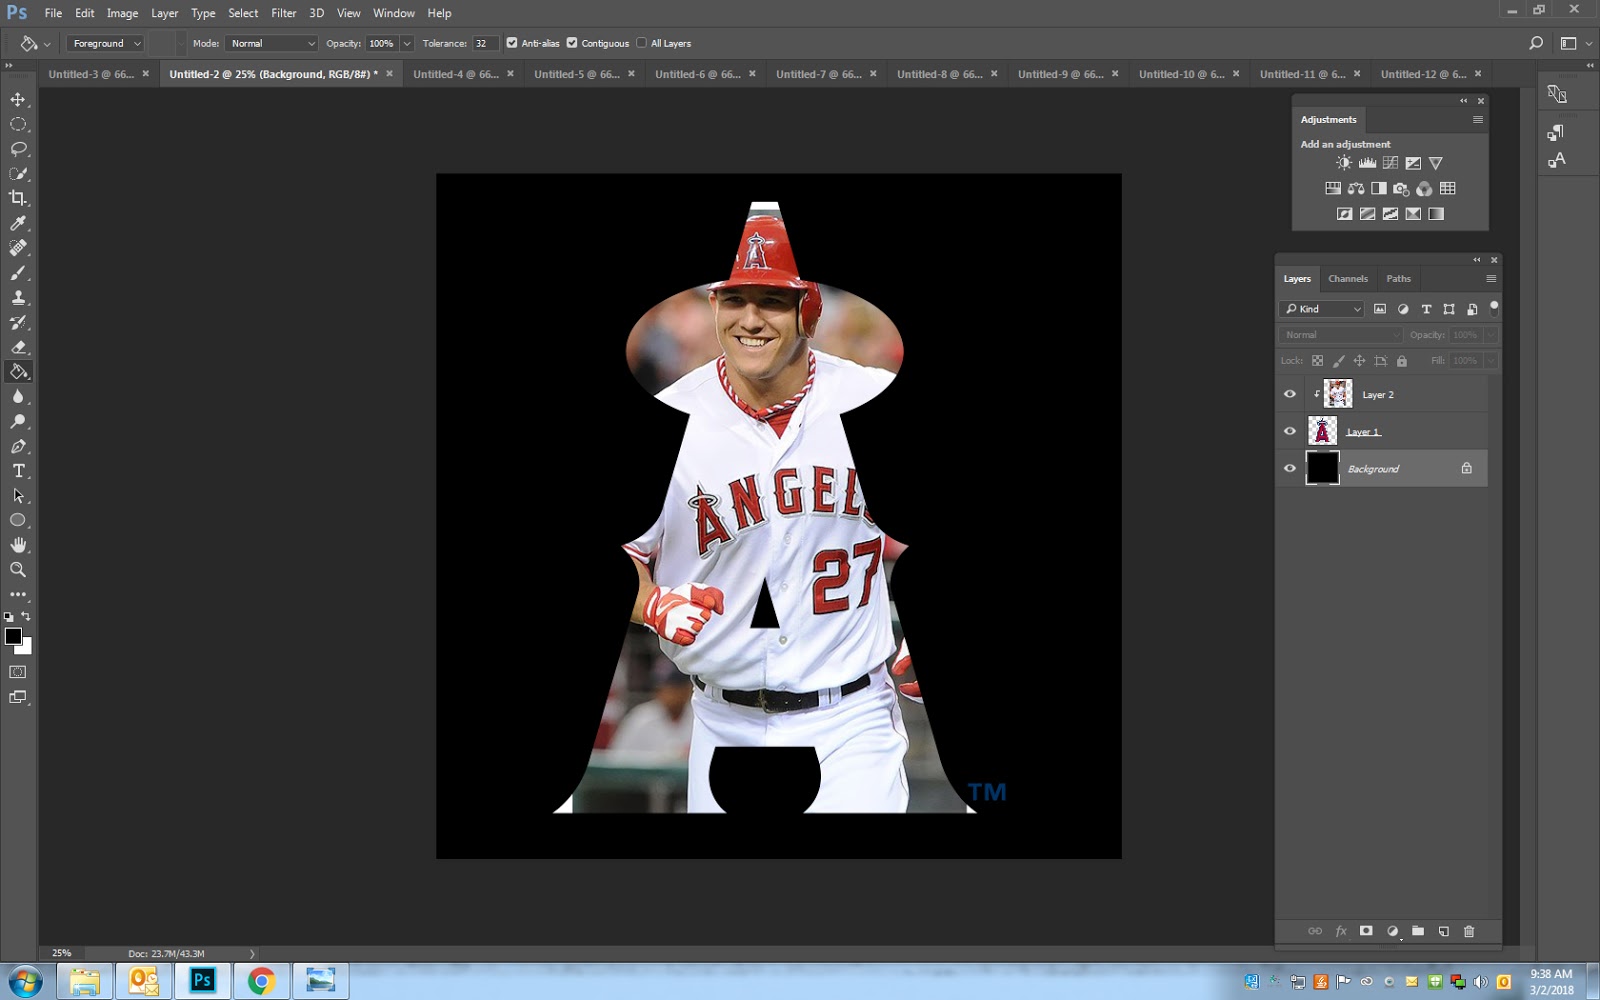
10. The photo will now be inside of your shape
- If the photo does not fill out the whole shape, move it around.
- If you need to make it bigger or smaller Hold the SHIFT key as you change the size. This will keep the image in proportion.
12. To change the color of your background, click on your background layer
- Select your color
- Click on the Paint Bucket tool and click anywhere on your background
- You can make it any color you would like
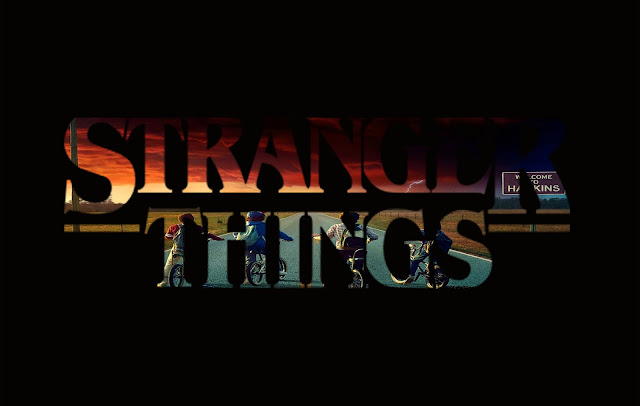
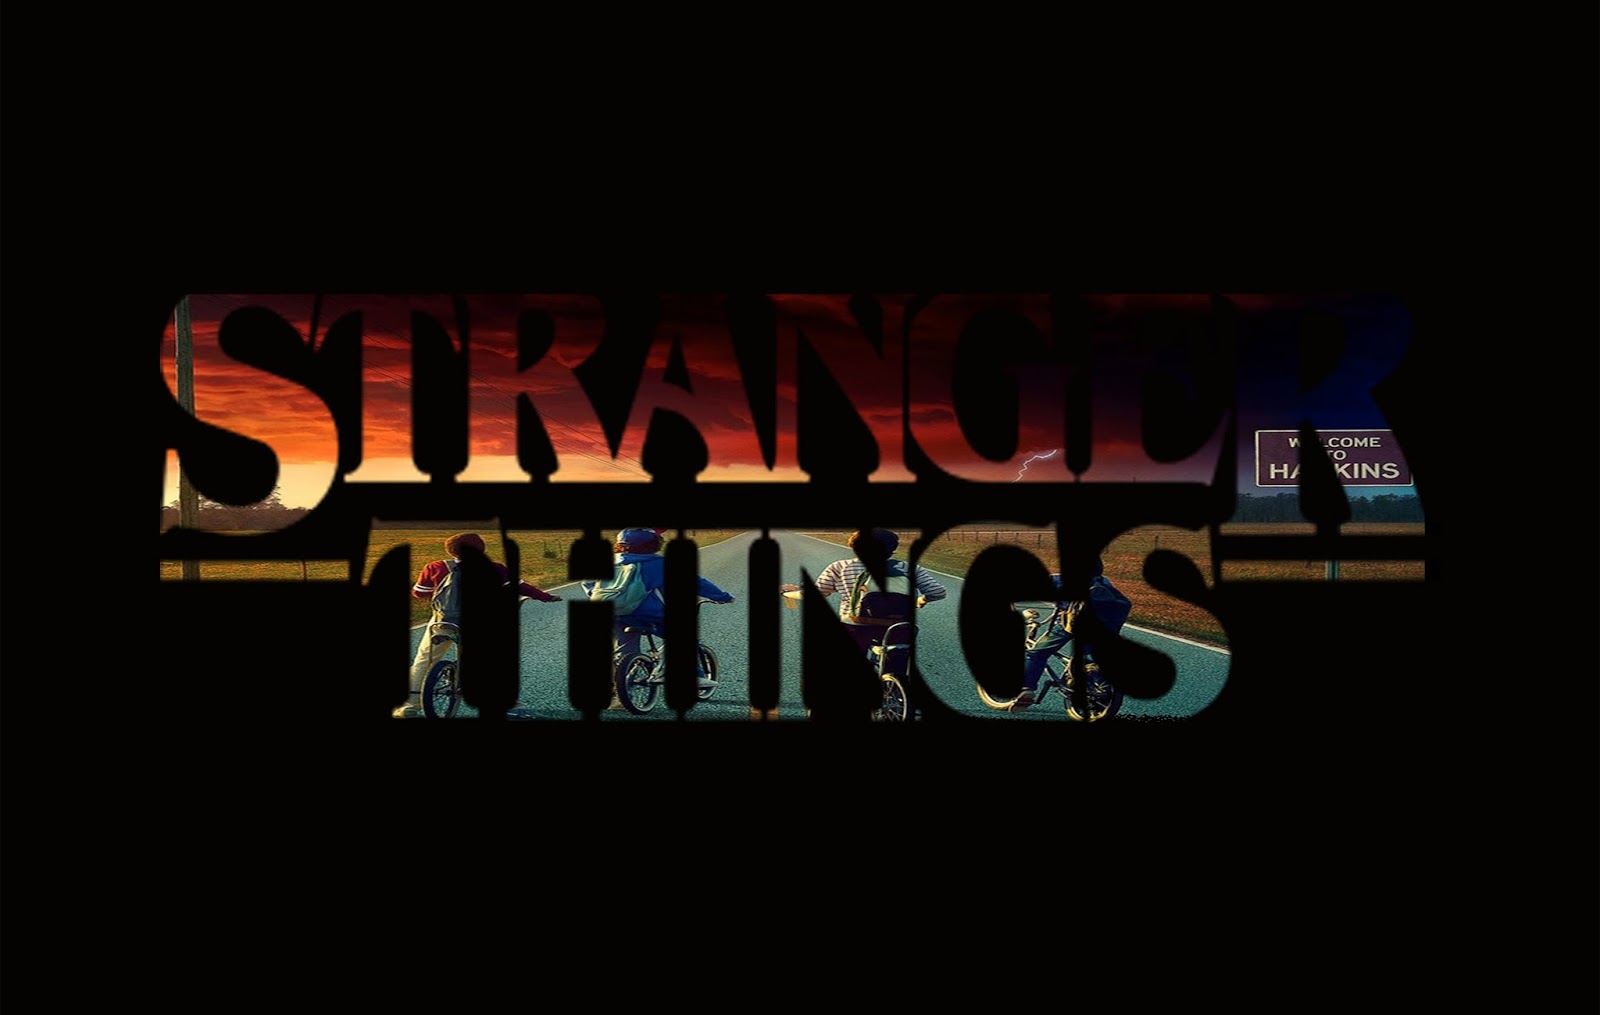
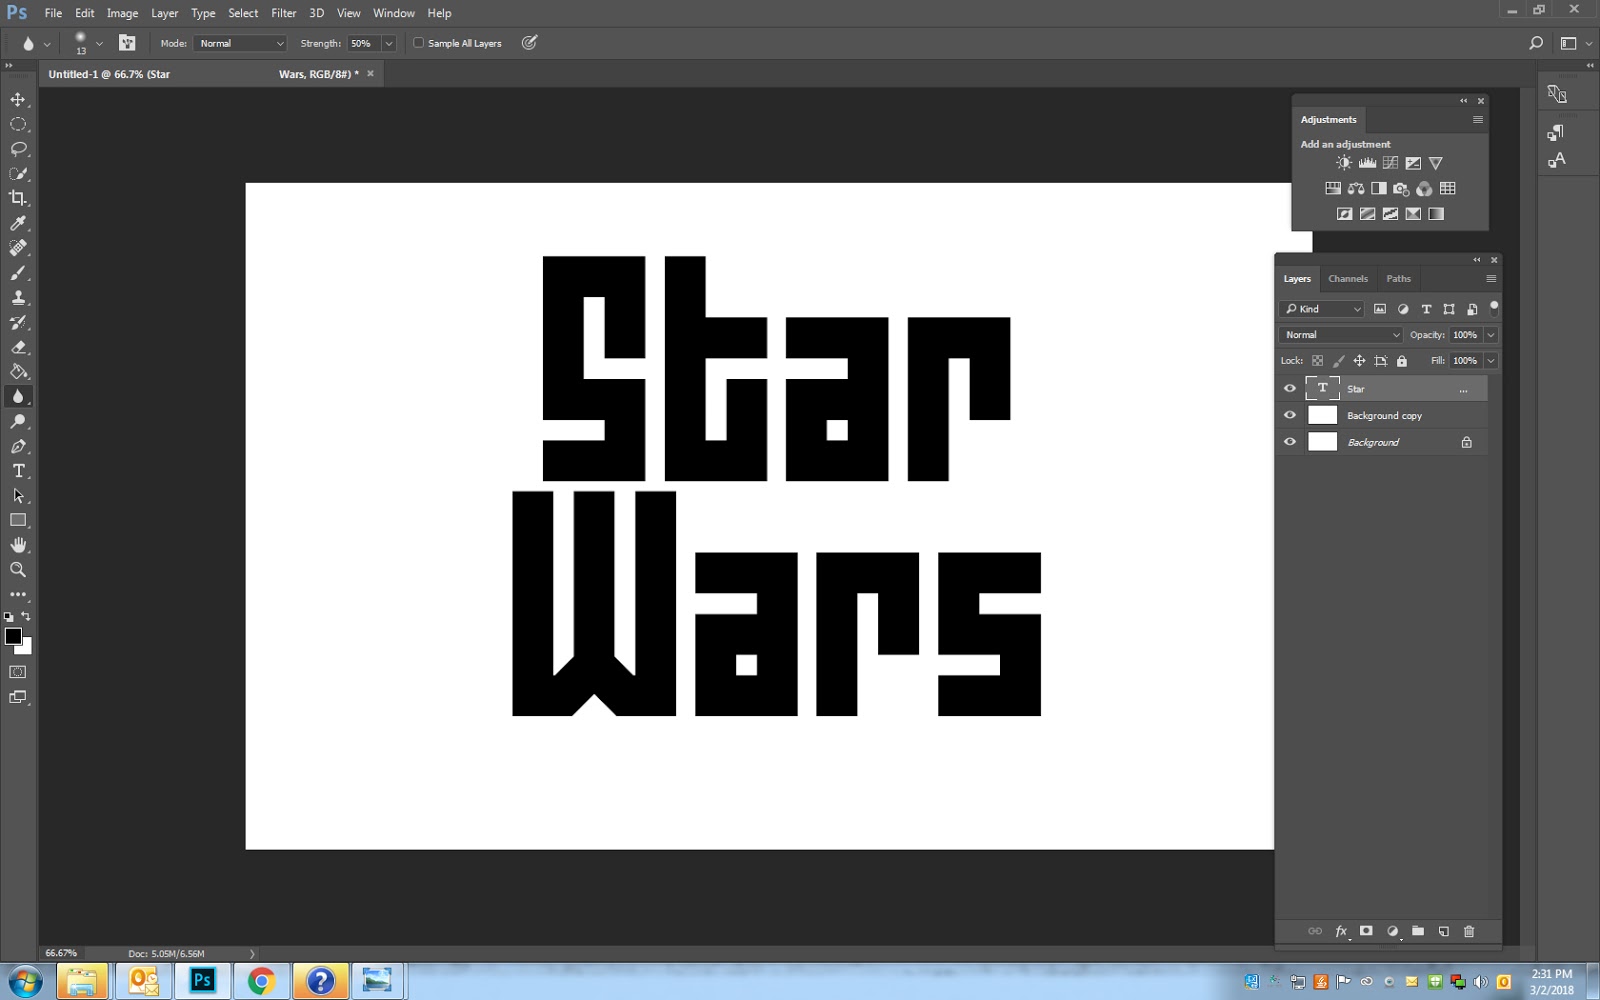
Project 2: Words
1. File – New
- 40 Inches x 40 Inches
- Resolution 150
- Background Color White
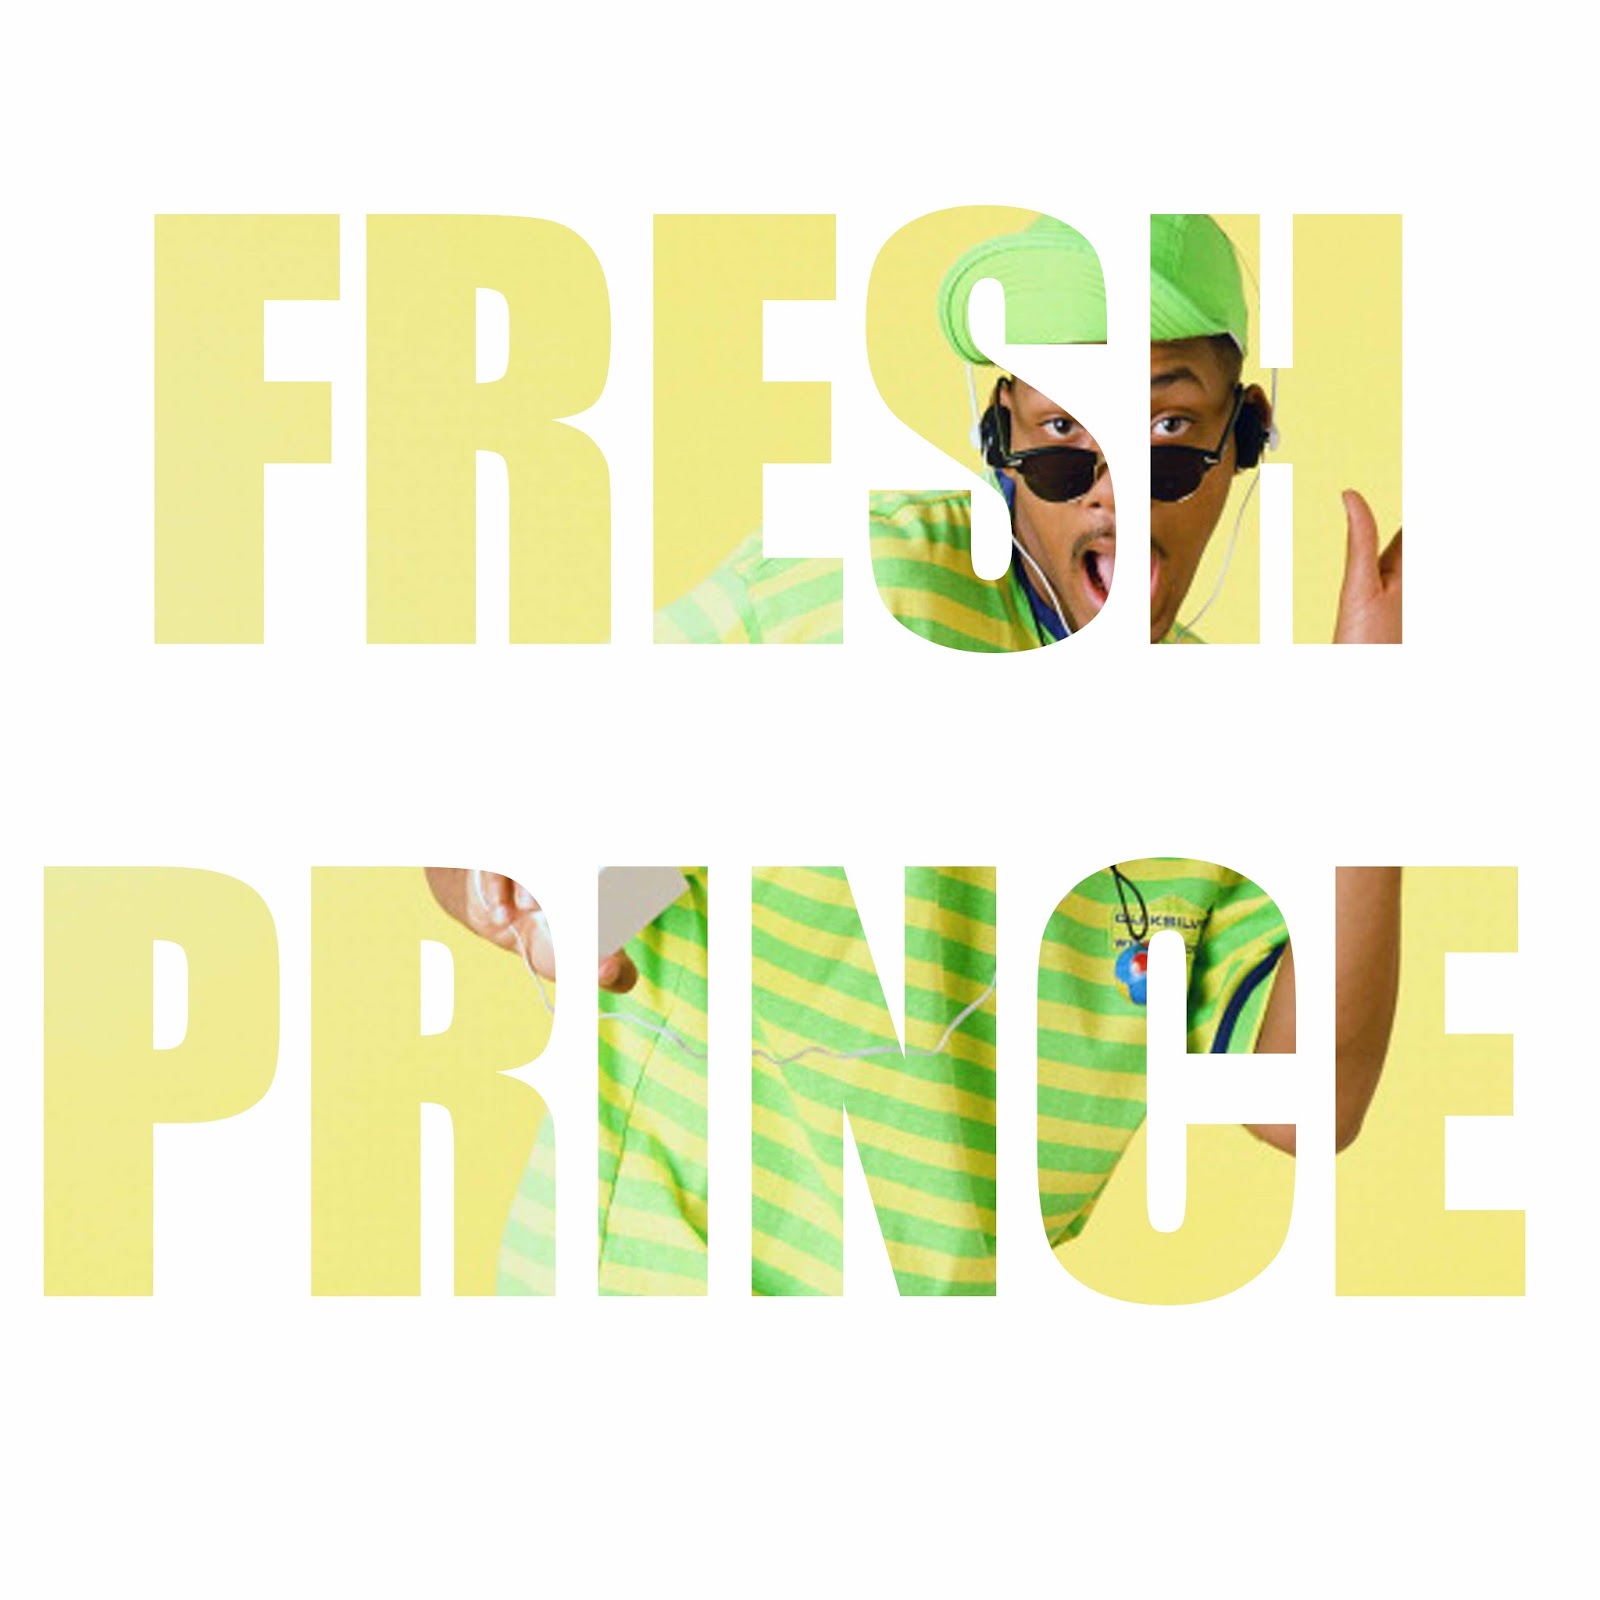
2. Click on the Text Box and create a box that covers most of the canvas
- Type your word
- Pick a Font that is bold
- If the font is to small or two big change the font size
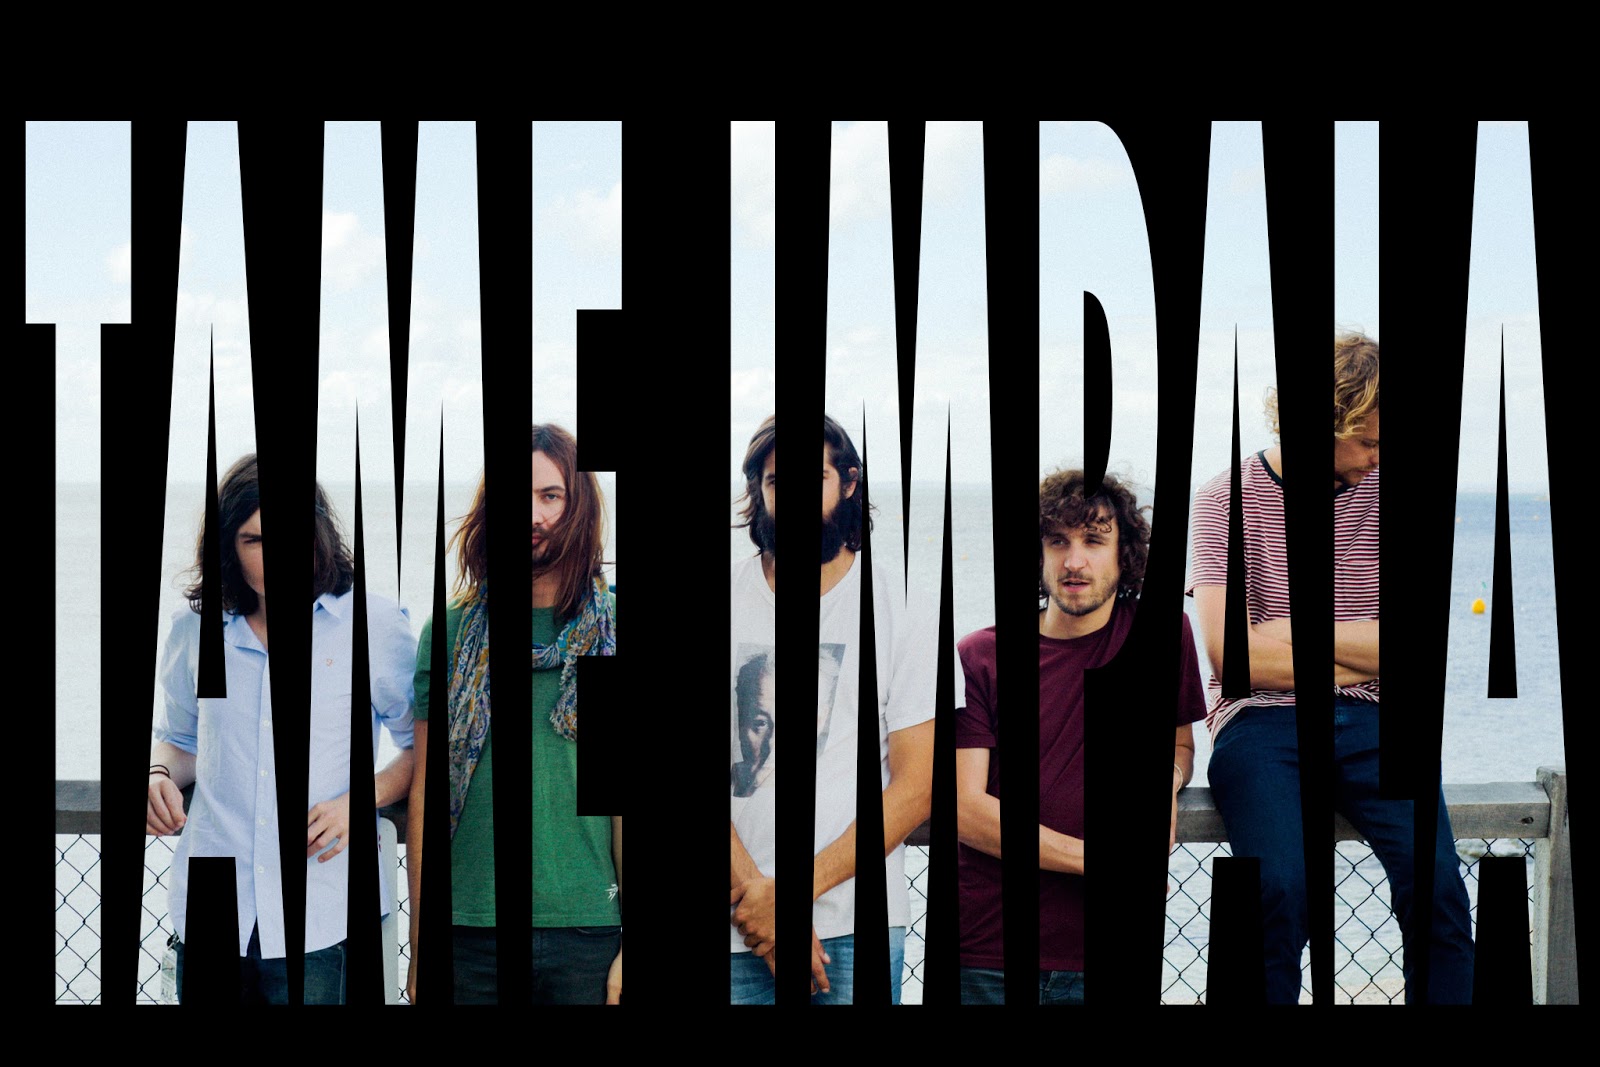
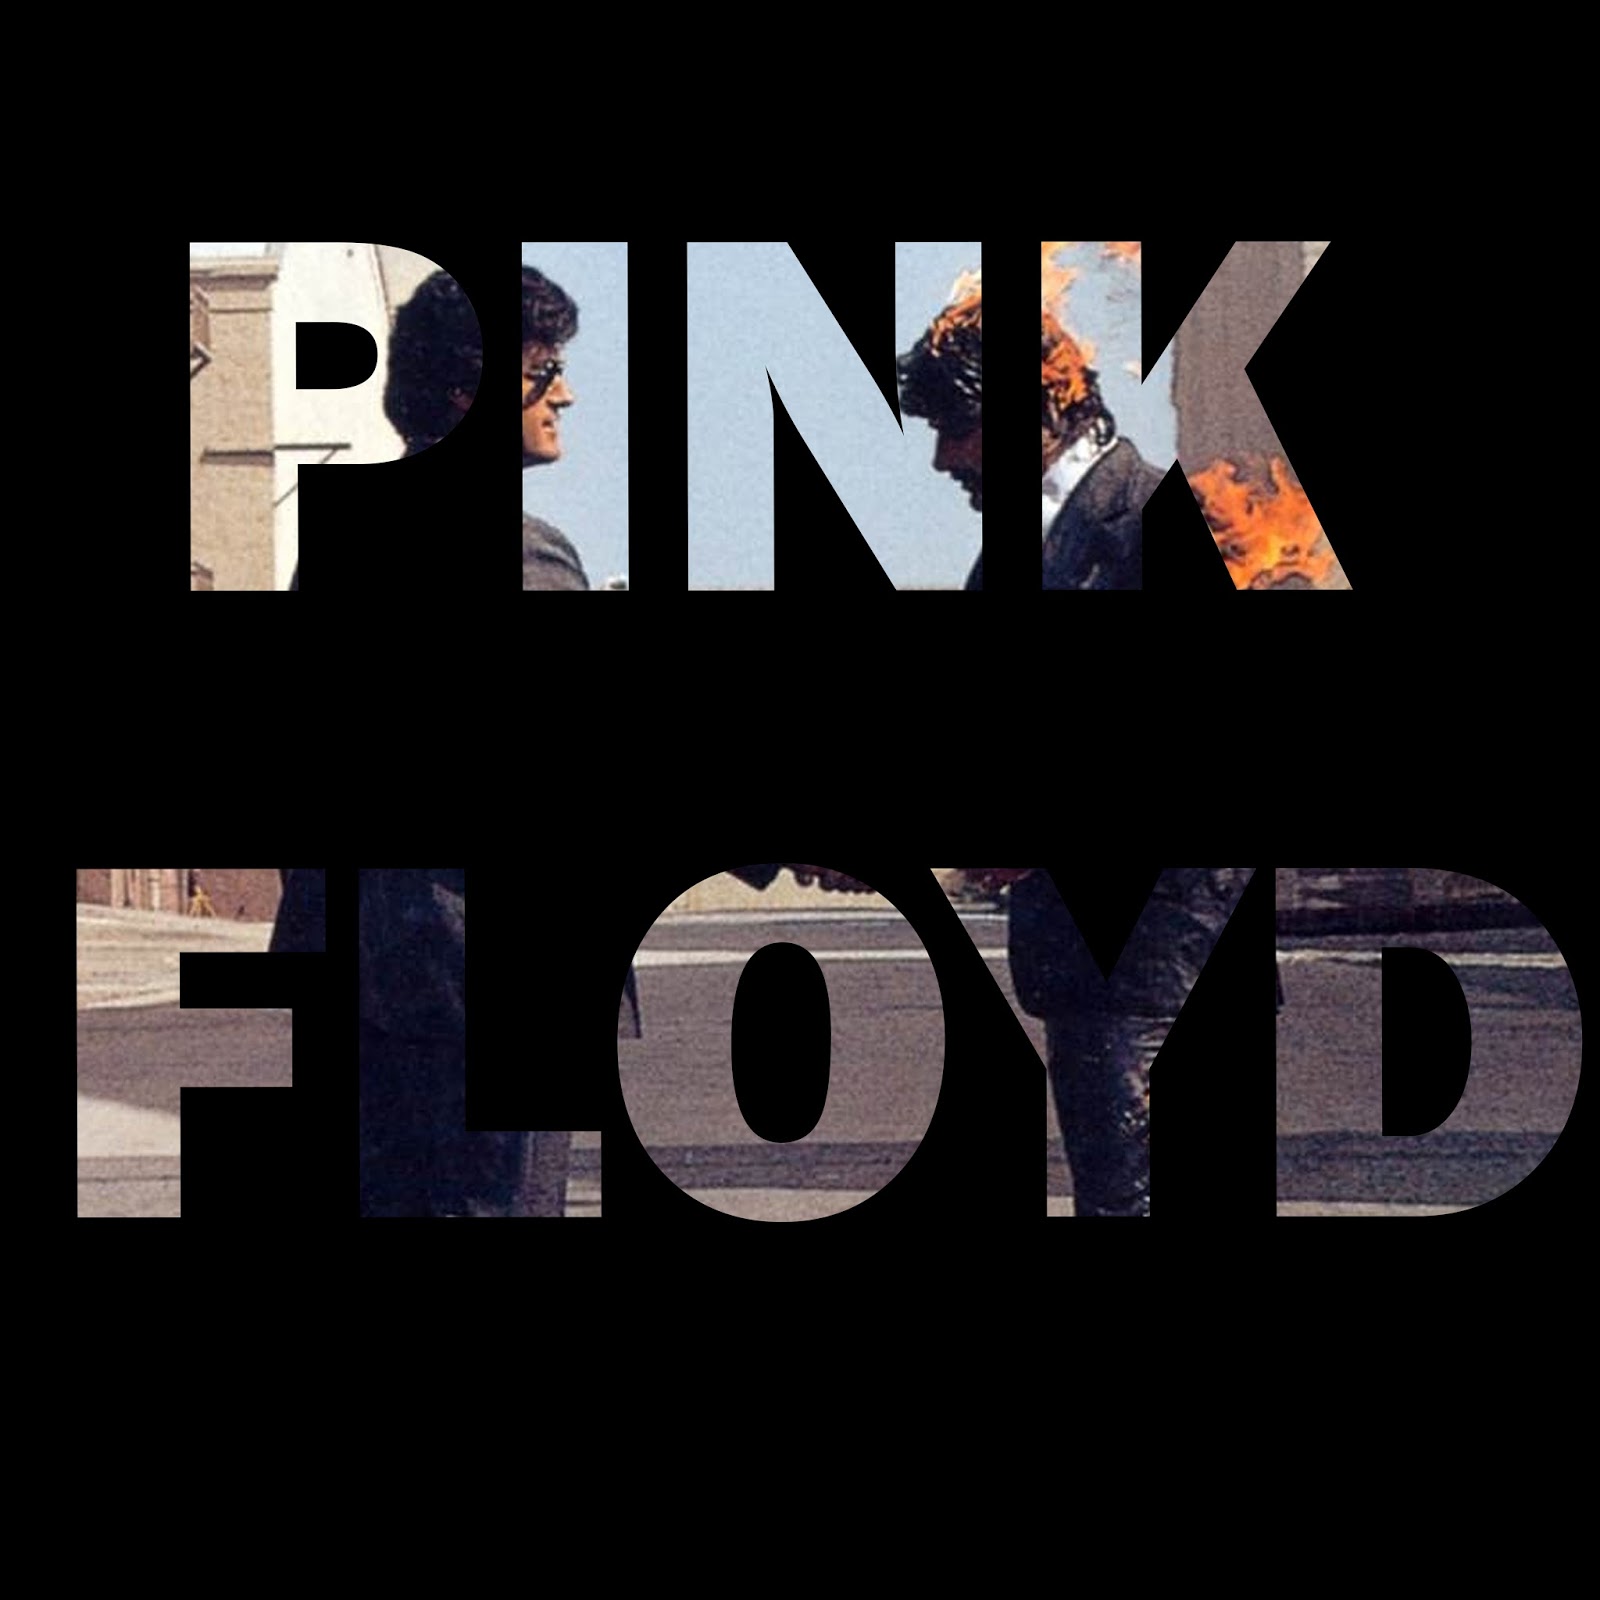
To make your words have a stronger impact copy and paste the words multiple times in your text box.
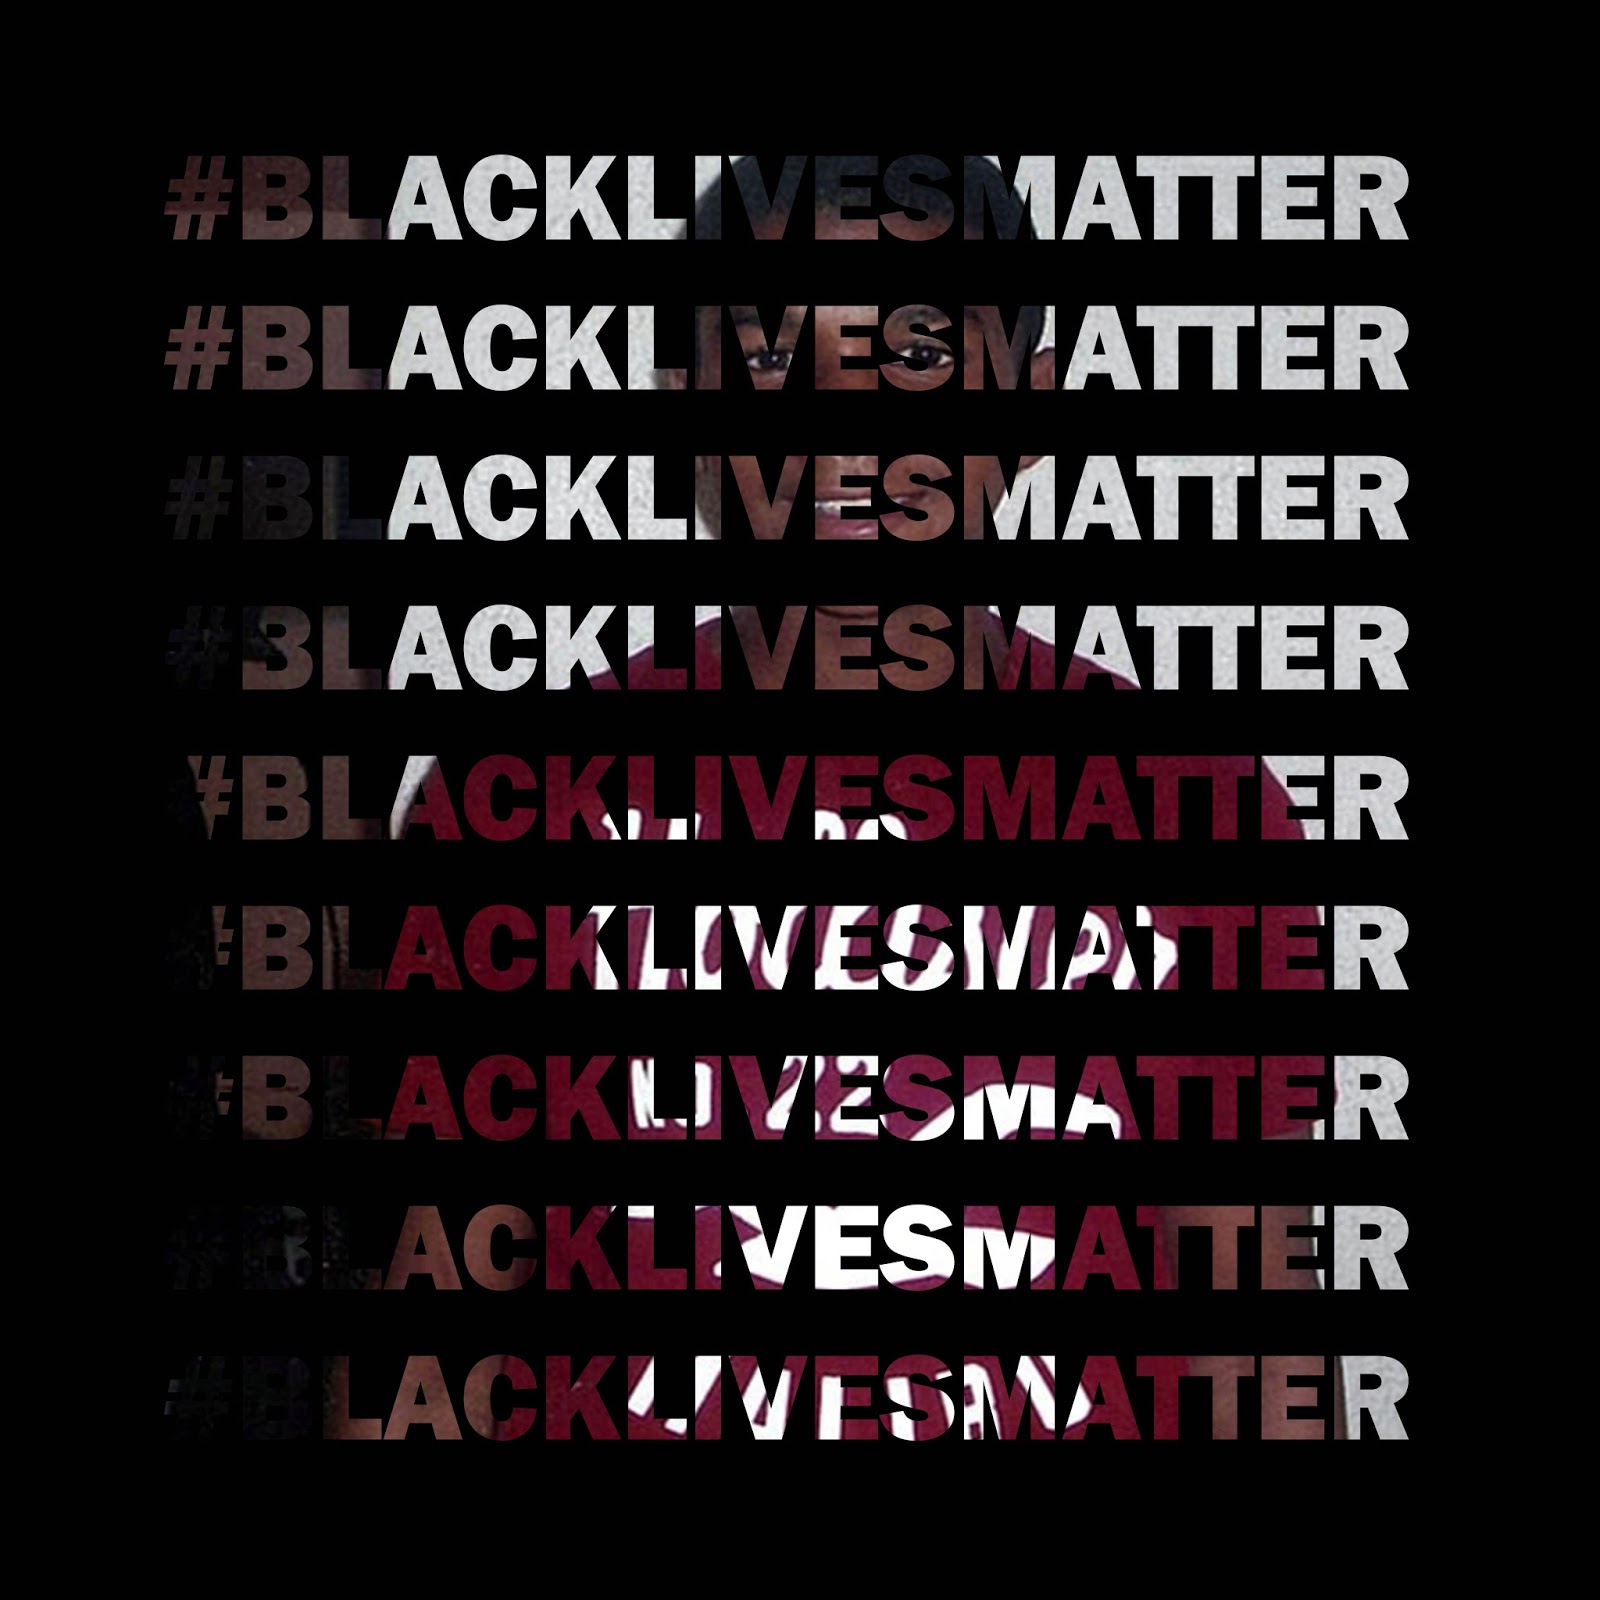
3.Drag your photo over the words
- Make sure it covers all of the words
- Make sure you are on the PHOTO layer and not the words layer
- Layer- Create Clipping Mask
- Move your photo around so that it appears the way you would like behind the words
- Change the background color with the paint bucket tool or leave it white.