Inspired by the work of:
pol ubeda
i’m not there
by Pol Ubeda
How can we accept that we are changing?
How can we accept we hardly recognize ourselves in certain situations?
I am changing at this very moment of my life.
I do not react in the same ways I used to. I am surprised. Is that me?
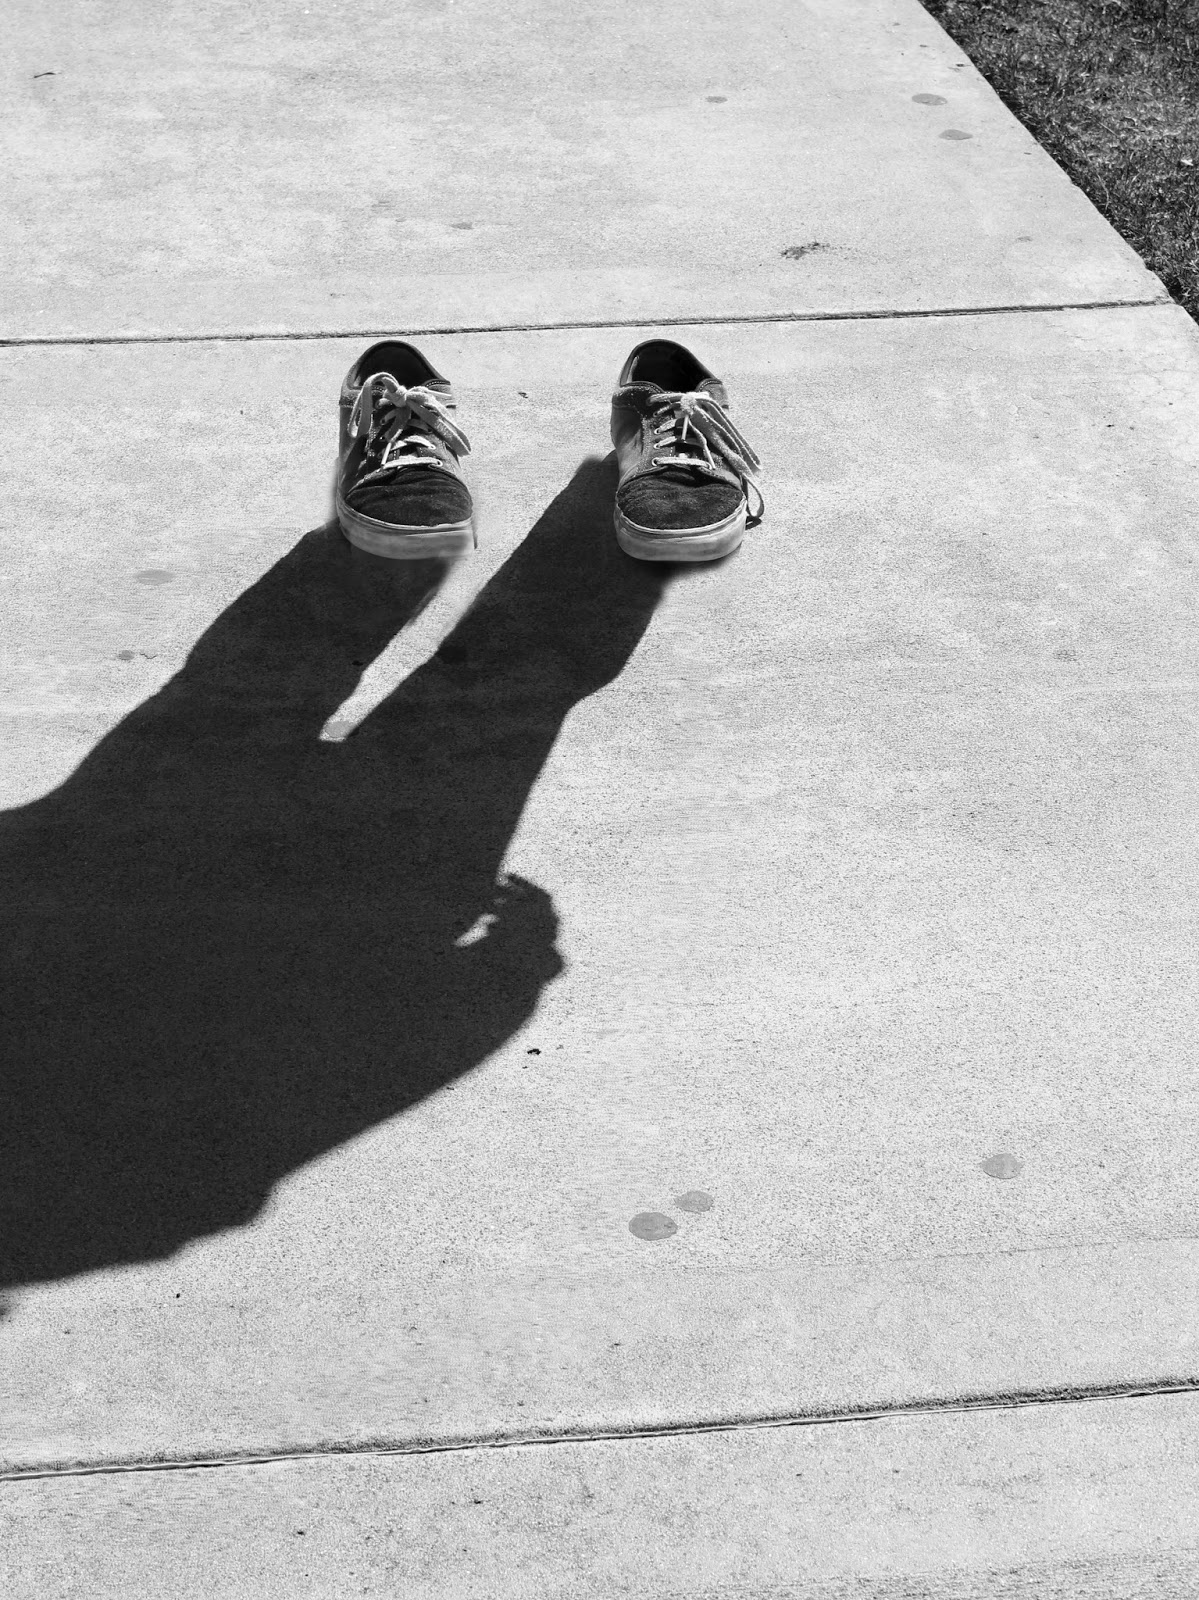
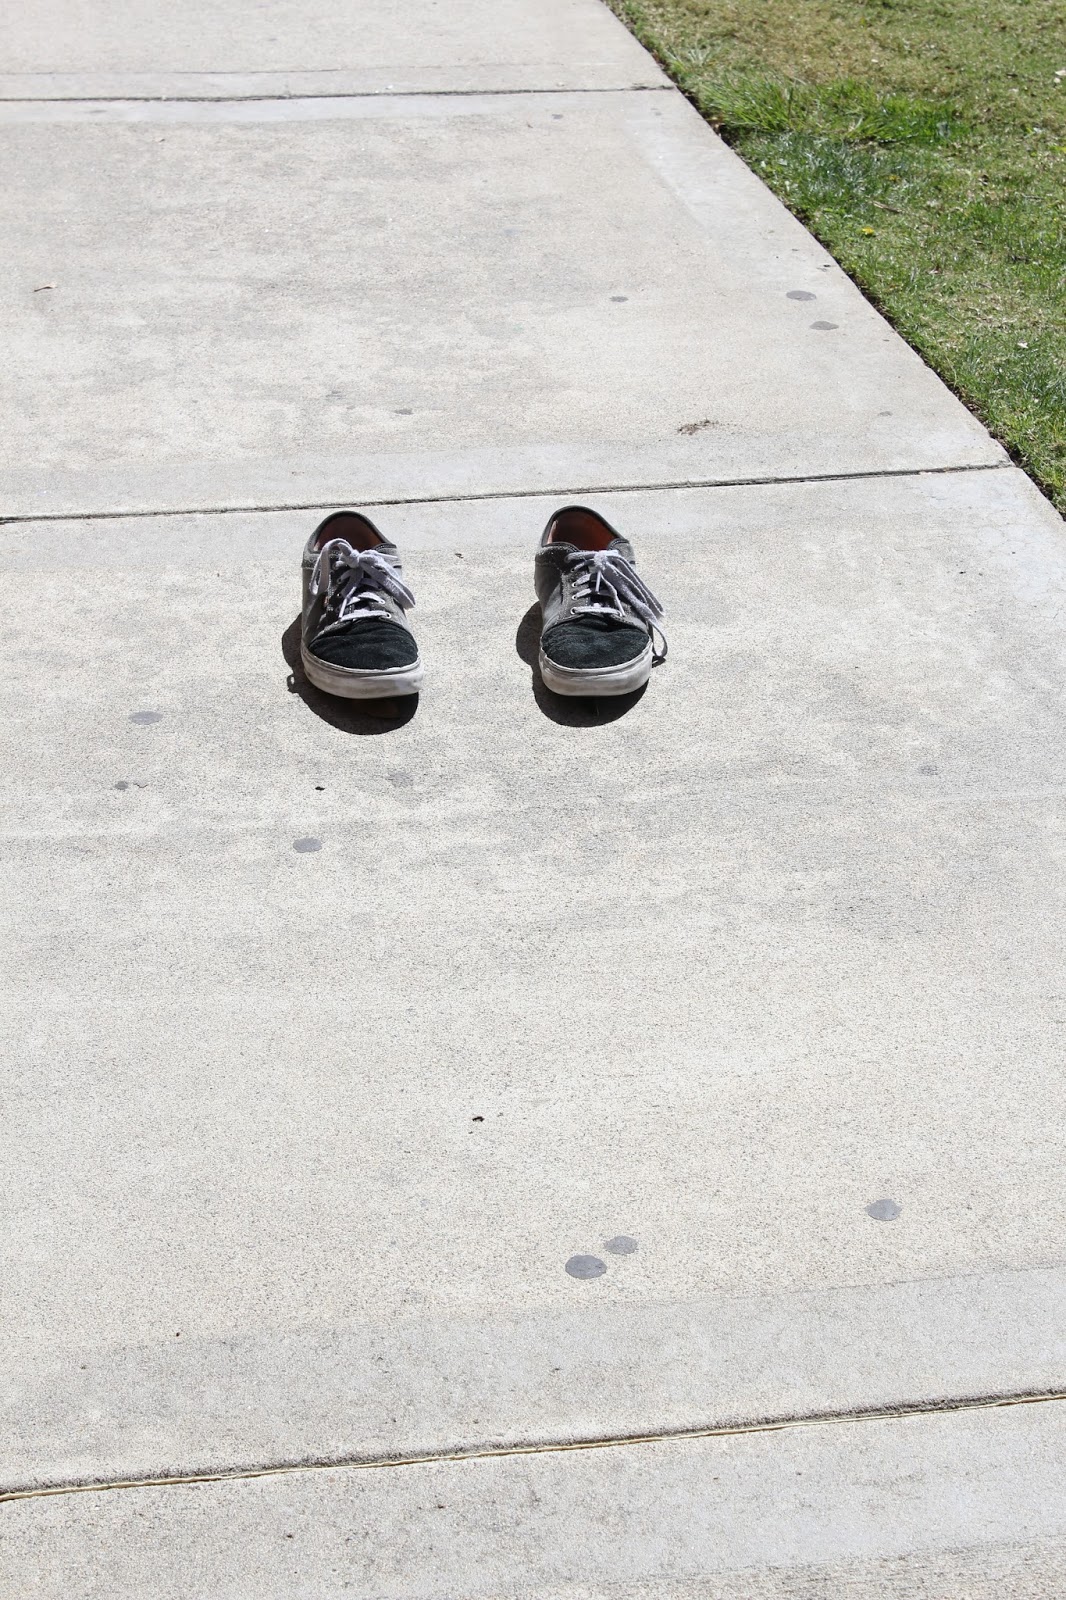
These pictures are the way I see myself now.
My shadow is there but I erase myself because I don´t know who I am any longer.
The shoes remain only to make sure there is something more than… a shadow.
Camera Section:
You will need to work with 2 other people.
One to be the model and one to mark the location and move the shoes
Using a tripod is HIGHLY recommended
Photo 1
Step 1:
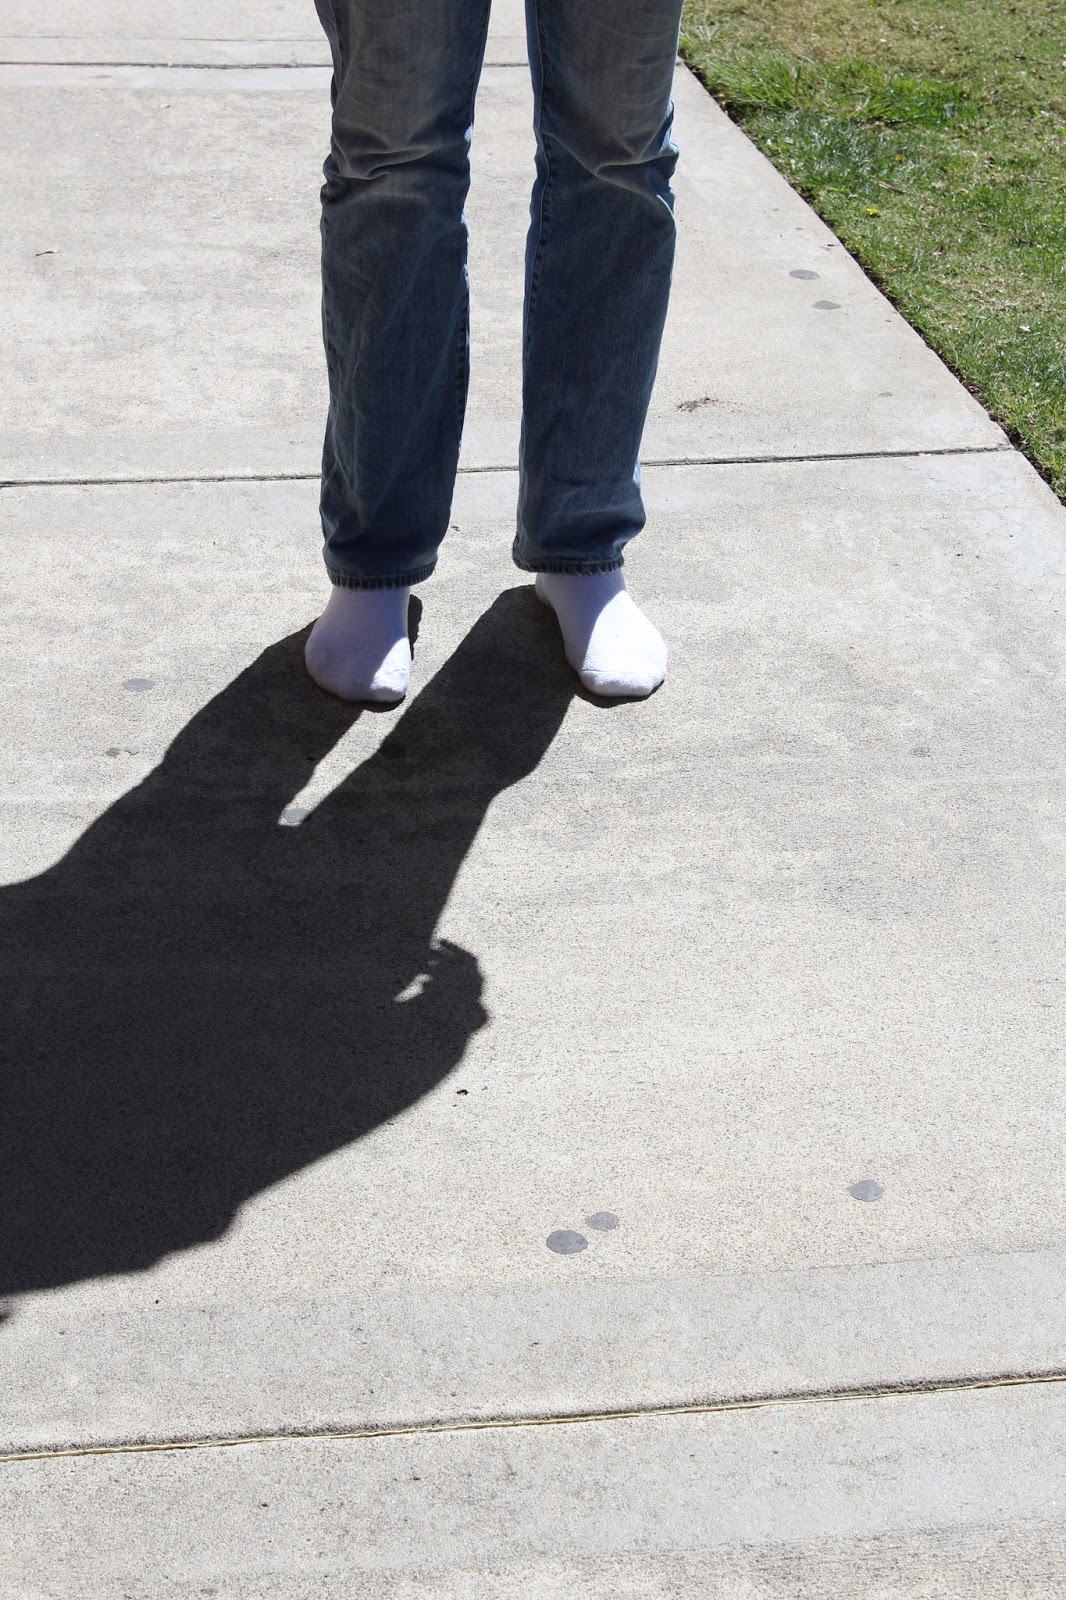
- Have the person stand where they have a strong shadow
- Make sure there are little distraction around them. The more BLANK space around them the better
- Take a photo with all of the shadow showing but only the bottom section of the person’s body
- Make sure there are little distraction around them. The more BLANK space around them the better
- FREEZE
- DO NOT move the camera or allow your person to move
Step 2:
- Have someone put a leaf, stick, tape or other object at the front tip of the shoes
- This will be our marker for the next photo
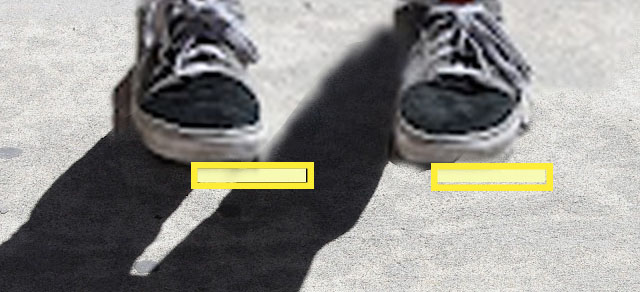
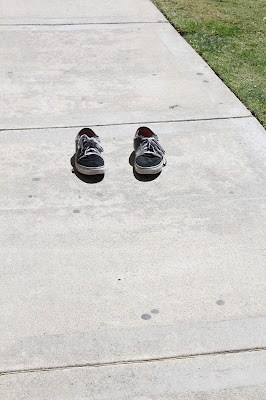
Photo 2
Step 1:
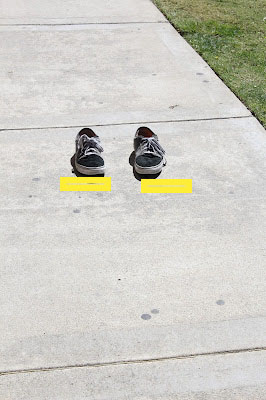
- Have the person take off the shoes
- Have the person place the shoes where you marked them
Step 2:
- REMOVE the marker that you used to line up the shoes
Step 3:
- Take a second photo in the exact same location as the first photo
- Take a photo of just the shoes and no person
- You should still see the same amount of background as the first photo because you have NOT moved the camera
- Take a photo of just the shoes and no person
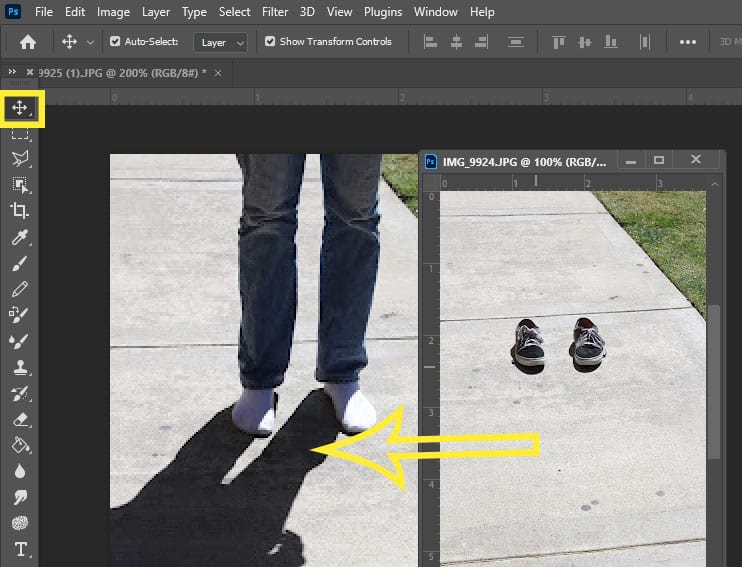
Photoshop Section:
Step 1:
- Open both images in photoshop
- Select the Move Tool
- Click on the shoe photo
- Drag the Shoe photo on top of the shadow photo
- Click on the shoe photo
- Select the Move Tool
Step 2:
- Click on either layer
- Hold the shift key
- Click the other layer so that both are highlighted
- Hold the shift key

Step 3:
- Go to Edit-Auto Align Layers

Step 4:
- Pick Auto
- Click ok
- Photoshop will align the two photos
- Click ok

Step 5:
- On the Shoe Layer
- Lower the Opacity until you can see part of the person/shadow

Step 6:
- Select the Move Tool
- As needed: move the shoes so that they line up with shadow

Step 7:
- When you have the shoes and shadow aligned
- Make the Opacity 100%

Step 8:
- On the Shoe Layer
- Add a Mask (little square at bottom of layers)

Step 9:
- Choose the Quick Selection or Object Selection Tool
- Select the shoes

Step 10:
- Go to Select
- Inverse
- The area around the shoe will now be selected
- Inverse

Step 11:
- Make sure you are on the Shoe layer and click on the white mask
- Select the Paint Brush Tool
- Brush should be Black
- Select the Paint Brush Tool

Step 12:
- Paint back in the Shadow

Step 13:
- If you paint into the person area we can fix it
- Flip the Brush color to White
- Paint out the person
- Flip the Brush color to White

Step 14:
- Go to Select
- Deselect

Step 15:
- Make sure you are on the Shoe Layer White Box
- Zoom in close to see the shoes
- If there is shadow missing around the shoe
- Select the Paint Brush and paint in the shadow
- If there is shadow missing around the shoe
- Zoom in close to see the shoes

Step 16:
- Select the Crop Tool
- Crop out anything extra around the photo

Step 17:
- Right click on Layers
- Merge Visible

Step 18:
- Finish by editing the photo