
______________________________________________________________________
Color MATTERS!!!!!


Part 1: Color in Movies
Step 1
- In Google images type in
- Name of your movie + Movie Stills
- Waterboy + Movie stills
- Name of your movie + Movie Stills
- What is the dominate color you see?
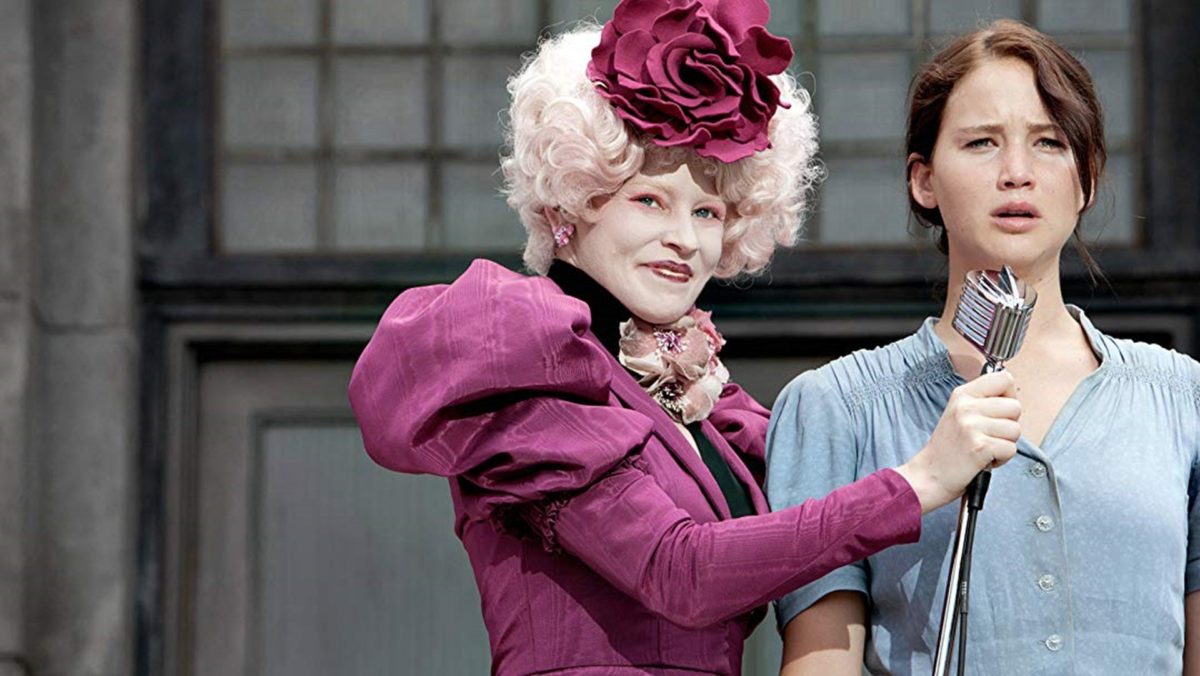
- (Mean Girls: Pink Waterboy: Orange)
- Save 3 images from the movie that show this dominate color
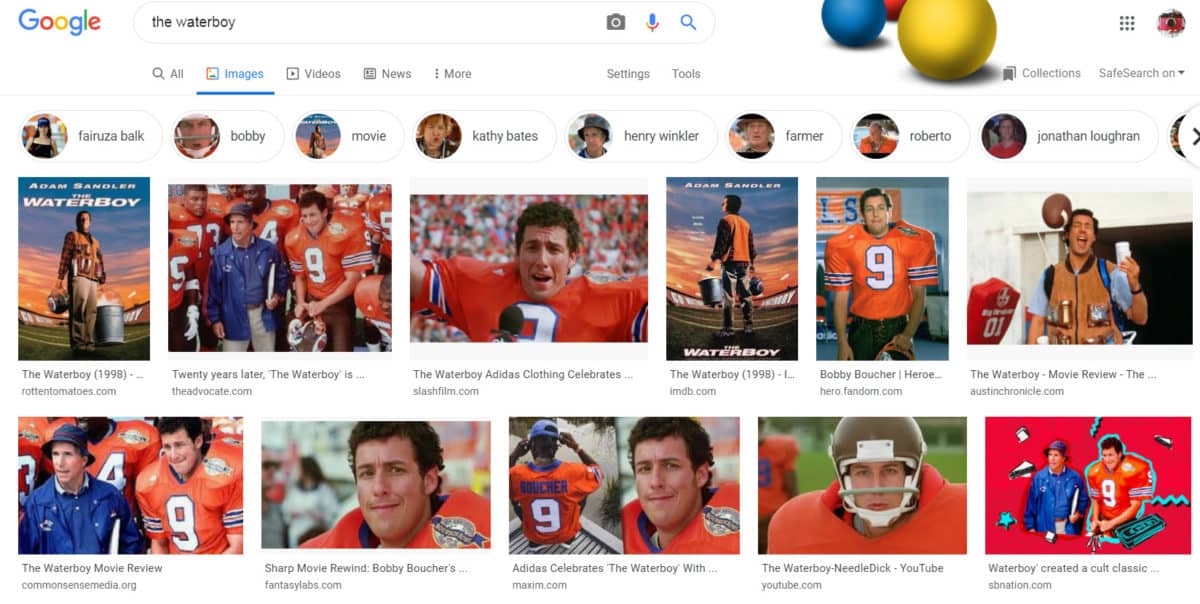

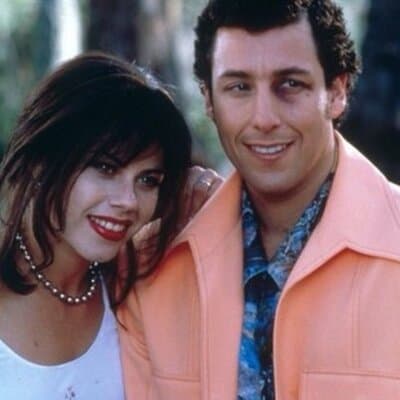
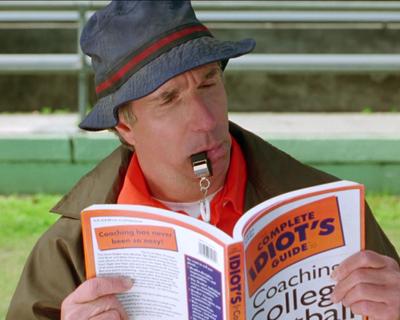
Example: Waterboy and Orange

Part 2: Editing
You will be doing the following steps for all 3 of the images
Step 1
- Open your first image
Step 2
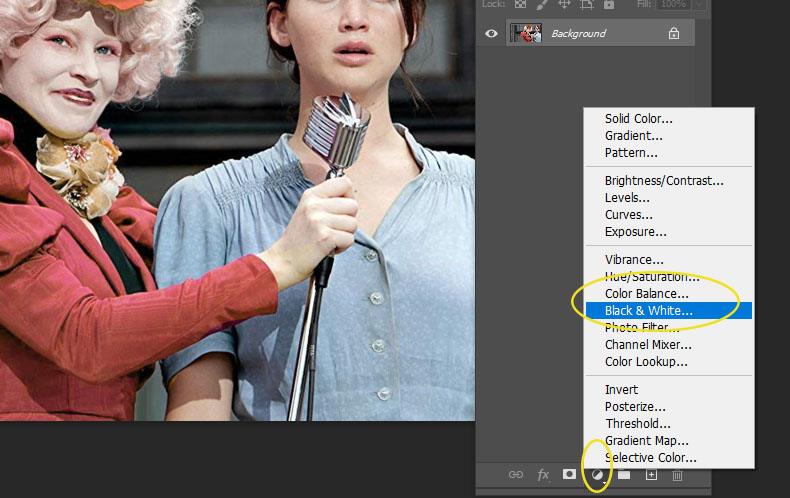
- Click on the Black/white Circle at the bottom of the layers pallet
- Pick Black and White
Step 3
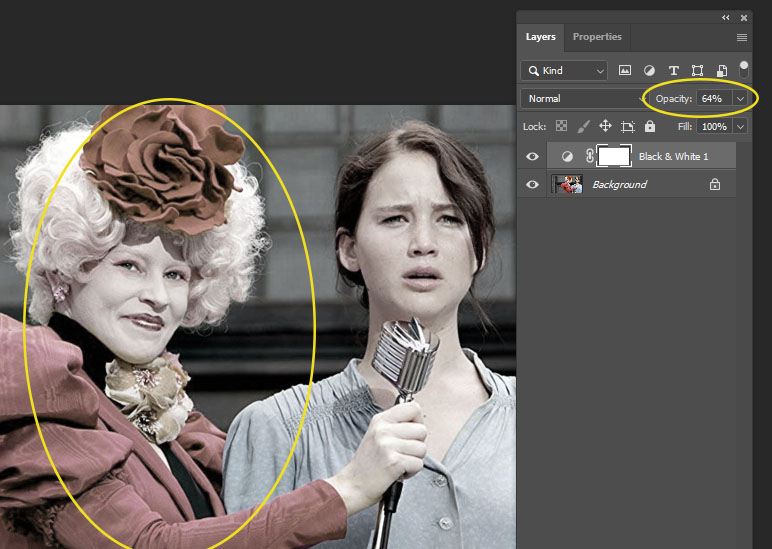
- Slightly pull down the Opacity on the Black and White Layer
- You want to see the colors in your image
Step 4
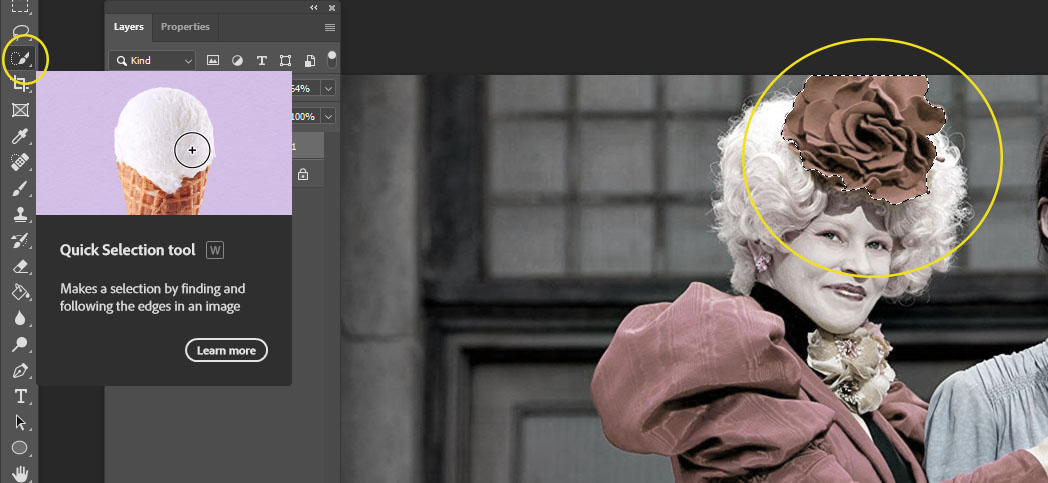
- Pick the Quick Selection Tool
- Select around the area you want to be color
- You may do multiple areas on your photo
Step 5
- Click on the White Mask on the Black and White Layer
- Select the paint brush and the color Black
- Paint the area you want in color

Step 6
- Select- Deselect
- To remove the selection area

Step 7
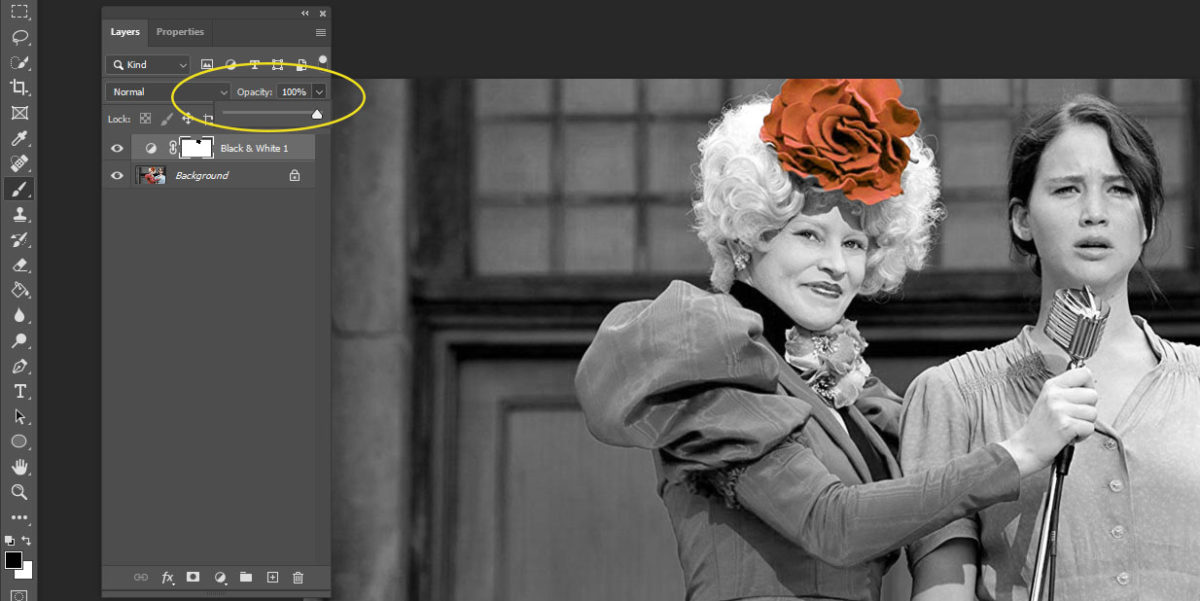
- Pull the Opacity on the Black/White layer up to 100%
- Flatten Your image!!!!!!!!!!!!!!!!!!!
- Do steps 1-7 again with the other images
Part 3: Making Graph
Step 1
- Create a new blank canvas
- File- New (make sure you are in inches)
- Width 20
- Height 6
- Resolution 150
- Background either white or black

Step 2
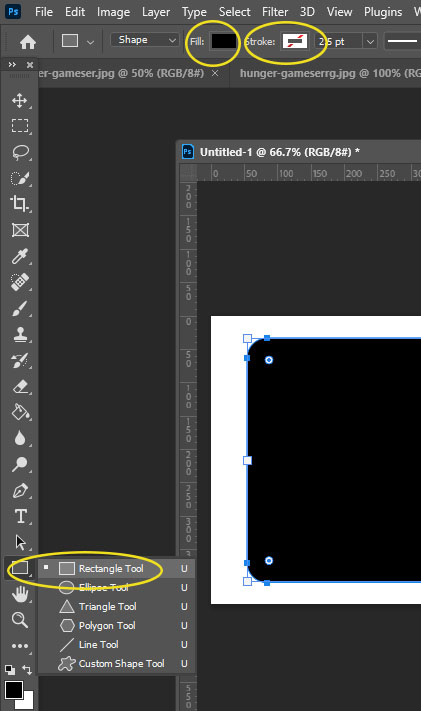
- Select the Rectangle tool
- Make sure the Fill color is Black
- Stroke is white with red line through it
Step 3
- You will be drawing 3 rectangles so plan your spacing out
- Draw your first rectangle

Step 4
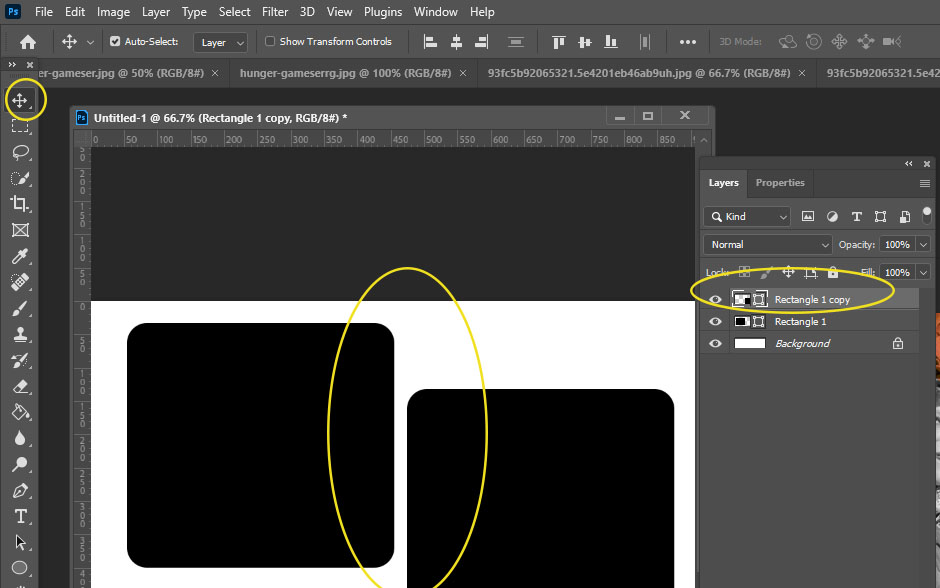
- Click Control-J to duplicate the Rectangle layer
- Click the Move Tool and drag this new layer to the right.
- Try to get it as evenly spaced as possible
Step 5
- Click Control-J again to make a 3rd Layer Rectangle
- Move the box over so that you have 3 boxes
- Try to make them as evenly spaced as possible.

Step 6
- Click on the Rectangle 1 Layer
- Drag your first movie photo anywhere onto the boxes canvas
- (Make sure the Image has been FLATTENED before you move it over)
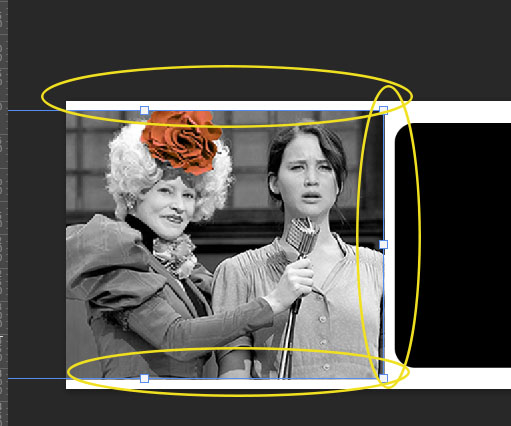
- Click Control T on the movie photo layer
-
- Make the image is larger than the Black Rectangle.
-
Step 8
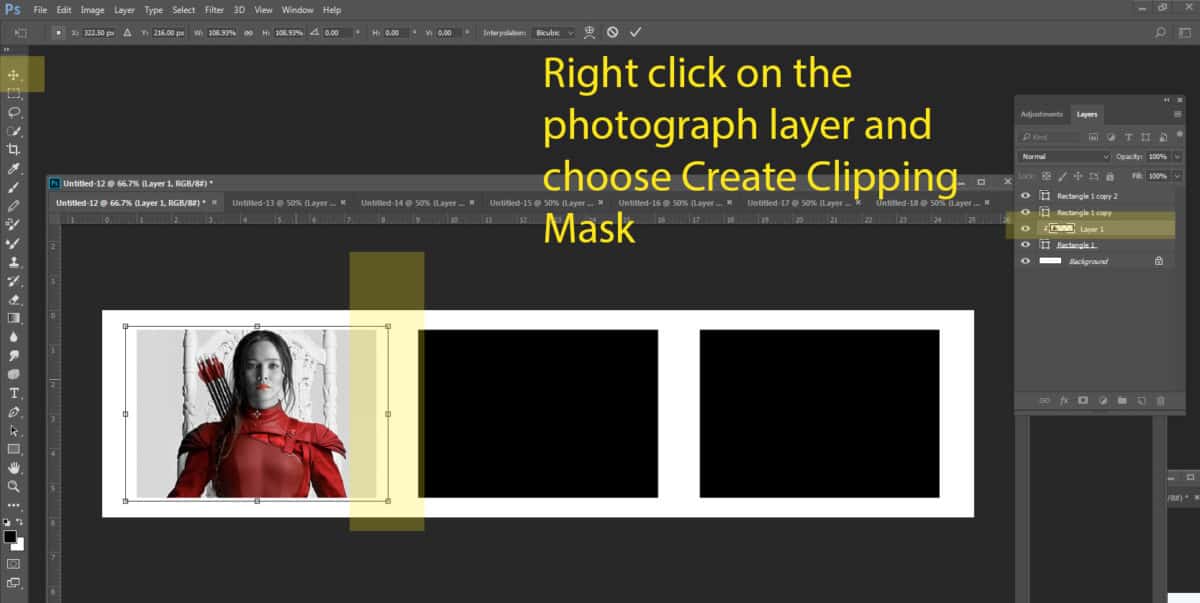
- Right Click on the movie photo image layer
- Select Create Clipping Mask
- The photo will now be placed inside of the black box.
- You can move the image around to show more or less of the picture
- Use Control-T to make it bigger or smaller.
Step 9
- Click on Rectangle 1 Copy Layer
- Move your second movie photo anywhere near the middle black rectangle
- Make sure the photo has been Flattened before moving over
- Click Control T on the movie photo layer
-
- Make the image is larger than the Black Rectangle.
-
- Right Click on the 2nd movie photo image layer
- Select Create Clipping Mask
- The photo will now be placed inside of the black box.
- You can move the image around to show more or less of the picture
- Use Control-T to make it bigger or smaller.

Step 10
- Move your third movie photo onto the square canvas.
- Click on the third Movie Photo Layer
- Drag it so that the 3nd movie image is directly ABOVE the third Rectangle Layer.
- The 3nd movie image will be the 6th layer on your layers pallet.
- Right Click on the 3nd movie photo layer and select Create Clipping Mask
- The photo will now be placed into the black box.
- You can move the image around to show more or less of the picture.


