
4. Move the Black slider to the right (positive number). Move about half way or until you get the look that you want for your image. Note every image will look different.

5. Change the color to Neutral
6. Move the slider to the left (negative numbers).
7. Move it about half way or until you get the look that you like

5. Change the color to White
6. Move the slider to the left (negative numbers).
7. Move it to almost the very end of the slider

8. Click on the yin and yang circle at the bottom of the layers pallet

12. On the Layers pallet change Normal to Exclusion
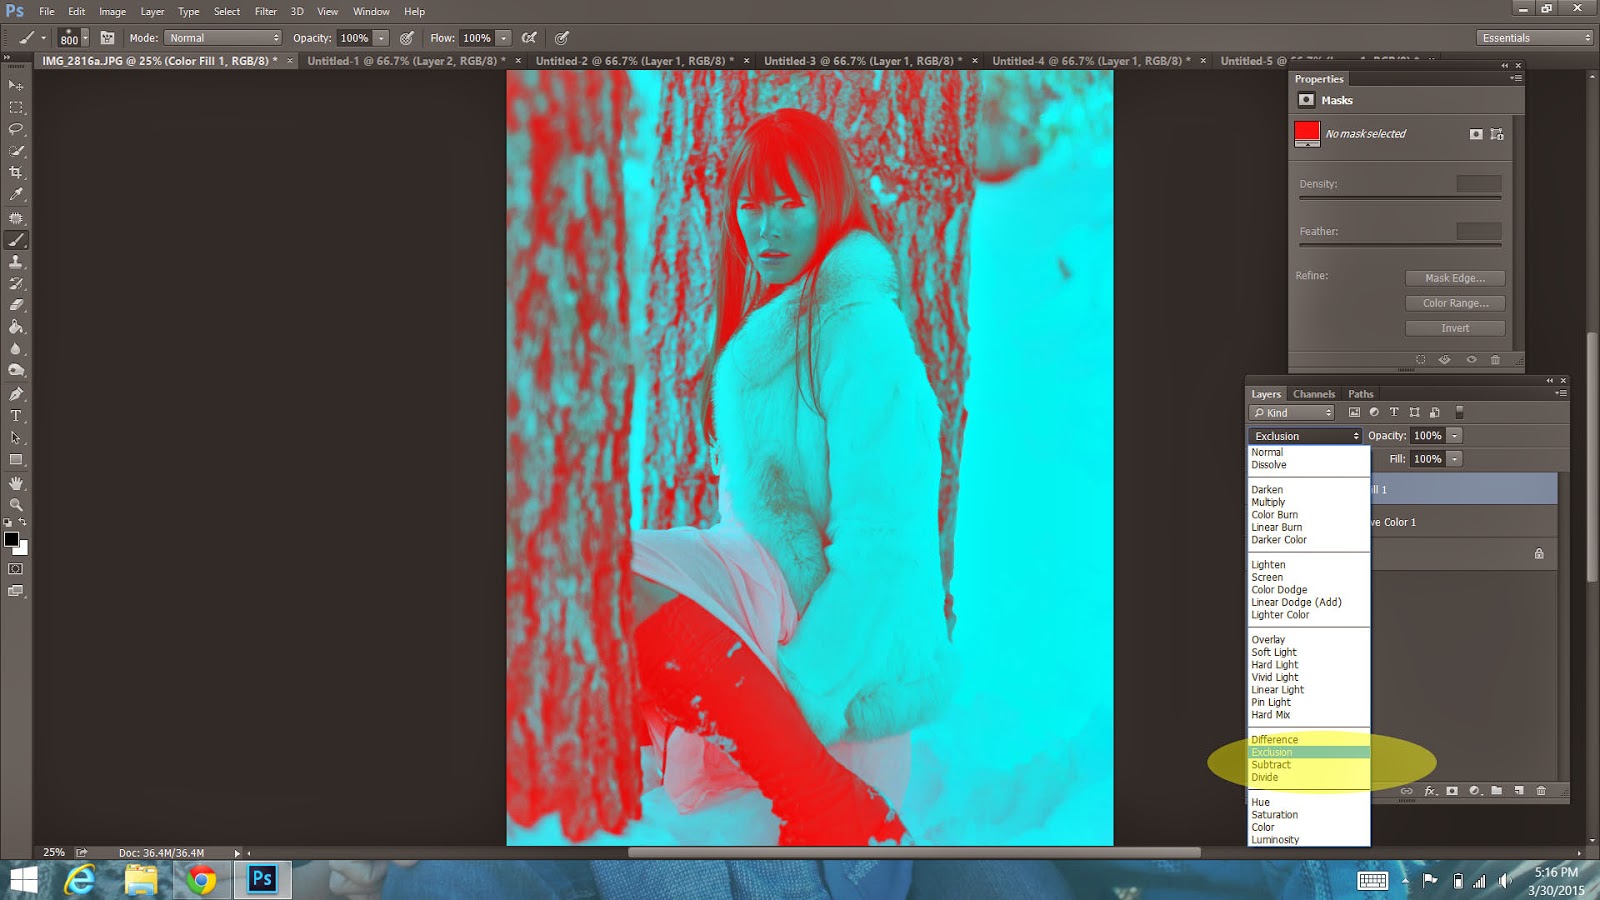
13. Pull the Opacity down until you get the desired look.

14. On the Layers pallet, double click on the colored box.
15. This will bring up the color picker
16. Move the color around and saturation until you get the look you want.
17. Flatten your image

17. Open one of the Light-Leaks in the School Loop locker for the class
18. Drag the file on-top of your photo and make it fit (Control T)

19. On the Layers Pallet, change to Screen
20. Pull down the Opacity so that the light is not to strong
21. Flatten your image

22. Duplicate your layer
23. On the color pallet pick a very, very, very pale yellow color
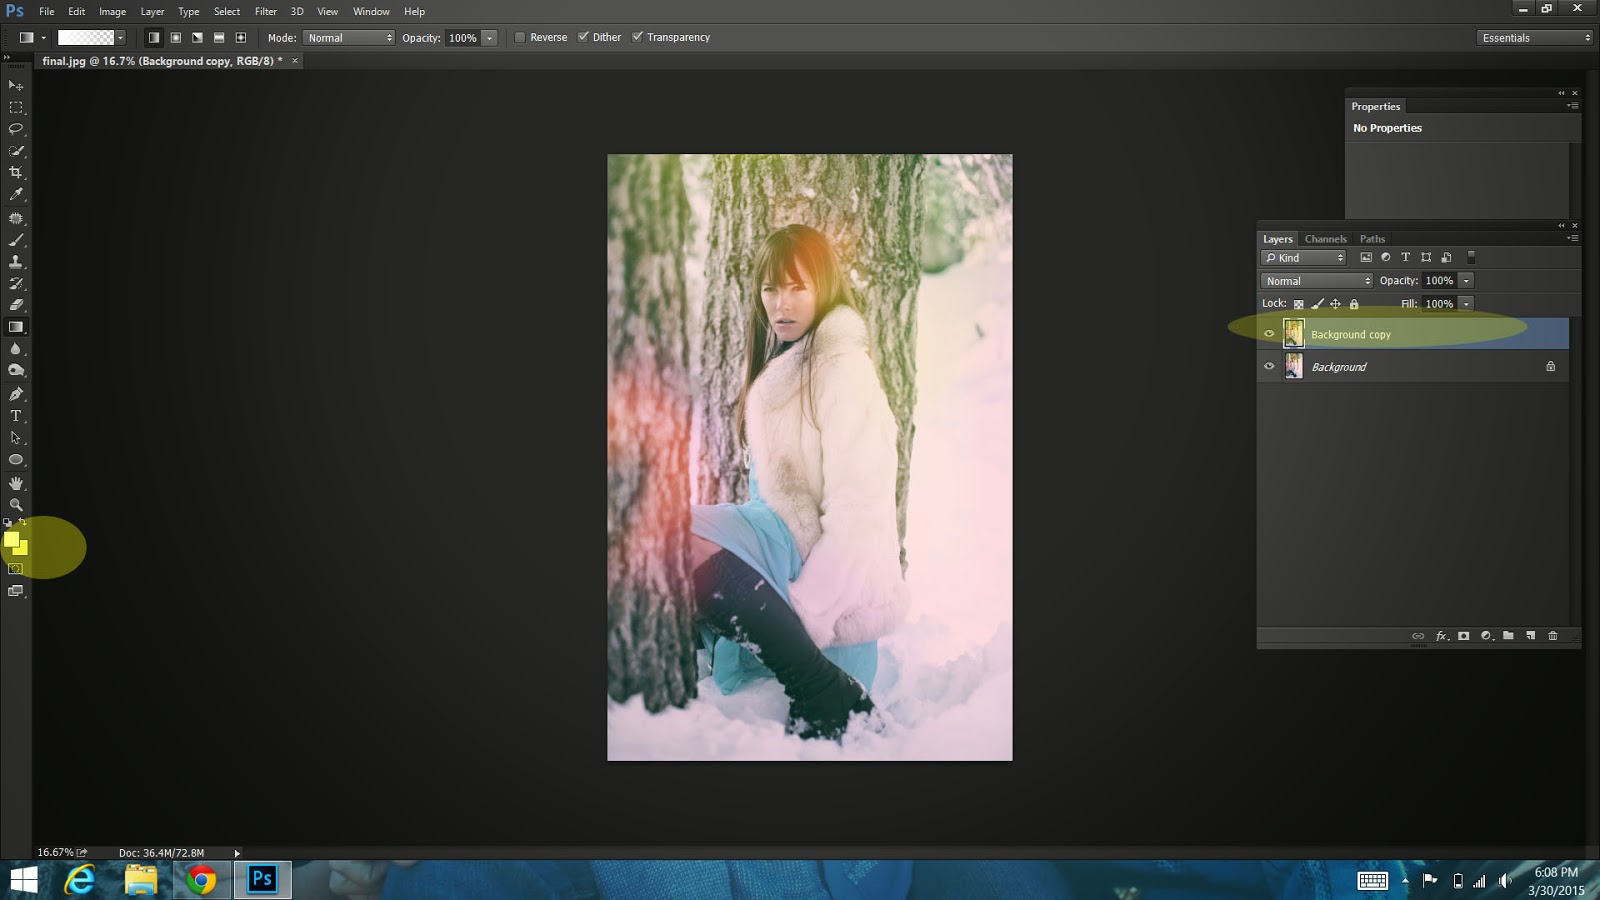
24. On the Tools pallet, pick the Gradient tool. It is the little box under the paint bucket tool.
25. Click on the SECOND box on the TOP of the gradient choices
26. Draw a line from the top corner of the image to about half way across your image. This can be from the left or right side. It depends on were you would like the light to come from.

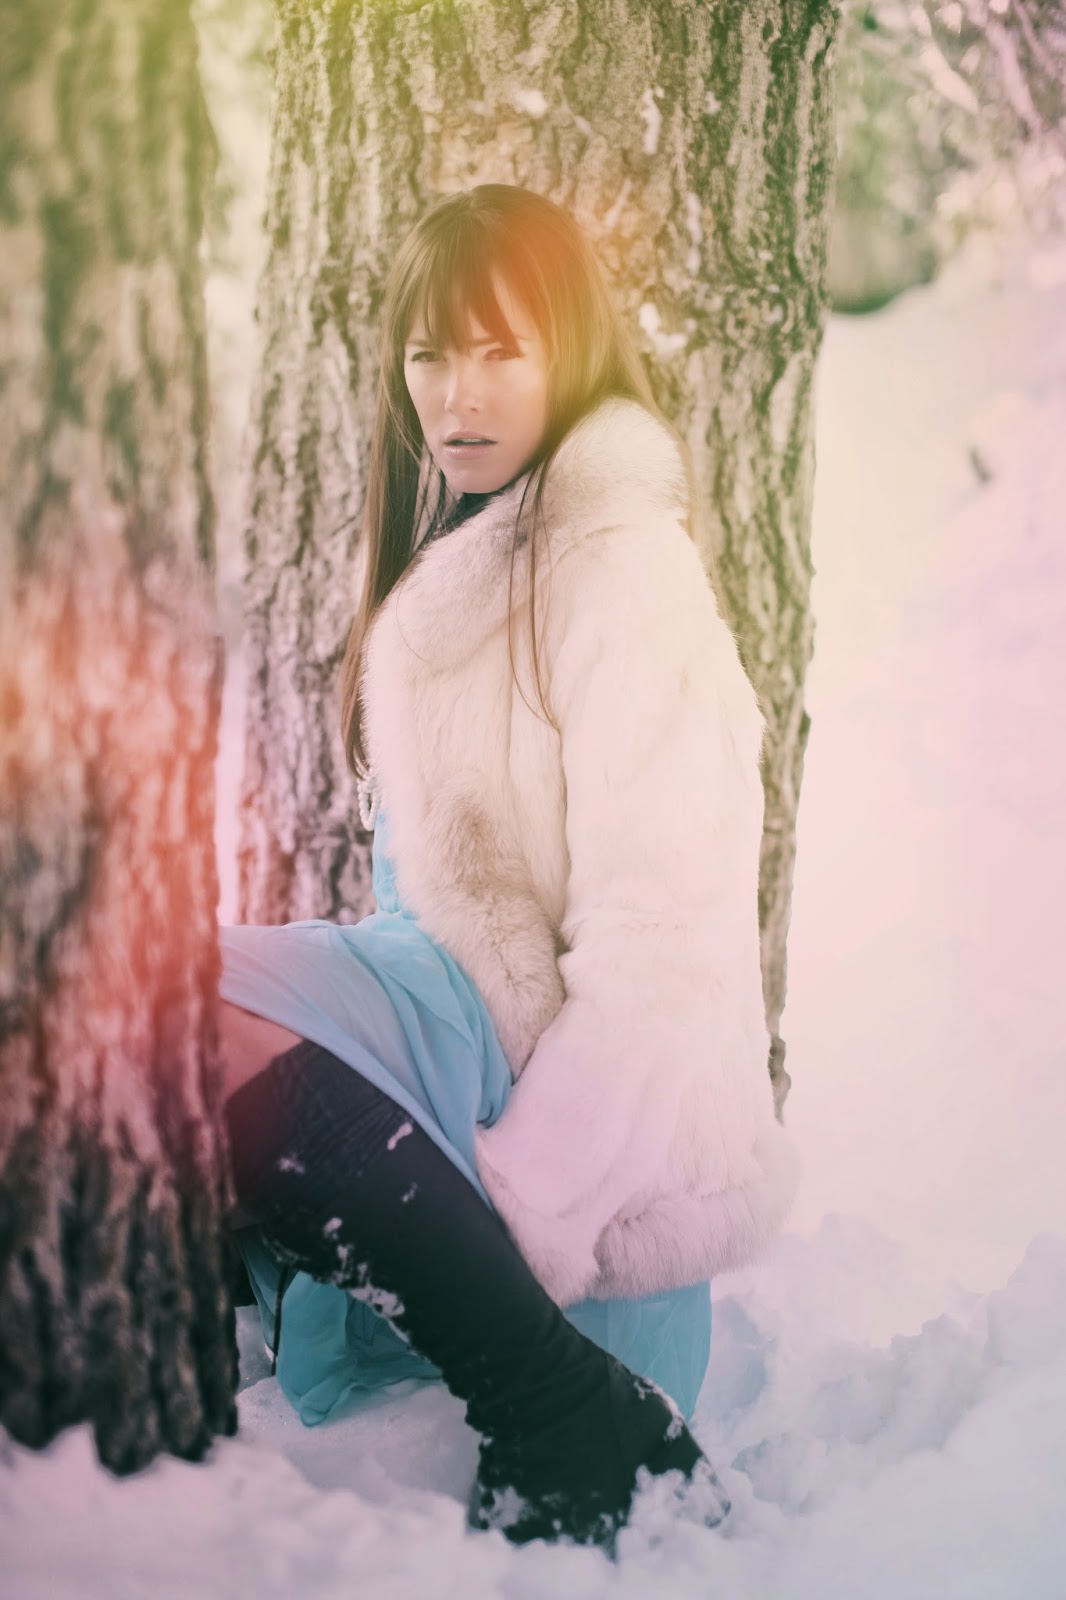
27. You will now have beautiful light
28. You will want to change the opacity so that it looks more realistic and is not to bright

29. Repeat the same steps but this time pick a light blue color and drag your line from the bottom corner. It looks best if you pick the corner diagonal from the top light.
30. Flatten your image

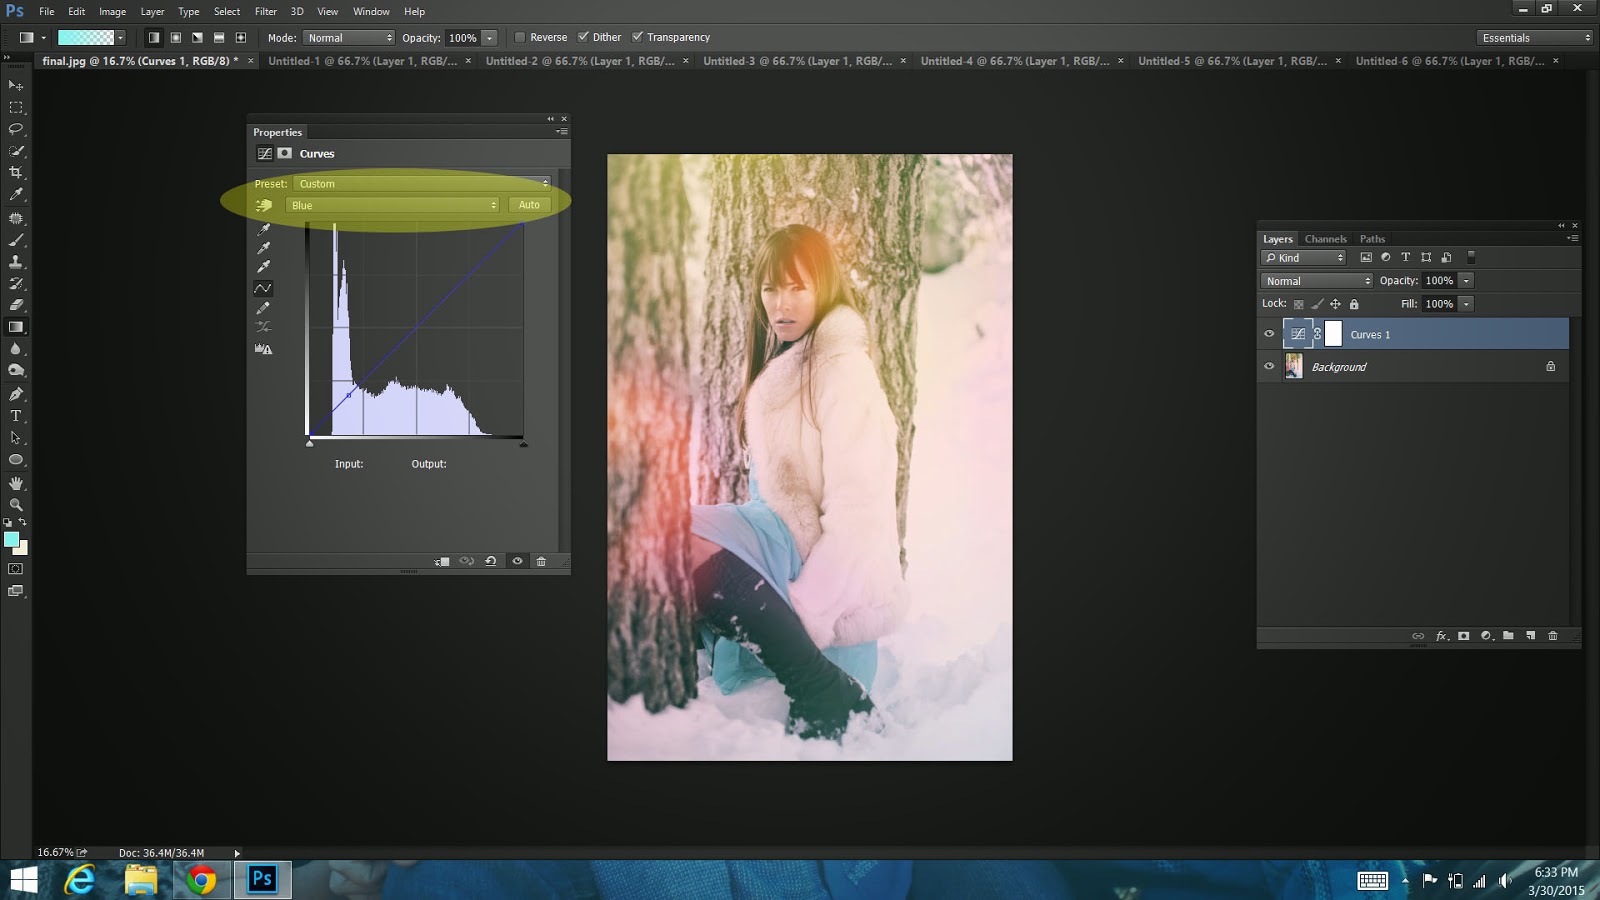
31. Click on the yin and yang circle at the bottom of the layers pallet

33. Change the RGB setting to blue
34. Move it around to get the look you would like
35. Repeat by changing it to Red and then Green
36. Flatten, Watermark and you are DONE!