Step 1
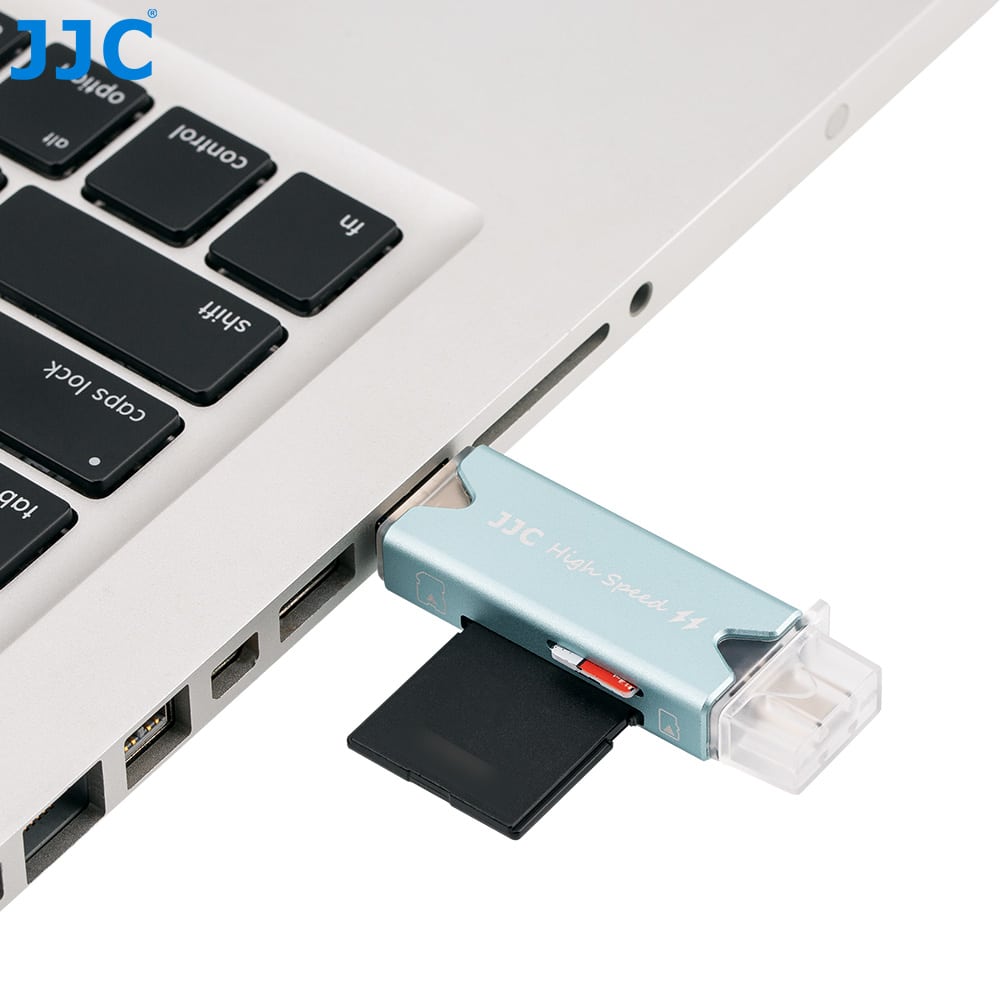
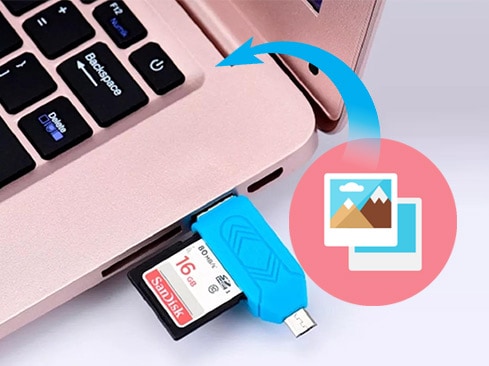
- Insert the SD card into the card reader
- Plug the card reader into the computer

Step 2
- You will find your sd card where it says
- Removable Disk or USB Drive

Step 3
- You will rename your SD card
- Right Click on USB Drive
- Choose Rename
- Right Click on USB Drive

Step 4
- Type in your name

Step 5
- Open the folder called DCIM

Step 6
- Your photos will be in one of the canon folders
- The older photos will be in the first canon folder
- Newer photos will be in the canon folders below
- The older photos will be in the first canon folder

Step 7
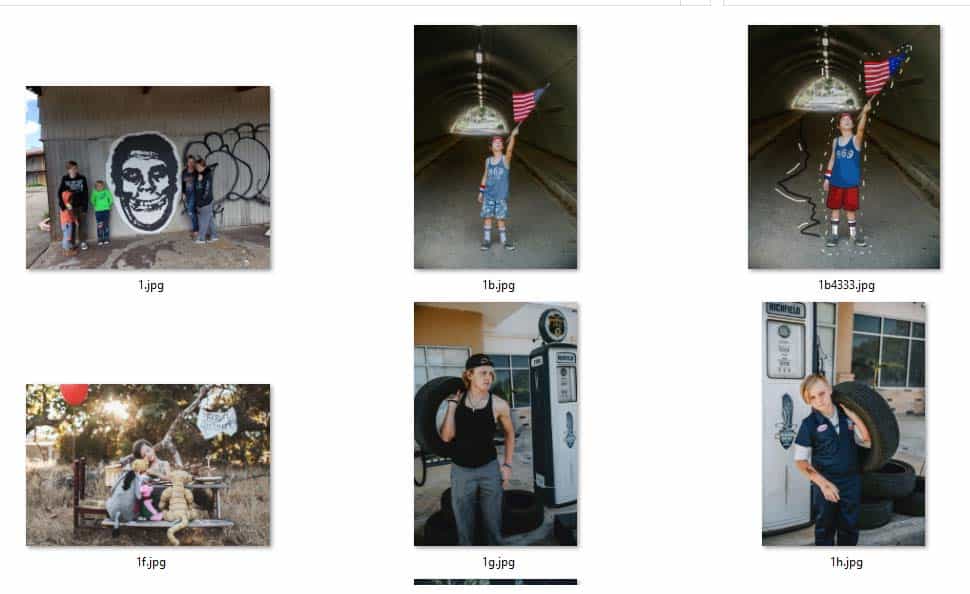
- The photos will show as file names
- We are going to change this so you can see the photos

Step 8
- Right click anywhere by the file names
- Choose View
- Extra Large Icons
- You will now be able to see your photos
- Choose View


Step 9
- To select the photos you want to keep
- Click on the first photo
- To select more photos
- Hold Control Key and click mouse on image
- Keep the Control Key held down to select more images
- To select more photos
- Click on the first photo

Step 10
- Drag the photos you selected into your google folder for the Digital Photo class


