


Bokeh
- Comes from the Japanese word for BLUR
- Light that is out of focus turns into balls of light
- Bokeh is achieved by using a Low Aperture
Step 1
Spread the lights evenly across the background you plan to use.

Step 2
- Set your camera’s aperture to the Lowest setting f/stop
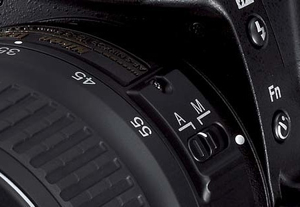
- Change your focus setting on the camera LENS from automatic focus (A) to Manuel Focus (M).
- This is located on the side of your camera lens
Step 3
- Turn the focus of the lens to make the lights look OUT of Focus
- This will produce the round circles of lights

Assignment
Photo 1. Bokeh Circles
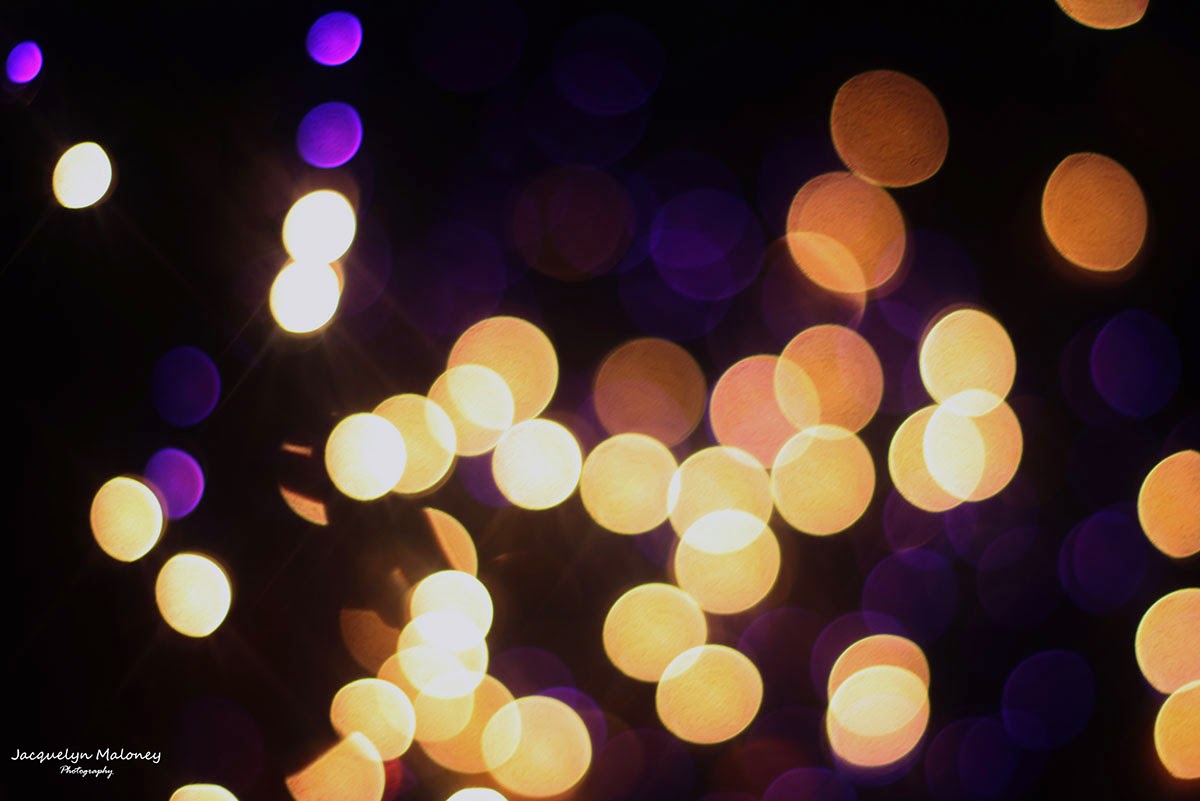
- You will be taking a photograph of just the lights alone.
- Turn the focus ring until the lights become balls of light
- Take your photo.
- You may have to move around to get the best image.
- Edit in Camera Raw
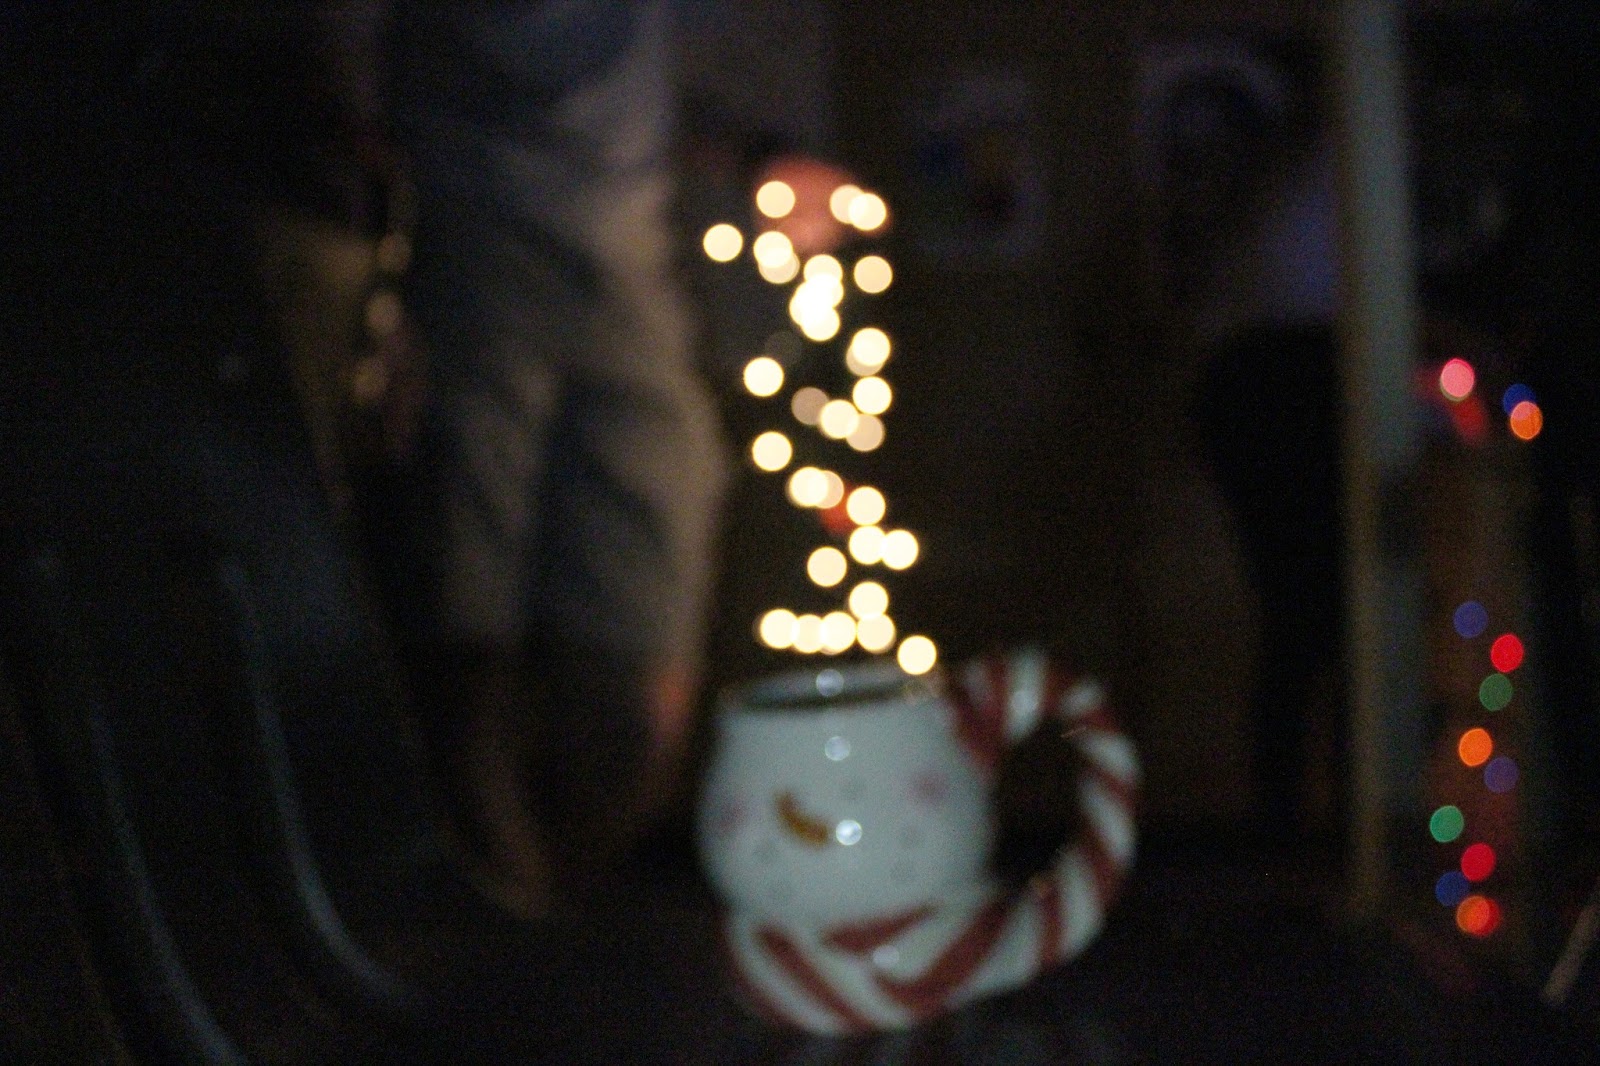
Photo 2: Object with Bokeh behind it
.jpg)
- Set your camera to Maual Focus (MF)
- Set your aperture to the lowest f-stop
- Set up your subject at least four to five feet away from the lights
- Arrange the lights so that the bokeh appears to be coming out of the object
- Zoom in VERY close to your subject
- Focus on the object. Lights should be out of focus
- Zoom in VERY close to your subject
- Arrange the lights so that the bokeh appears to be coming out of the object
- Set up your subject at least four to five feet away from the lights

.jpg)
.jpg)
.jpg)

Not Done Correctly
_____________________________________________________________________________________
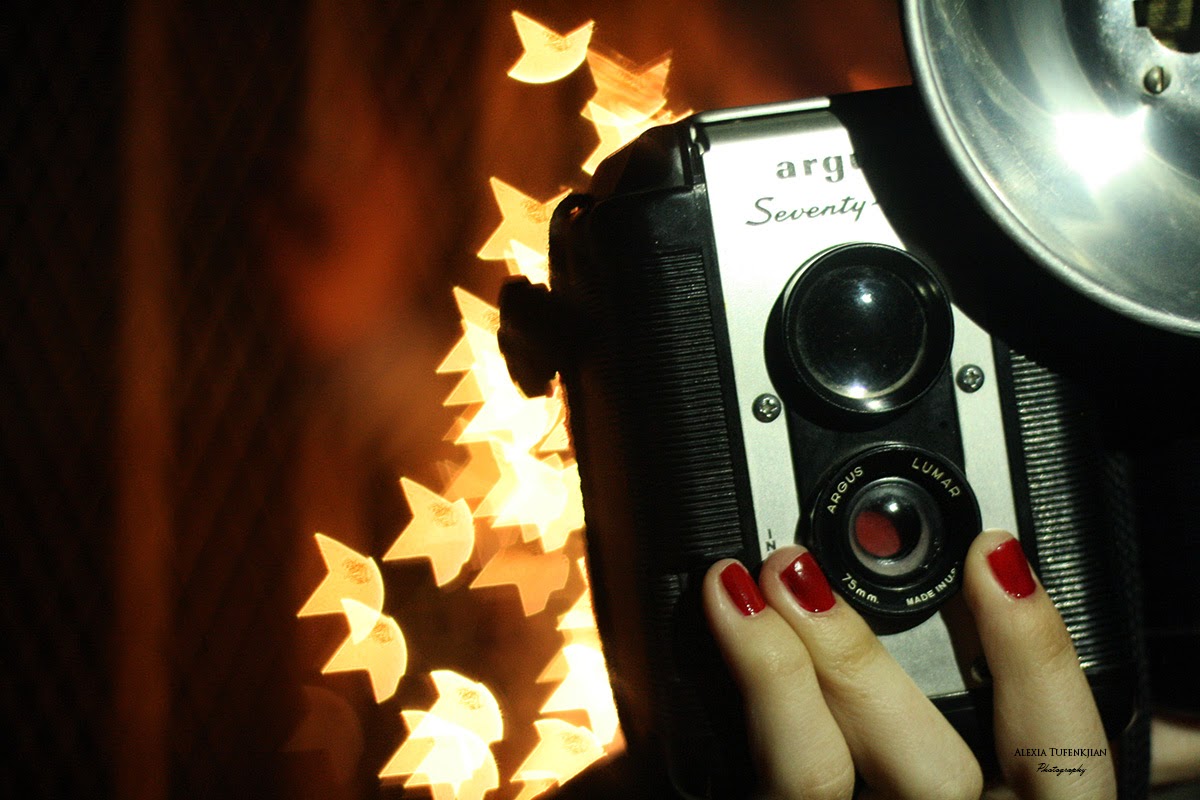
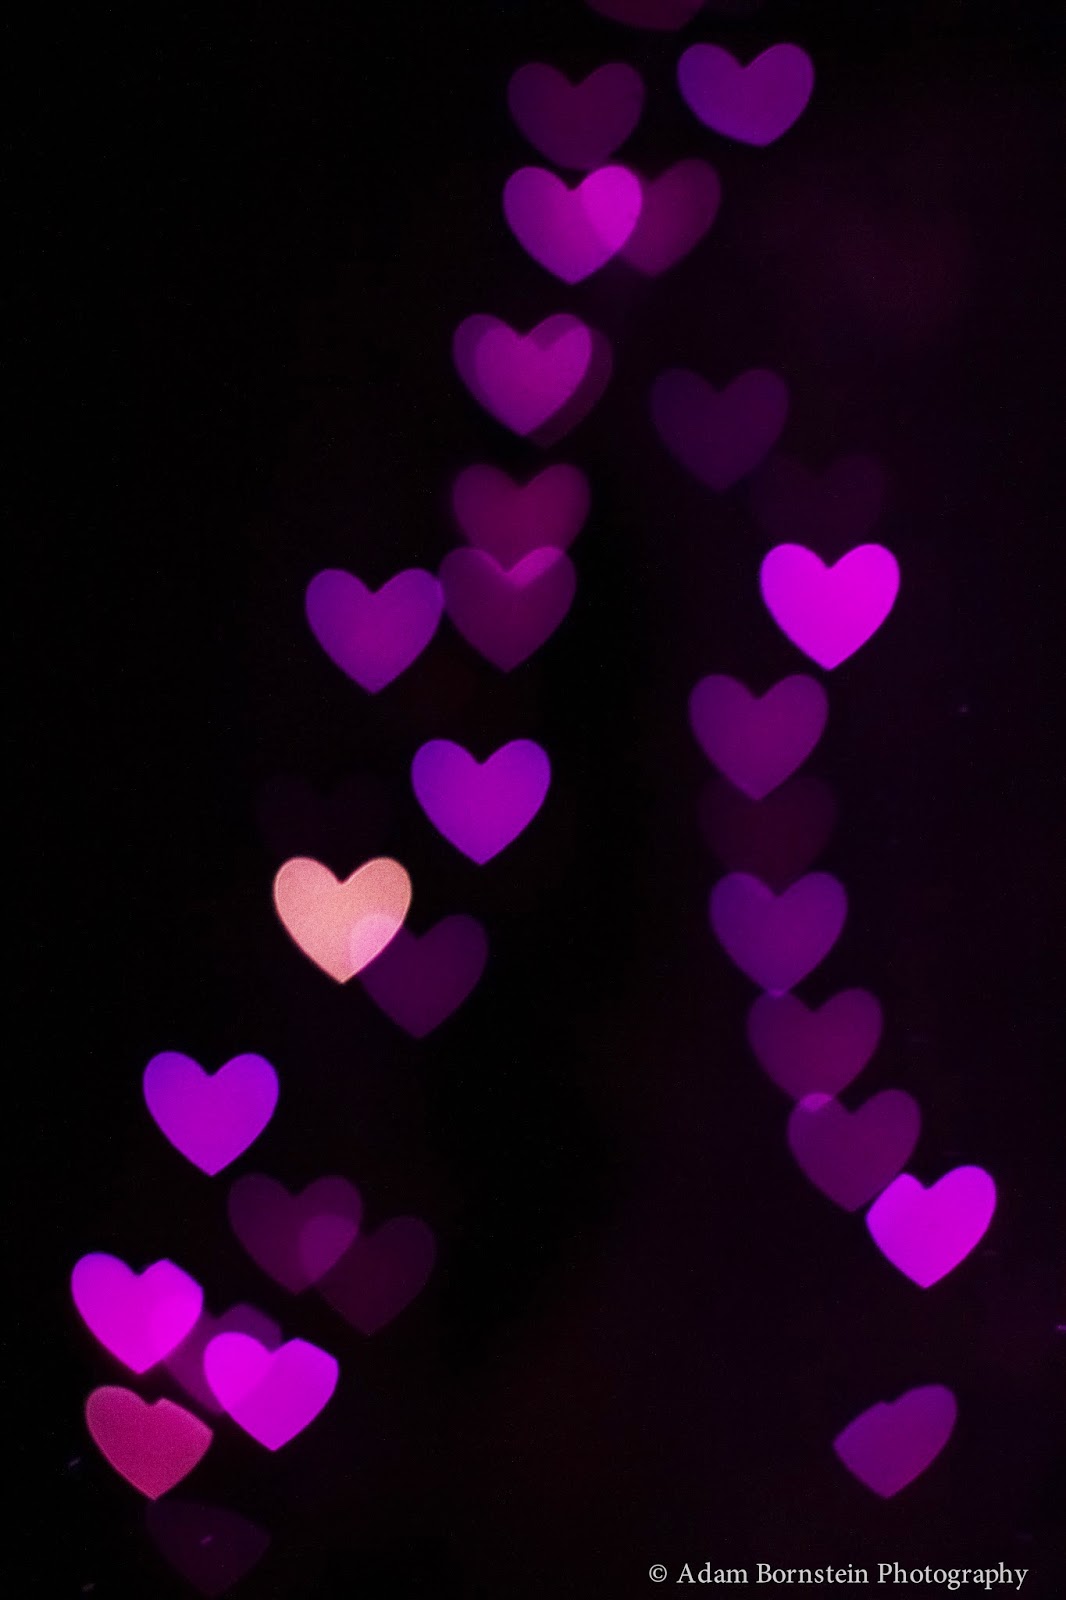
Photo 2. Bokeh Shape


- Pick the shape from the collection
- Place it tightly against the lens
- Set your camera to the above photo settings
- Arrange the lights to your liking
- Take your photo.
- You may have to move around to get the best image.
- Edit in Photoshop with Curves, levels, or color balance

______________________________________________________________________________
Extra Credit Bokeh Assignment

Bokeh in front of a person

Hang the lights in front of the camera

Focus on the person and blur the lights out

