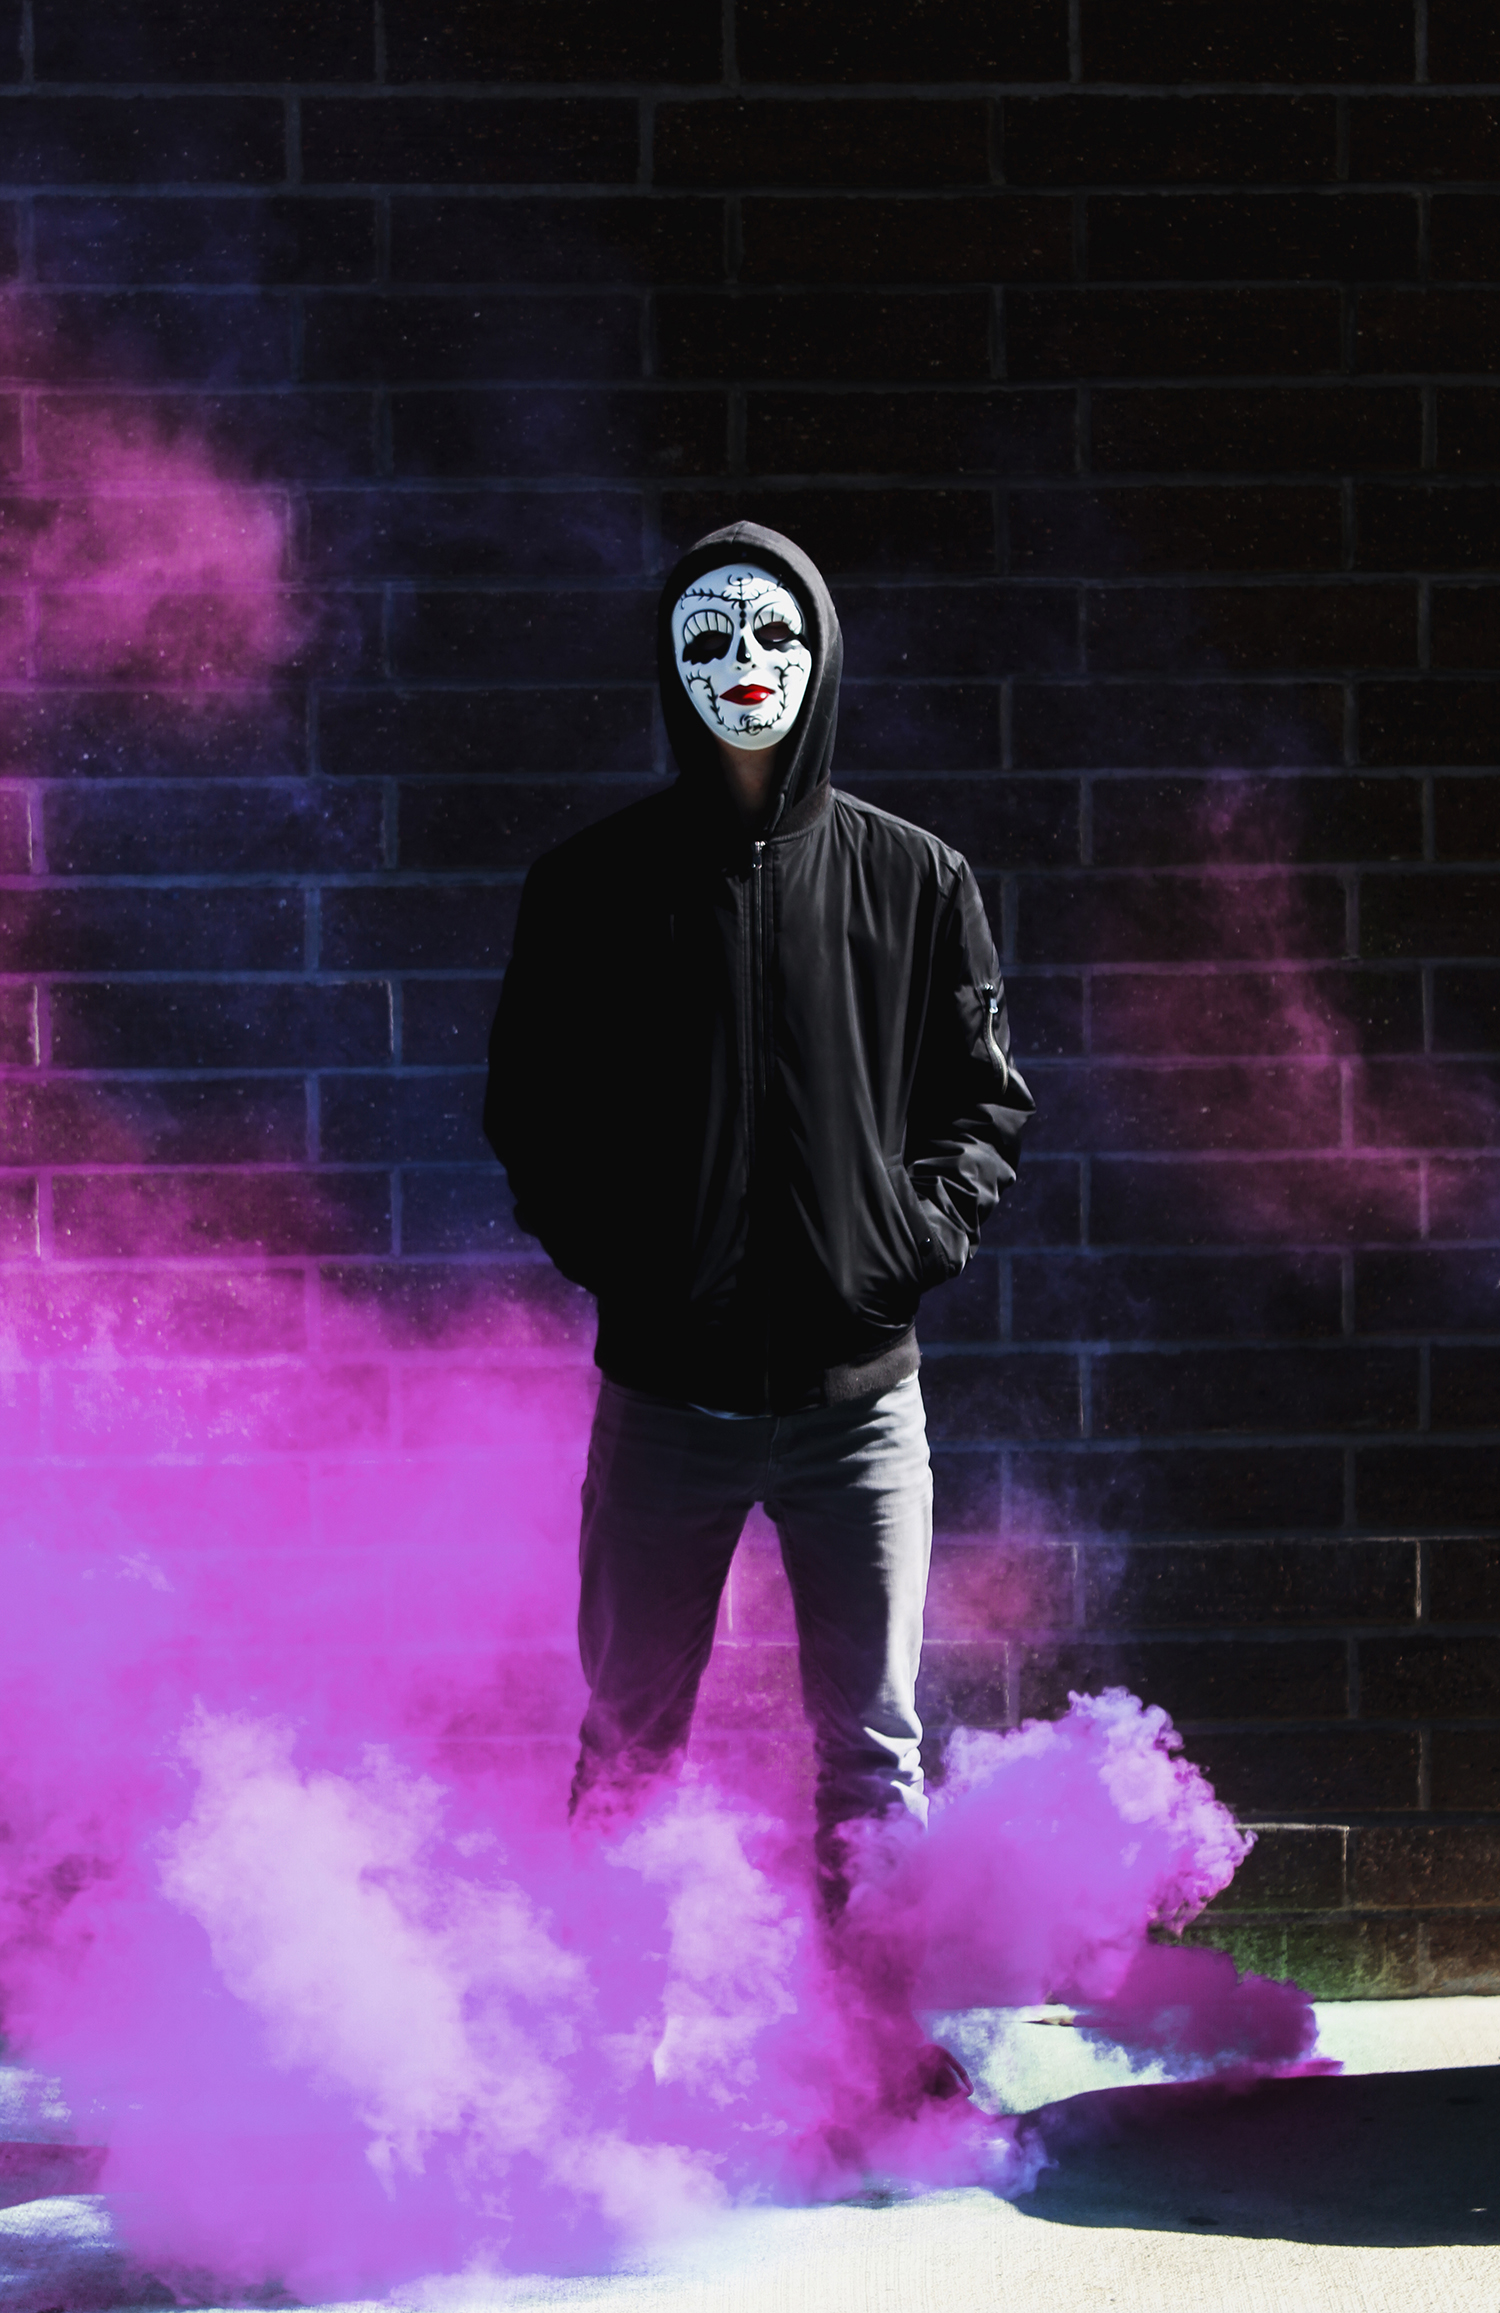
Smoke/Pumpkin Changing Colorw with Hue/Saturation
Step 1:
- Choose the Quick Select Tool
- Select only the area where the smoke is

Step 2:
- Click on the Adjustment Circle at the bottom of the Layers Pallet
- Pick Color Balance

Step 3:
- You will now have 2 Layers
- Change the Sliders to create a new color
- Only the area you quick selected will change color

Step 3a:
- Continue moving the sliders until you create the color you would like

Step 4:
- If there are areas that changed color that you do not want we will now fix that
- Click the black/white box on the Color Balance Layer
- Pick the Paint Brush Tool
- Make sure the black color is choosen
- Paint out any area that you do not want

Step 5:
- Add Logo
- Flatten Image
- Save as Jpeg
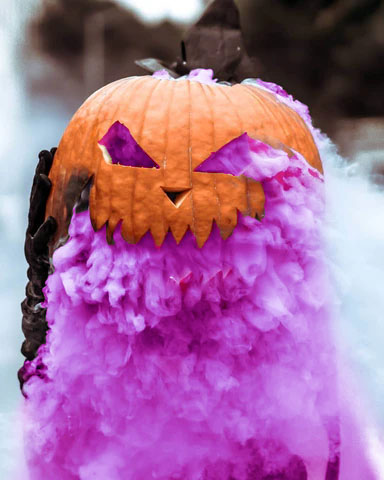
_______________________________________________________________________________________
Extra Project
Step 5: *Merge your Layers *File- Save As *Name the file the color you changed the smoke (ex Pink). *Make sure it’s a JPEG
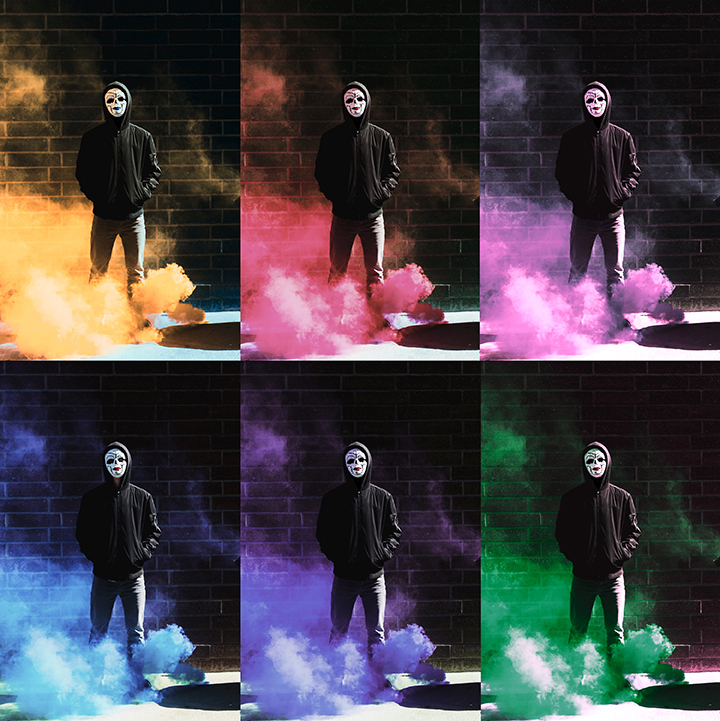
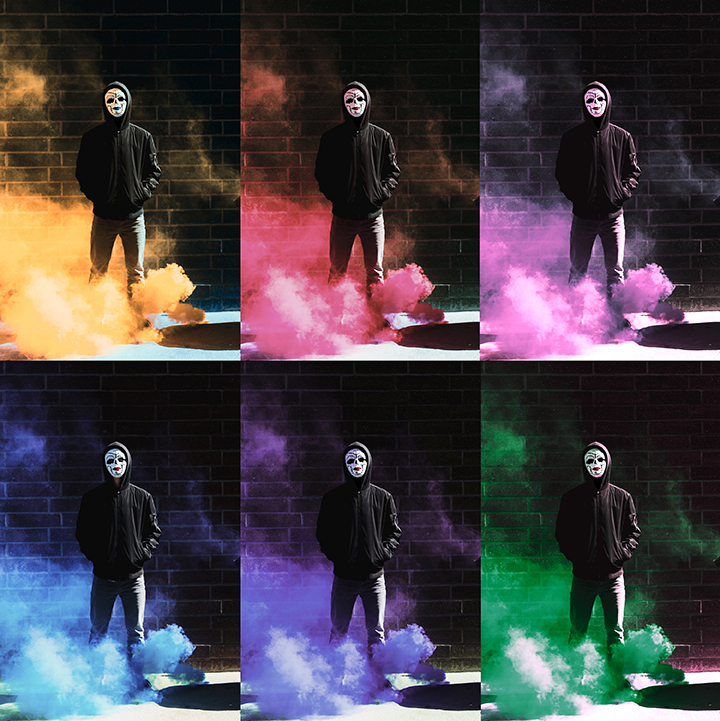
Step 6: *Repeat Steps 1-5 again with a different color. *You will change the smoke and save the images until you have 6 different colors and 6 images.
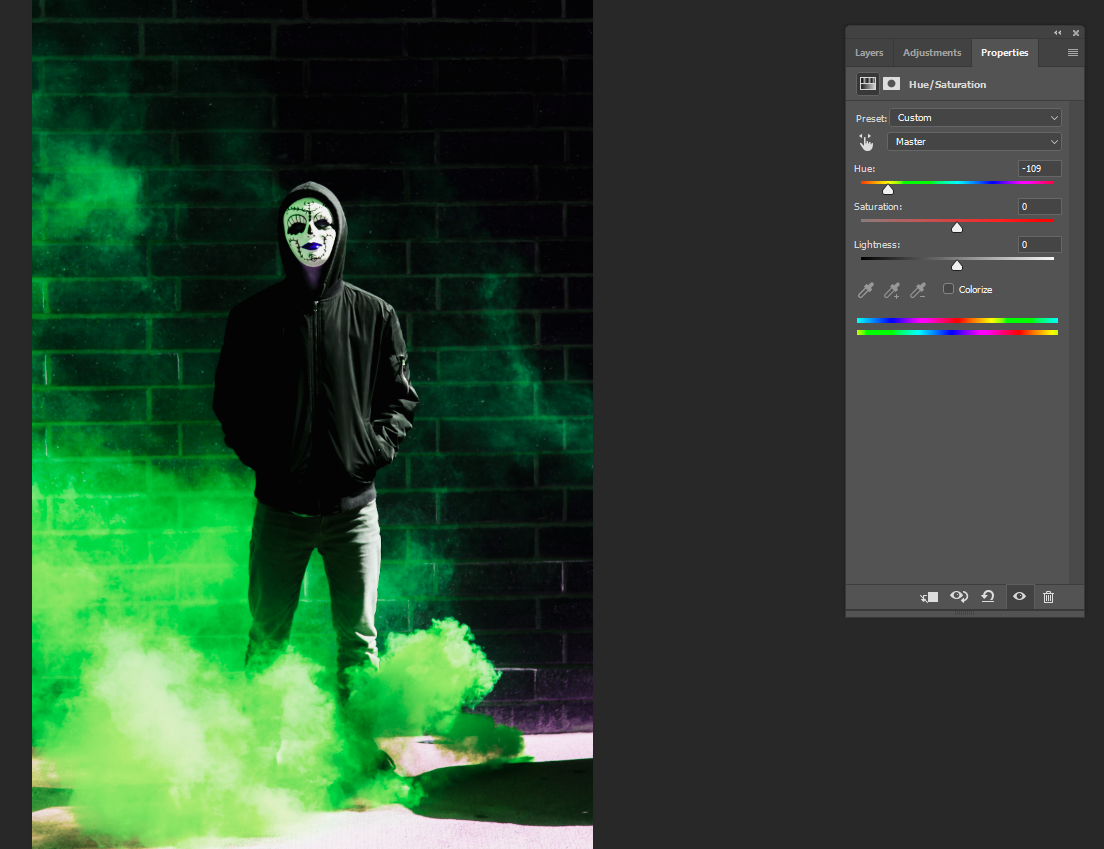
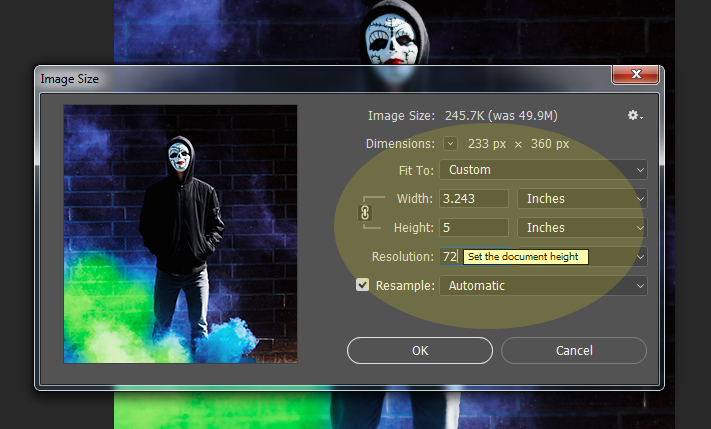
Step 7: *Open all 6 of your images. You will be making each image smaller before the next steps. *Image- Image Size * Change the Height to 5 inches. (Do not worry about the width). Resolution 72
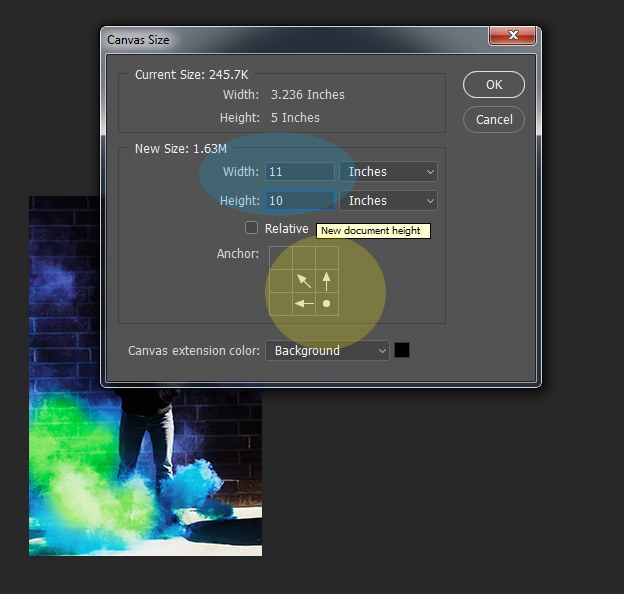
Step 8: *When they are all made smaller, pick the blue smoke image *Go to Image- Canvas Size *Click on the Middle Right Arrow and the Middle bottom Arrow. *Change your Width to 11 Inches and the Height to 10 inches
Step 9: *Drag your other smoke images onto the canvas one at a time until all 6 are on the canvas together. *Merge your layers and save the image to turn in
