Joiners Photoshop Directions
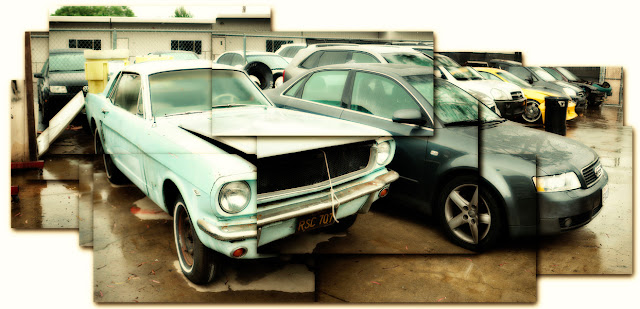
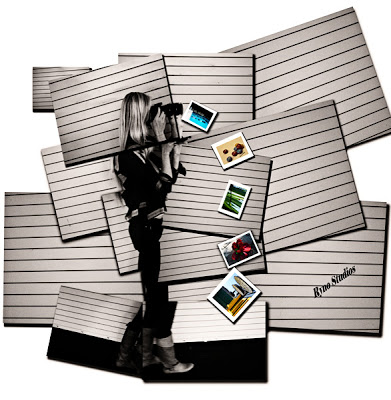
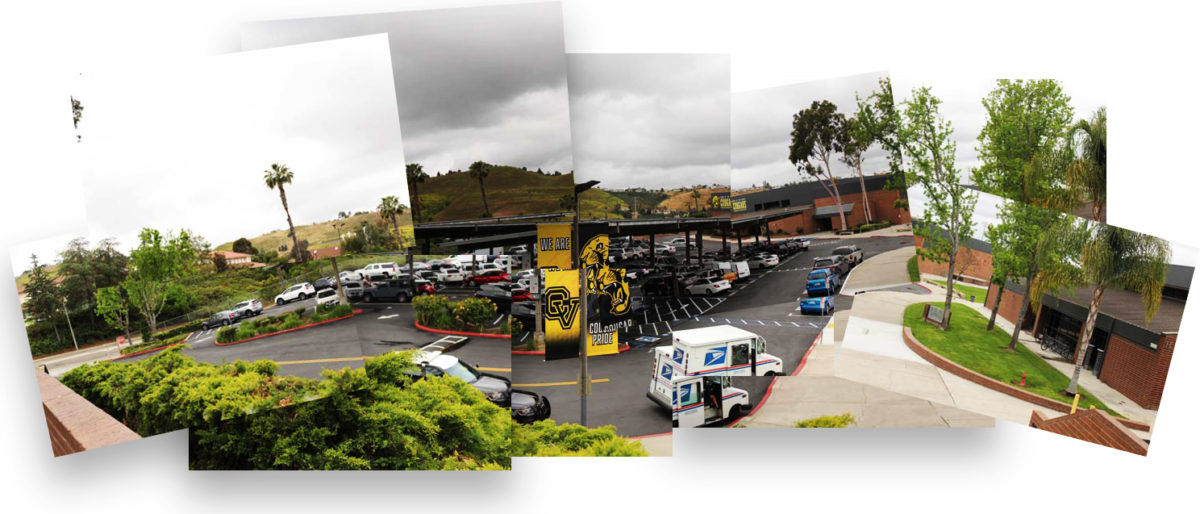
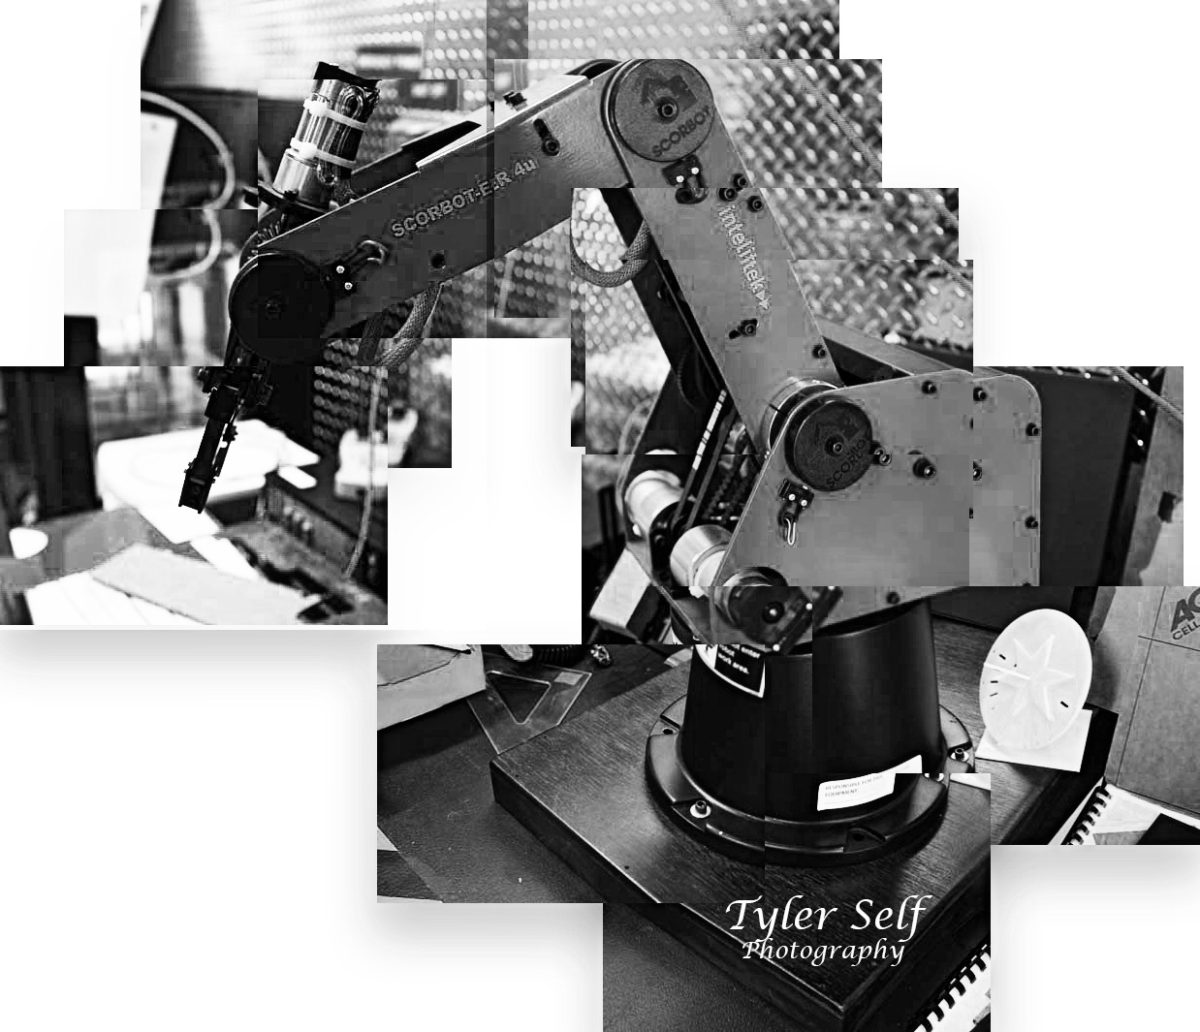
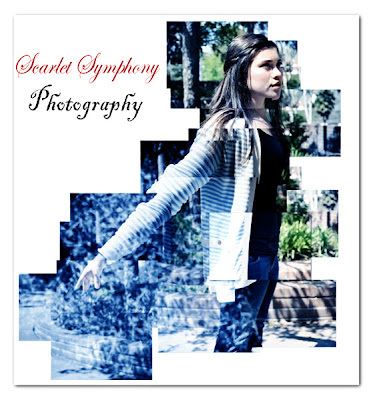
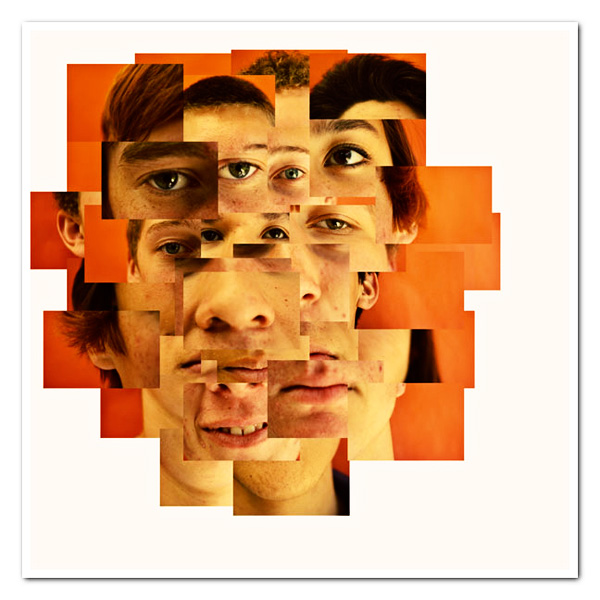
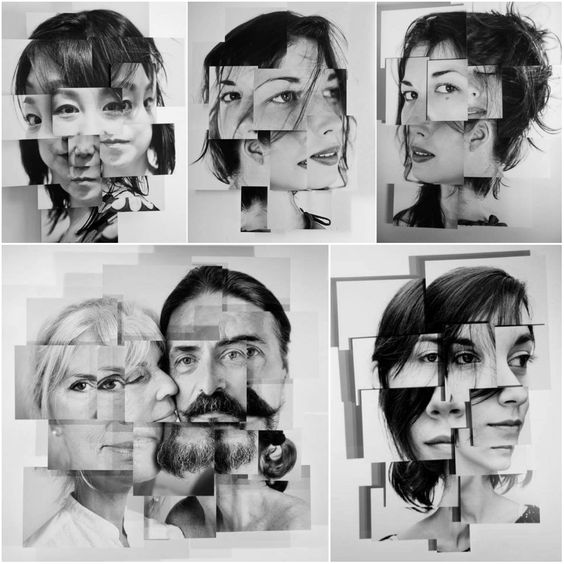
You are required to use 18 photos in Hockney Joiners.
Step 1:
- Go to File
- Open
- Downloads
- Hockney Folder
- Jpeg Folder
- Hockney Folder
- Downloads
- Open

Step 2:
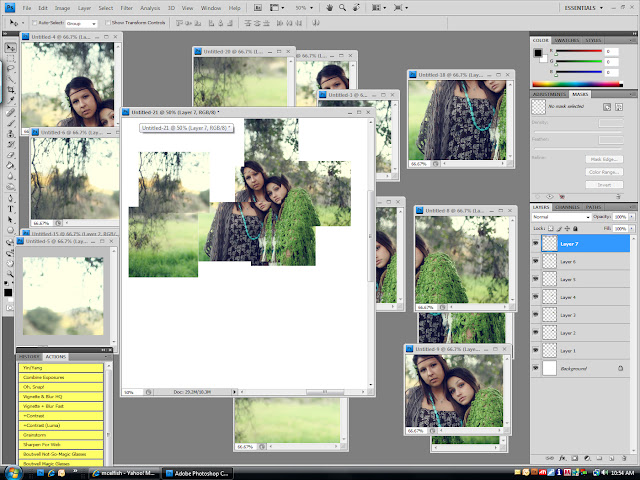
- Open the 18 images you will be using for this project
- They will all open in photoshop along the top

Step 3:
- Go to Windows
- Arrange
- Float all in windows
- All the images will now be floating
- Float all in windows
- Arrange


Step 4:
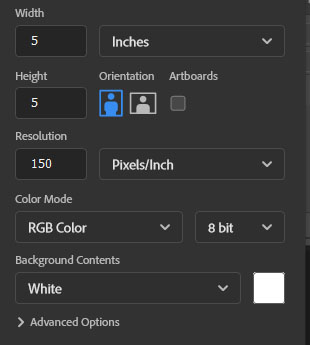
- Create a blank canvas
- File
- New
- 10 inchs width
- 10 in height
- 300 Resolution
- Background White
- 300 Resolution
- New
Step 5:
- Select the Move Tool
- Move a photo onto the white canvas
- Drag a second photo onto the canvas
- They should not match up perfectly
- Drag a second photo onto the canvas
- Continue to move the 12 photos over
- Move them around to create an interesting composition
- Move a photo onto the white canvas
Step 6:
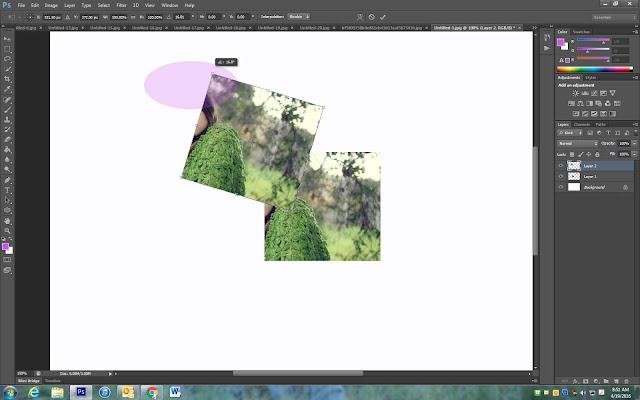
- To create interest in your project, rotate a couple images
- Control and T
Step 7:
- We are now going to add a shadow under the photo so they look 3D
- Click the fx button at the bottom of the layers pallet
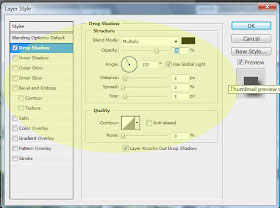
- Click the Drop Shadow button

Step 8:
- Make settings:
- Distance 25-35 px
- Spread 6-12 %
- Size 5 px
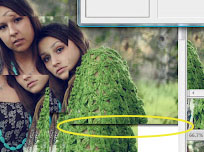
- You will now see a small shadow at the bottom of your image
Step 9:
- Repeate step 7 and 8 to all layers
Step 10:
- You may change the background color if you would like or keep it white
- Flatten Image
- Add Logo
- EDIT In Camera Raw
- DO NOT MISS EDITING YOUR IMAGE!!!!!!
- EDIT In Camera Raw
- Add Logo

