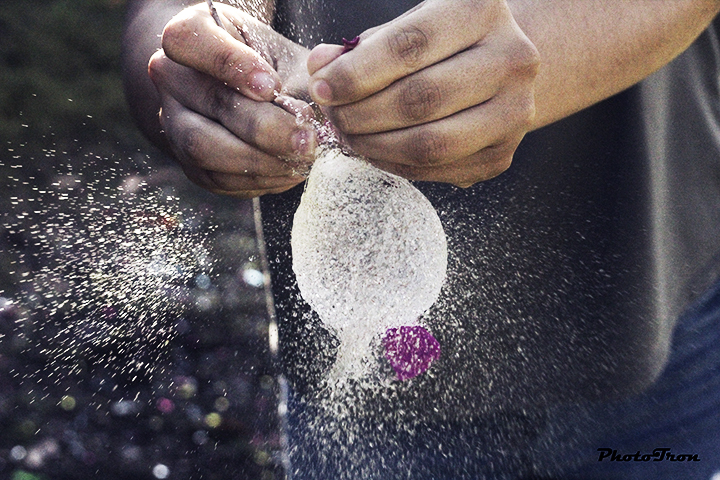
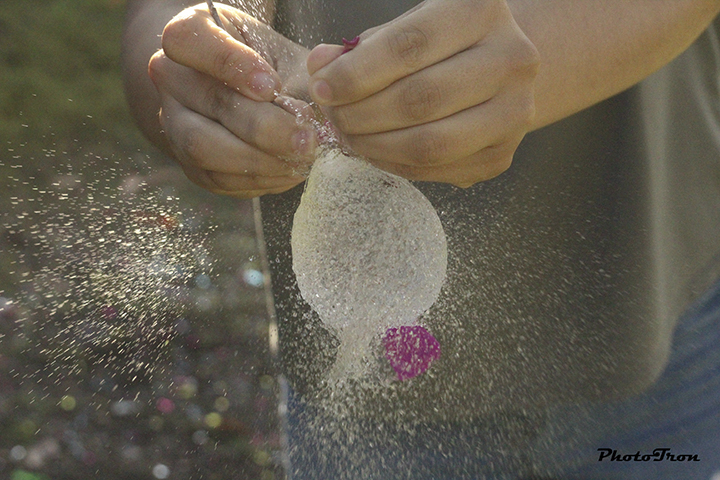
High Contrast With Overlay
Before After

Step 1
- Click on the Black/White Circle at the bottom of Layers Pallet
- Choose Black and White

Step 2
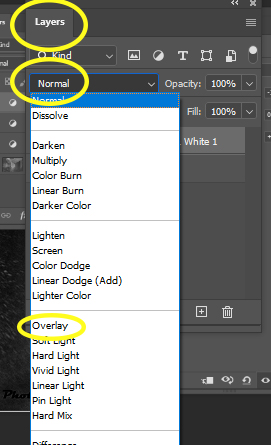
- Go to the top Left of the Layers Pallet
- Change Normal to Overlay
Step 3
- Play with the sliders in the Properties area that pops up
- This will allow you to change one color at a time in your image

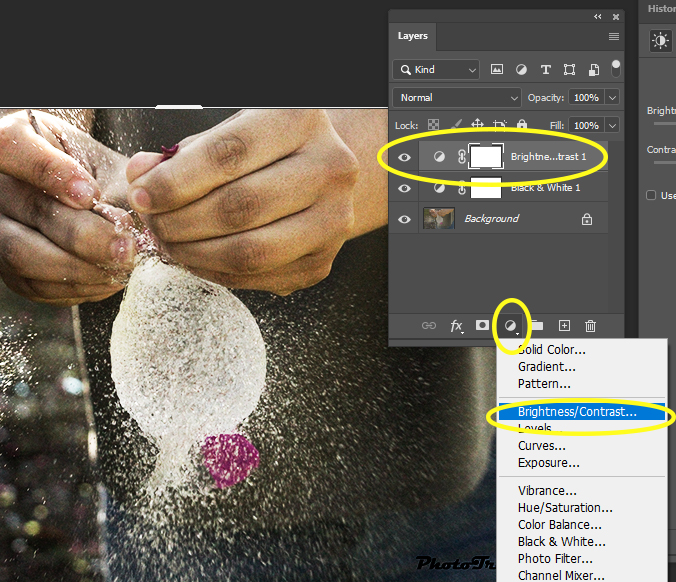
Step 4
- Click on the Black/White Circle again at the bottom of Layers Pallet
- Choose Brightness/Contrast
- Move the sliders to enhance your photo
Step 5
- Click on the Black/White Circle again at the bottom of Layers Pallet
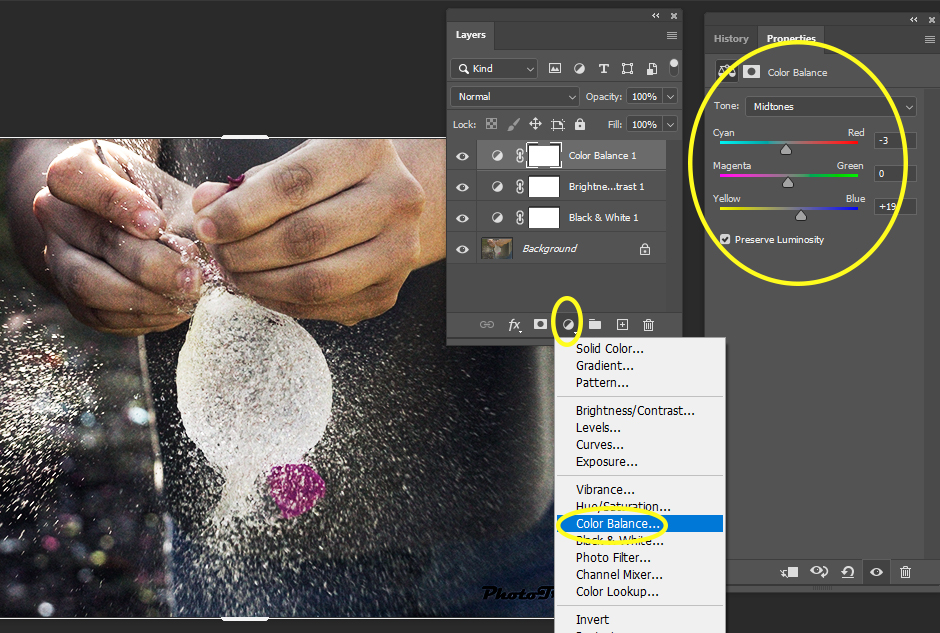
- Choose Color Balance
- Move the sliders to change the colors of your photo
- Do not make it to YELLOW or to BLUE
- Move the sliders to change the colors of your photo
