


Part 1: Picking Gordon Parks photos
Step 1:
- Save the photograph of Gordon Parks

Step 2:
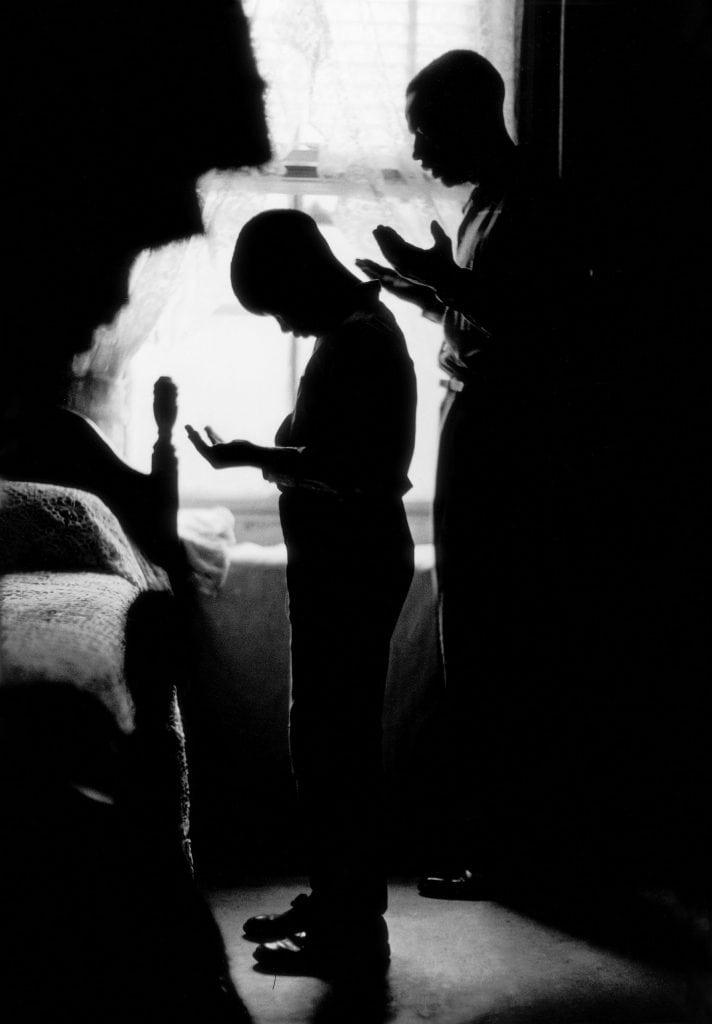
- Pick 3 Colored Photographs by Gordon Parks
- They should be images that speak to you
- You may also use other Gordon Parks photographs which have not been included here
- Save to computer
- You may also use other Gordon Parks photographs which have not been included here
- They should be images that speak to you


Step 3:
- Pick 3 Black and White Photographs by Gordon Parks
- They should be images that speak to you
- You may also use other Gordon Parks photographs which have not been included here
- Save to computer
- You may also use other Gordon Parks photographs which have not been included here
- They should be images that speak to you


Step 4:
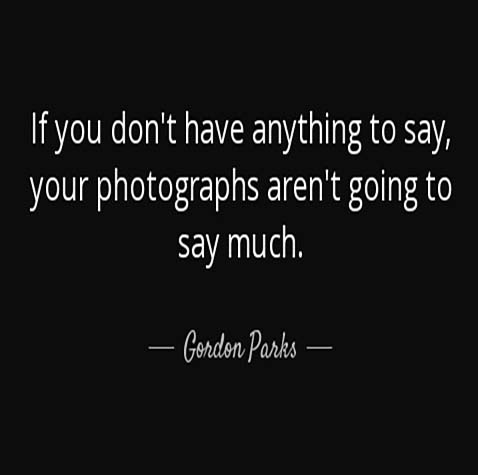
- Pick 1 Quote from Gordon Parks


Part 2: Double Exposure in Photoshop
Step 1:
- Open the Godron Parks Portrait in photoshop
- Choose the Quick Selection tool
- Select all of Gordon Parks and his camera
- Do NOT select the areas that are not part of Parks or the camera
- Select all of Gordon Parks and his camera

Step 2:
- Click Control J
- this will make a copy

Step 3:
- Click OFF the eye on the background layer

Step 4:
- File
- Place Embedded
- Choose one of Gordon Parks Colored Photographs you saved
- I will be using the photograph below but You may use any Colored photograph you saved from section
- Choose one of Gordon Parks Colored Photographs you saved
- Place Embedded

![]()
Step 5:
- Your photograph will be at the top of the layers pallet
- Move the photograph until it covers the entire canvas

Step 6:
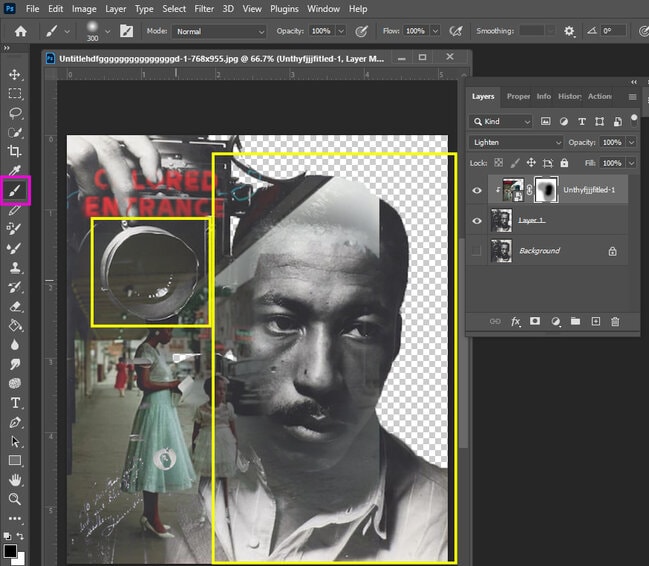
- Right click on the colored photograph layer
- Create Clipping Mask

Step 7:
- Click on Normal (Top of Layers Pallet)
- Change to one of the following (each photo will have a different result)
- Lighter Color
- Soft Light
- Lighten
- Etc
- Change to one of the following (each photo will have a different result)

Step 8:
- Move the image around until you like the placement of it
- You can make the images bigger or smaller to fit the look you want

Step 9:
- Add a Mask to the Colored Photograph Layer

Step 10:
- Select a Black Paint Brush
- Paint out the face/ shirt area of Gordon Parks
- Do not take out anything besides his face/shirt
- Paint out the face/ shirt area of Gordon Parks
Step 11:
- Choose the Ellipse Tool
- Fill: Black
- Stroke: White box with red line through

Step 12:
- Draw a circle inside the camera lens
- Hold the Shift key to create the correct shape and size circle

Step 13:
- Lower the Opacity of the Circle between 70%

Step 14:
- Go to File
- Place Embedded
- Select one of the Black and White photographs you saved
- It will be placed in the middle of the canvas
- Select one of the Black and White photographs you saved
- Place Embedded

Step 15:
- Move the photograph so it’s in front of the black circle you made
- Reduce the size so it’s just a little bigger than the circle

Step 16:
- Right click on the Black and White Photograph layer
- Create Clipping Mask

Step 17:
- Move the image around until you like the placement of it
- The image must fit COMPLETELY in the circle and not have space around it


Step 18:
- Click on the Background Layer (layer with eye that is off)
- Go to File
- Place Embedded
- Choose any Gordon Parks photograph you saved
- Place Embedded
- Go to File

Step 19:
- The photograph will be placed behind the Gordon Parks portrait
- Move the photography toward the top of the canvas and adjust it to your liking
- You MUST leave the bottom right area open (section with pink box around it).
- Move the photography toward the top of the canvas and adjust it to your liking

Step 20:
- Lower the Opacity to between 80% – 85%

Step 21:
- Click on the Background Layer (layer with eye that is off)
- Go to File
- Place Embedded
- Choose another Gordon Parks photograph you saved
- Place Embedded
- Go to File

Step 22:
- The photograph will be placed behind the Gordon Parks portrait
- Move the photography toward the bottom right and adjust it to your liking
- Lower the Opacity to between 80% – 85%
- Move the photography toward the bottom right and adjust it to your liking

Step 23:
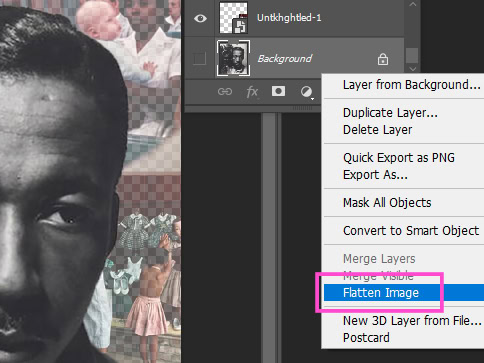
- Right click on layers
- Flatten Image
Step 24:
- Go to File
- Place Embedded
- Choose the Quote you saved from Gordon Parks
- Move the quote to the bottom right of the canvas
- Choose the Quote you saved from Gordon Parks
- Place Embedded

Step 25:
- Go to Normal on Layers Pallet
- Change to Lighter Color
- Move the quote around so that it fits with your collage
- Change to Lighter Color

Step 26:
- Flatten Image
- Save
