

Step 1:
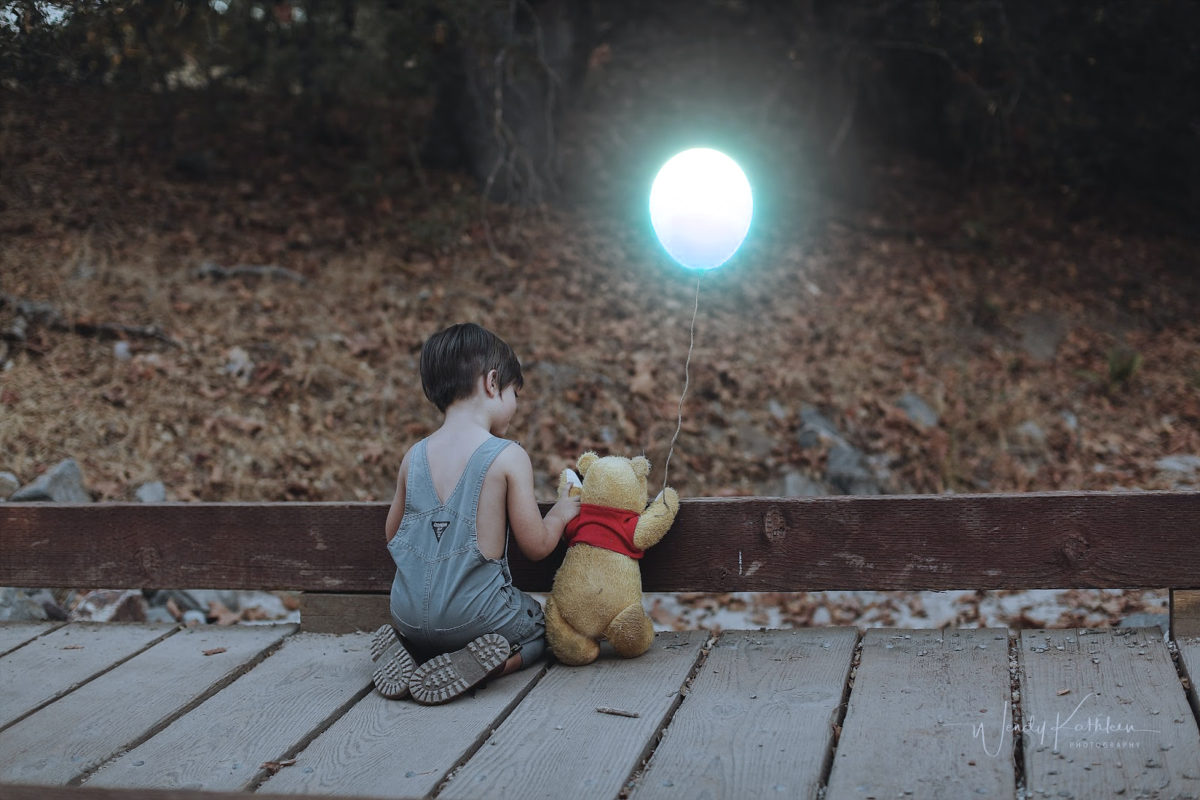
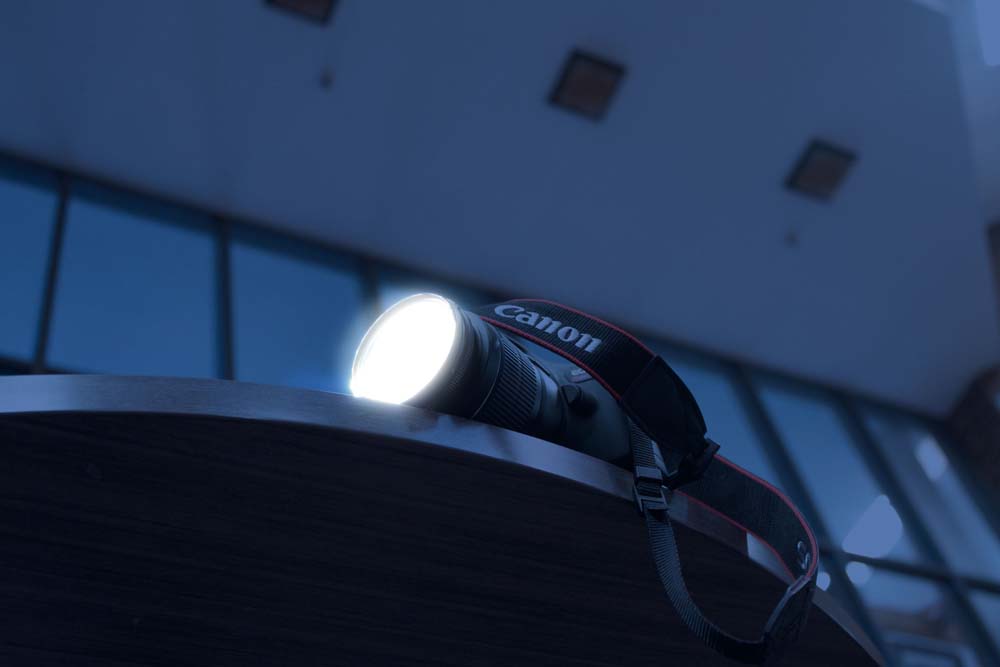
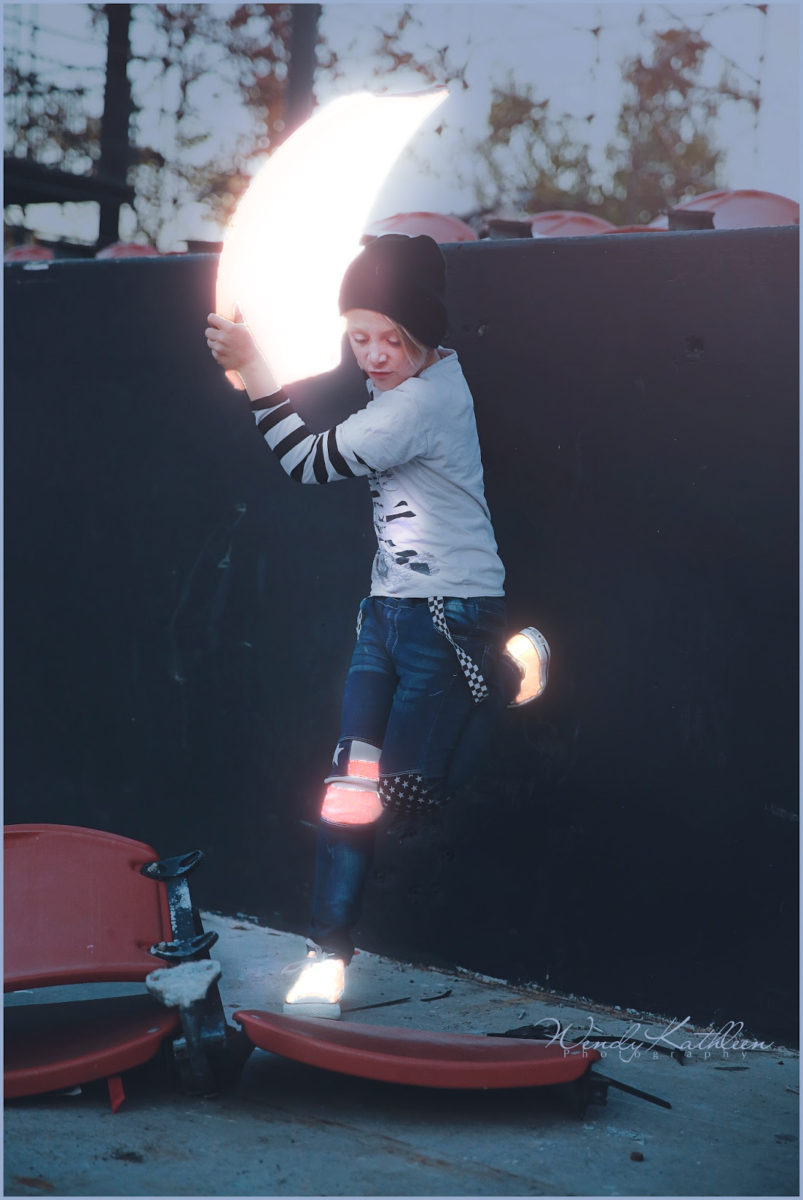
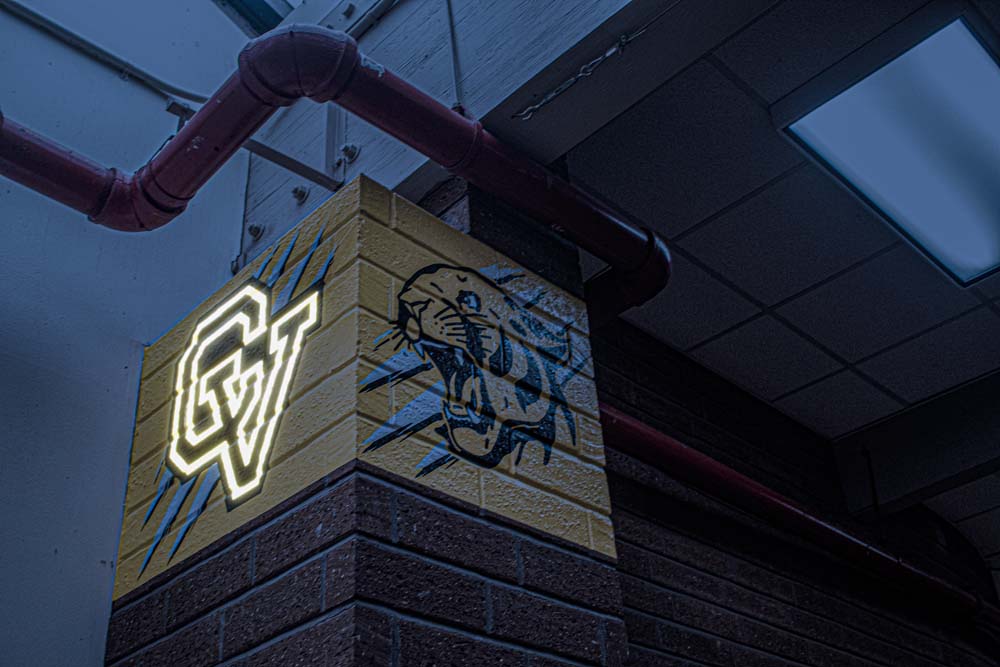
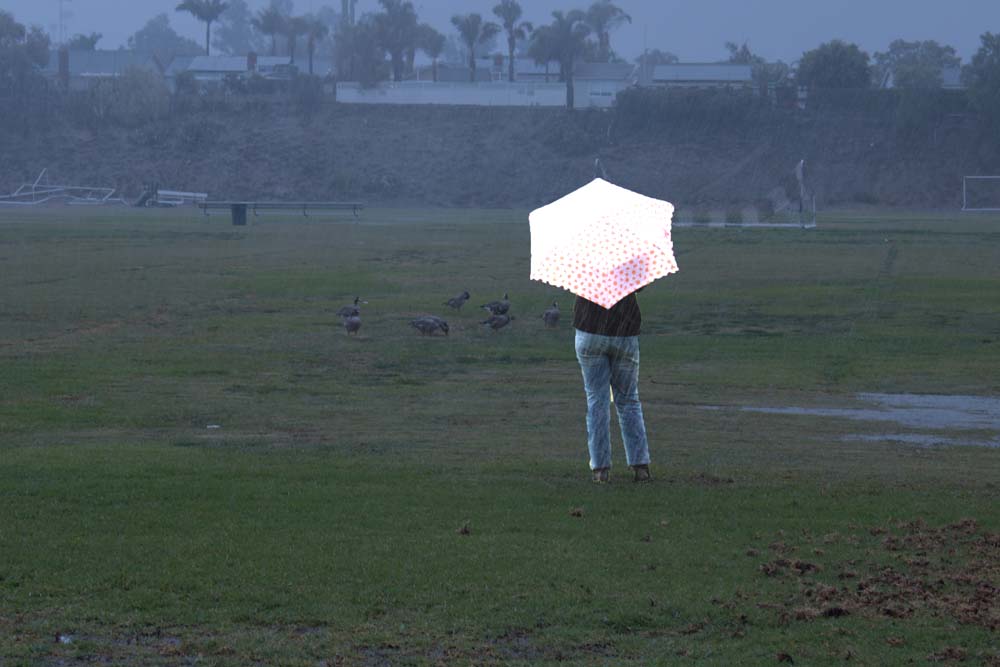
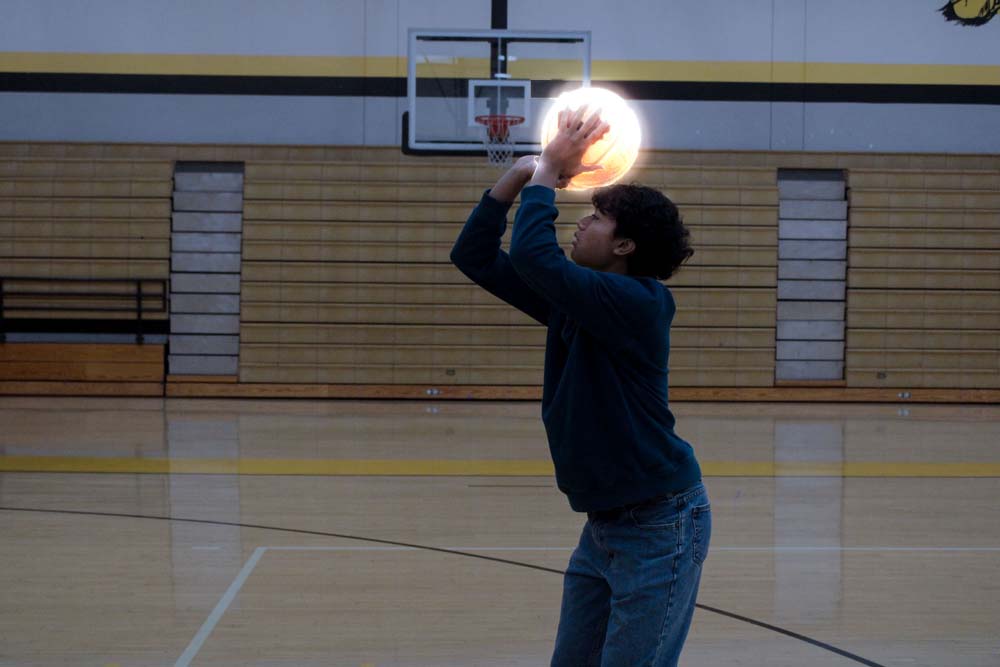
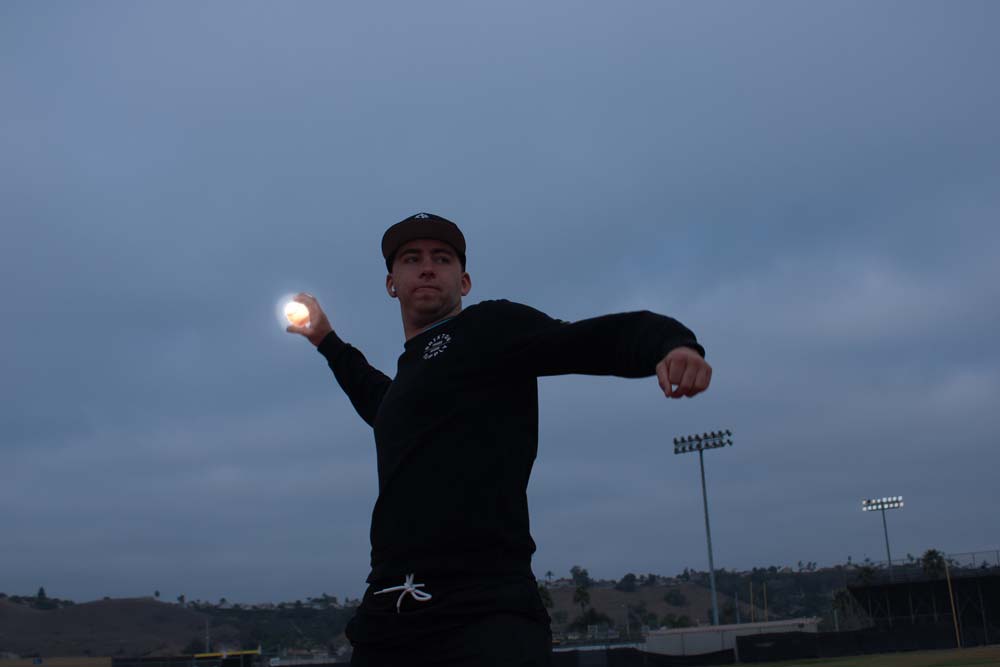
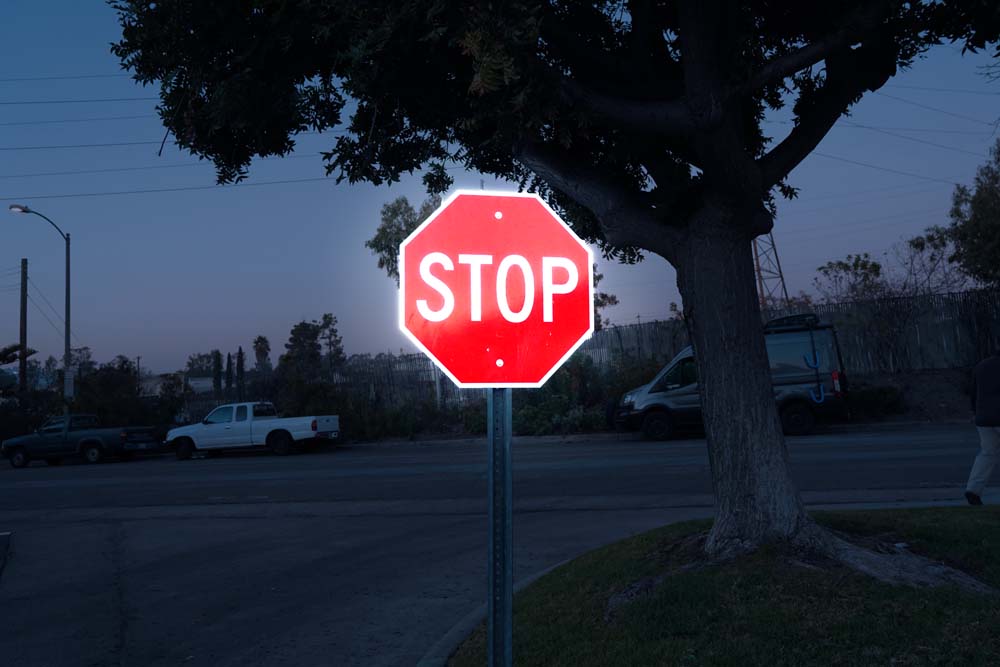
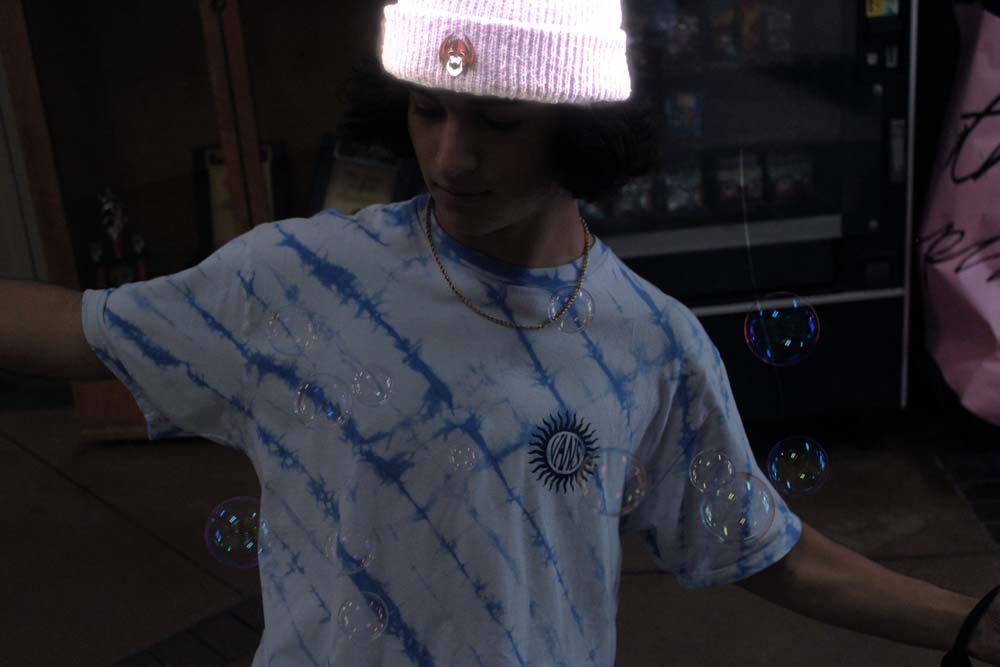
- Open your image and decide what you will want to glow in the photo
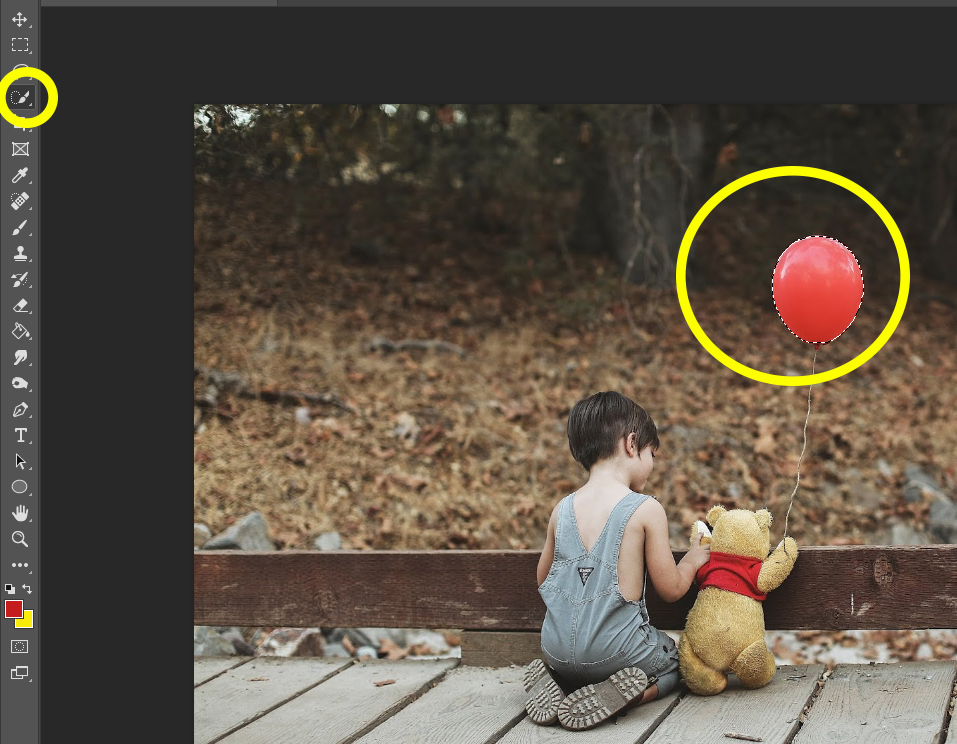
- Choose the Quick Selection tool and draw around it.
Step 2:
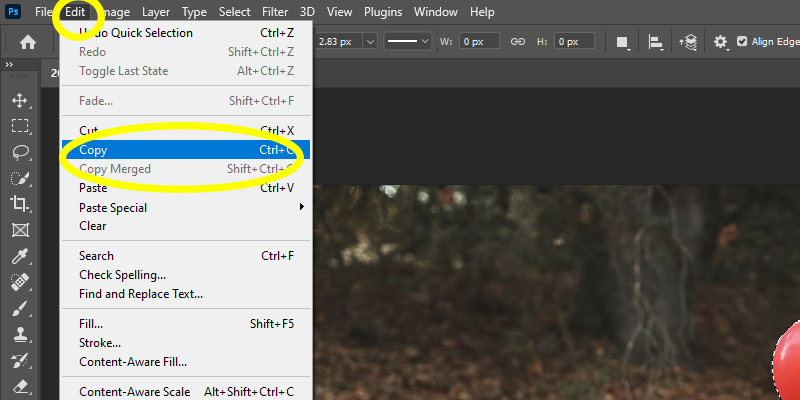
- Go to EDIT- Copy
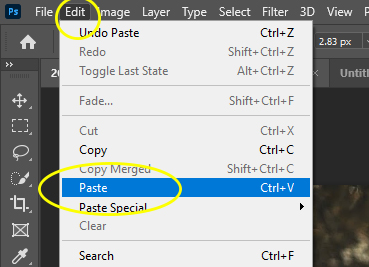
- Then EDIT- Paste
- You will now see a second layer on your layers pallet
Step 3:
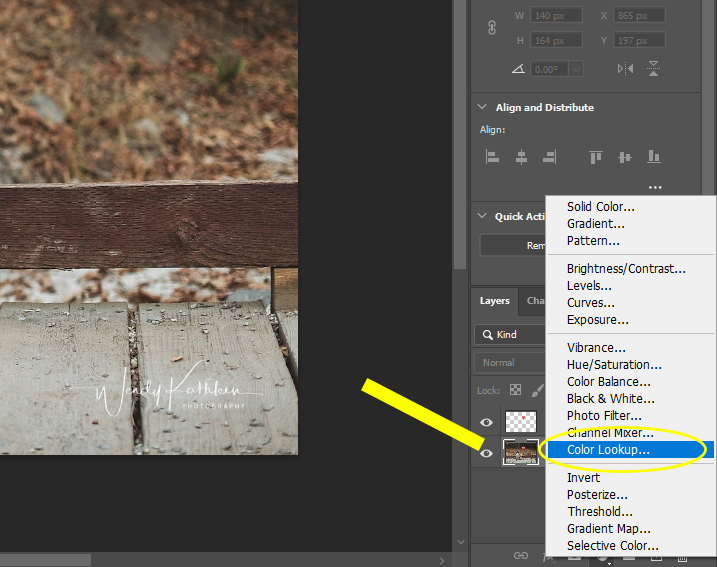
- Click on the Background Layer on your layers pallet (this is the first layer that is of your photo)
- Click at the bottom of the layers pallet the circle that is half black/half white
- Choose COLOR LOOKUP
Step 3:
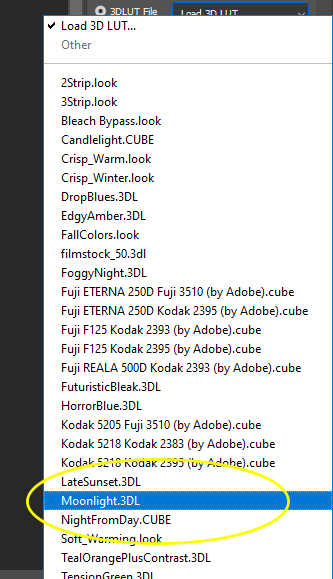
- Change Load 3D LUT…..
- to
- Moonlight. 3DL
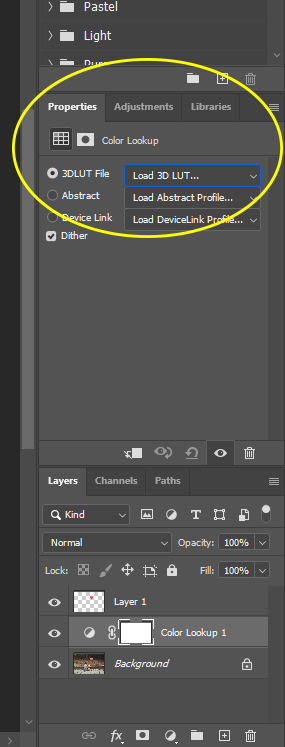
- Your image will now be dark except for the areas that you had Quick Selected
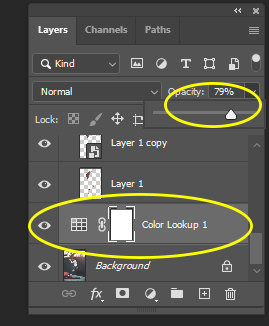
- If you feel your image is to dark, pull down either the Opacity or Fill until it looks the way you want.

Step 4:
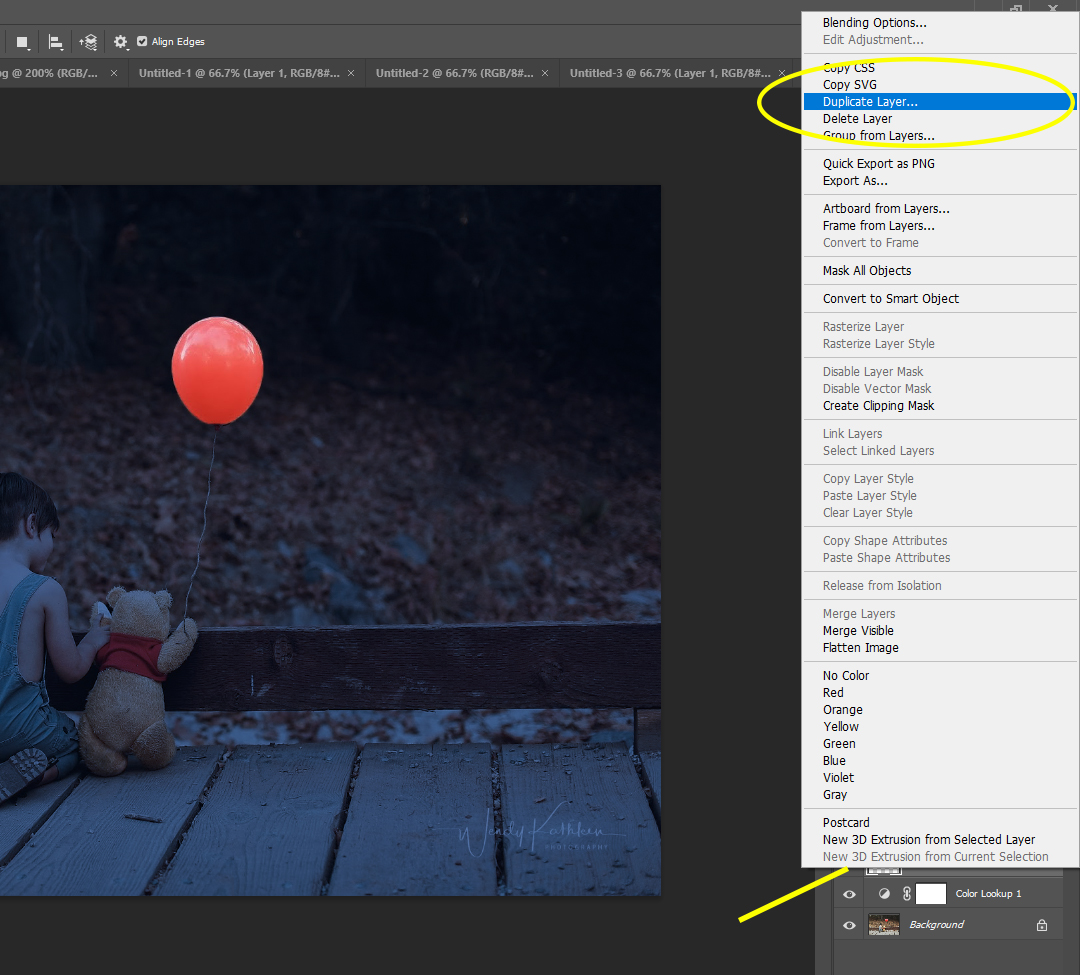
- Click on Layer 1
- Right click on it and choose Duplicate Layer
Step 5:
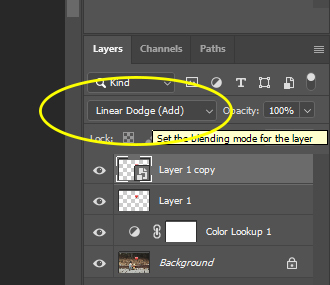
- Click on Layer 1 Copy
- Where it says Normal, change it to Linear Dodge (Add)
Step 6:
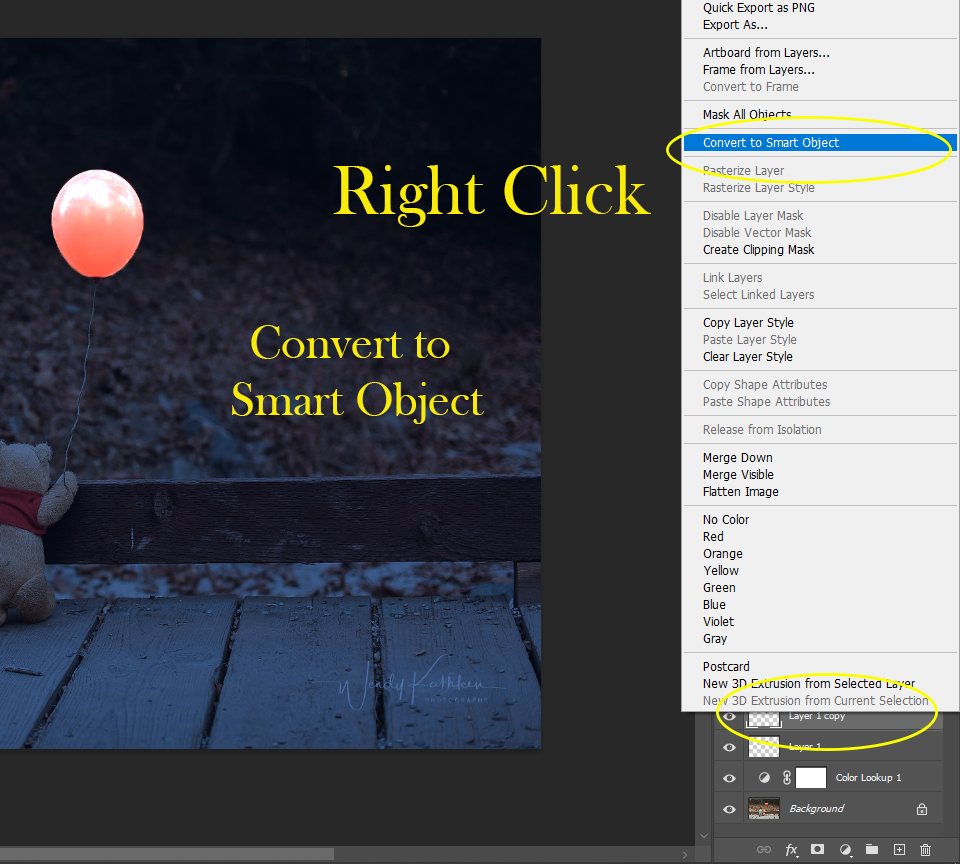
- Right Click on Layer 1 Copy
- Choose Convert to Smart Object
- Nothing is going to happen after you do this
Step 7:
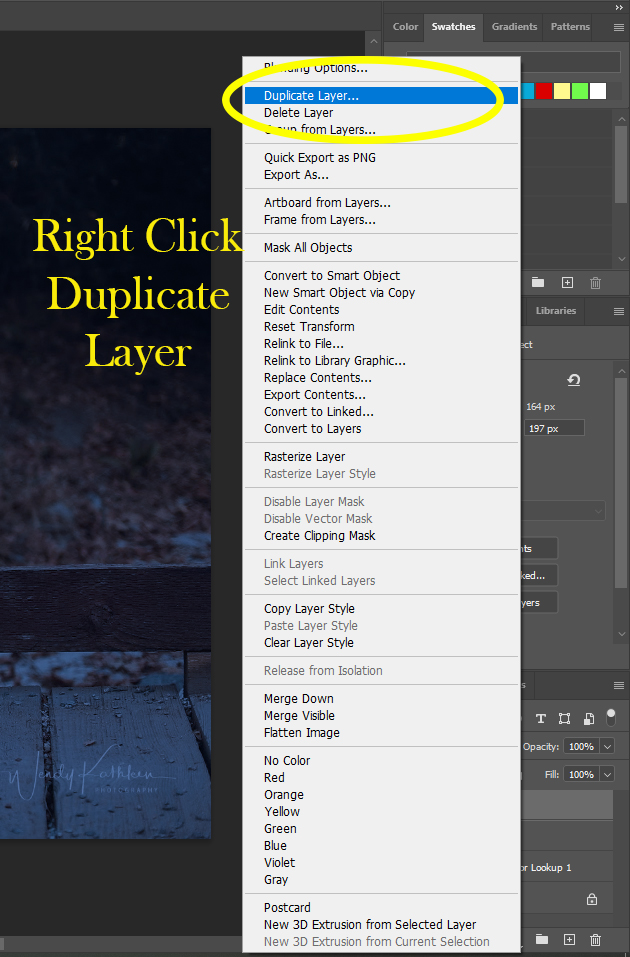
- Right Click again on Layer 1 Copy
- Duplicate Layer
Step 8:
- Make sure you are on Layer 1 Copy 2
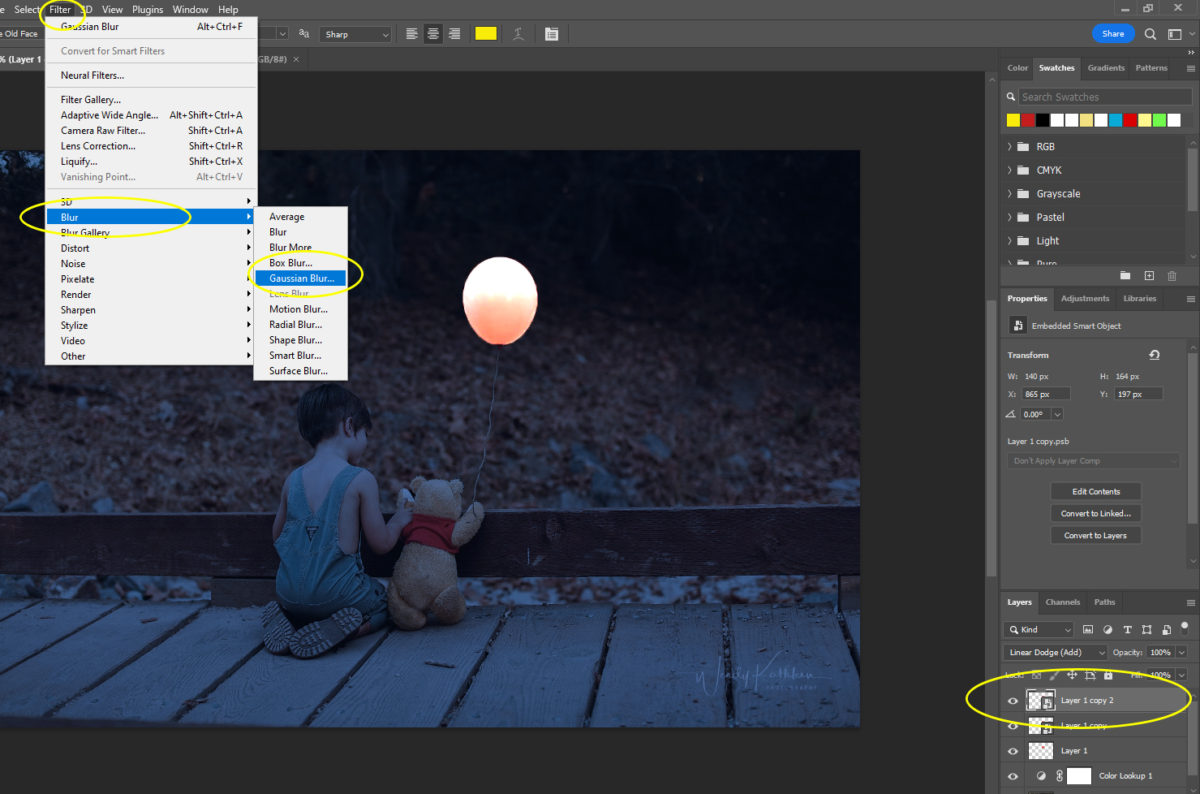
- Go to
- Filter
- Blur
- Gaussian Blur
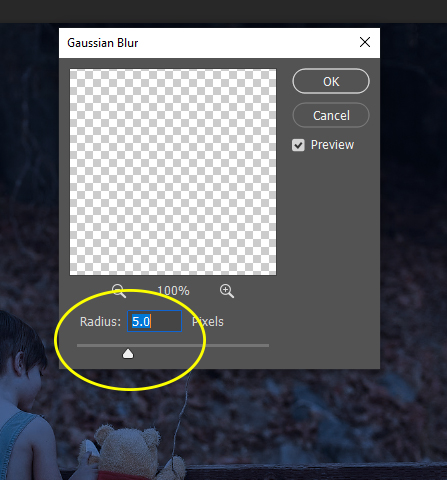
- Make the Radius 5.0
Step 9:
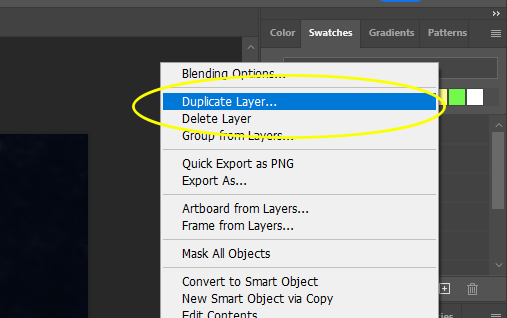
- Right click on Layer 1 Copy 2
- Duplicate Layer
Step 10:
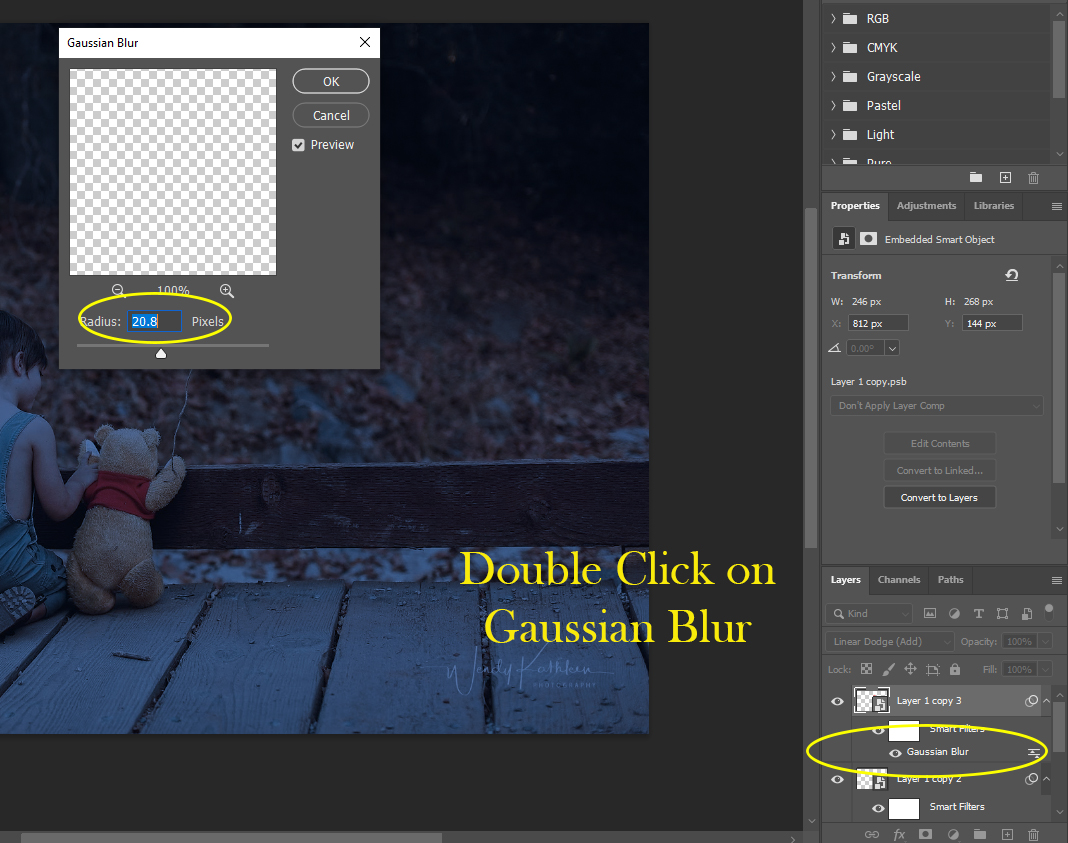
- Below Layer 1 Copy 3 you will see Gaussian Blur
- Double Click on Gaussian Blur
- Change the Radius to 20
Step 11:
- Right click on Layer 1 Copy 3
- Duplicate Layer

Step 12:
- Below Layer 1 Copy 4 you will see Gaussian Blur
- Double Click on Gaussian Blur
- Change the Radius to 60
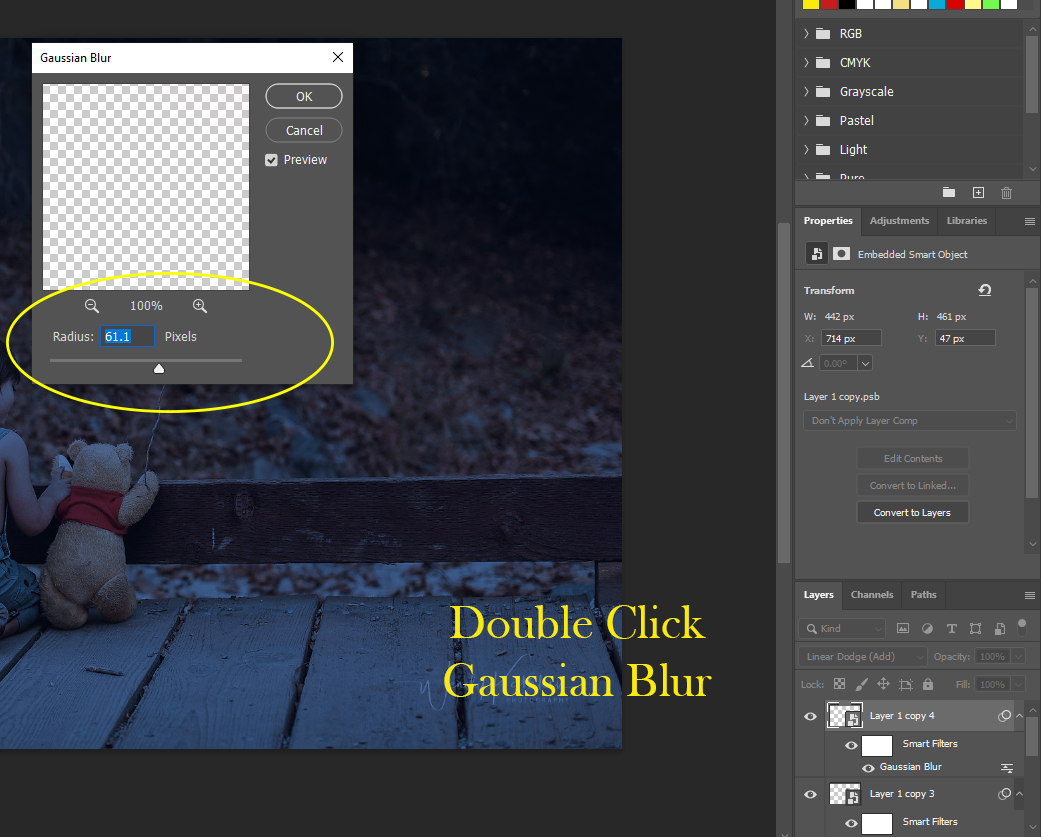
Step 13:
- Go to
- Layer
- New-Layer
- On the Layers pallet it should say Layer 2 and be above Layer 4 Copy 1
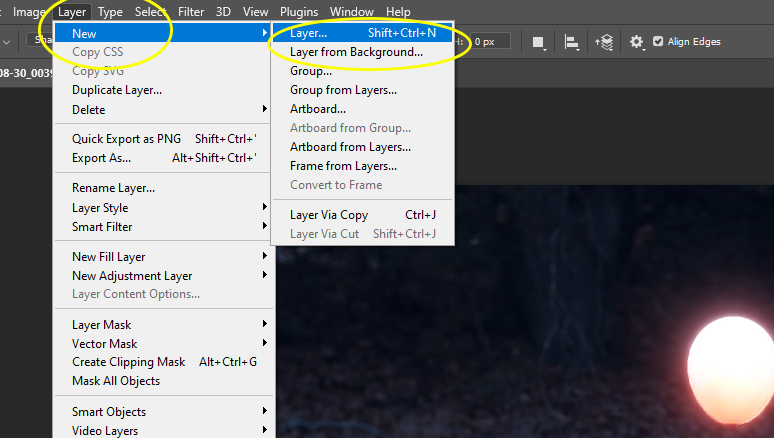
Step 14:
- Make sure you are on Layer 2
- Pick the Brush Tool
- Pick White
- Move the Flow from 100% to 20%
- Slightly paint around the outside edges of your object that is lit up.
- Do NOT paint to far outside of the edges
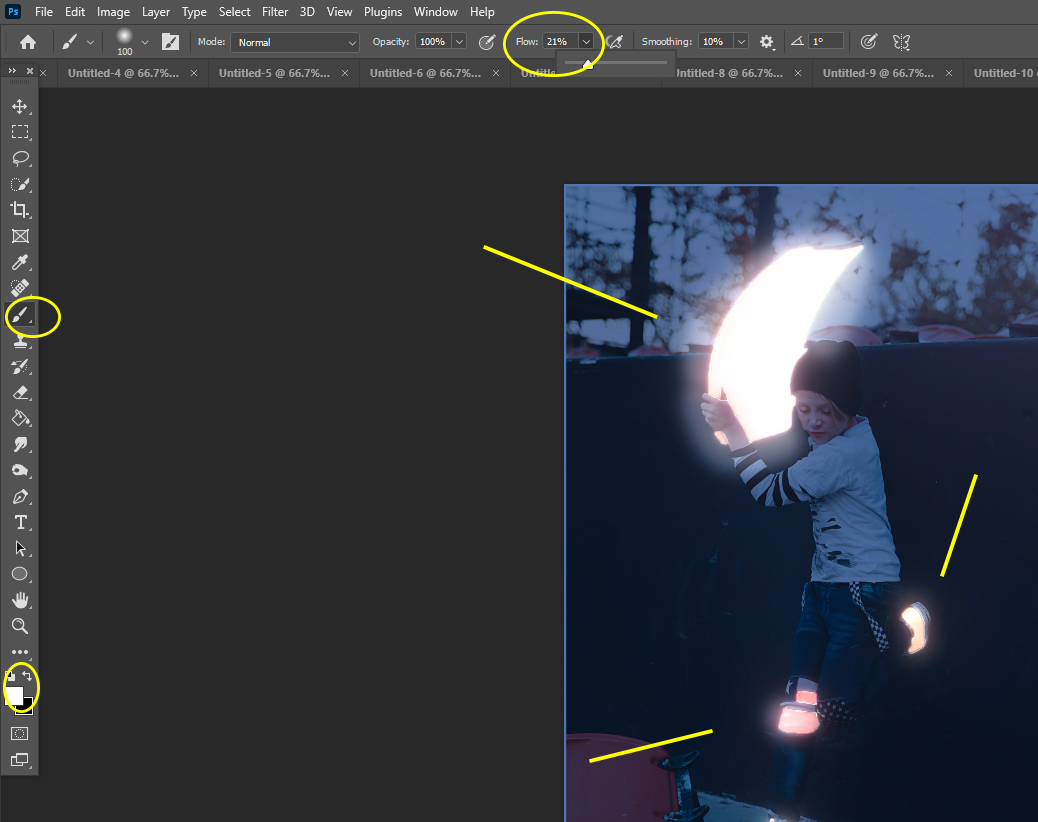
Step 15:
- While on Layer 2 change Normal to Soft Light
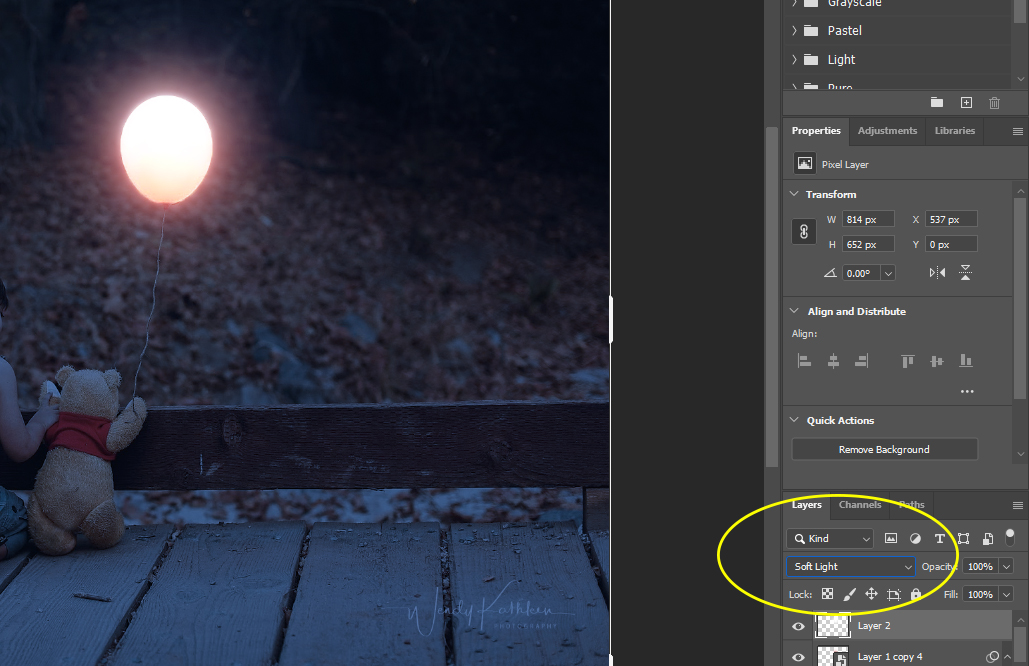
Step 16:
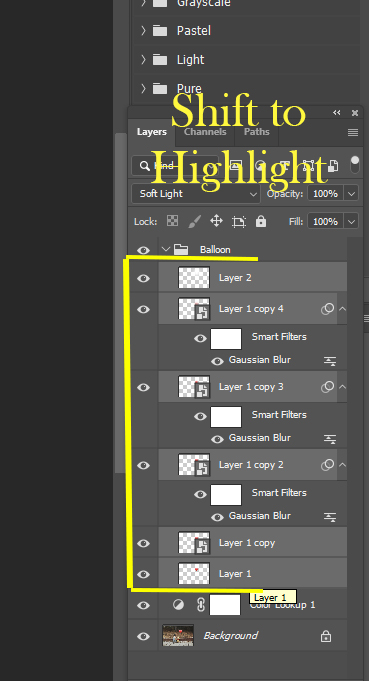
- You will now be combing all of your lit object layers into one layer
- Click on Layer 2
- Holding the Shift Key click on Layer 1
- All of the layers inbetween will now be lighted
- Be sure you have NOT highlighted Color Lookup or the background layer
Step 17:
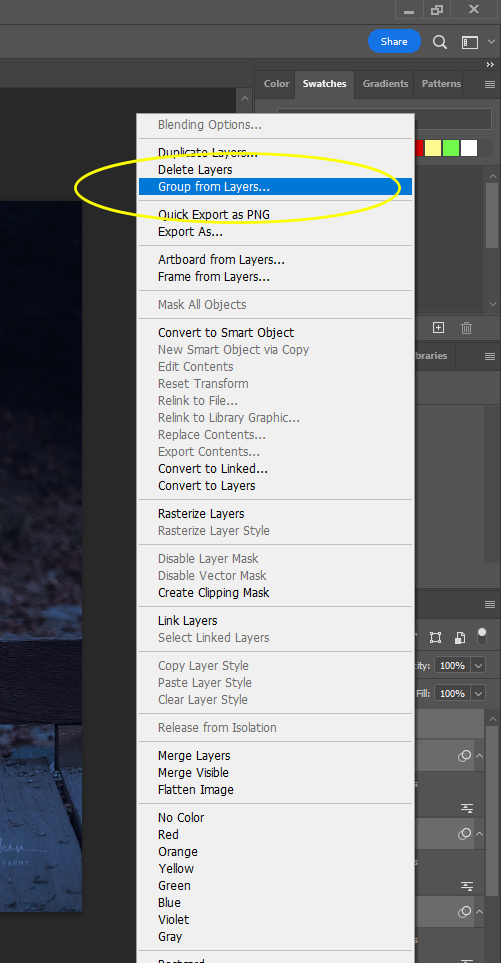
- Anywhere in the highlighted layers
- Right click
- Group from Layers
- All the layers will now be in a folder called Group 1
Step 18:
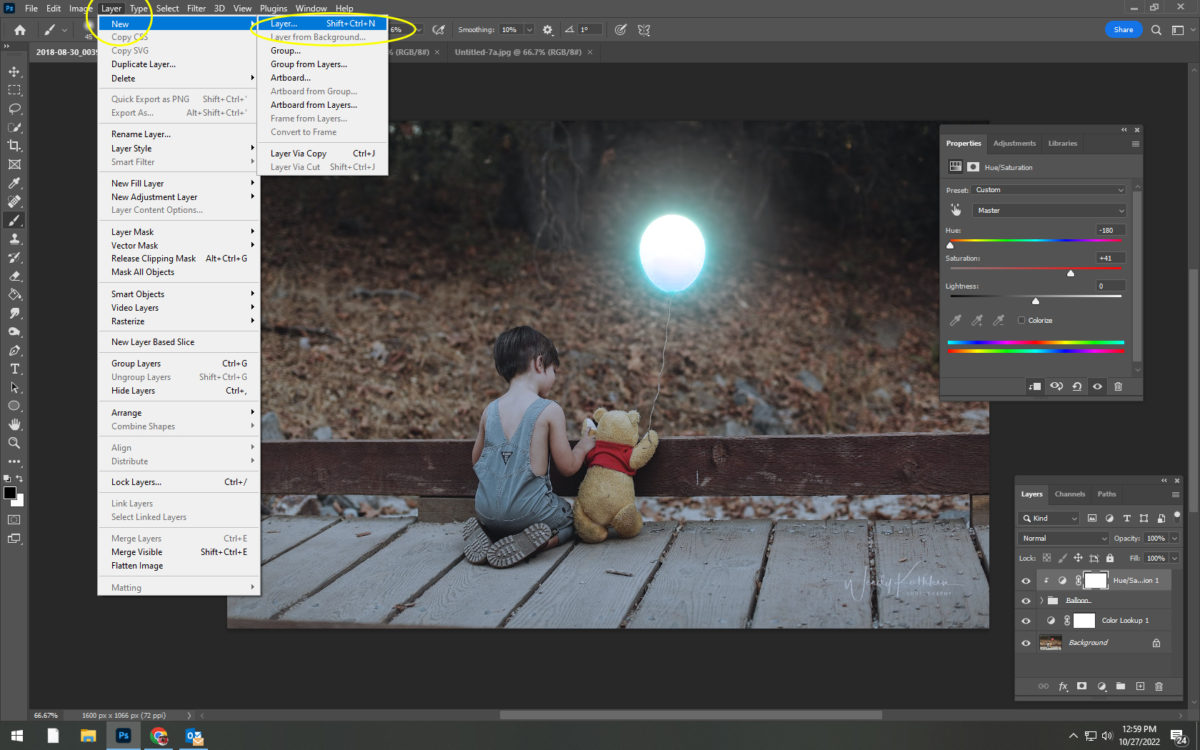
- Go to
- Layer
- New- Layer
Step 19:
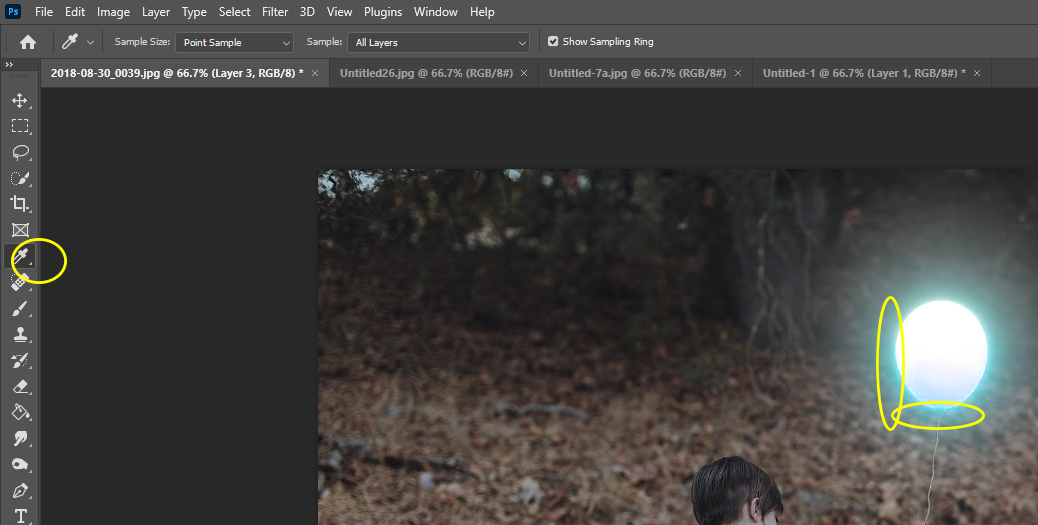
- Click on the Eye Dropper tool
- Click the Eye Dropper anywhere on the colored outside glow of your object.
- This will have selecteded the color you need for the next step
Step 20:
- Click on the Brush Tool
- Change the Flow from 100% to 11%
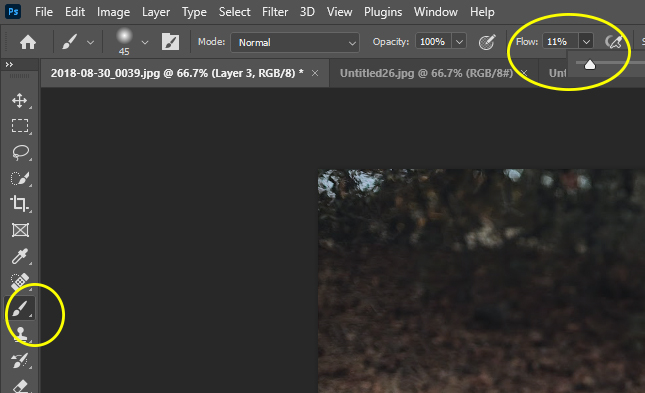
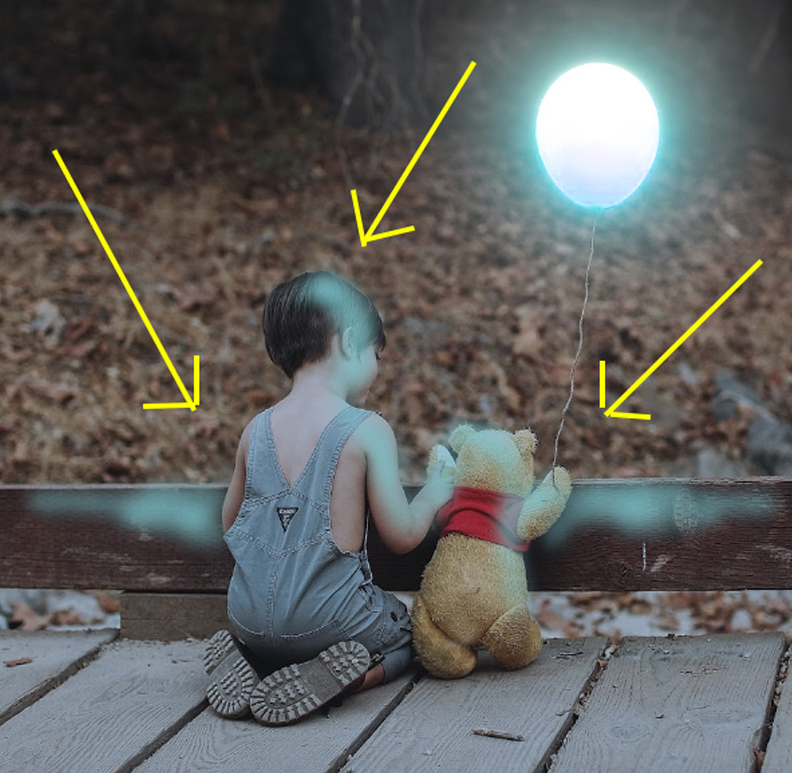
Step 21:
- Slightly paint of the areas that would reflect the glow of your object.
- You do NOT want to over paint. ONLY Paint a small area that is facing the front of the glowing object
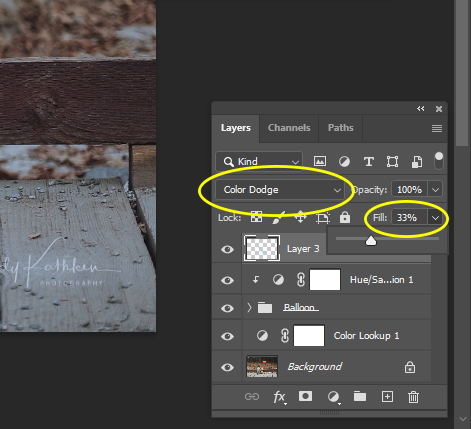
Step 22:
- On the Layers Pallet, change Normal to Color Dodge
- Change the Fill to between 33%-10% depending on how much glow you want reflected
Step 23:
- Flatten your Layers
- If you want to make any final adjustments you can do that now.
- If you are done, save your image.
