
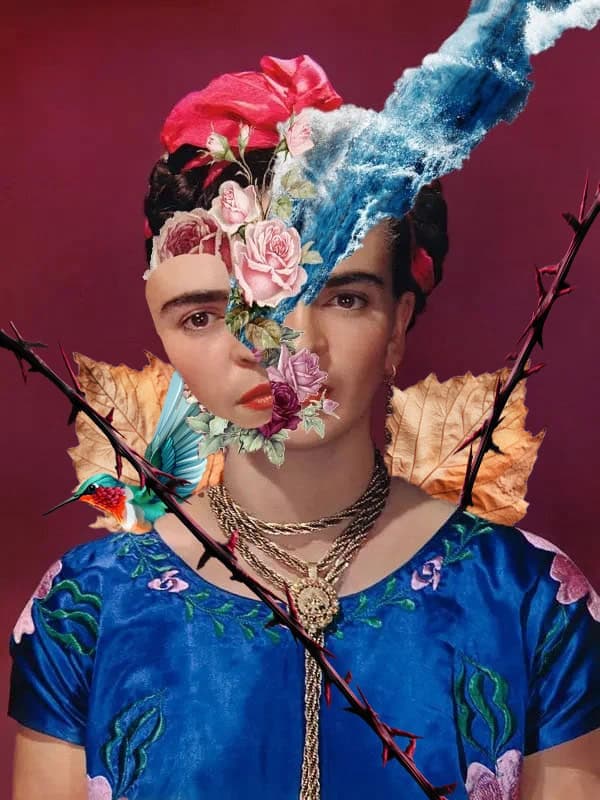
Frida and Annie Leibovitz
2002, Annie Leibovitz photographed Salma Hayek as her artist Frida Kahlo for Vogue Magazine. Salma Hayek stars as Frida Kahlo in the biographical film ( Frida ) about the Mexican surrealist artist.

__________________________________________________________
Annie Leibovitz Section
Choose a Portrait Photograph Leibovitz
Pick and save a portrait photographed by Annie Leibovitz from below
or
- Google a portrait which Leibovitz photographed
- Be careful when searching, as not every photo online that says it’s Leibovitz is really her work
- Choice a Headshot that is high resolution (1000 pixels or higher)
- No full body photos


____________________________________________________________________________________________________
Photography by: Annie Leibovitz


__________________________________________________________________________________________________
Frida Kahlo Section
Symbolism in Frida’s paintings
- Thorns, Hummingbirds, Butterflies: Symbolizes pain and resurrection
- Animals & Nature: Jaguars, parrots, and dogs (like her Xolotl) represent her love of Mexico
- Skull: Life and Death and Day of the Dead
- Roots & Vines: Connection to Mexico and inability to escape her pain
- Flowers: fertility, growth, and connection to the earth


_______________________________________________________________________________________________
PNG Files
You may use the files provided or find your own PNG files
Image 1: Flowers/Folaige/Cactus
- Choose and Save 2 images from below or find your own


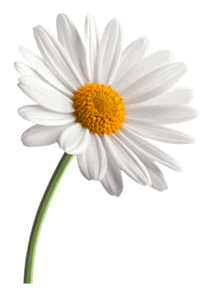


Image 2: Roads/waves
- Choose and Save 1 images from below or find your own


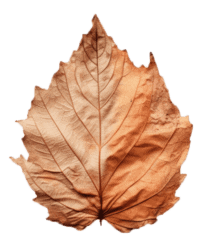
Image 3: Leaves
- Choose and Save 2 images from below or find your own


![]()
Image 4: Vines/Thorns
- Choose and Save 3 images from below or find your own


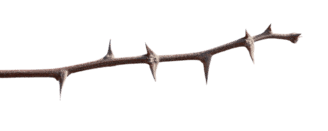


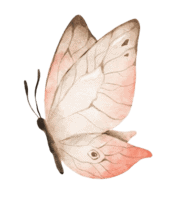
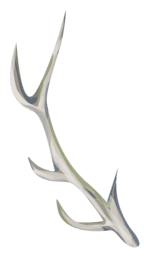
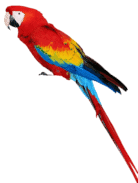
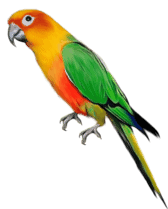
Image 5: Bird/Butterflys/Deer Antlers
- Choose and Save 3 images from below or find your own


Photoshop Project
Step 1:
Open the Annie Leibovitz photograph in photoshop

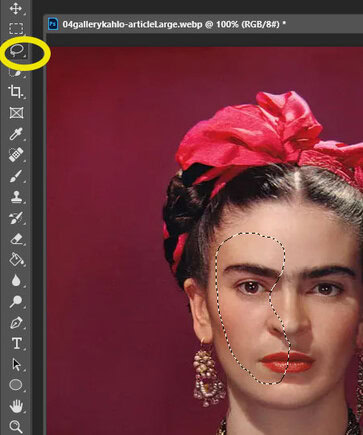
Step 2:
- Select the Lasso Tool
- Carefully draw around a section of the eye and check
- It should look like the shape of a bean
- Carefully draw around a section of the eye and check

Step 2:
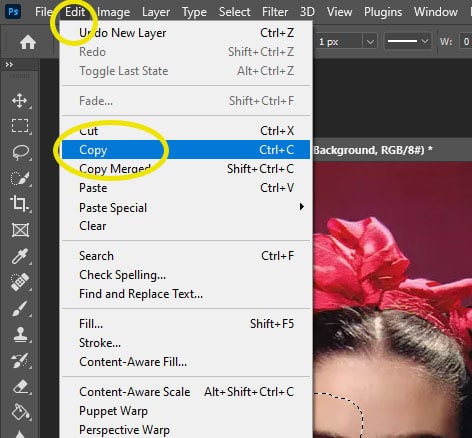
- Go to
- Edit
- Copy
- Edit
Step 3
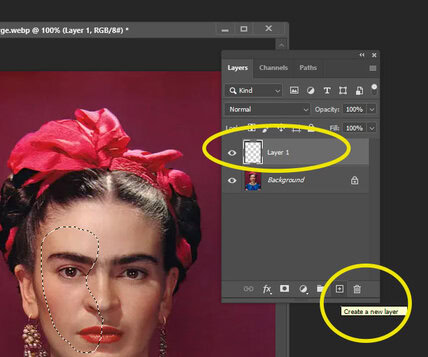
- Go to the Layers Pallet
- Click the + sign at the bottom of the layers pallet
- This will create a new layer
- Click the + sign at the bottom of the layers pallet
Step 4
- Make sure you are on Layer one
- Go to Edit
- Paste
- The section you cut out of the face will now be on Layer 1
- Paste

Step 5
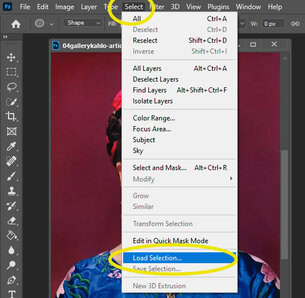
- Go to Select
- Load Selection
- When the box pops up, click OK
- The face will now have the selected section showing
- When the box pops up, click OK
- Load Selection
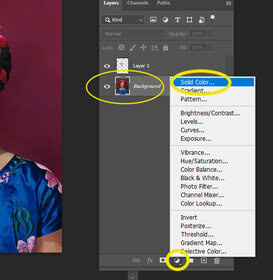
Step 6
- Go to Layers Pallet
- Click on the Background Layer
- Click on the black/white circle at the bottom of Layers Pallet
- Pick Solid Color
- Click on the black/white circle at the bottom of Layers Pallet
- Click on the Background Layer
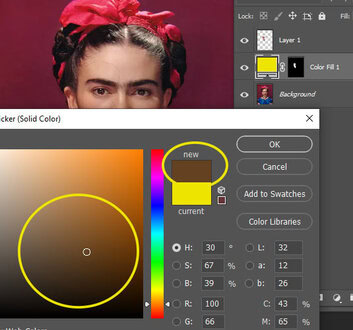
Step 7
- The color picker will show up
- Choose a dark brown color
Step 8
- Click on Layer 1
- Click Control- T
- Move the cutout slightly away from the face
- Slightly tilt the face cutout
- Move it around until you like how it looks
- Slightly tilt the face cutout
- Move the cutout slightly away from the face
- Click Control- T

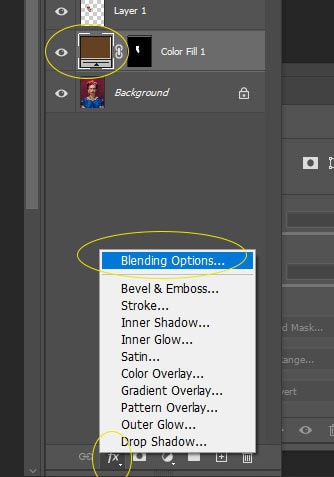
Step 9
- Click on the brown color on the Color Fill 1 Layer (not the black box)
- Click fx at the bottom of layers
- Click Blending Options
- Click fx at the bottom of layers
Step 10
- Click where it says Inner Shadow (MUST click on the words Inner Shadow and not just check the box)
- Blend Mode to Normal
- Opacity- 100%
- Distance- 15
- Choke- 0
- Size- 0
- Click ok when done

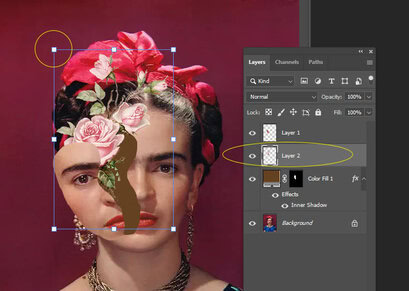
Step 11:
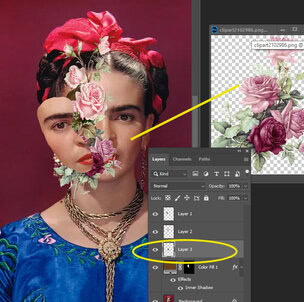
- Open in Photoshop a file of Flowers/Folaige/Cactus
- Select the Move Tool
- Move the PNG file onto the person
- Make sure the flower file is Below Layer 1 and Upove Color Fill
- Move the PNG file onto the person
- Select the Move Tool

Step 12:
- Click Control- T to make the image bigger or small and rotate
- Move the flowers/image around until you like it
Step 13:
- Pick a second file 0f flowers/foliage
- This can be the same flowers or a different flower/foliage
- Move flowers onto the face image
- Click Control – T
- Make the flowers bigger or smaller, rotate and move it around
- Click Control – T
- Move flowers onto the face image
- This can be the same flowers or a different flower/foliage
Step 14:
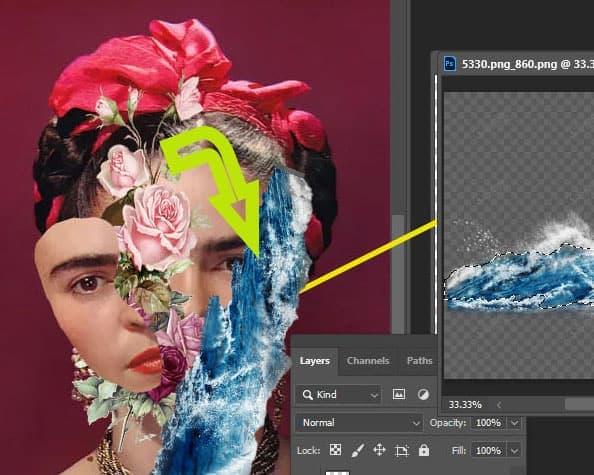
- Open the file of a wave or road
- Select Move Tool
- Move file onto the person
- This Image must be on the OPPOSITE side of the face that was cut out
- Move file onto the person
- Select Move Tool
Step 15:
- The road/wave MUST be Below Layer 1 and Ubove Color Fill
- The road/wave MUST be underneath the flowers layer

Step 16.
- Click Control T to change the size of the image
- Move the road/wave so it is going OFF the edge of the PAGE
- Right Click on Layers
- FMerge Layers
Step 17.
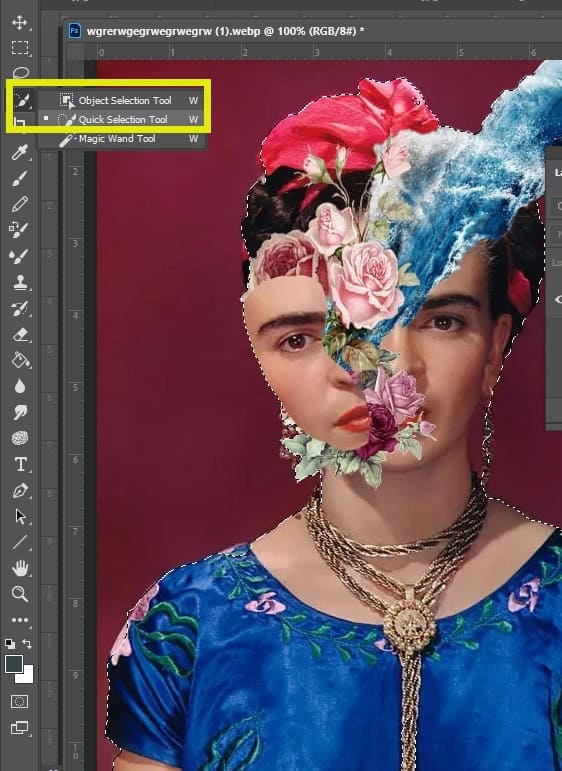
- Choose the Quick Selection Tool
- Select the entire person and any objects you added (wave/road/flowers/ect)
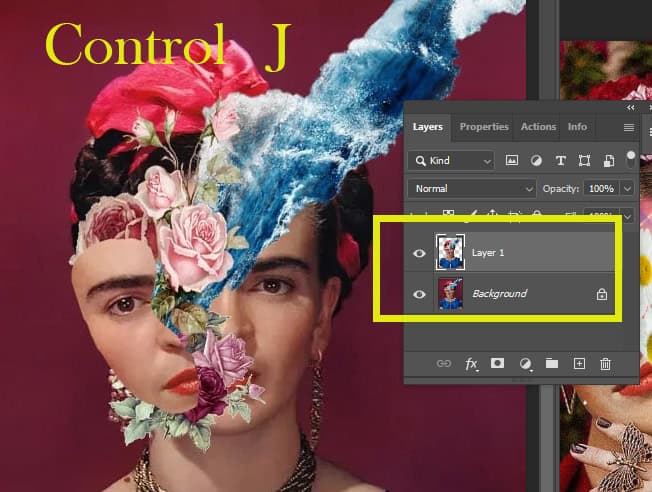
Step 18
- Click Control J
- This will make a copy of the person
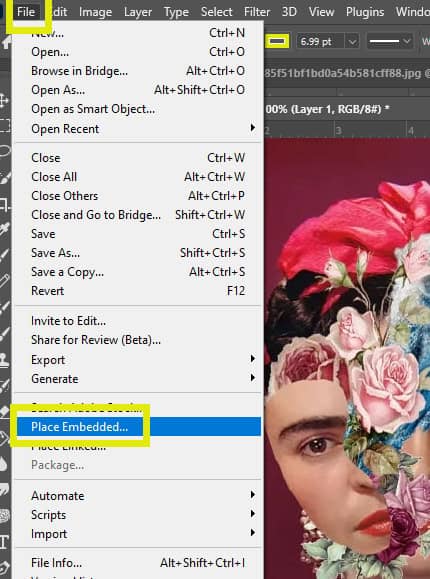
Step 19
- Go to File
- Place Embedded
Step 20
- Choose one of the thorn/vine/twig images
- Click Place

Step 21
- Select the Move Tool
- Move the image over the chest area of the person
- Control T
- To make the image bigger, longer or tilted Click
- Control T
- Move the image over the chest area of the person

step 22
- Click Control J
- This will make a copy of the vine/thorn/twig
- Select the move tool
- Move thorn/vine/twig to a different spot on the body
- Select the move tool
- This will make a copy of the vine/thorn/twig

Step 23
- We now want the vine to go UNDER the person
- Click the layer of the thorn/vine
- Move the layer ABOVE the person layer
- Click the layer of the thorn/vine

Step 24
- Click on the Background layer

Step 25
- Go to File
- Place Embedded
- Pick a Bird/Butterfly/Antler
- Click Place
- Pick a Bird/Butterfly/Antler
- Place Embedded


Step 26
- Make sure this new layer is UNDER the Person Copy layer
- Click the Move tool
- Move the image coming from behind the person
- Click Control T to make it bigger/ small/ turn
- Move the image coming from behind the person
- Click the Move tool

Step 27
- If the object looks to bold/fake
- Reduce the opacity slightly

Step 28
- Go to File
- Place Embedded
- Pick a Leaf
- Click Place
- Move the leaf so it’s coming from behind person
- Click Place
- Pick a Leaf
- Place Embedded

Step 29a
- Click Control J
- This will make a copy of the leaf
- Select the move tool
- Move the leaf to a different spot on the body
- Select the move tool
- This will make a copy of the leaf

Step 29b
- If you would like more leaves you can continue to click
- Control J and make more leaf copies
- or
- Control J and make more leaf copies
- You can add different leaves by going to
- File- Place Embedded
Step 30: Moving around the images in layers
- If you want an object ontop or another object
- Move the layer up
- (example the leaf moving from on top of bird to under the bird)
- Move the layer up


Step 31a: Optional Step
- If you would like to change the color of an object you added
- Click on the layer of that image
- Go to Image
- Hue/Saturation
- Go to Image
- Click on the layer of that image

Step 31b:
- Move the Hue slider
- I turned the Green vine to a purple/blue to match the color of the project

Step 32:
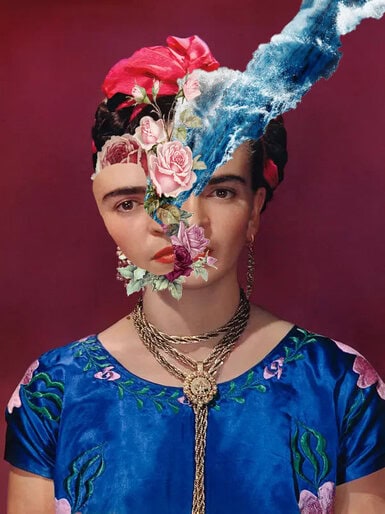
- Continue to add objects until you like the result of your project
- When you are finished
- Right Click on Layers Pallet
- Flatten Image
- Right Click on Layers Pallet
- When you are finished


